Managing Projects
Prerequisites
Projects are the building blocks of ReelStorage. Each project holds your photos, team members, approvals, and settings in one place. This guide walks you through creating, configuring, and managing projects from start to finish.
What You'll Learn
- How to view and filter your projects
- How to create a new project with name, description, and deadline
- How to edit project settings and manage team members
- How to configure per-member permissions
- How to archive or schedule a project for deletion
Step 1: View Your Projects
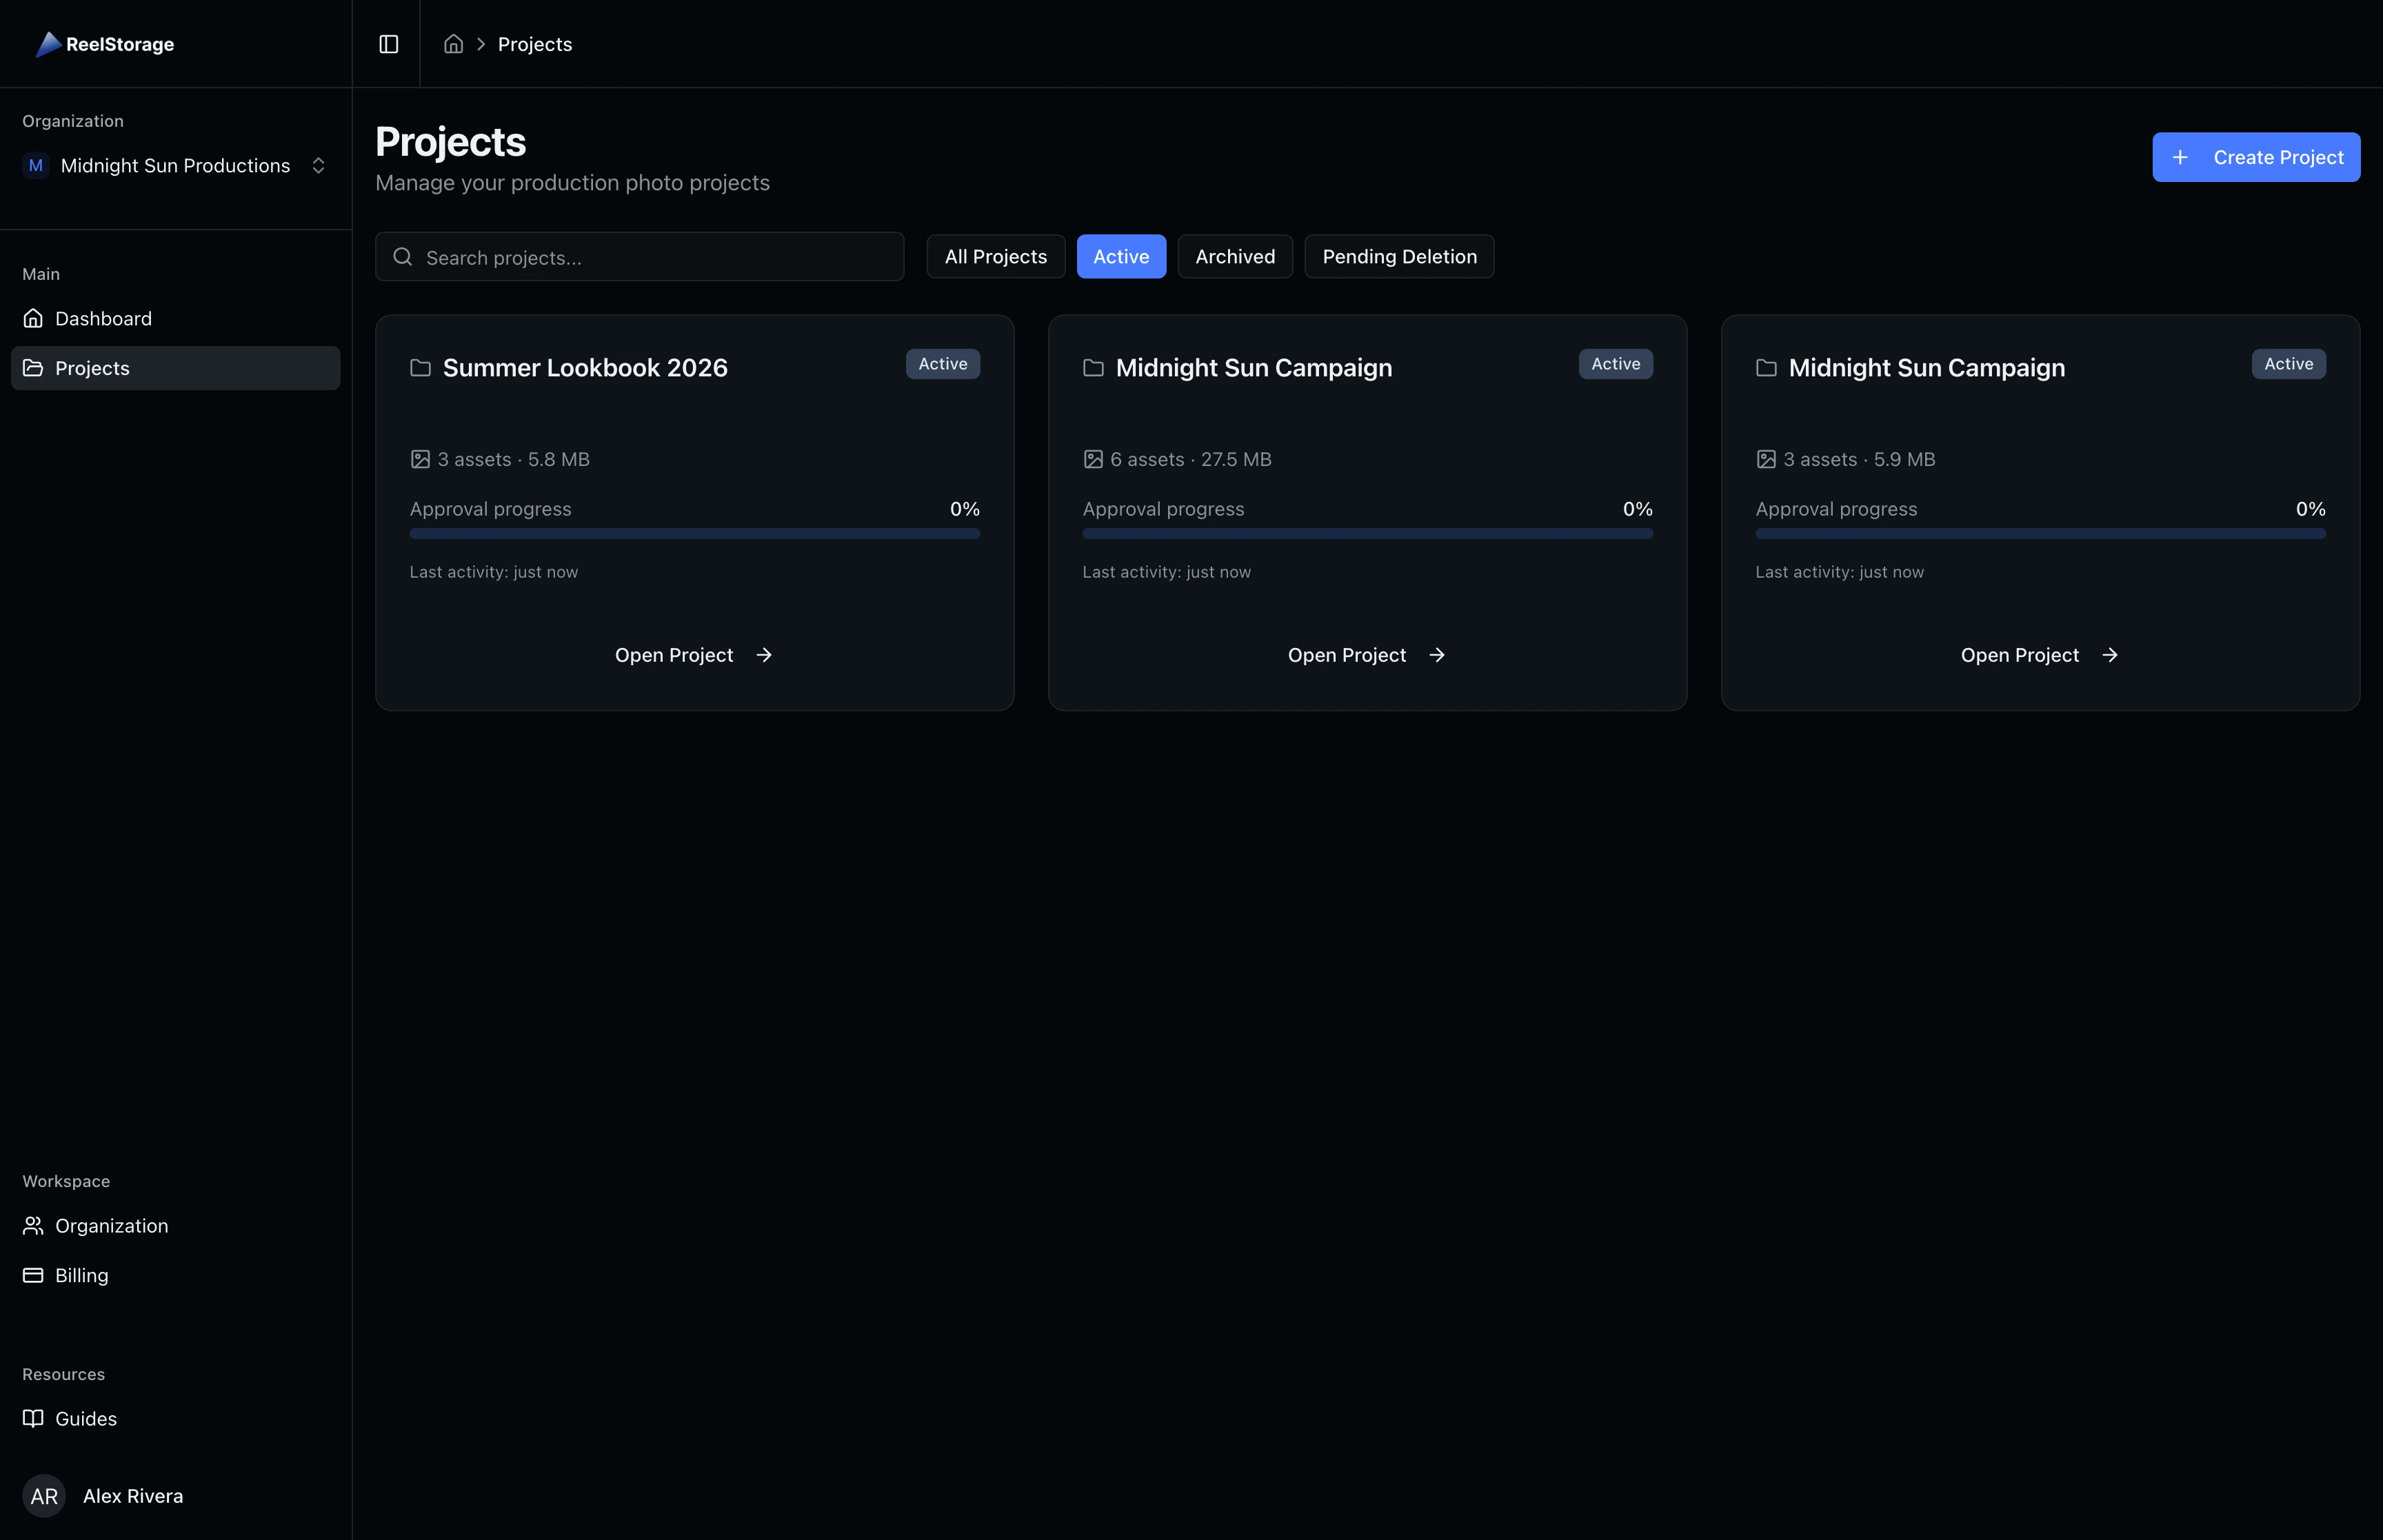
Navigate to the Projects page from the sidebar. You see a grid of project cards showing each project's name, status, asset count, and approval progress. Use the filter buttons at the top to switch between All Projects, Active, Archived, and Pending Deletion views. The search bar lets you filter by project name.
Step 2: Create a New Project
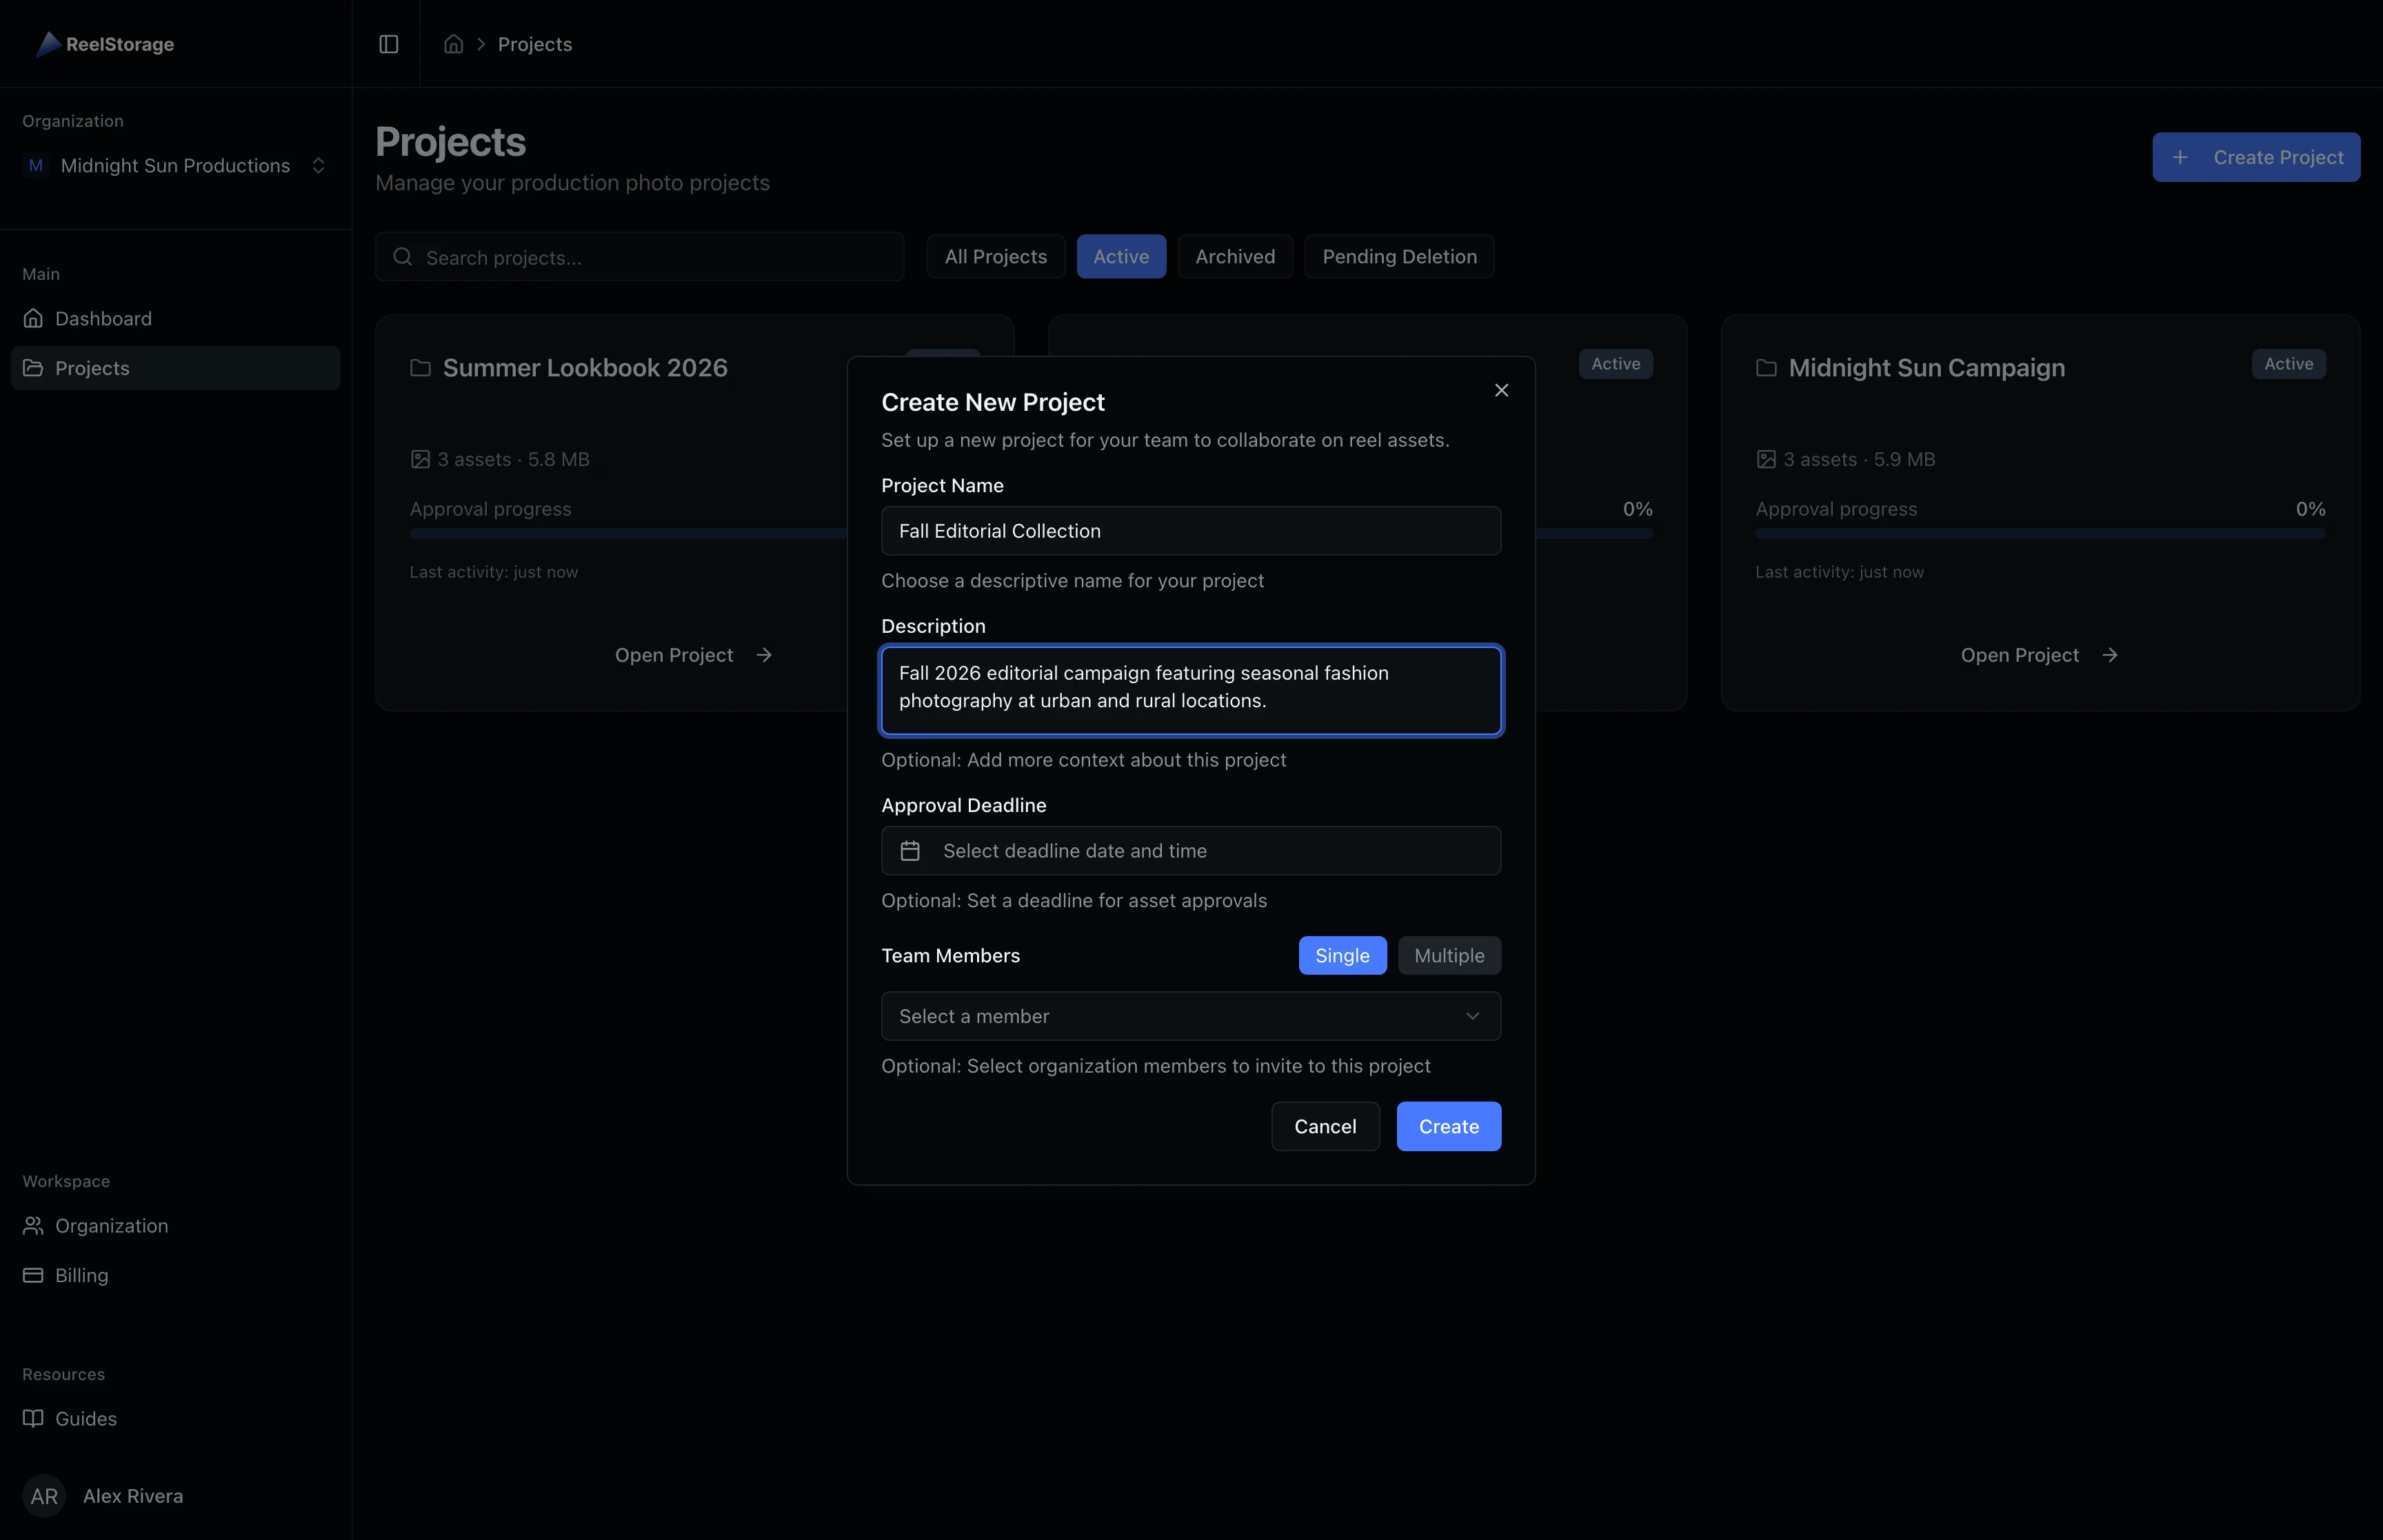
Click the Create Project button in the top right corner. A dialog opens where you fill in the project details:
- Project Name (required): A descriptive name for the project, such as the campaign or client name.
- Description (optional): Context about the project scope, locations, or timeline.
- Approval Deadline (optional): Set a date for when talent approvals should be completed. This deadline appears on project cards and the dashboard.
- Team Members (optional): Assign organization members during creation. Choose between adding a single member or multiple members at once.
Click Create to finish. You are taken to the new project's asset page.
Step 3: Open the Project
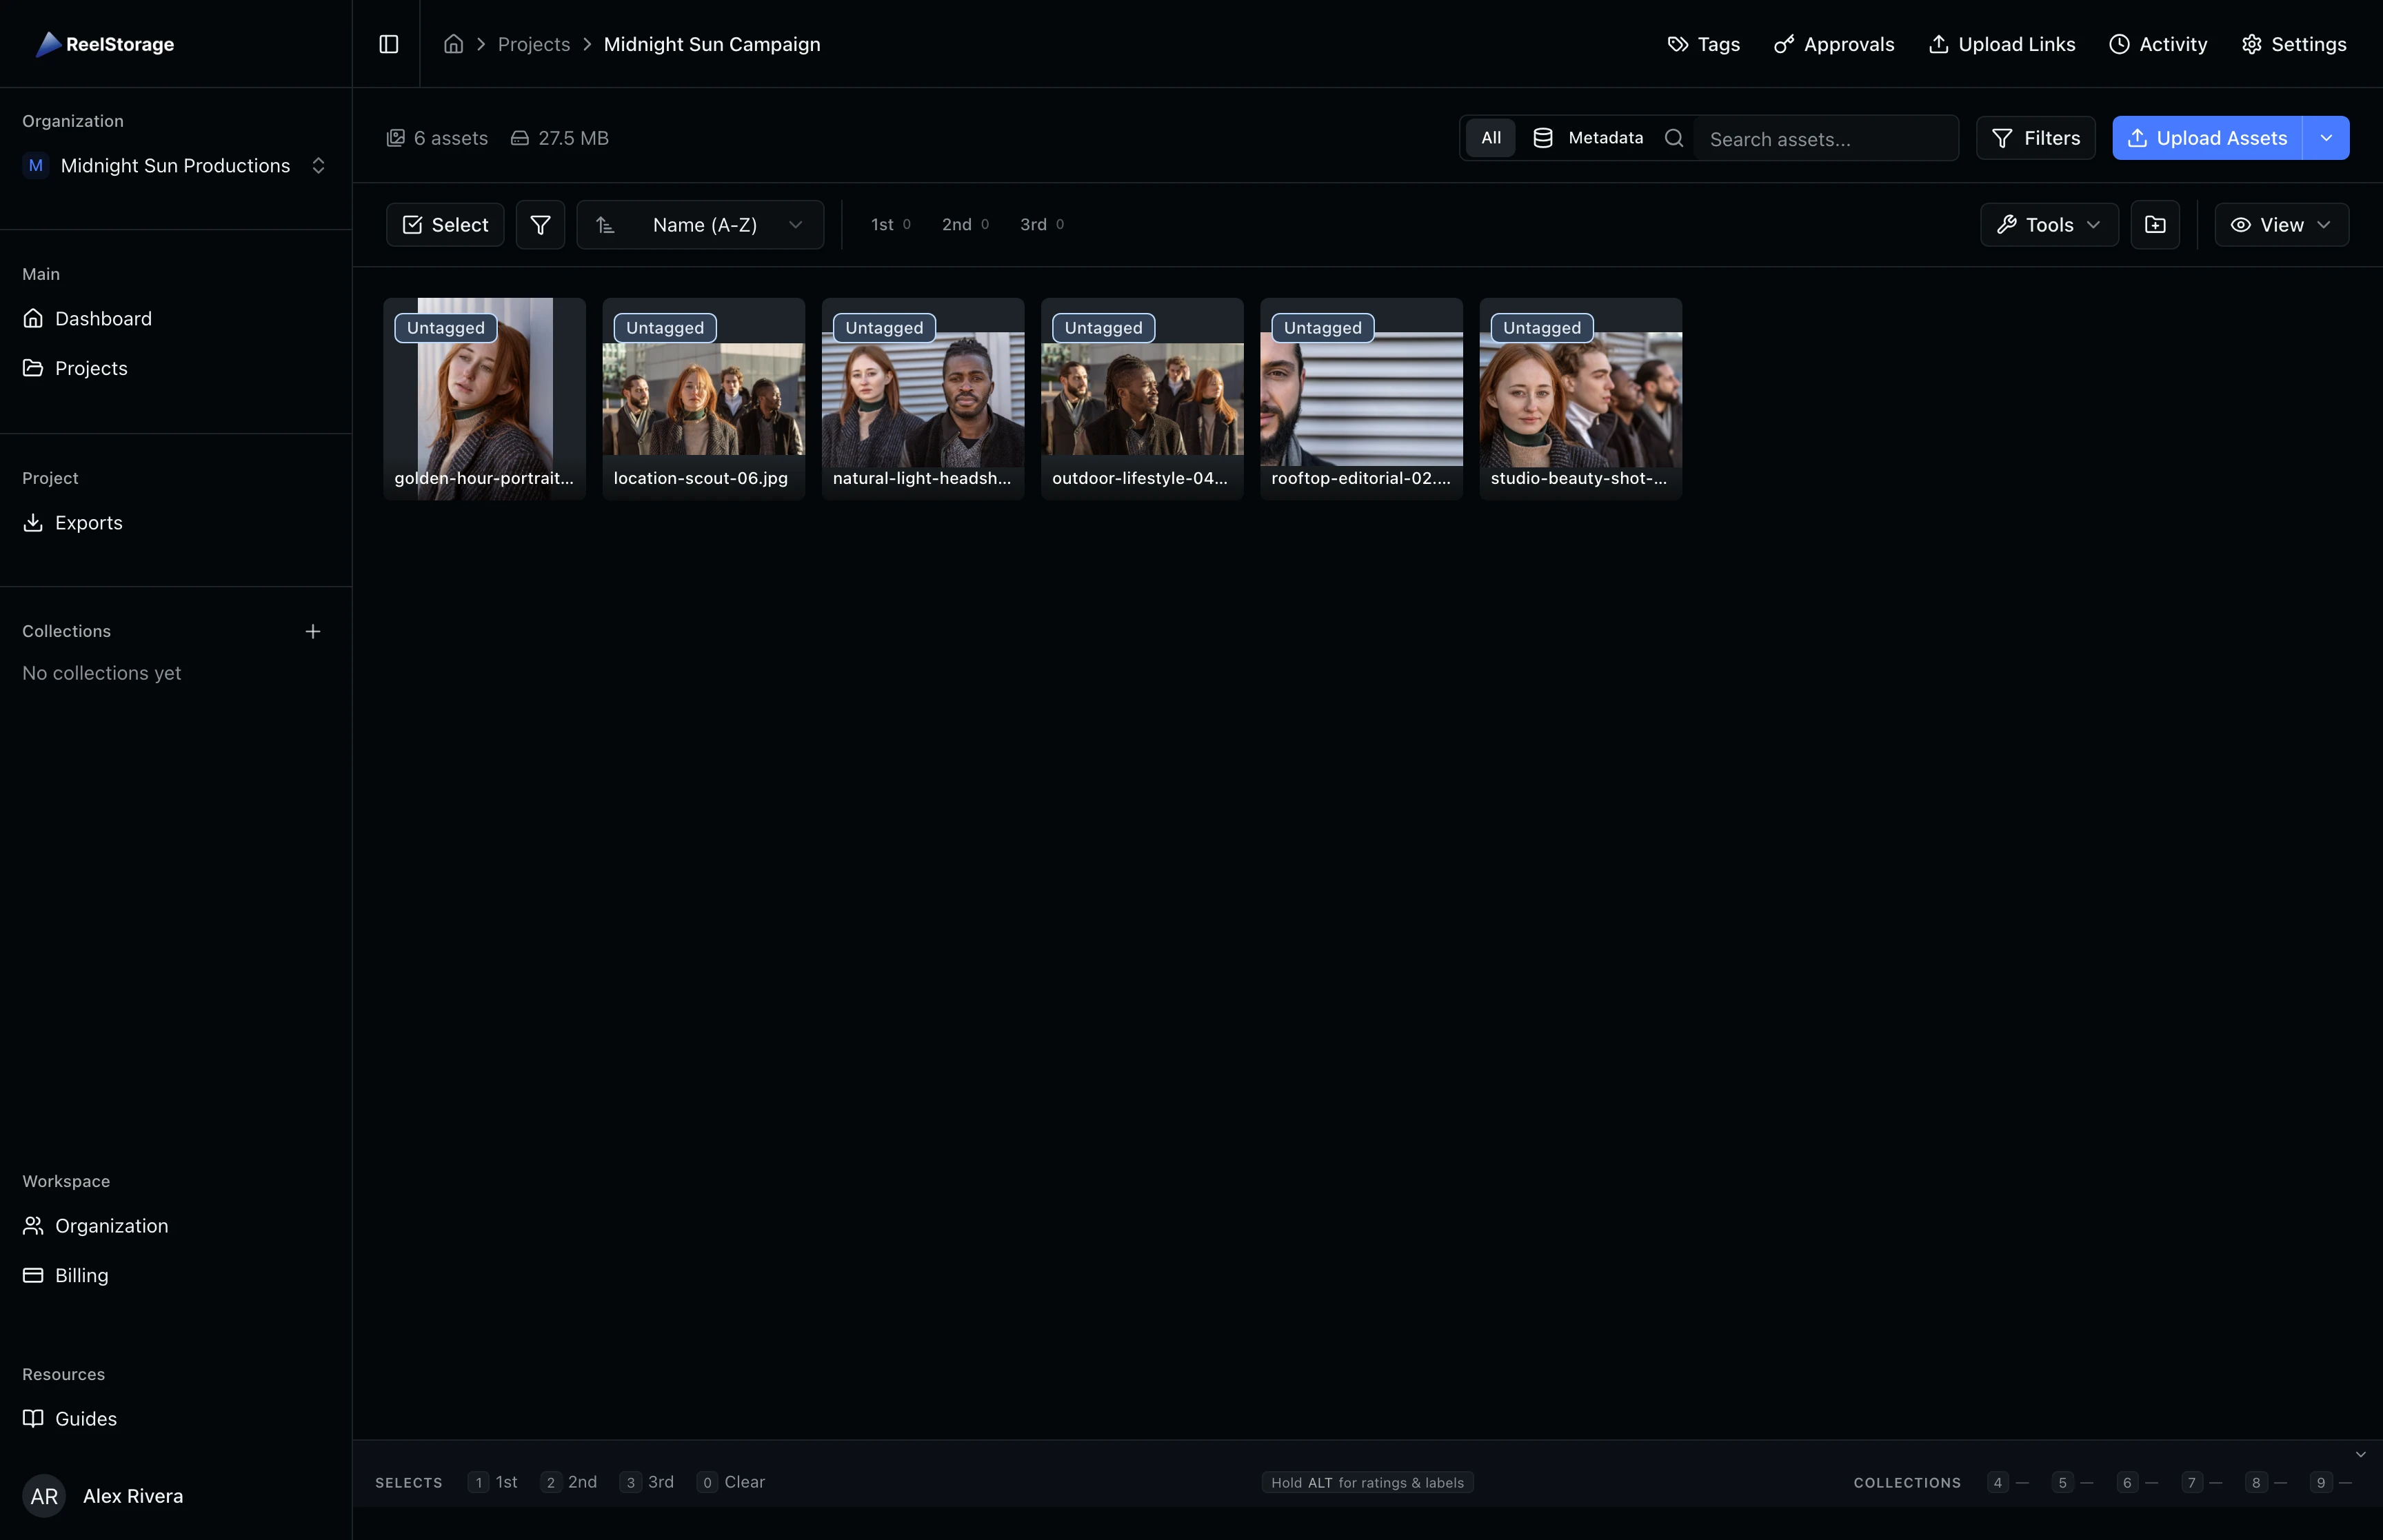
After creation, the project detail page loads. This is where you upload and manage assets, create collections, and collaborate with your team. The top navigation bar shows tabs for Tags, Approvals, Upload Links, Exports, Activity, and Settings.
Step 4: Edit Project Settings
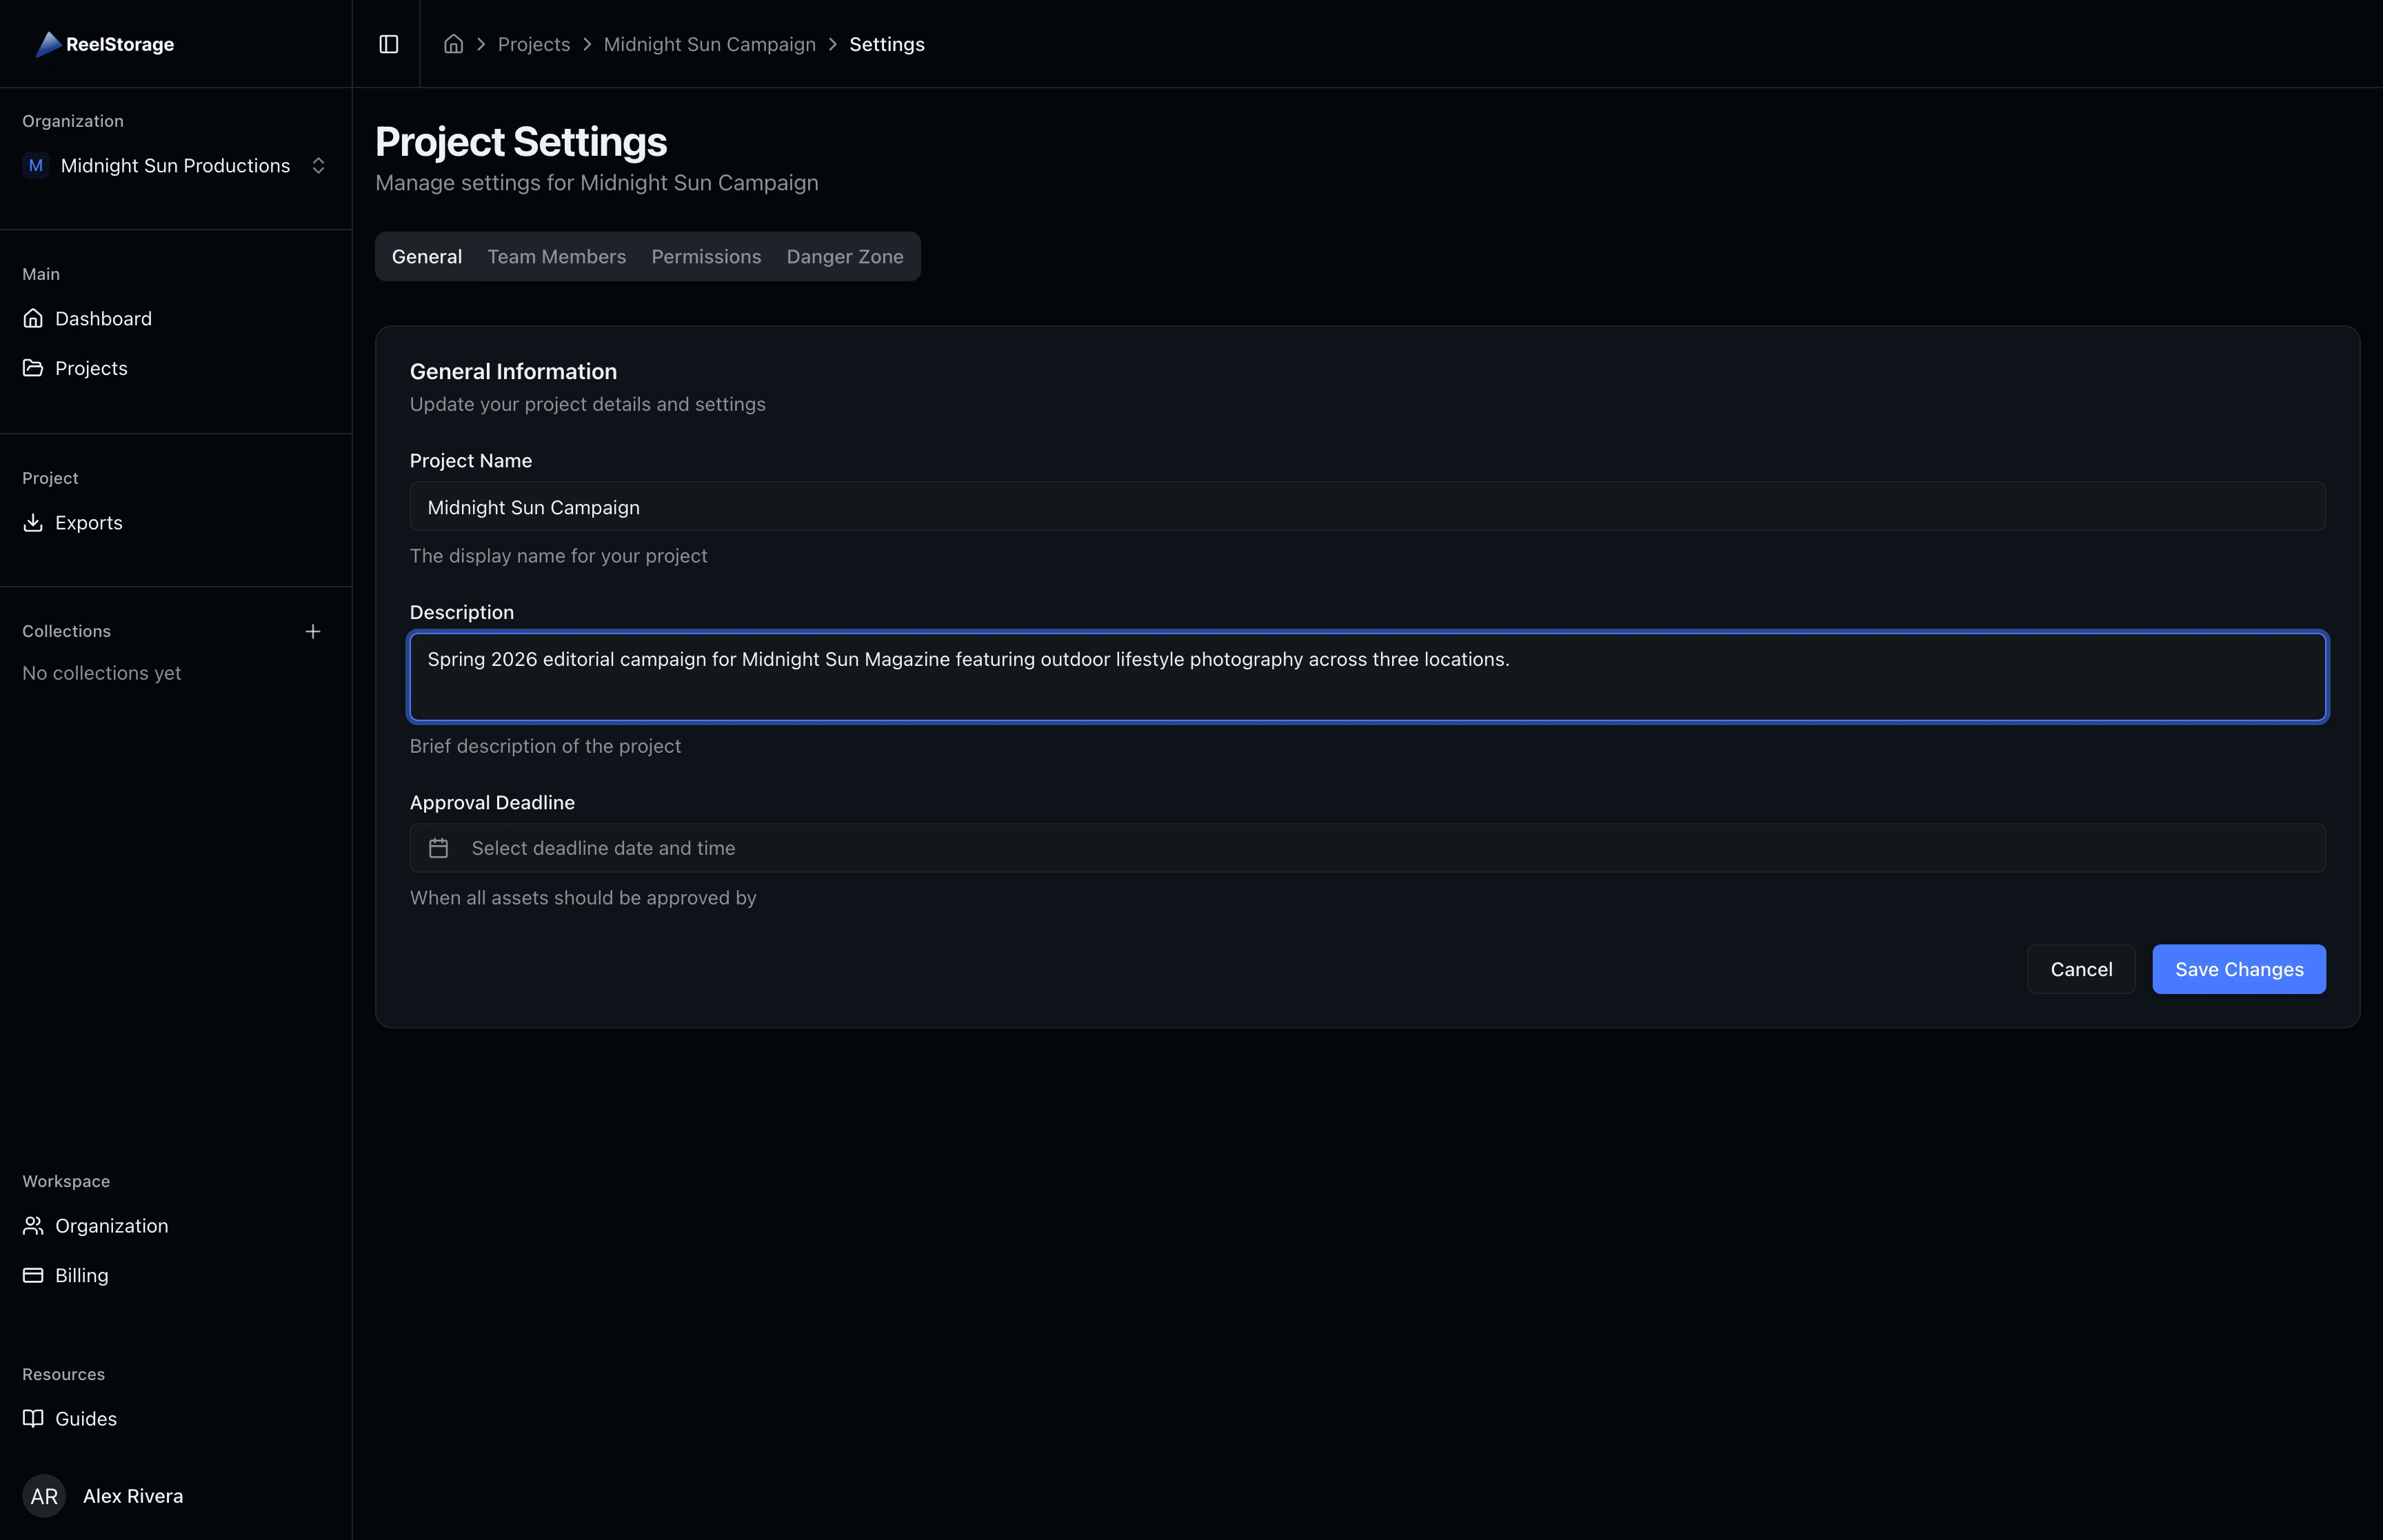
Click Settings in the project navigation to open the settings page. On the General tab, you can update the project name, description, and approval deadline. The description field supports context about locations, timelines, or shoot notes that help your team stay aligned. Click Save Changes when you are done.
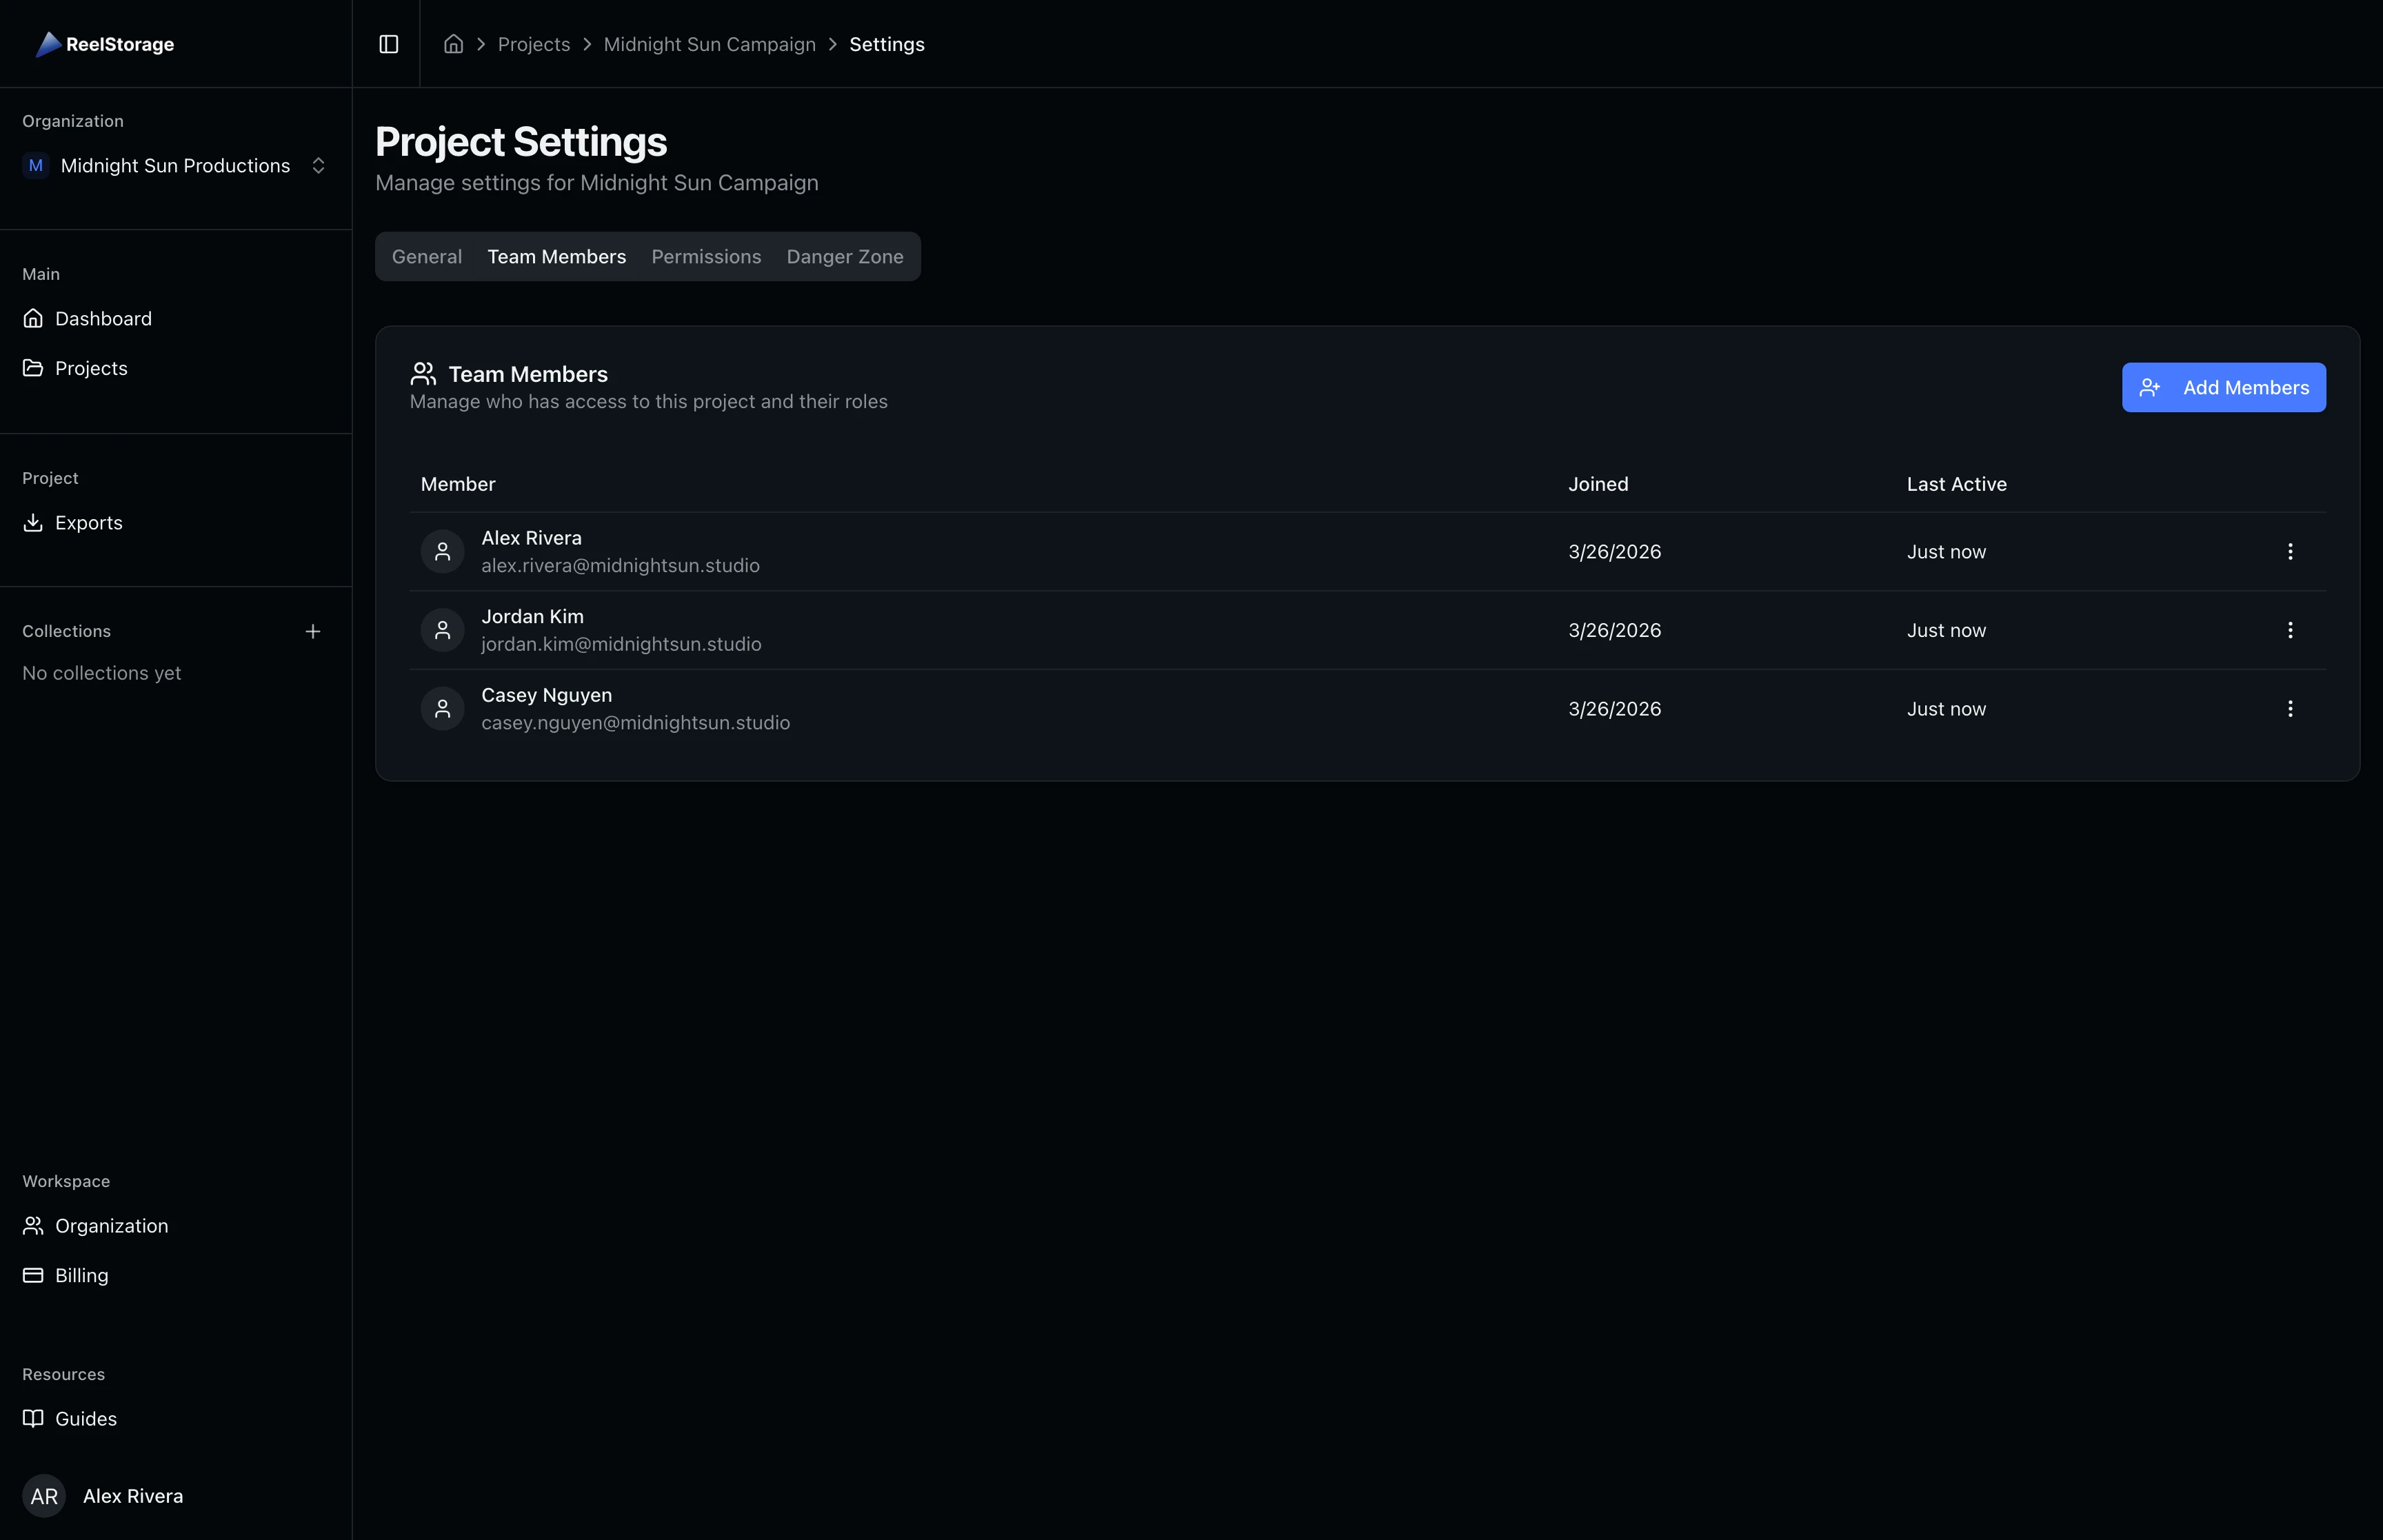
Step 5: Manage Team Members
Click the Team Members tab in project settings to see everyone with access. The table shows each member's name, email, join date, and last activity. Use the actions menu on any row to remove a member from the project.
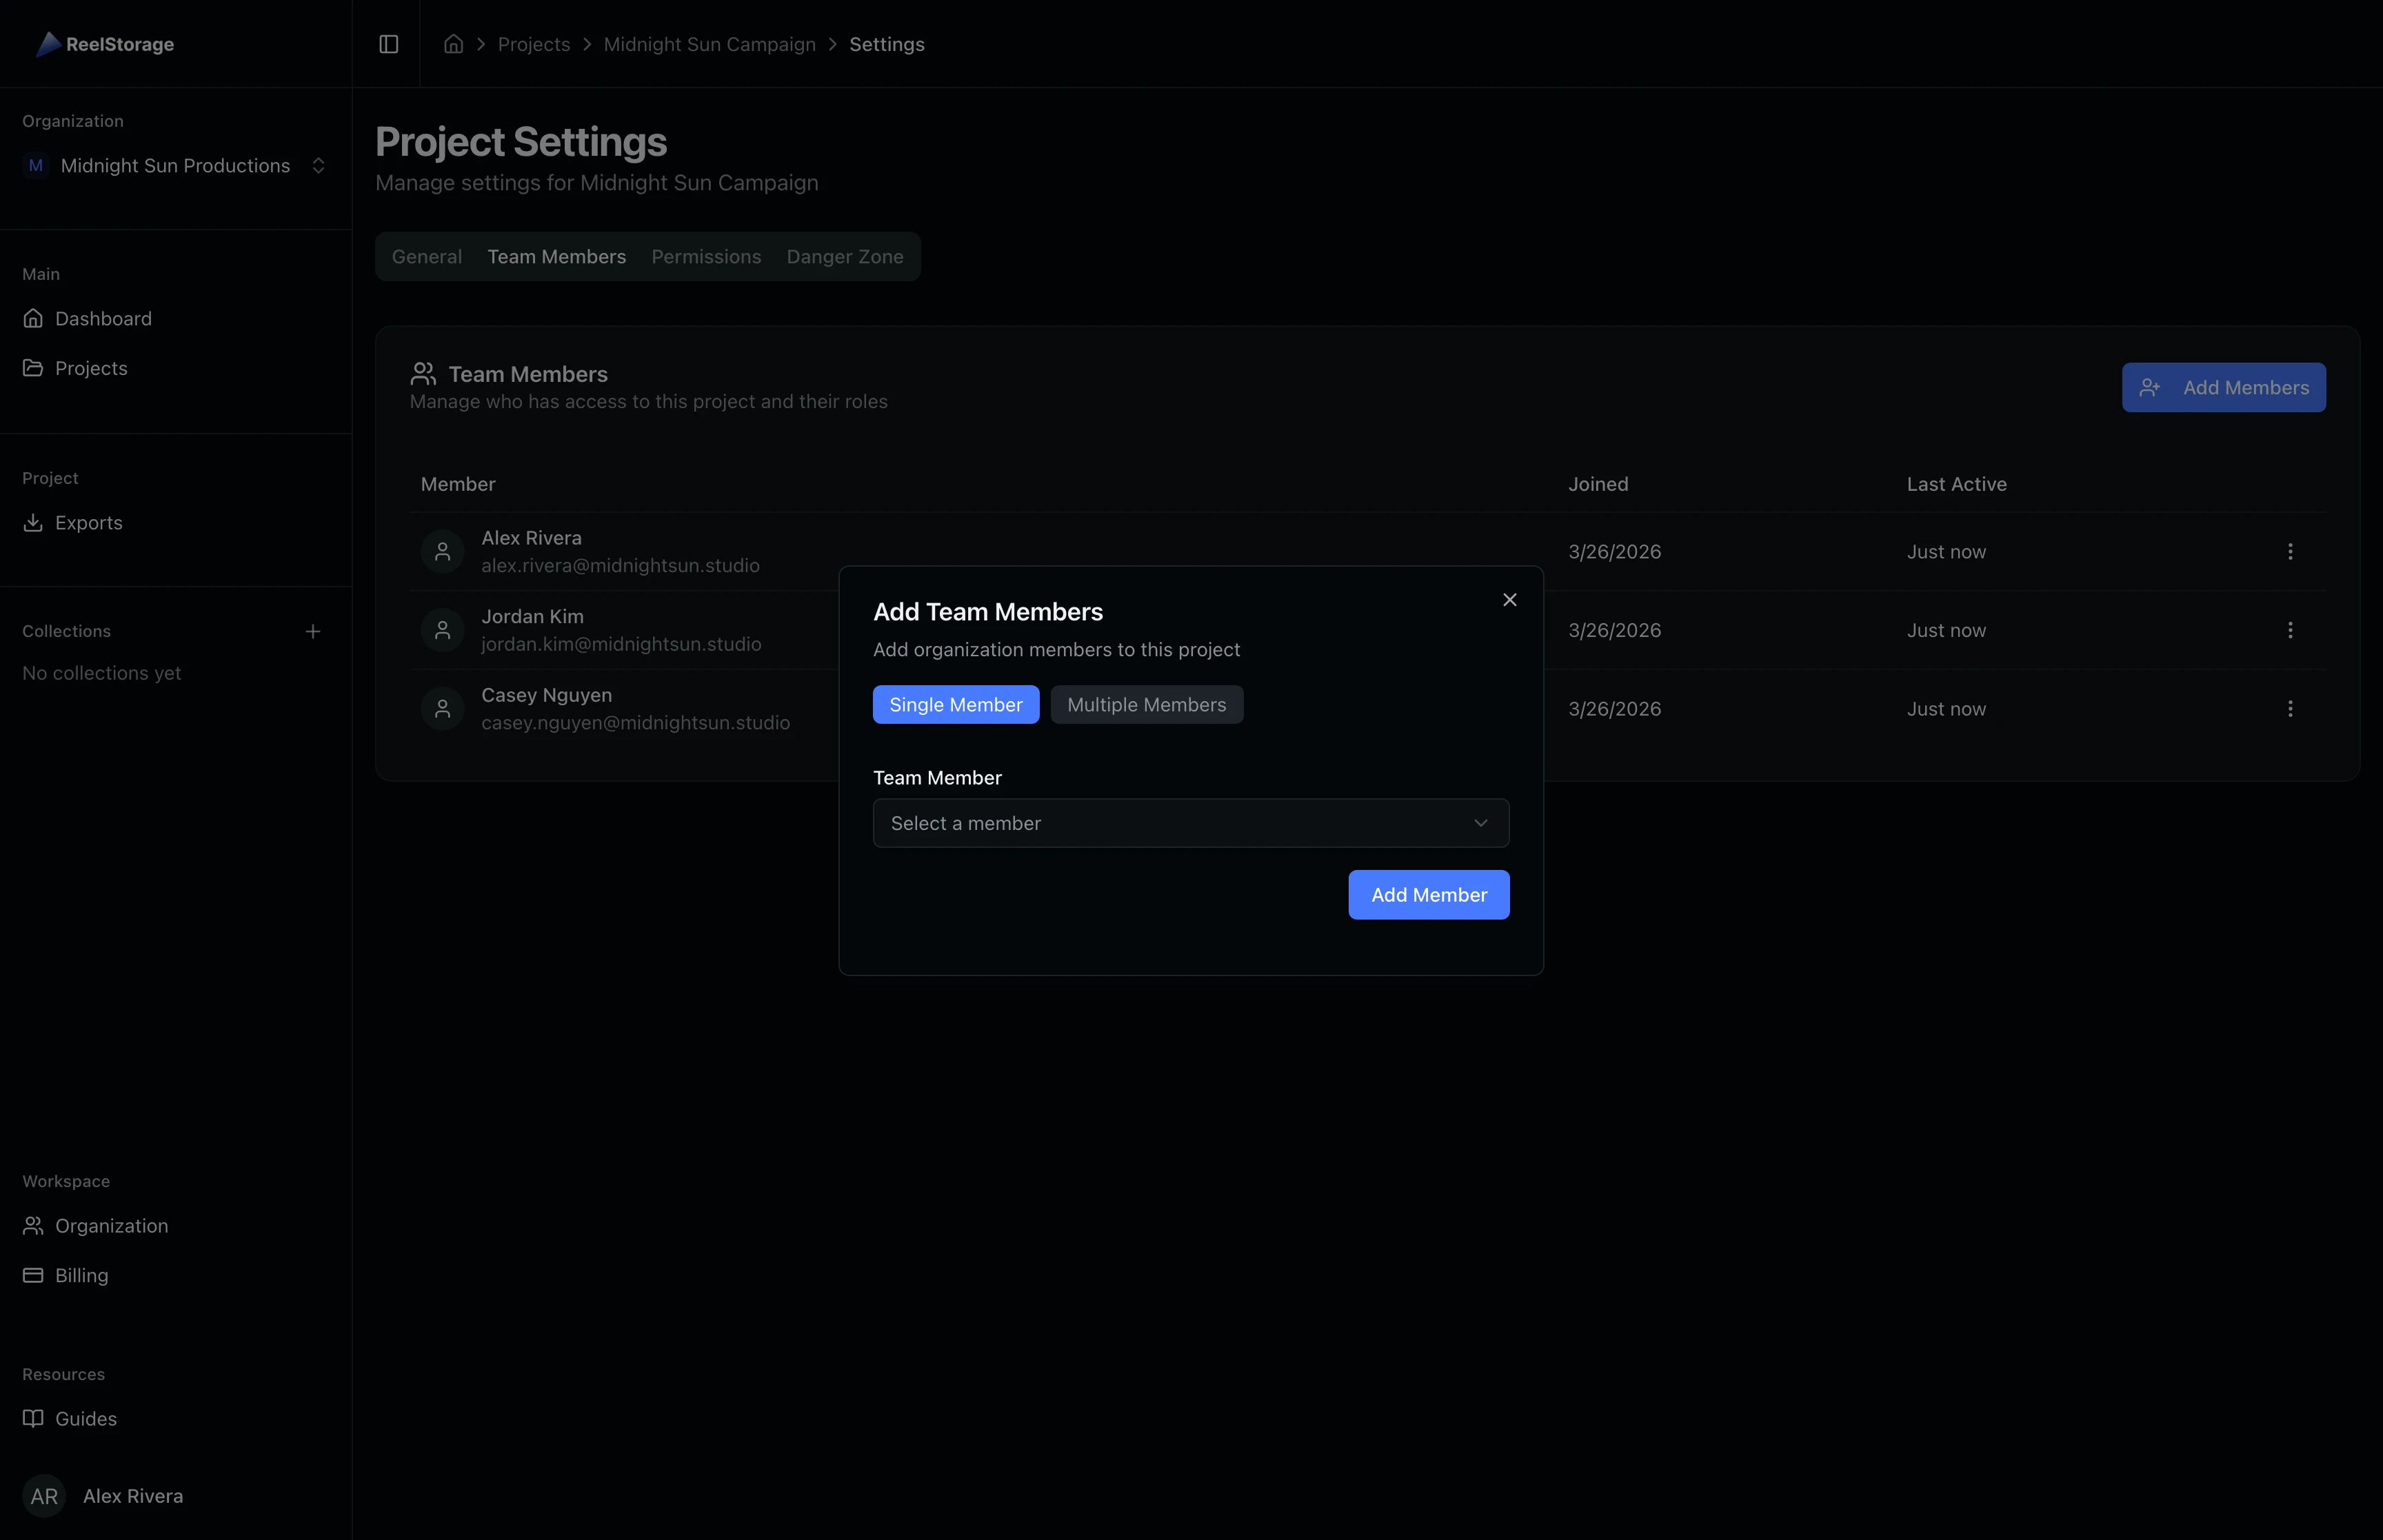
Step 6: Add New Team Members
Click Add Members to open the assignment dialog. You can add members one at a time or select multiple organization members at once. Each member gets a permission template that controls what they can do in the project:
- Manager: Full project management capabilities, including settings, permissions, and member management.
- Contributor: Can upload assets, edit metadata, manage folders, and create collections.
- Viewer: Read-only access to view assets and create personal collections.
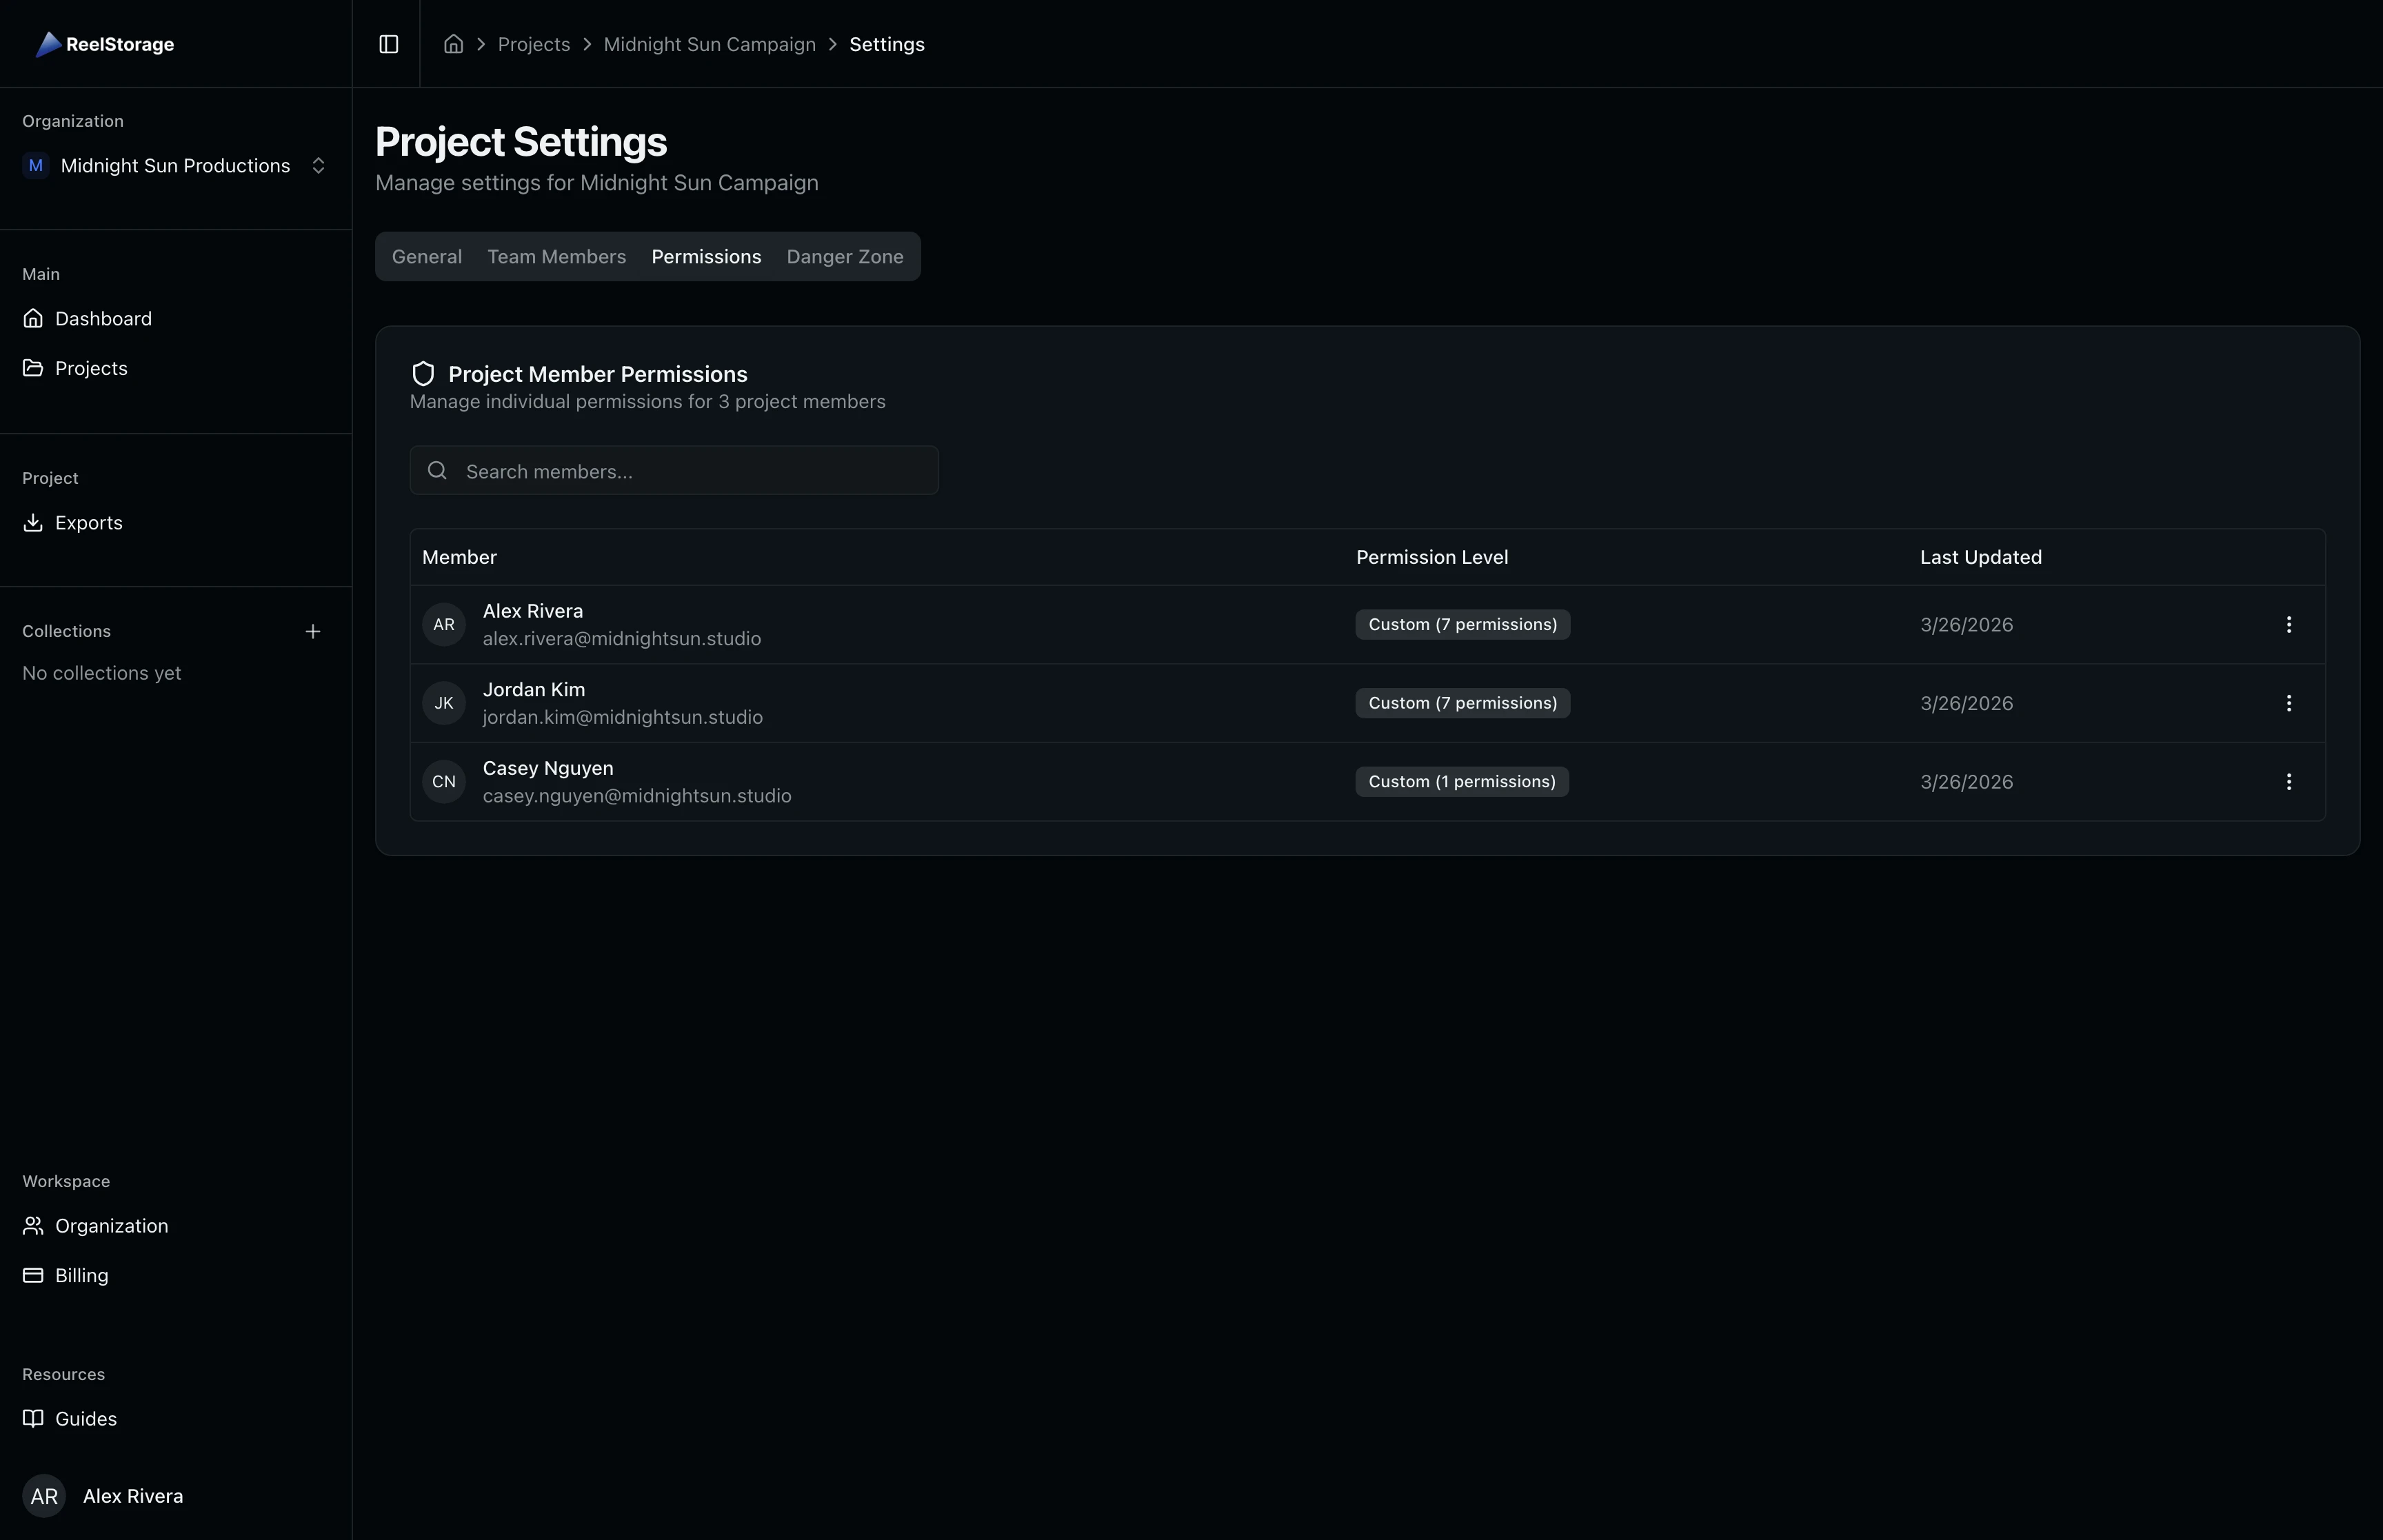
Step 7: Configure Permissions
Click the Permissions tab to fine-tune what each team member can access. The table shows every member's current permission level. Click the actions menu (three dots) on any member row and select Edit Permissions to open the permission editor.
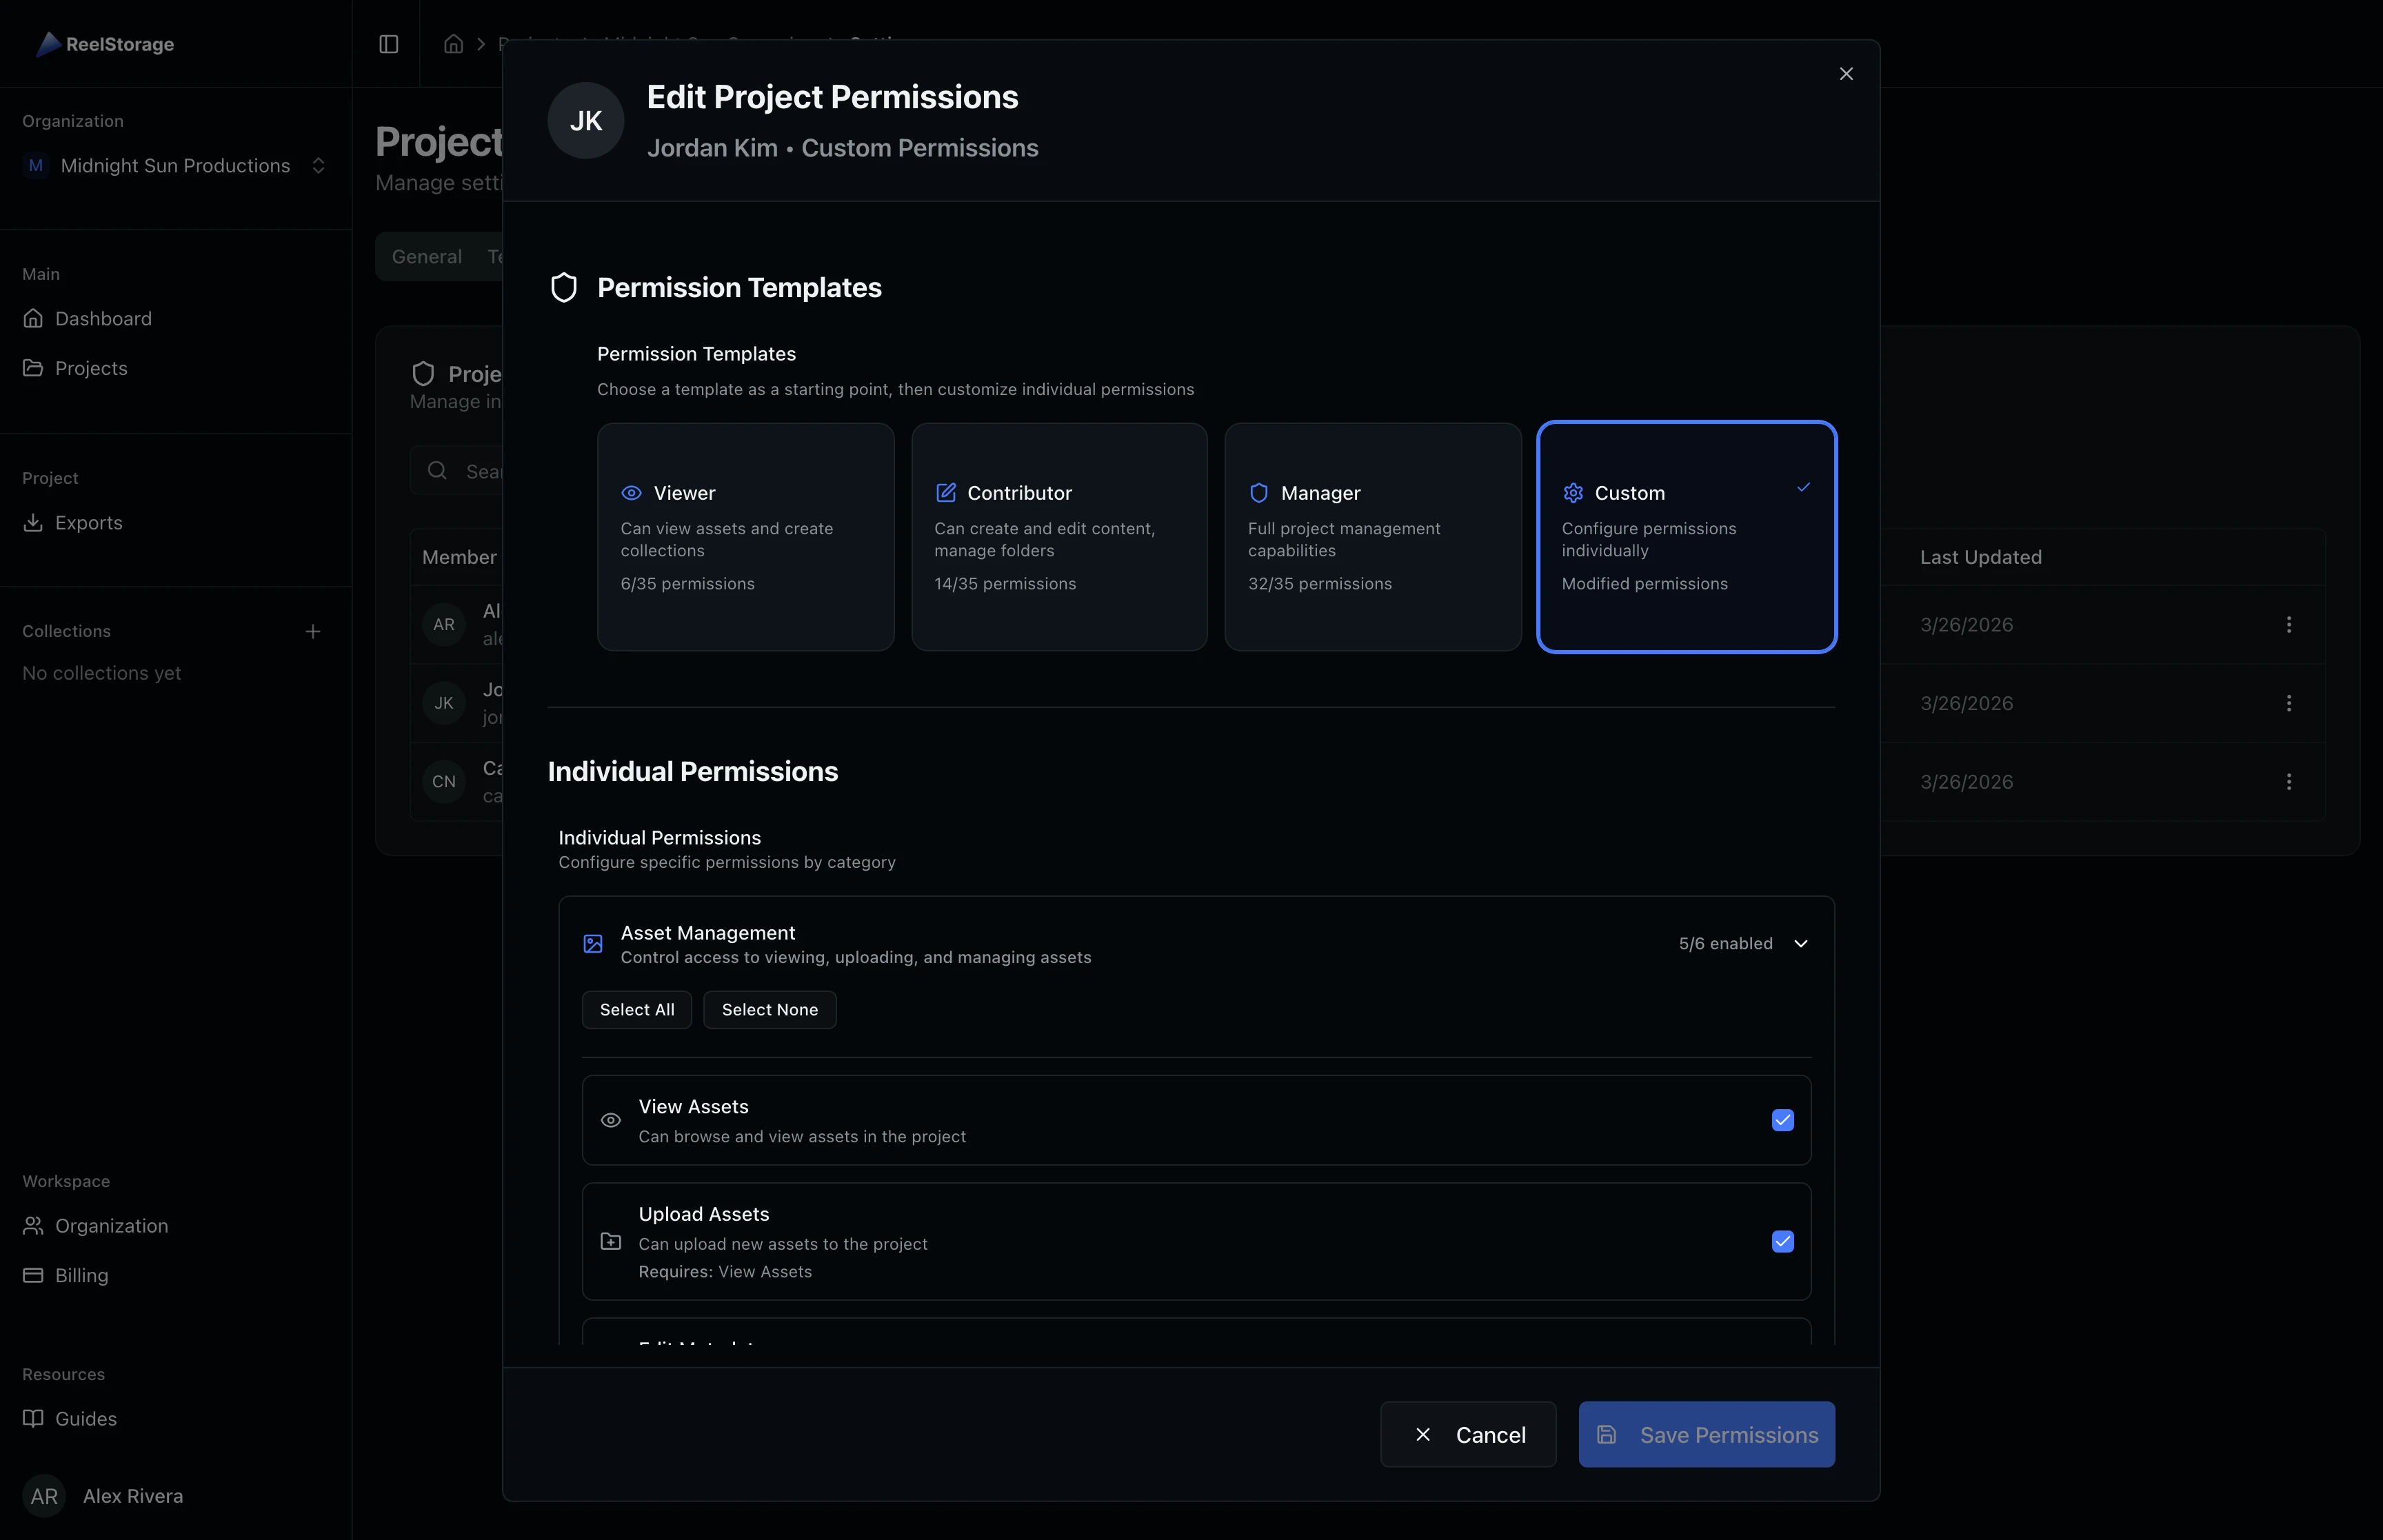
The permission editor dialog shows the member's current access and lets you choose a template or toggle individual permissions. Permissions are organized into categories: Asset Management, Folder Management, Tagging, Collections, Approvals, and Distribution. Select a template as a starting point, then customize individual toggles to match your workflow.
Permission templates are a starting point. You can customize individual permissions after applying a template to match your team's workflow.
Step 8: Archive a Project
When a project is complete, archive it to make it read-only. Go to the Danger Zone tab in project settings and click Archive Project. Here is what happens when you archive:
- The project becomes read-only.
- No new assets can be uploaded.
- Team members can still view and download existing assets.
- Access codes remain active but read-only.
You can unarchive a project at any time to restore full editing.
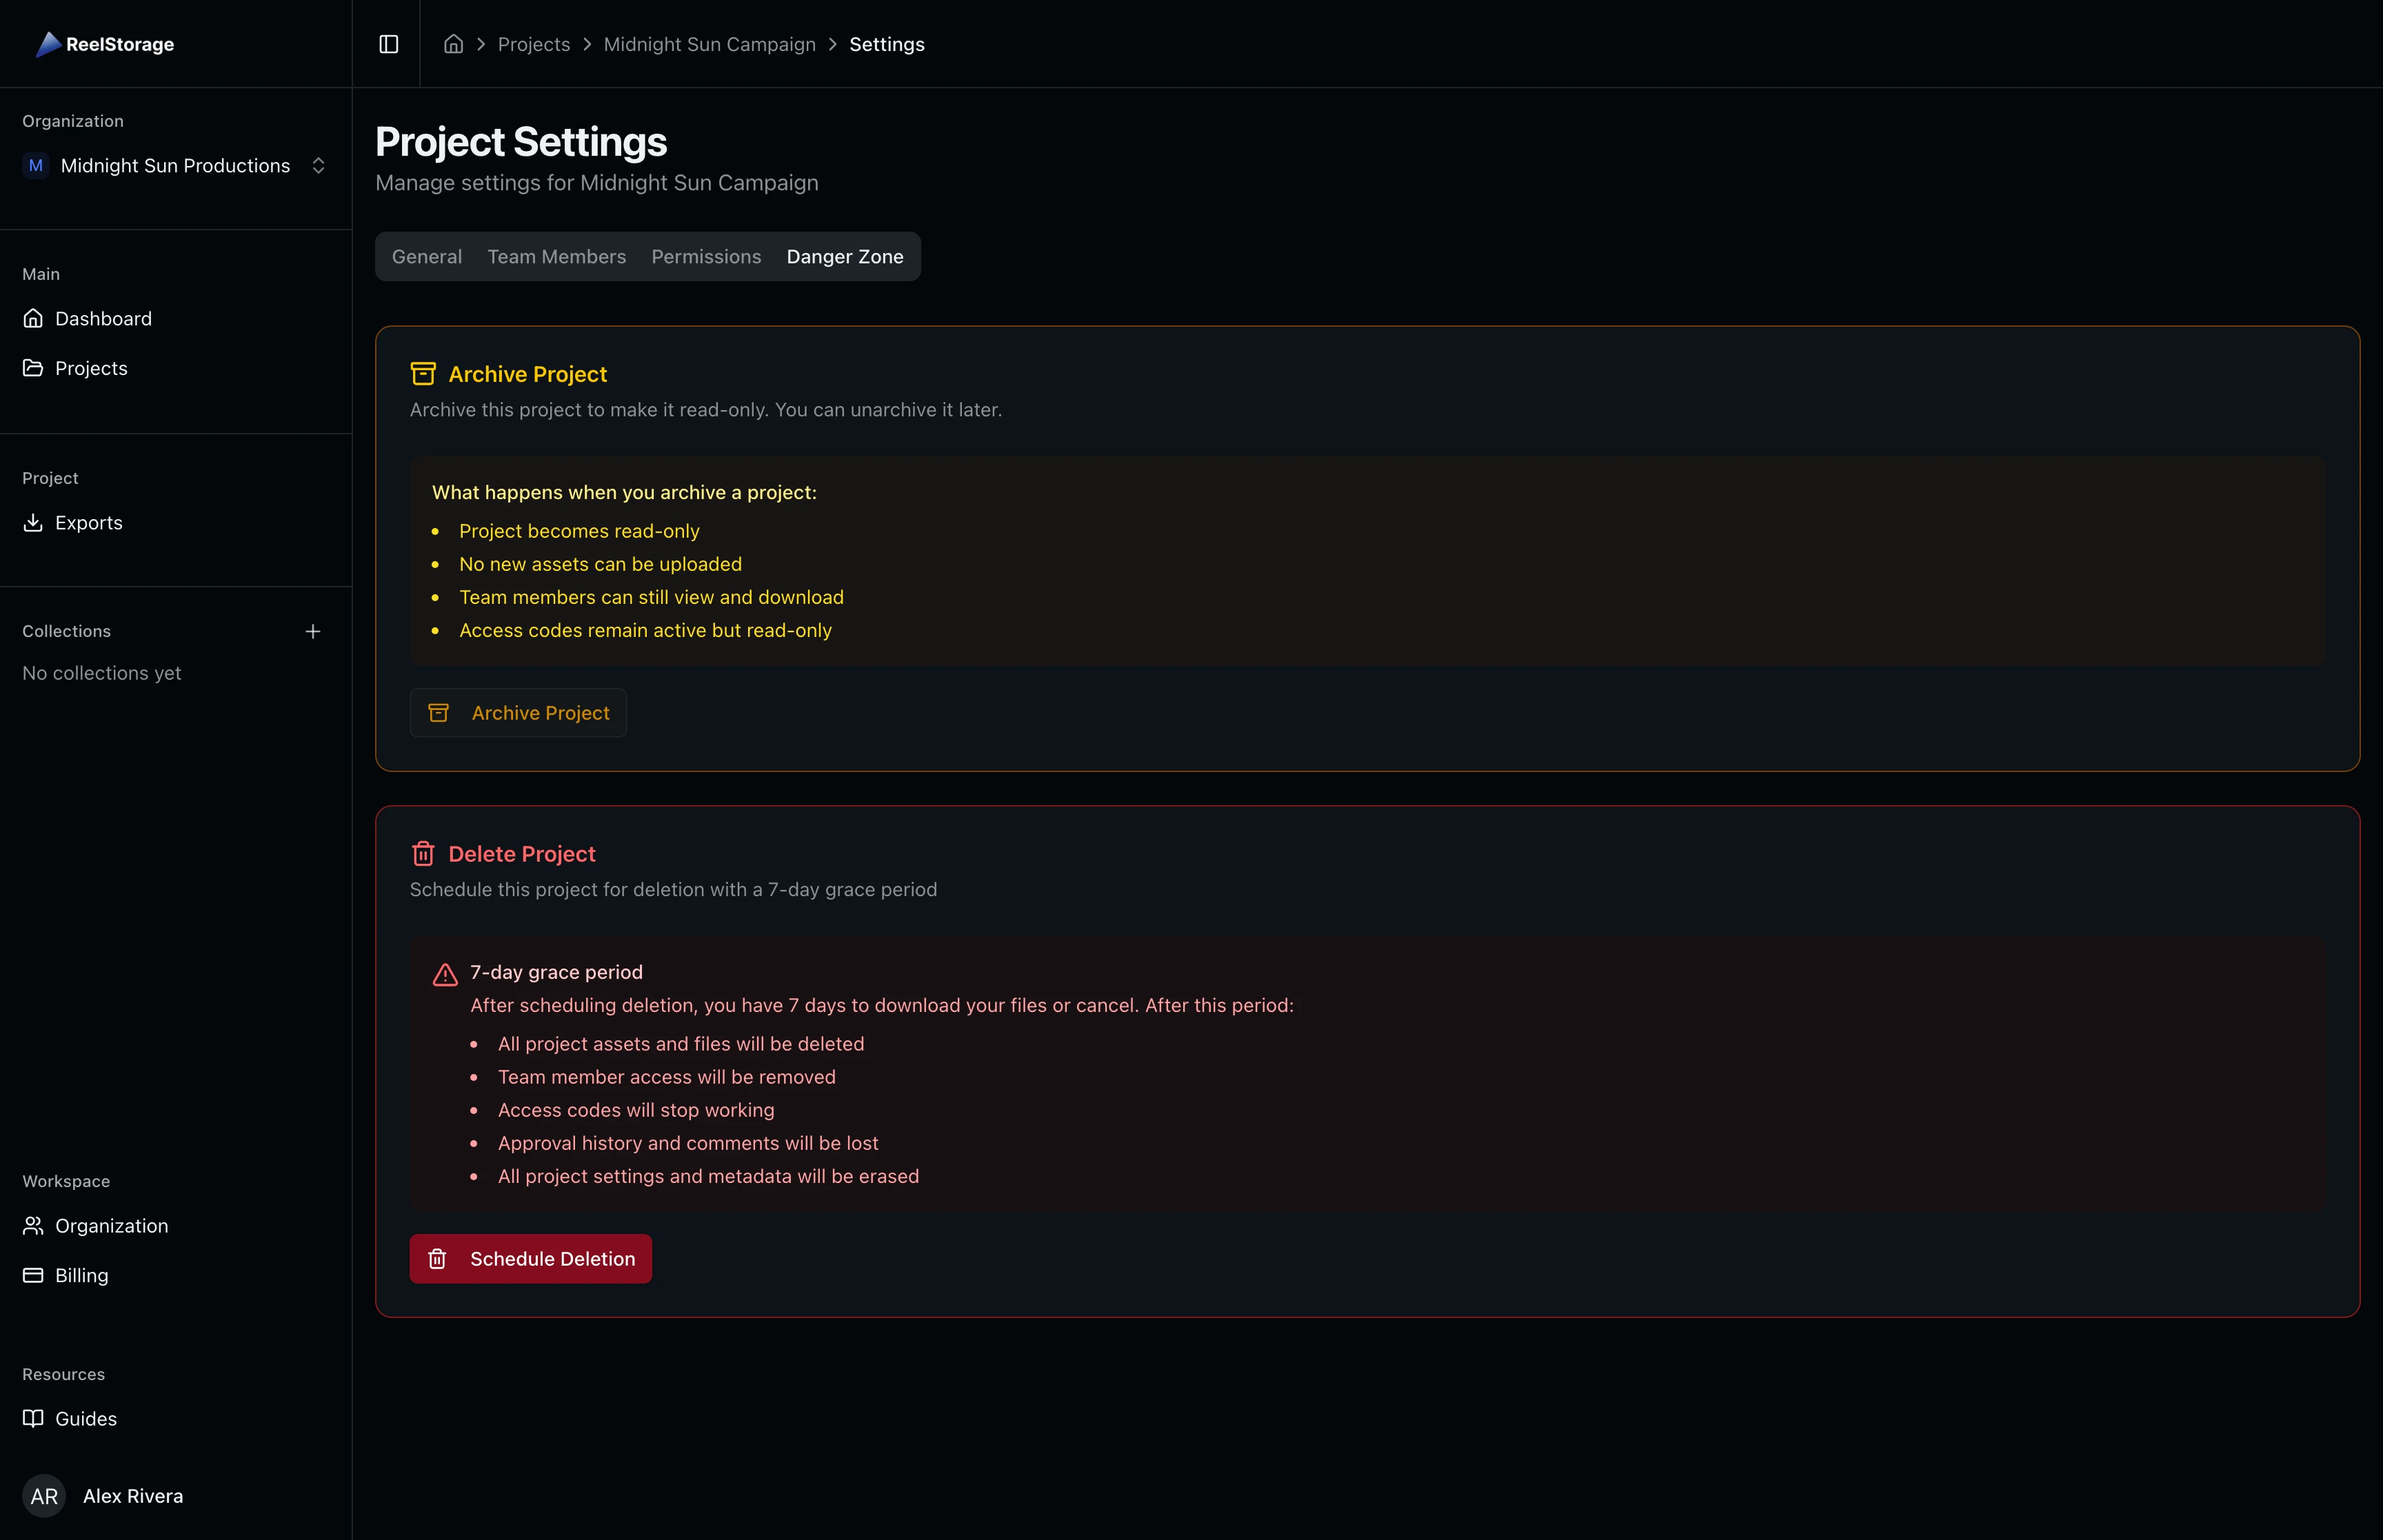
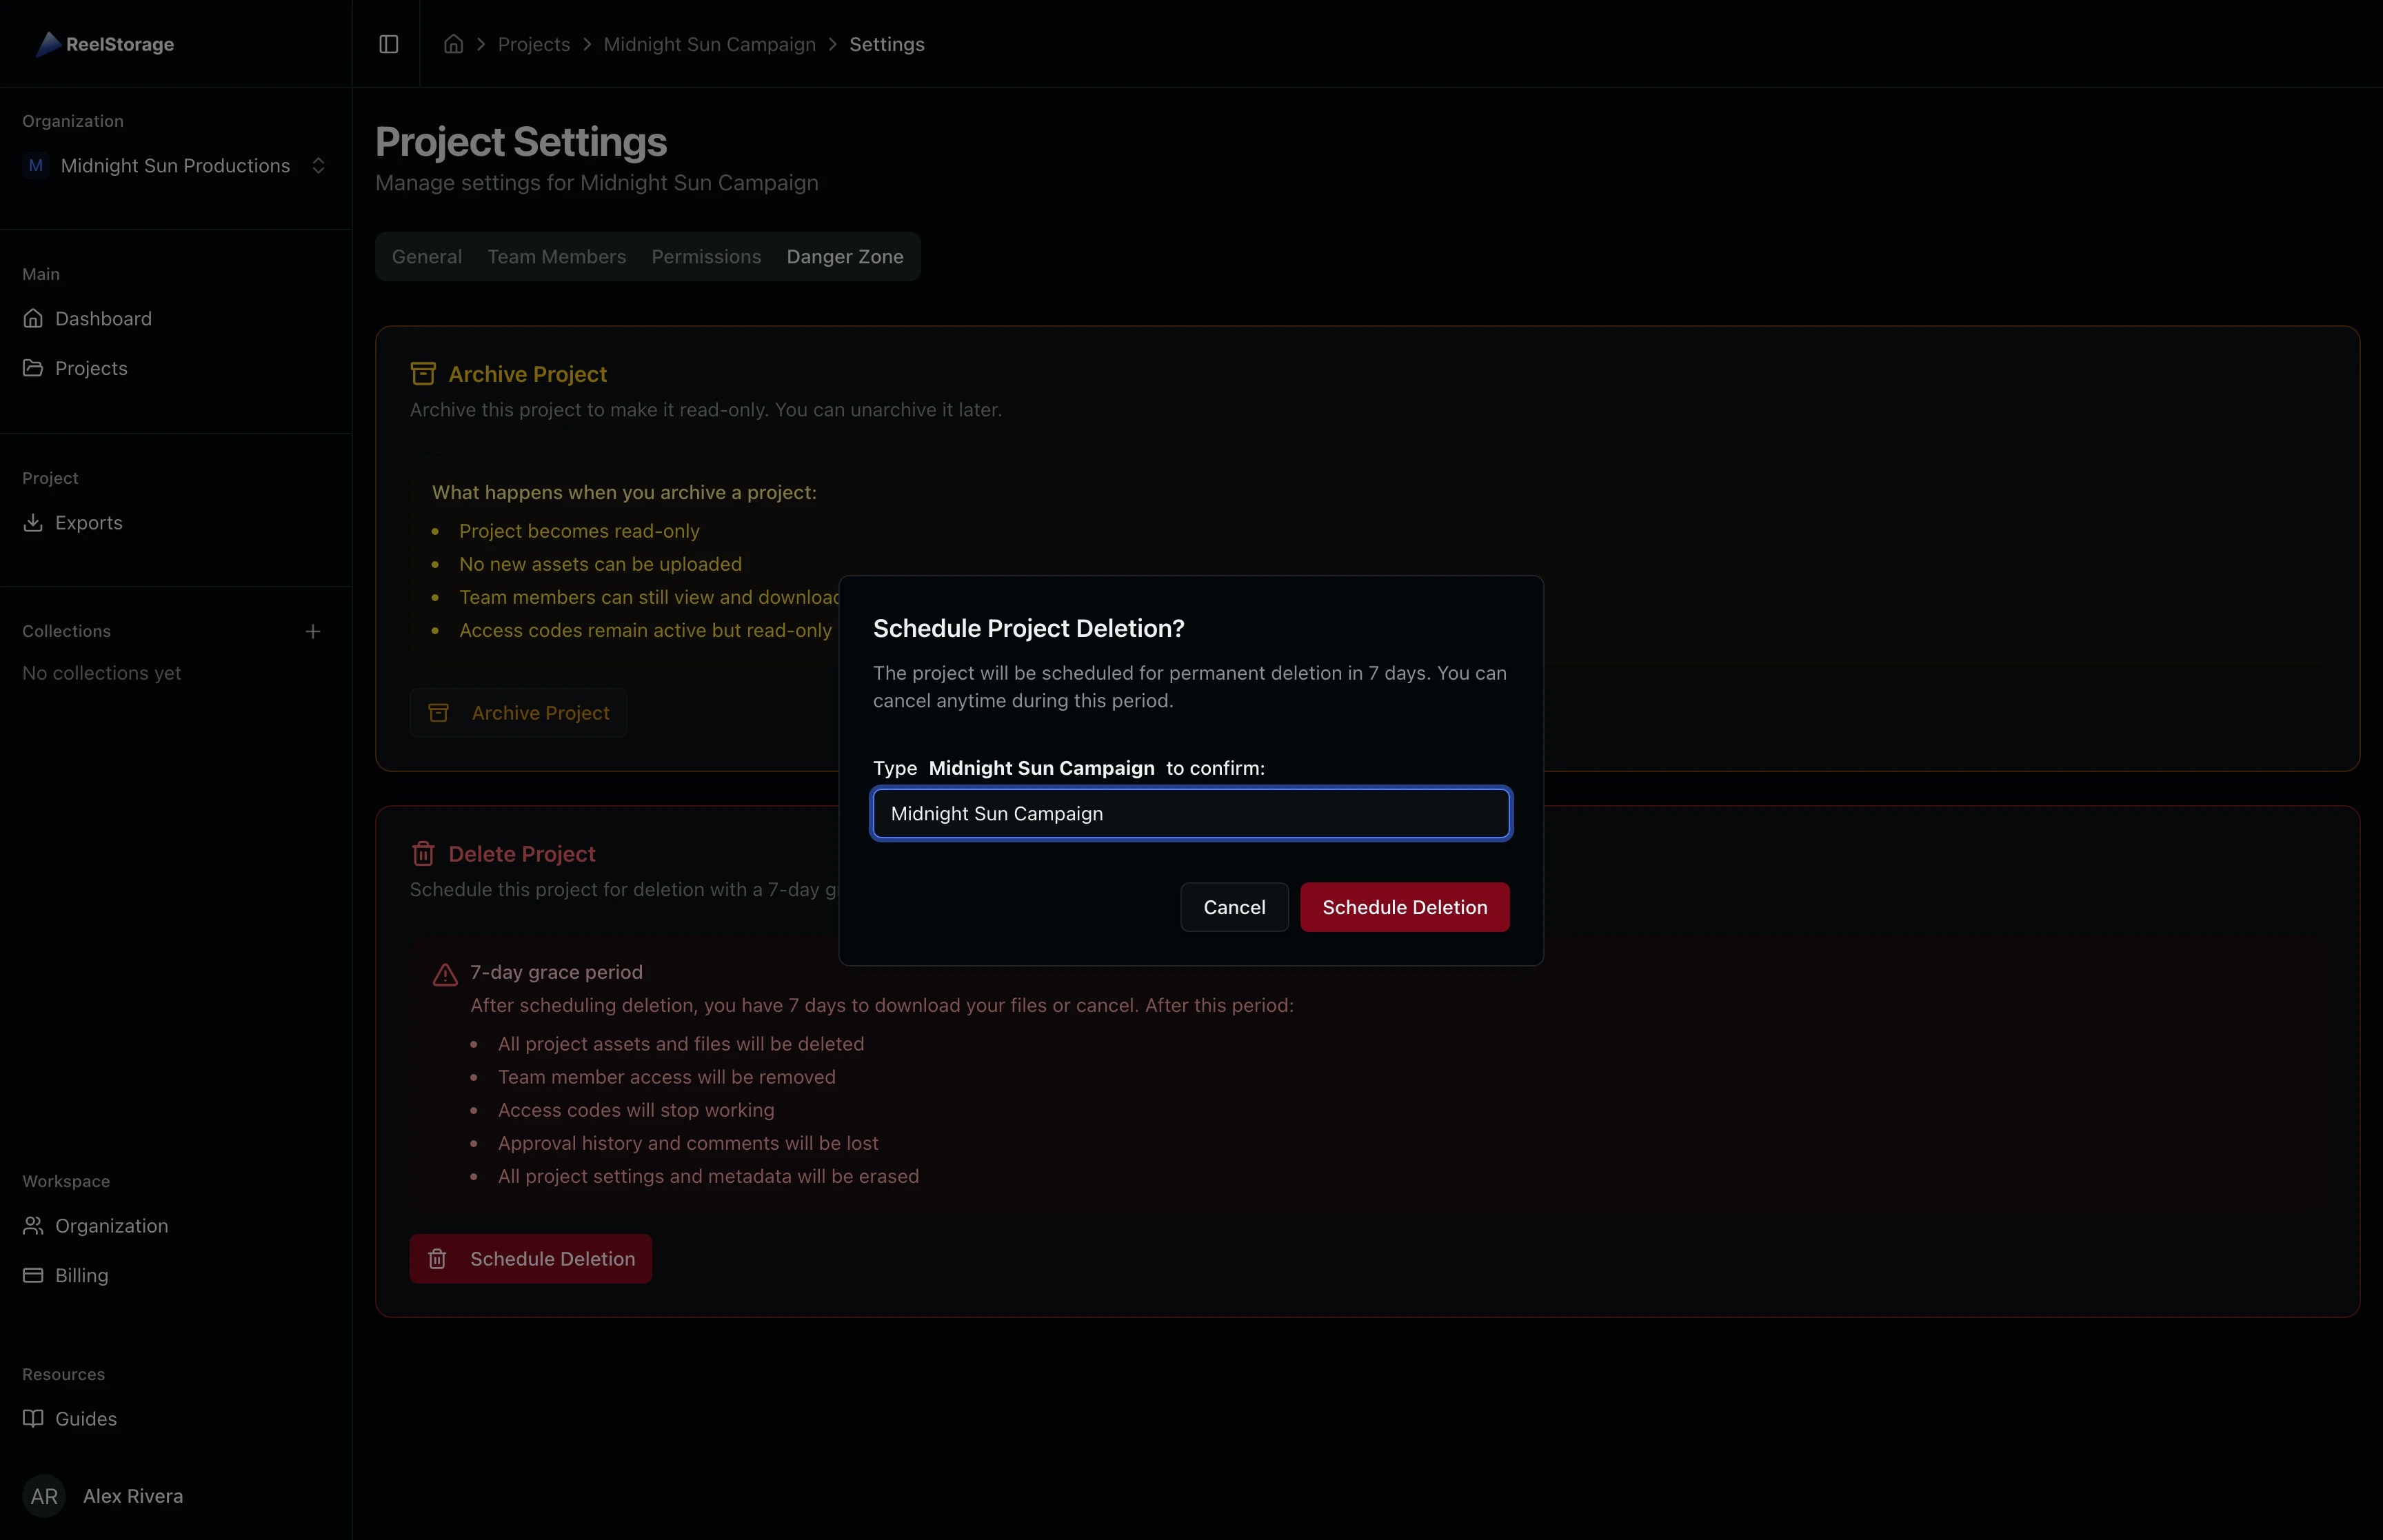
Step 9: Schedule Project Deletion
If you need to permanently remove a project, click Schedule Deletion in the Danger Zone. Type the project name to confirm. The project enters a 7-day grace period during which you can still download files or cancel the deletion. After the grace period, all project data is permanently removed.
Deletion is permanent after the 7-day grace period. Download any files you need before the period expires.
Tips
- Use descriptive names: Include the campaign, client, or shoot date so projects stay identifiable as your list grows.
- Set approval deadlines early: Deadlines appear on project cards and the dashboard, keeping your whole team aware of timelines.
- Start with templates, then customize: Assign a permission template when adding members, then adjust individual permissions as needed for your workflow.
- Archive before deleting: Archiving is reversible and preserves all data. Only schedule deletion when you are certain the project is no longer needed.
Troubleshooting
I don't see the Create Project button
You need the "Create Projects" permission in your organization. Ask your organization admin to grant this permission to your role.
Can I restore a deleted project?
During the 7-day grace period, go to the Pending Deletion filter on the Projects page, open the project settings, and click Cancel Deletion. After the grace period, deletion is permanent and cannot be undone.
How do I unarchive a project?
Open the archived project's settings, go to the Danger Zone tab, and click Unarchive Project. The project returns to active status with full editing restored.
A team member can't see certain features
Check their permissions on the Permissions tab. Some features like Approvals, Upload Links, and Settings require specific permissions to be enabled. Apply the Manager template for full access, or toggle individual permissions.
What's Next
- Uploading Assets: Add photos and files to your new project
- Using the Dashboard: See project stats and activity at a glance
Related Guides
Uploading Assets
Learn how to upload photos and videos to your project using the upload window, monitor progress, and verify your files appear in the asset grid.
Using the Dashboard
Get an overview of your studio with the dashboard, including project stats, recent activity, approvals, collections insights, and quick actions.