Browsing and Selecting Assets
Prerequisites
Once your assets are uploaded, the asset grid is where you spend most of your time. This guide covers how to browse, search, sort, filter, and select assets so you can work efficiently with large collections.
What You'll Learn
- How to browse assets in the grid and customize your view
- How to search assets by name or metadata fields
- How to sort and filter assets to find what you need
- How to enter selection mode and select individual or multiple assets
- How to use shift-click for range selection and select all
- How to perform bulk actions on your selected assets
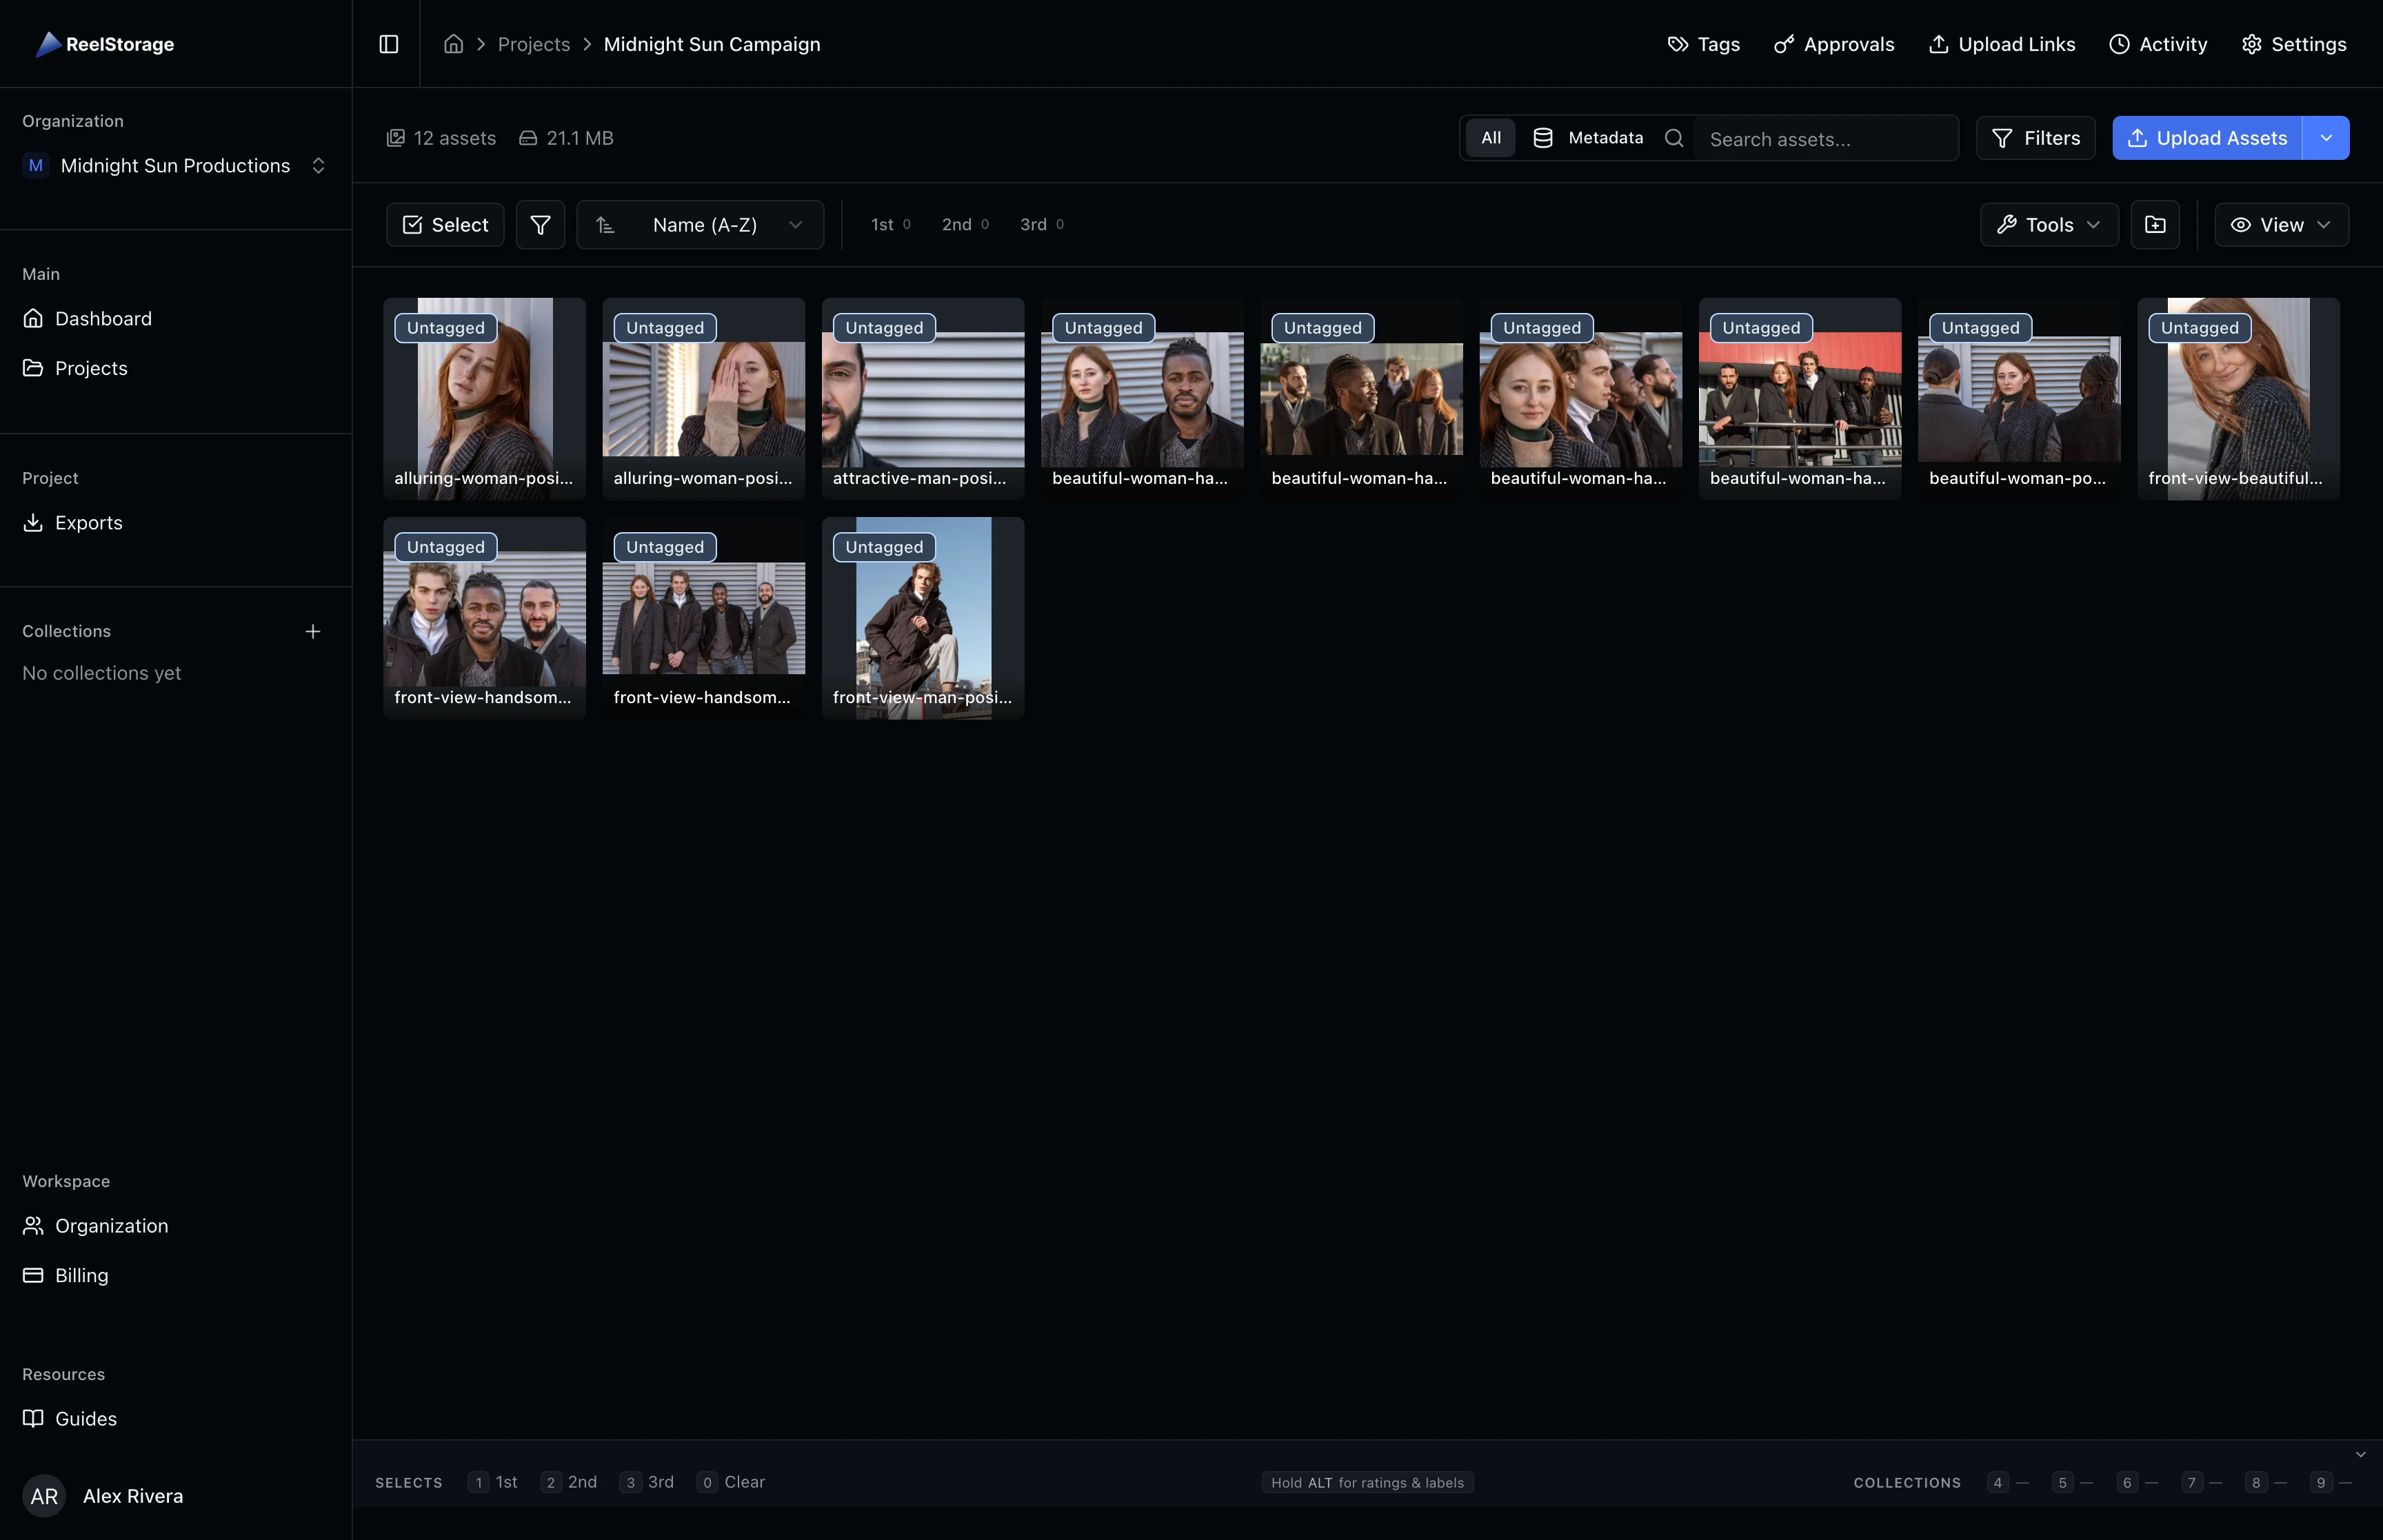
Step 1: Browse the Asset Grid
Open a project from the Projects page to see your assets displayed as thumbnail cards. The grid automatically adjusts to your screen width and shows preview images for each asset. Hover over any card to see the filename overlay. Star ratings and color labels appear as small indicators on each card when enabled.
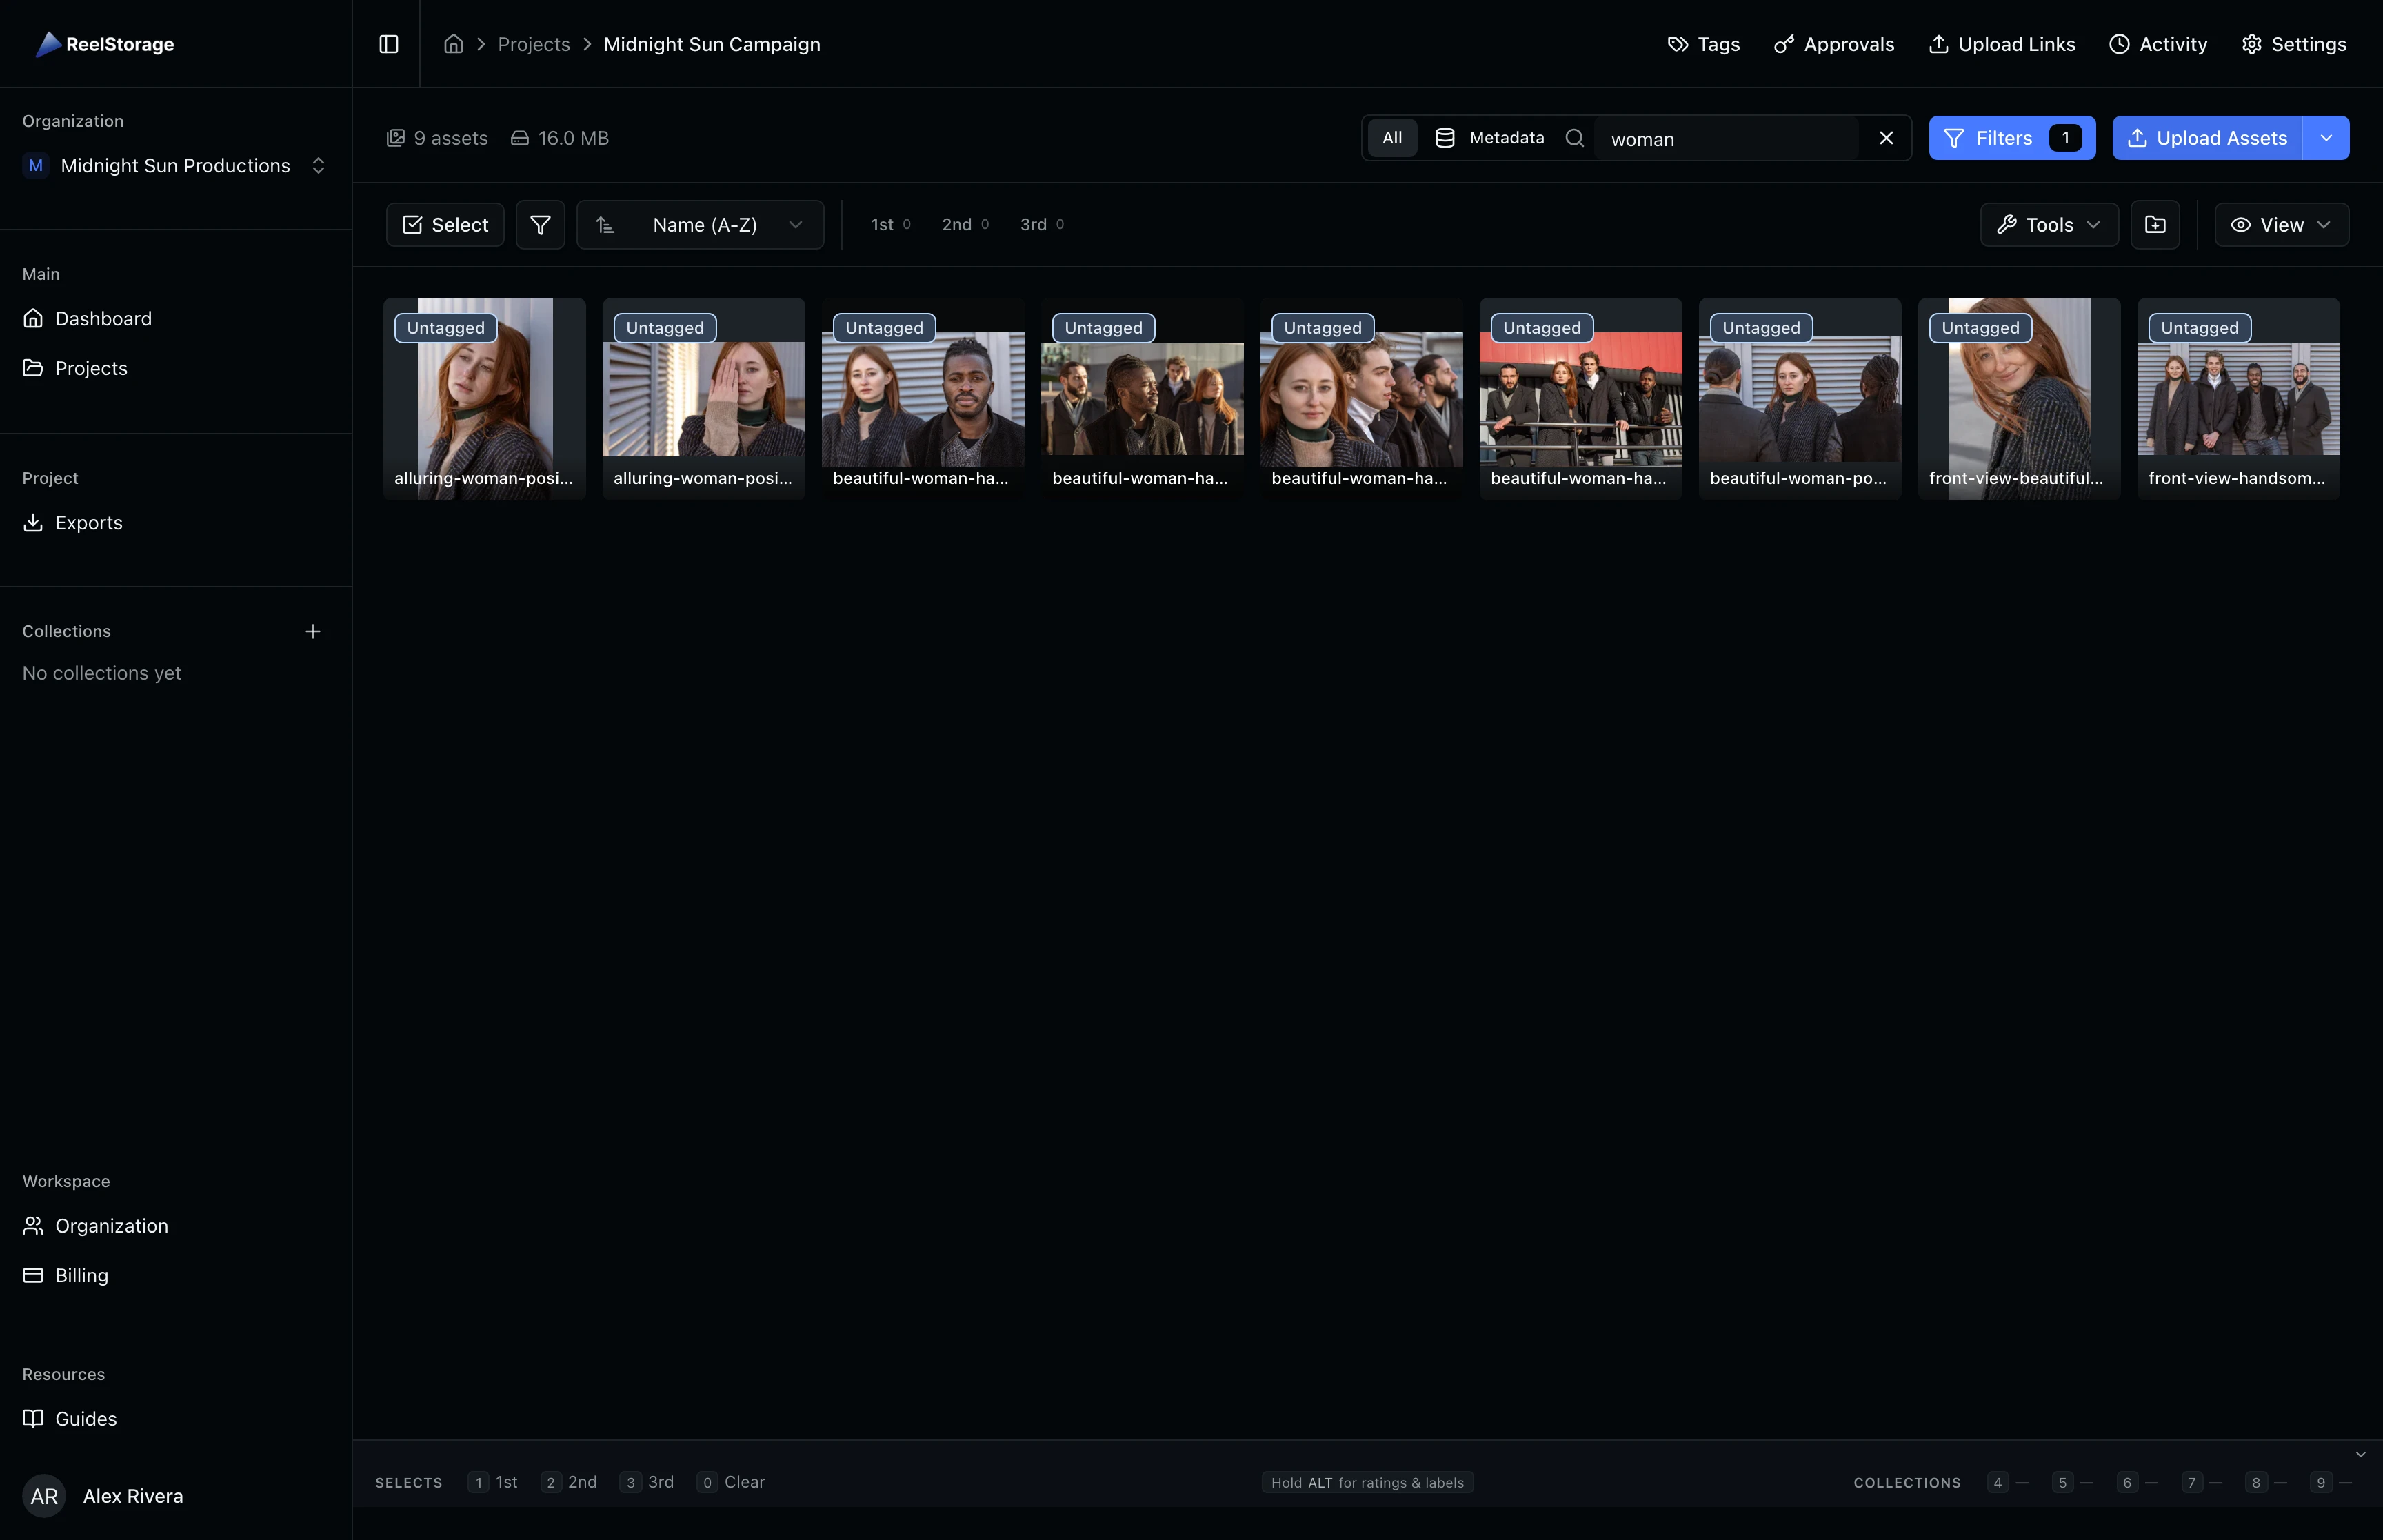
Step 2: Search for Assets
Use the search bar at the top of the project page to find specific assets. Type a filename or keyword and press Enter to search. Toggle between All (full-text search) and Metadata mode to narrow your search to IPTC metadata fields only. Click the X button to clear your search and return to the full grid.
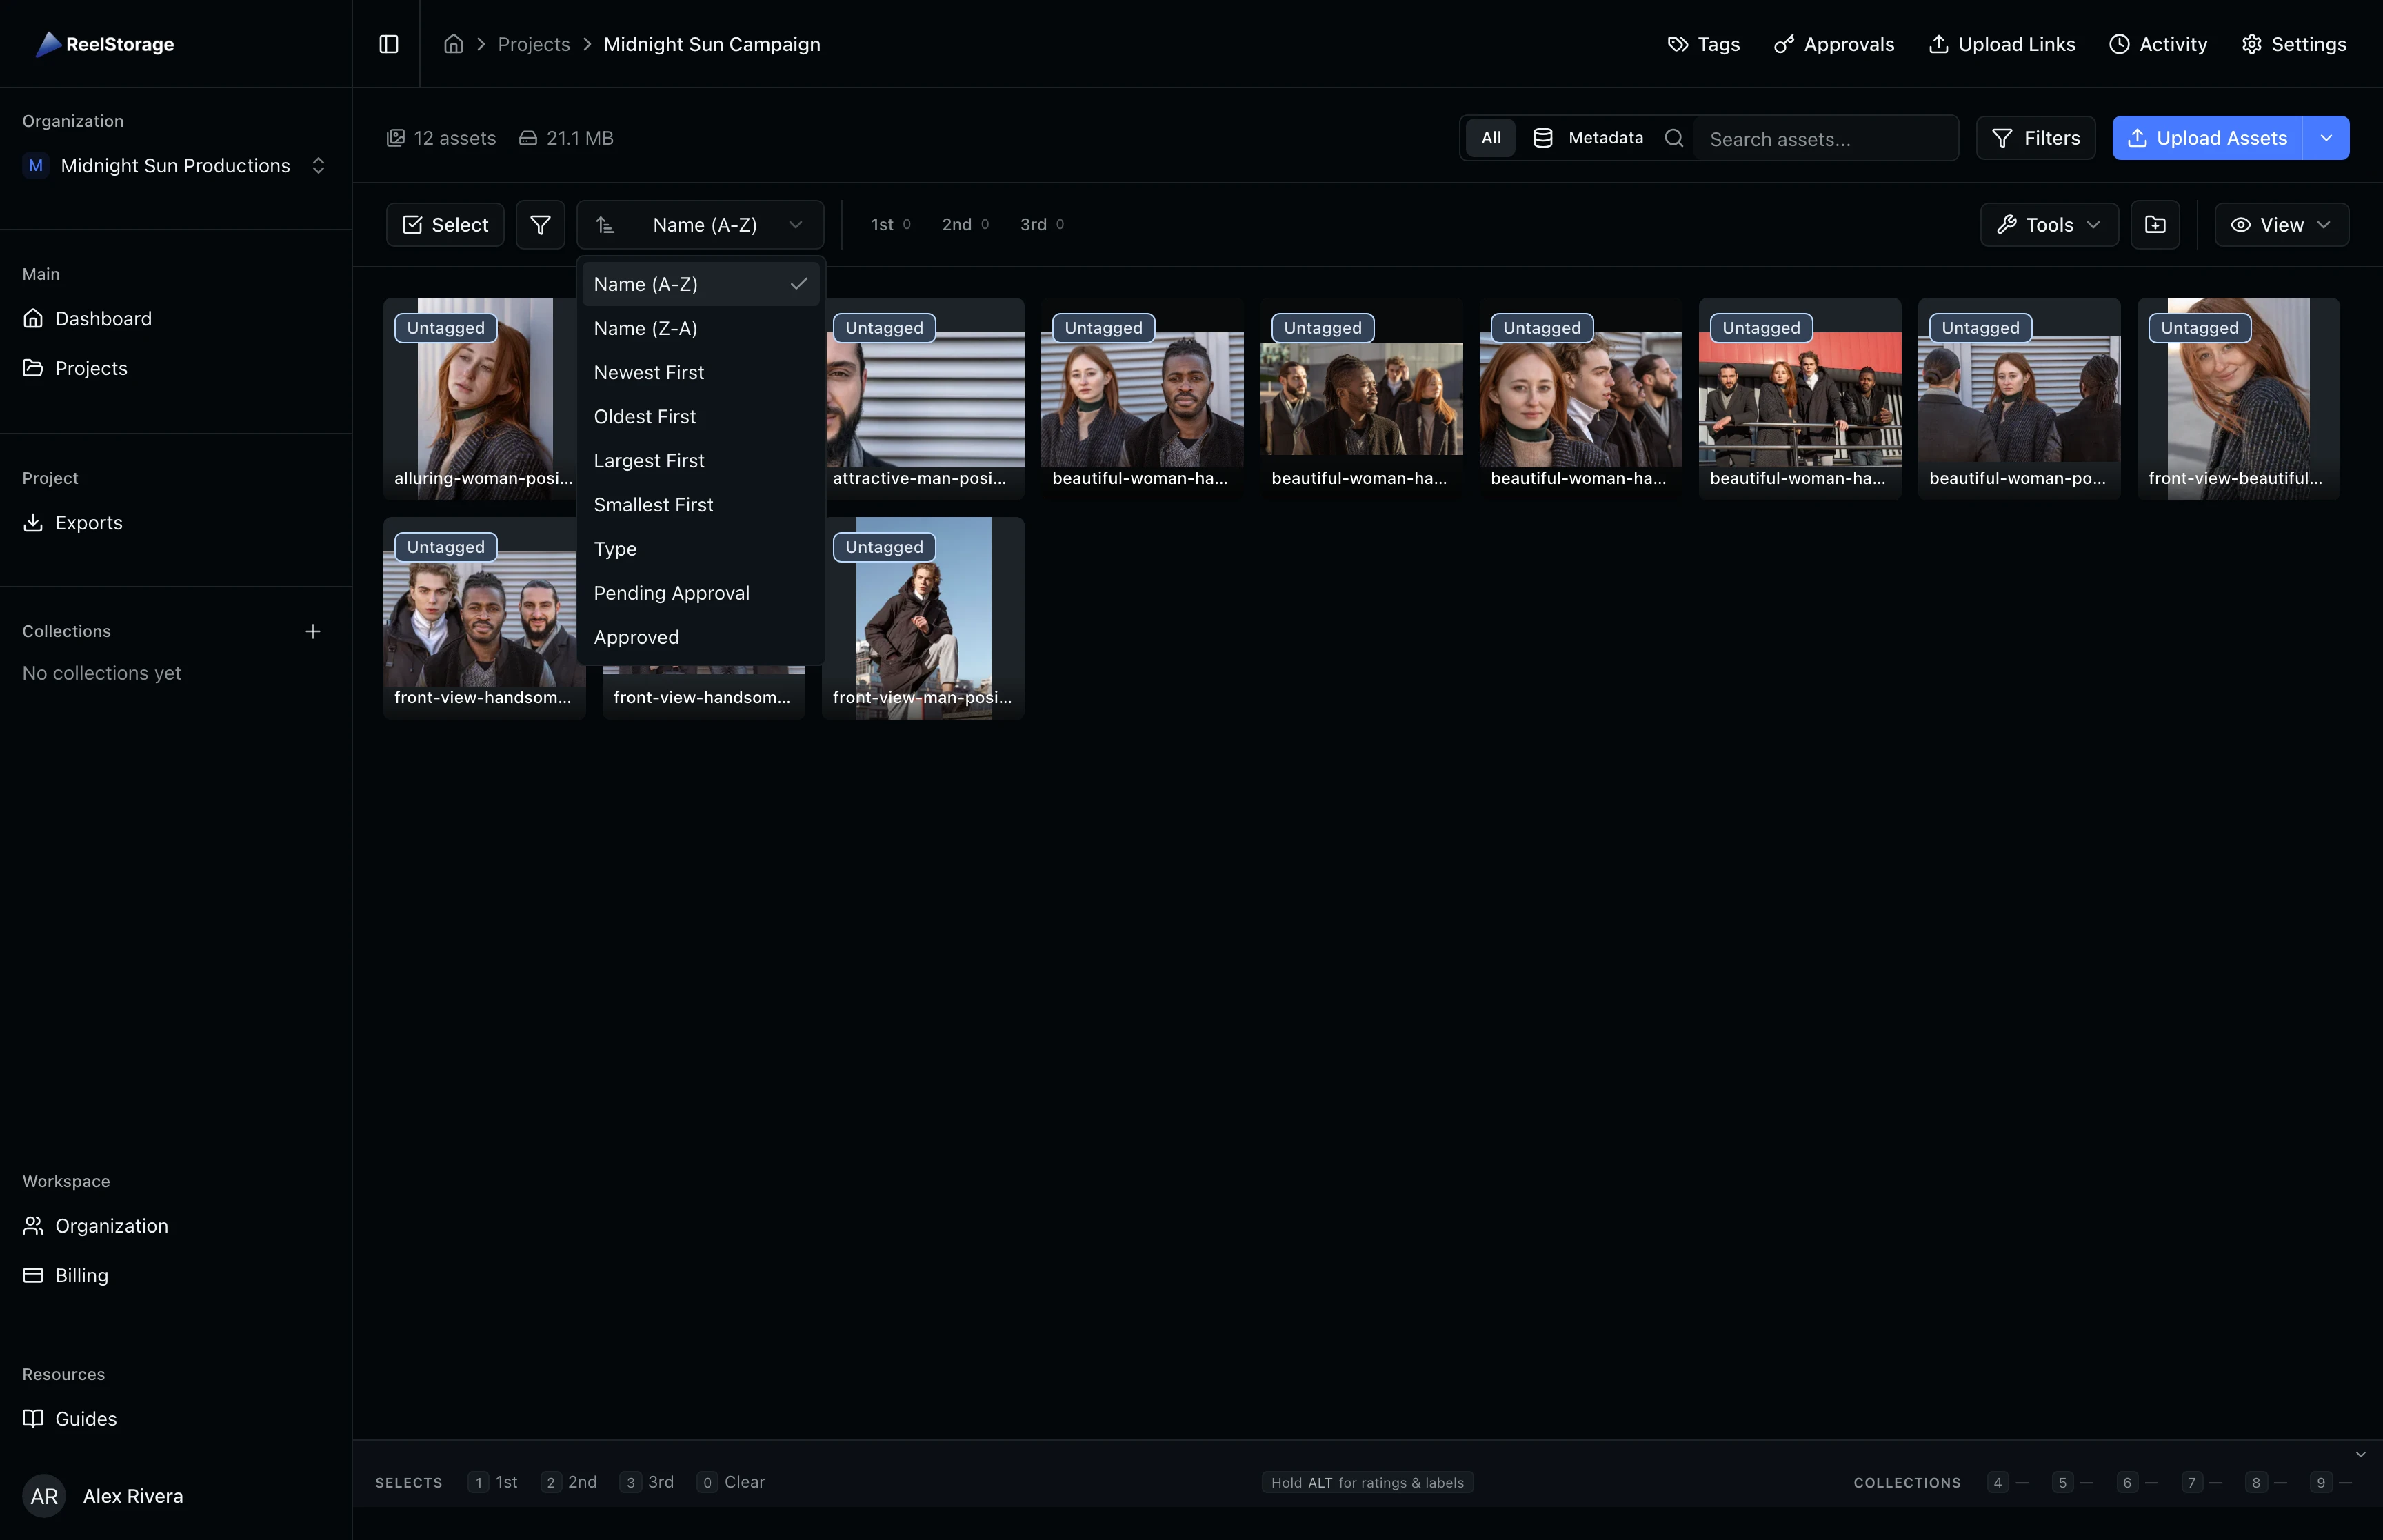
Step 3: Sort Your Assets
Click the Sort dropdown in the toolbar to change how assets are ordered. Options include sorting by name, date (newest or oldest first), file size, type, and approval status. The active sort option is highlighted in the dropdown. Your sort preference persists across sessions so you do not need to re-select it each time you return.
Step 4: Filter the Grid
Click the Filter button (funnel icon) to show only certain asset types or approval statuses. When any filter is active, a red indicator dot appears on the button so you always know filtering is on. Click the filter button again to clear your selections.
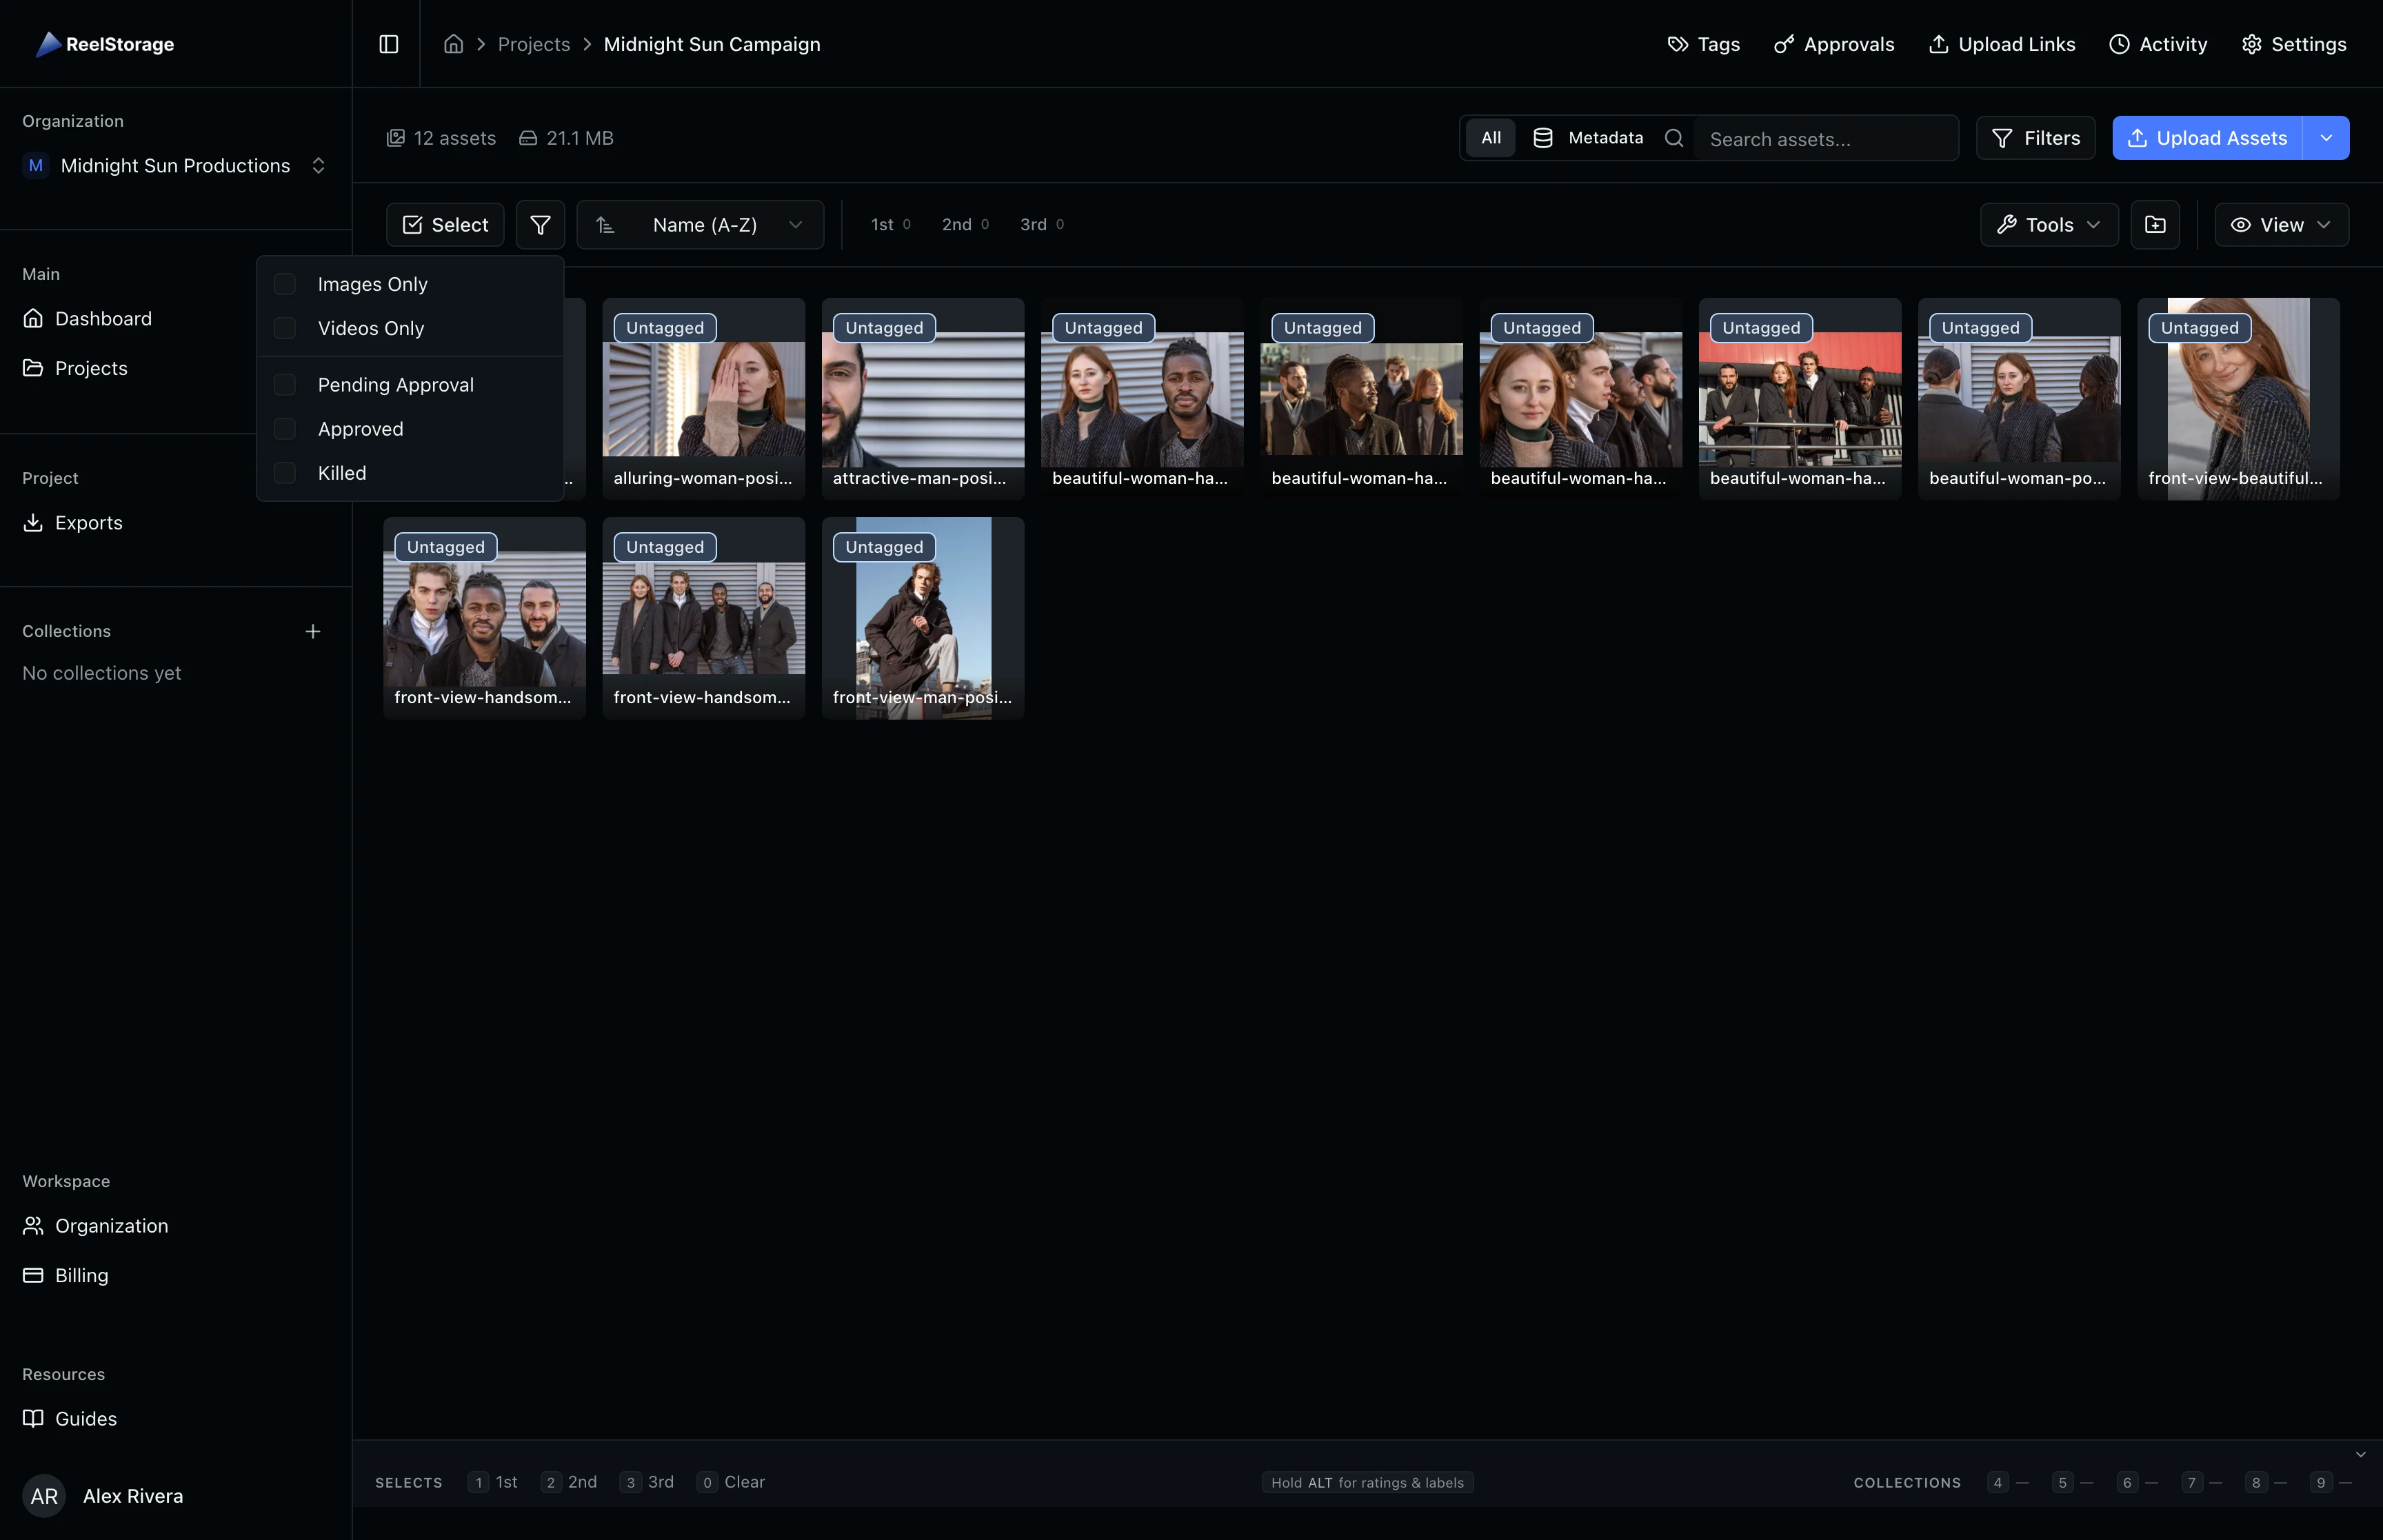
Combine filters with sorting to build focused views. For example, filter to images only and sort by newest first to review your latest photo uploads.
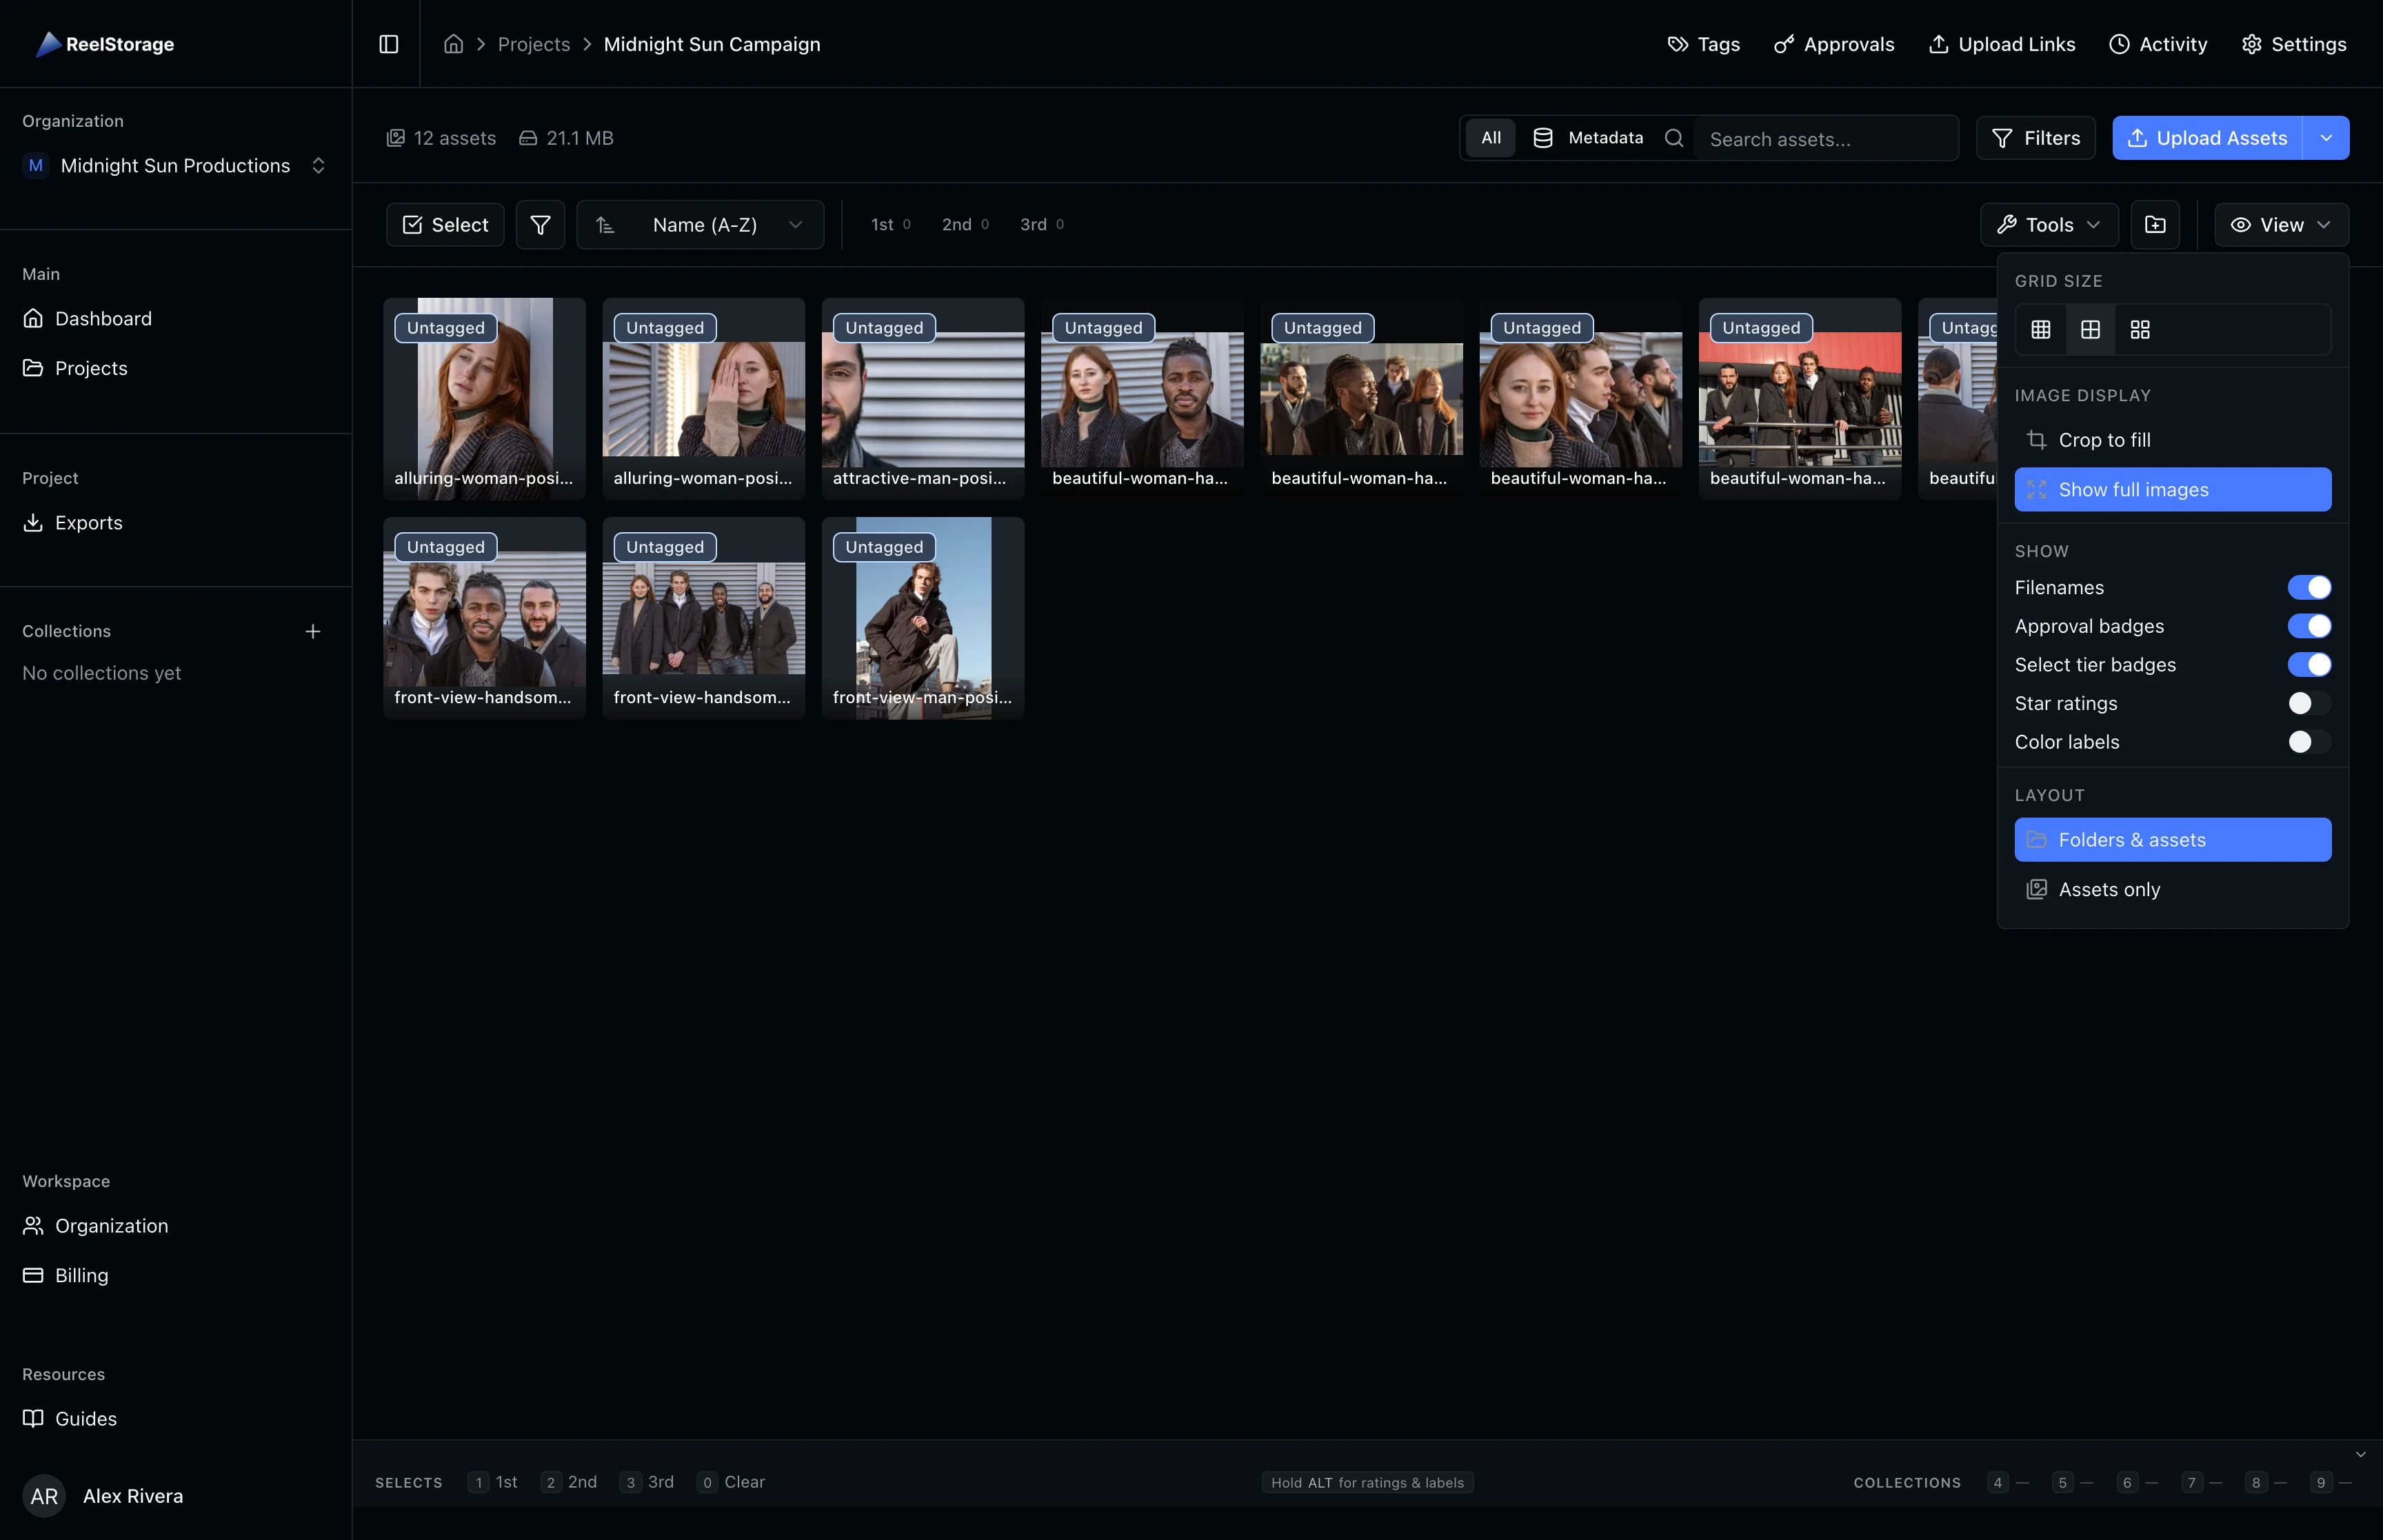
Step 5: Customize the View
Click the View button on the right side of the toolbar to open display settings. You can adjust three categories of options:
- Grid Size: Choose between small, medium, and large thumbnails. Toggle between "Crop to fill" and "Show full images" to control how thumbnails are rendered.
- Overlays: Toggle filenames, approval badges, select tier badges, star ratings, and color labels on or off. These indicators appear on each card.
- Layout: Switch between "Folders & Assets" and "Assets only" depending on whether you want folder structure visible.
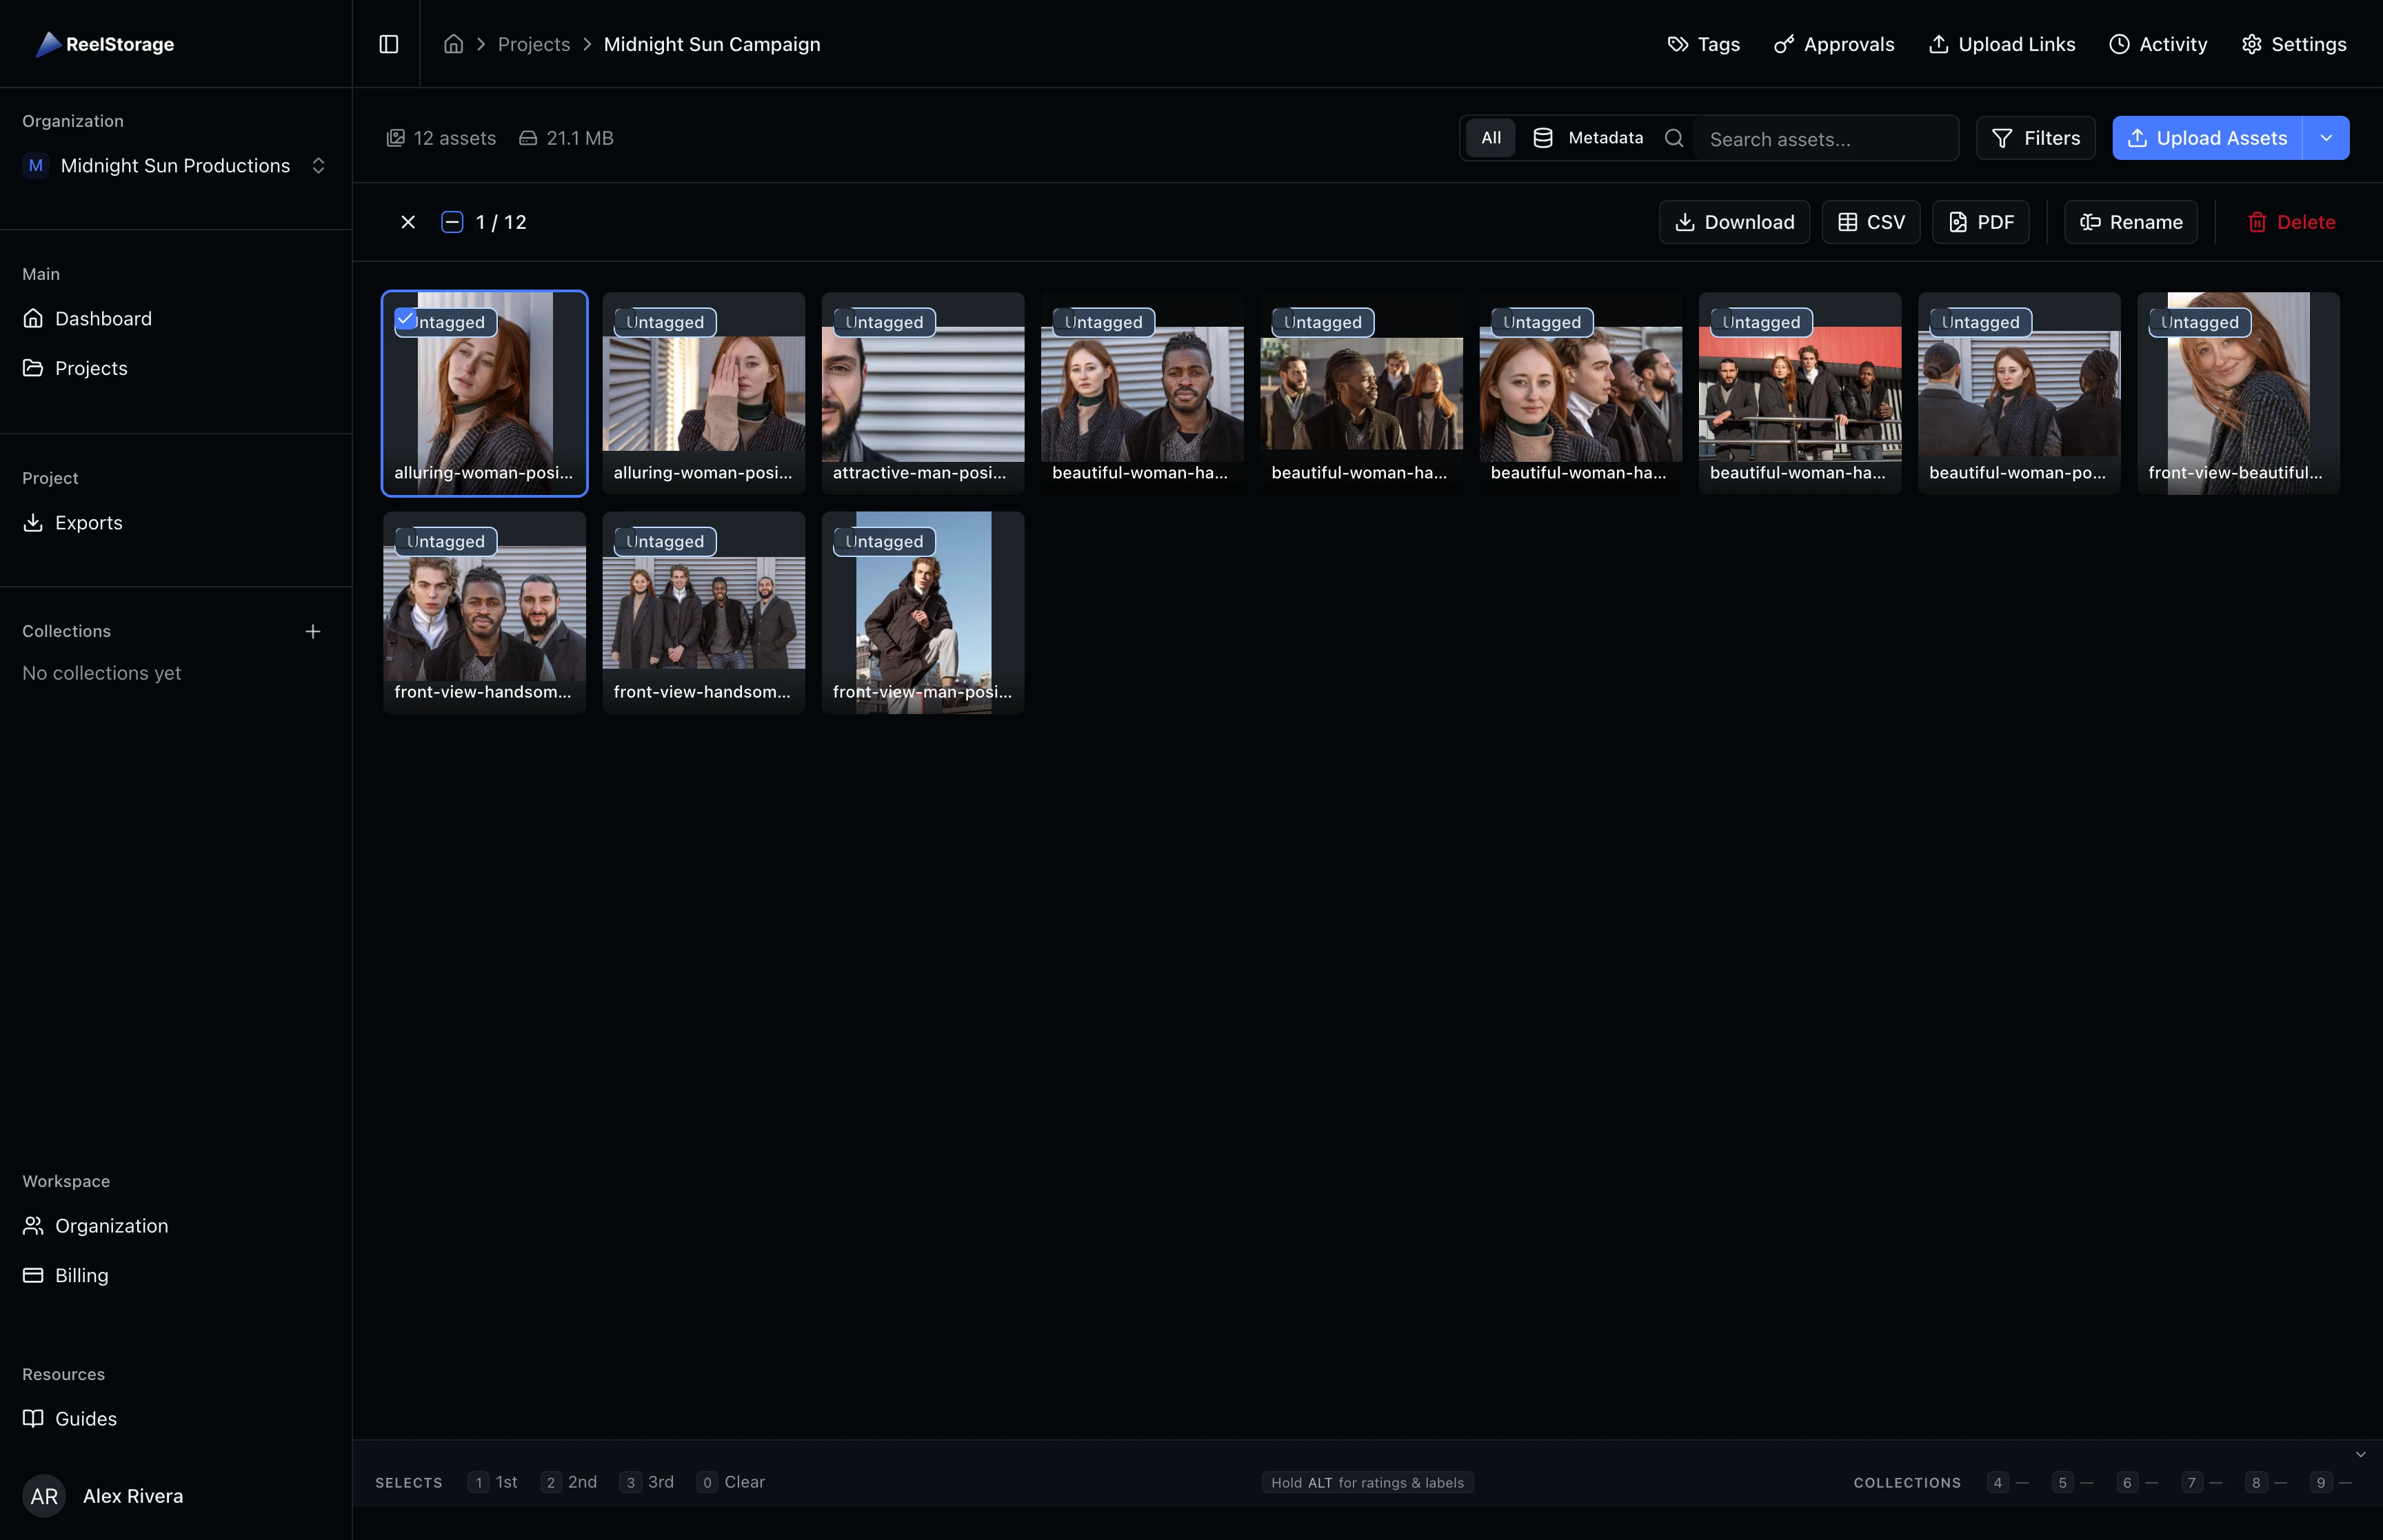
Step 6: Enter Selection Mode
Click the Select button in the toolbar to enter selection mode. In this mode, clicking an asset toggles its selection instead of opening the viewer. Selected assets show a blue ring and a checkbox in the top-left corner. The toolbar switches to the selection bar, showing a count of selected assets.
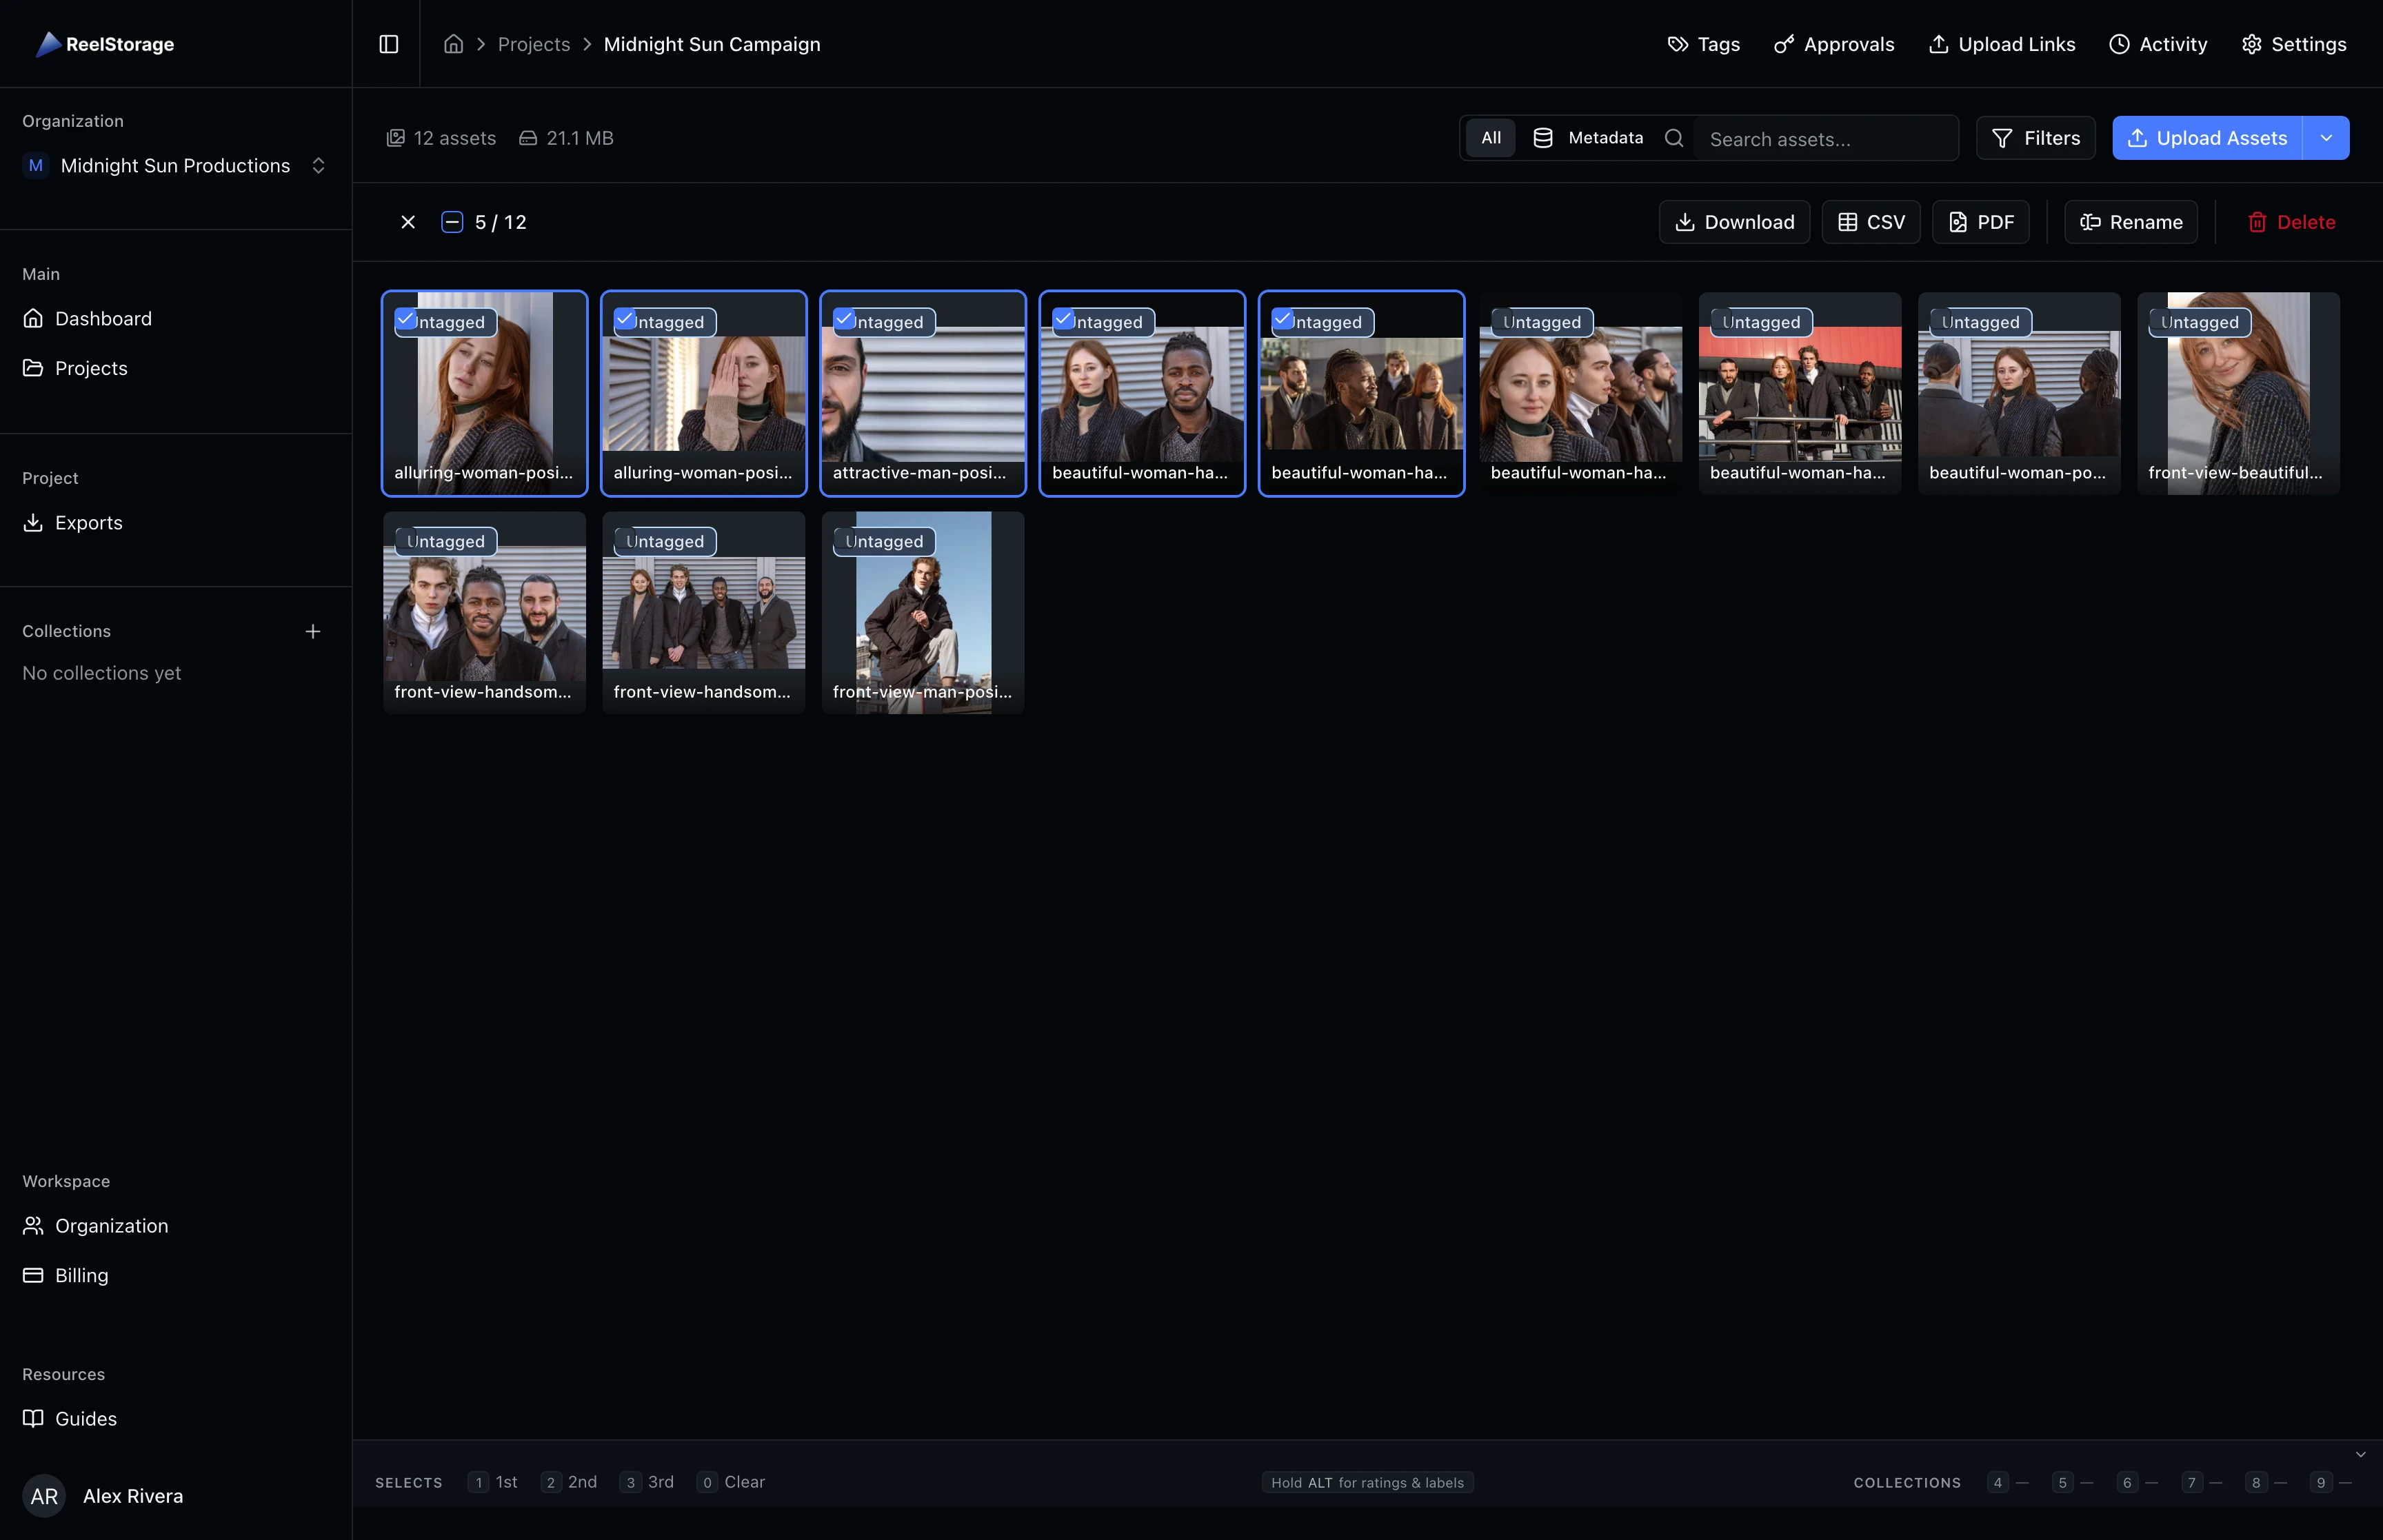
Step 7: Select Multiple Assets
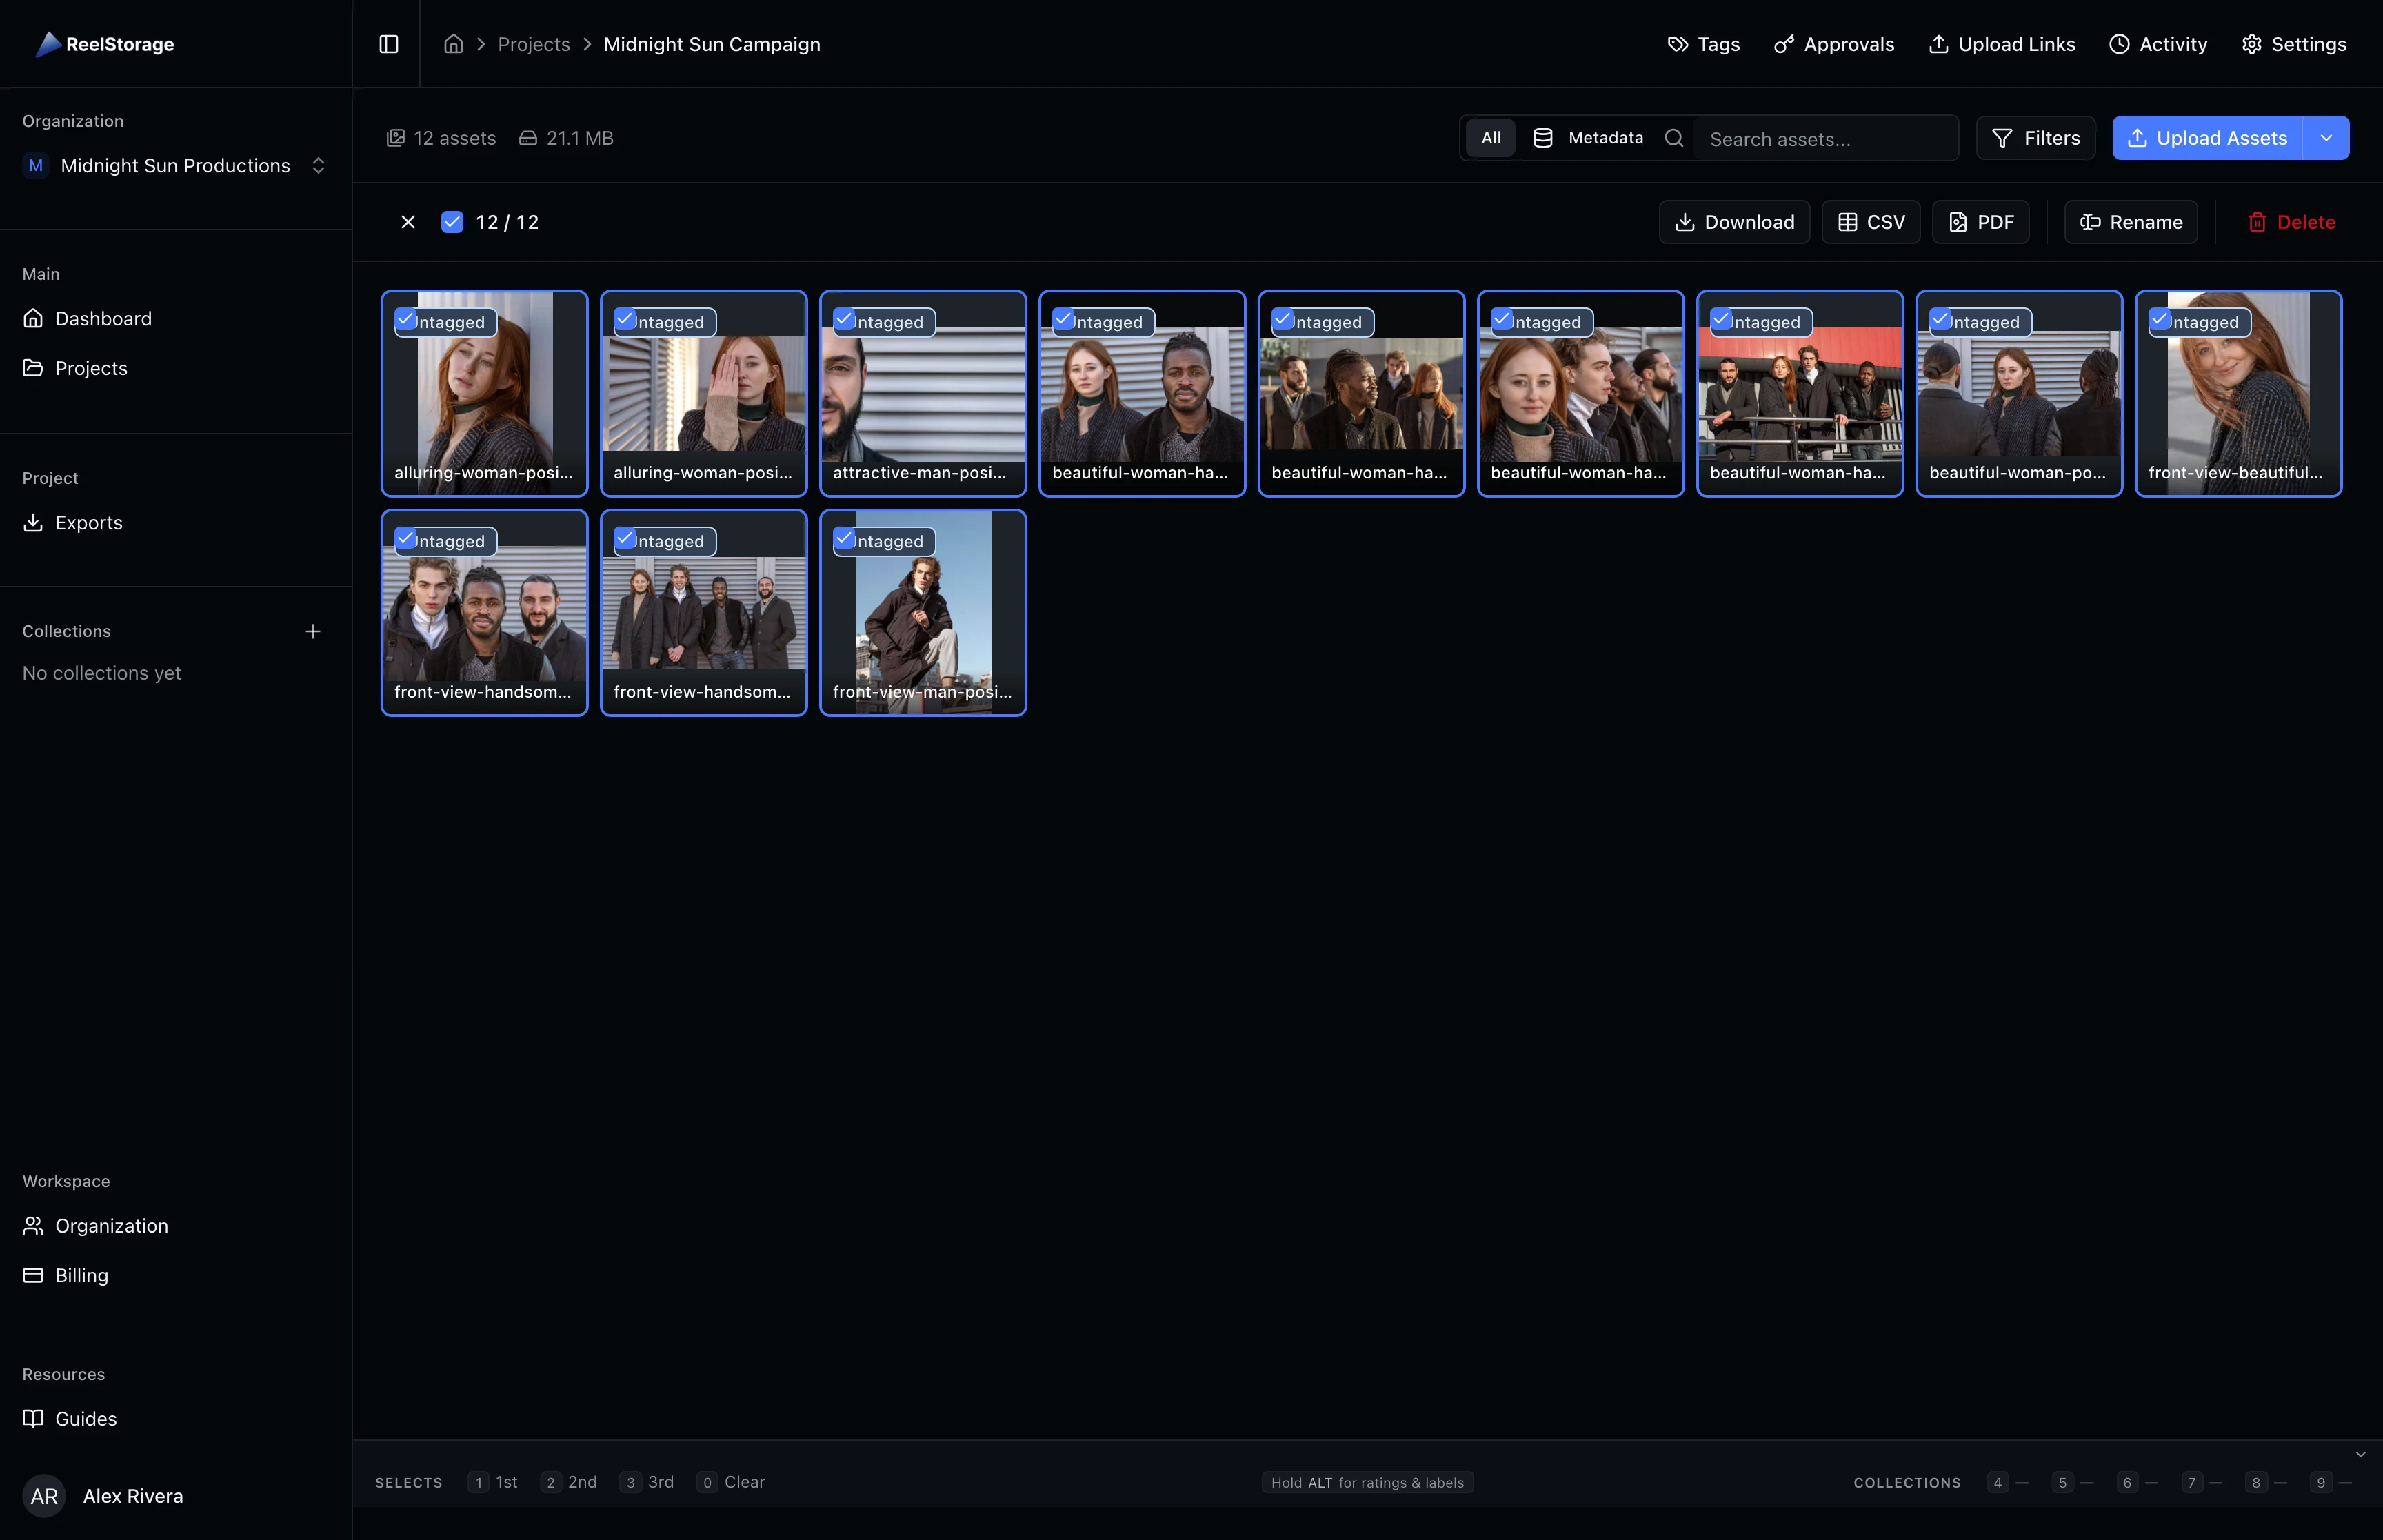
Click additional assets to add them to your selection. To select a range, click one asset, then hold Shift and click another to select everything between them. Use the Select All checkbox in the selection bar to select every visible asset at once. The counter updates to show your current selection (for example, "5 / 12").
Step 8: Perform Bulk Actions
With assets selected, action buttons appear in the selection bar. Available actions include:
- Download selected files as individual downloads or a ZIP archive
- CSV to export asset metadata to a spreadsheet
- PDF to generate a printable contact sheet
- Rename files in batch using a naming pattern
- Delete selected assets permanently
Each button is permission-gated based on your project role. Click Exit selection mode (the X button) when you are done.

Deletion is permanent and cannot be undone. The Delete button only appears if your project role includes the "deleteAssets" permission.
Tips and Best Practices
- Use keyboard navigation: Arrow keys move focus between assets in the grid. Press Enter or Space to open the focused asset in the viewer.
- Combine search with filters: Search for a keyword and then filter by file type to quickly narrow down large collections.
- Adjust grid size for the task: Use large thumbnails when reviewing photos for quality, and small thumbnails when scanning a large batch.
- Use "Show full images" for mixed formats: When working with a mix of landscape and portrait shots, toggle "Show full images" in the View settings to see each photo without cropping.
Troubleshooting
Why can't I see the Delete or Download buttons?
Bulk action buttons are permission-gated. If a button is missing, your project role may not include that permission. Ask your project administrator to update your role in the project settings.
Why does the grid look empty after searching?
Your search query may not match any asset filenames or metadata. Click the X button in the search bar to clear the query and show all assets again. If you are in metadata search mode, switch back to All mode for broader results.
What's Next
- Using Tags and Metadata: Add tags and edit IPTC metadata to organize your assets for faster searching.
- Organizing Assets with Collections: Group related assets into collections for sharing and review.
Related Guides
Uploading Assets
Learn how to upload photos and videos to your project using the upload window, monitor progress, and verify your files appear in the asset grid.
Using Tags and Metadata
Learn how to create, edit, and manage project tags to organize your assets by people, objects, and locations.
Organizing Assets with Collections
Learn how to create collections, add assets to them, view collection contents, and manage collections from the sidebar.