Editing Asset Metadata
Prerequisites
ReelStorage stores industry-standard IPTC metadata on every asset. You can edit fields like title, description, copyright, and location on a single asset or across many assets at once. This guide walks through both workflows.
What You'll Learn
- How to open the metadata panel and view IPTC fields on an asset
- How to enter metadata editing mode and update fields
- How to use the "Show all fields" toggle to reveal empty fields
- How to fill in creator and copyright information
- How to edit metadata in bulk across multiple assets
Step 1: Open Your Project
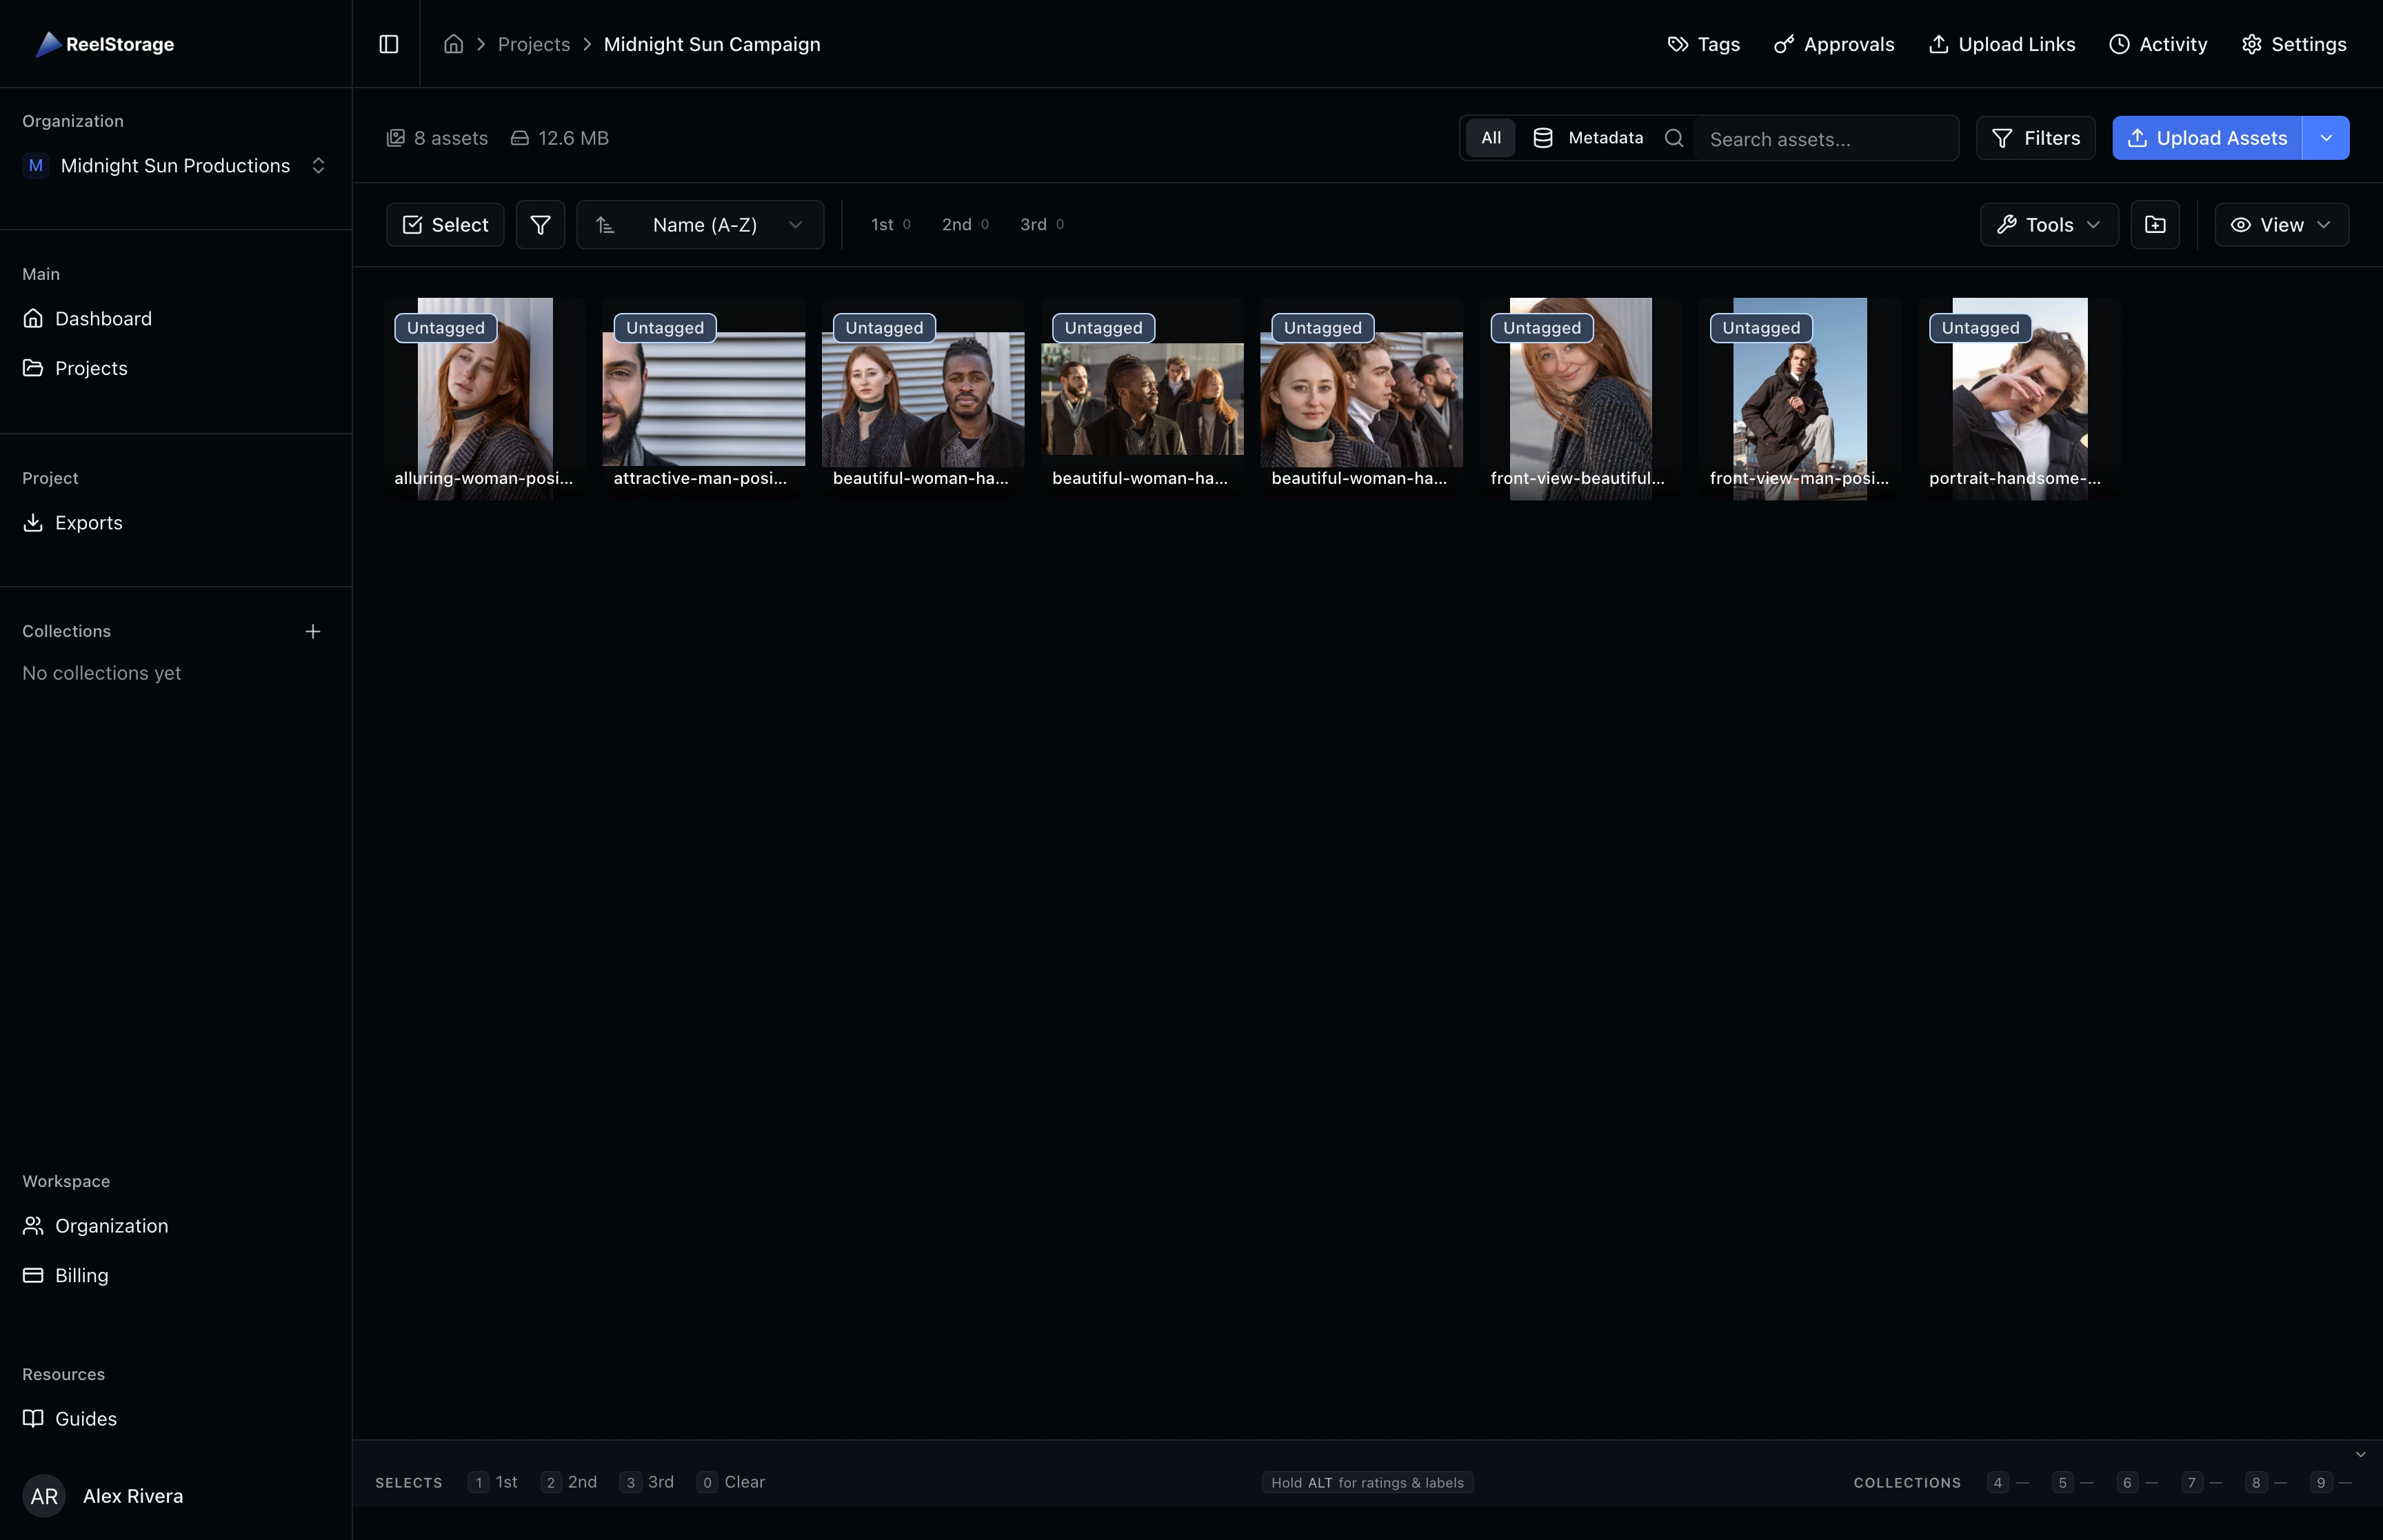
Navigate to your project from the dashboard. The asset grid displays all uploaded assets as thumbnails. The toolbar at the top of the grid provides access to sorting, filtering, and tool modes including the metadata editor.
Step 2: Open the Tools Menu
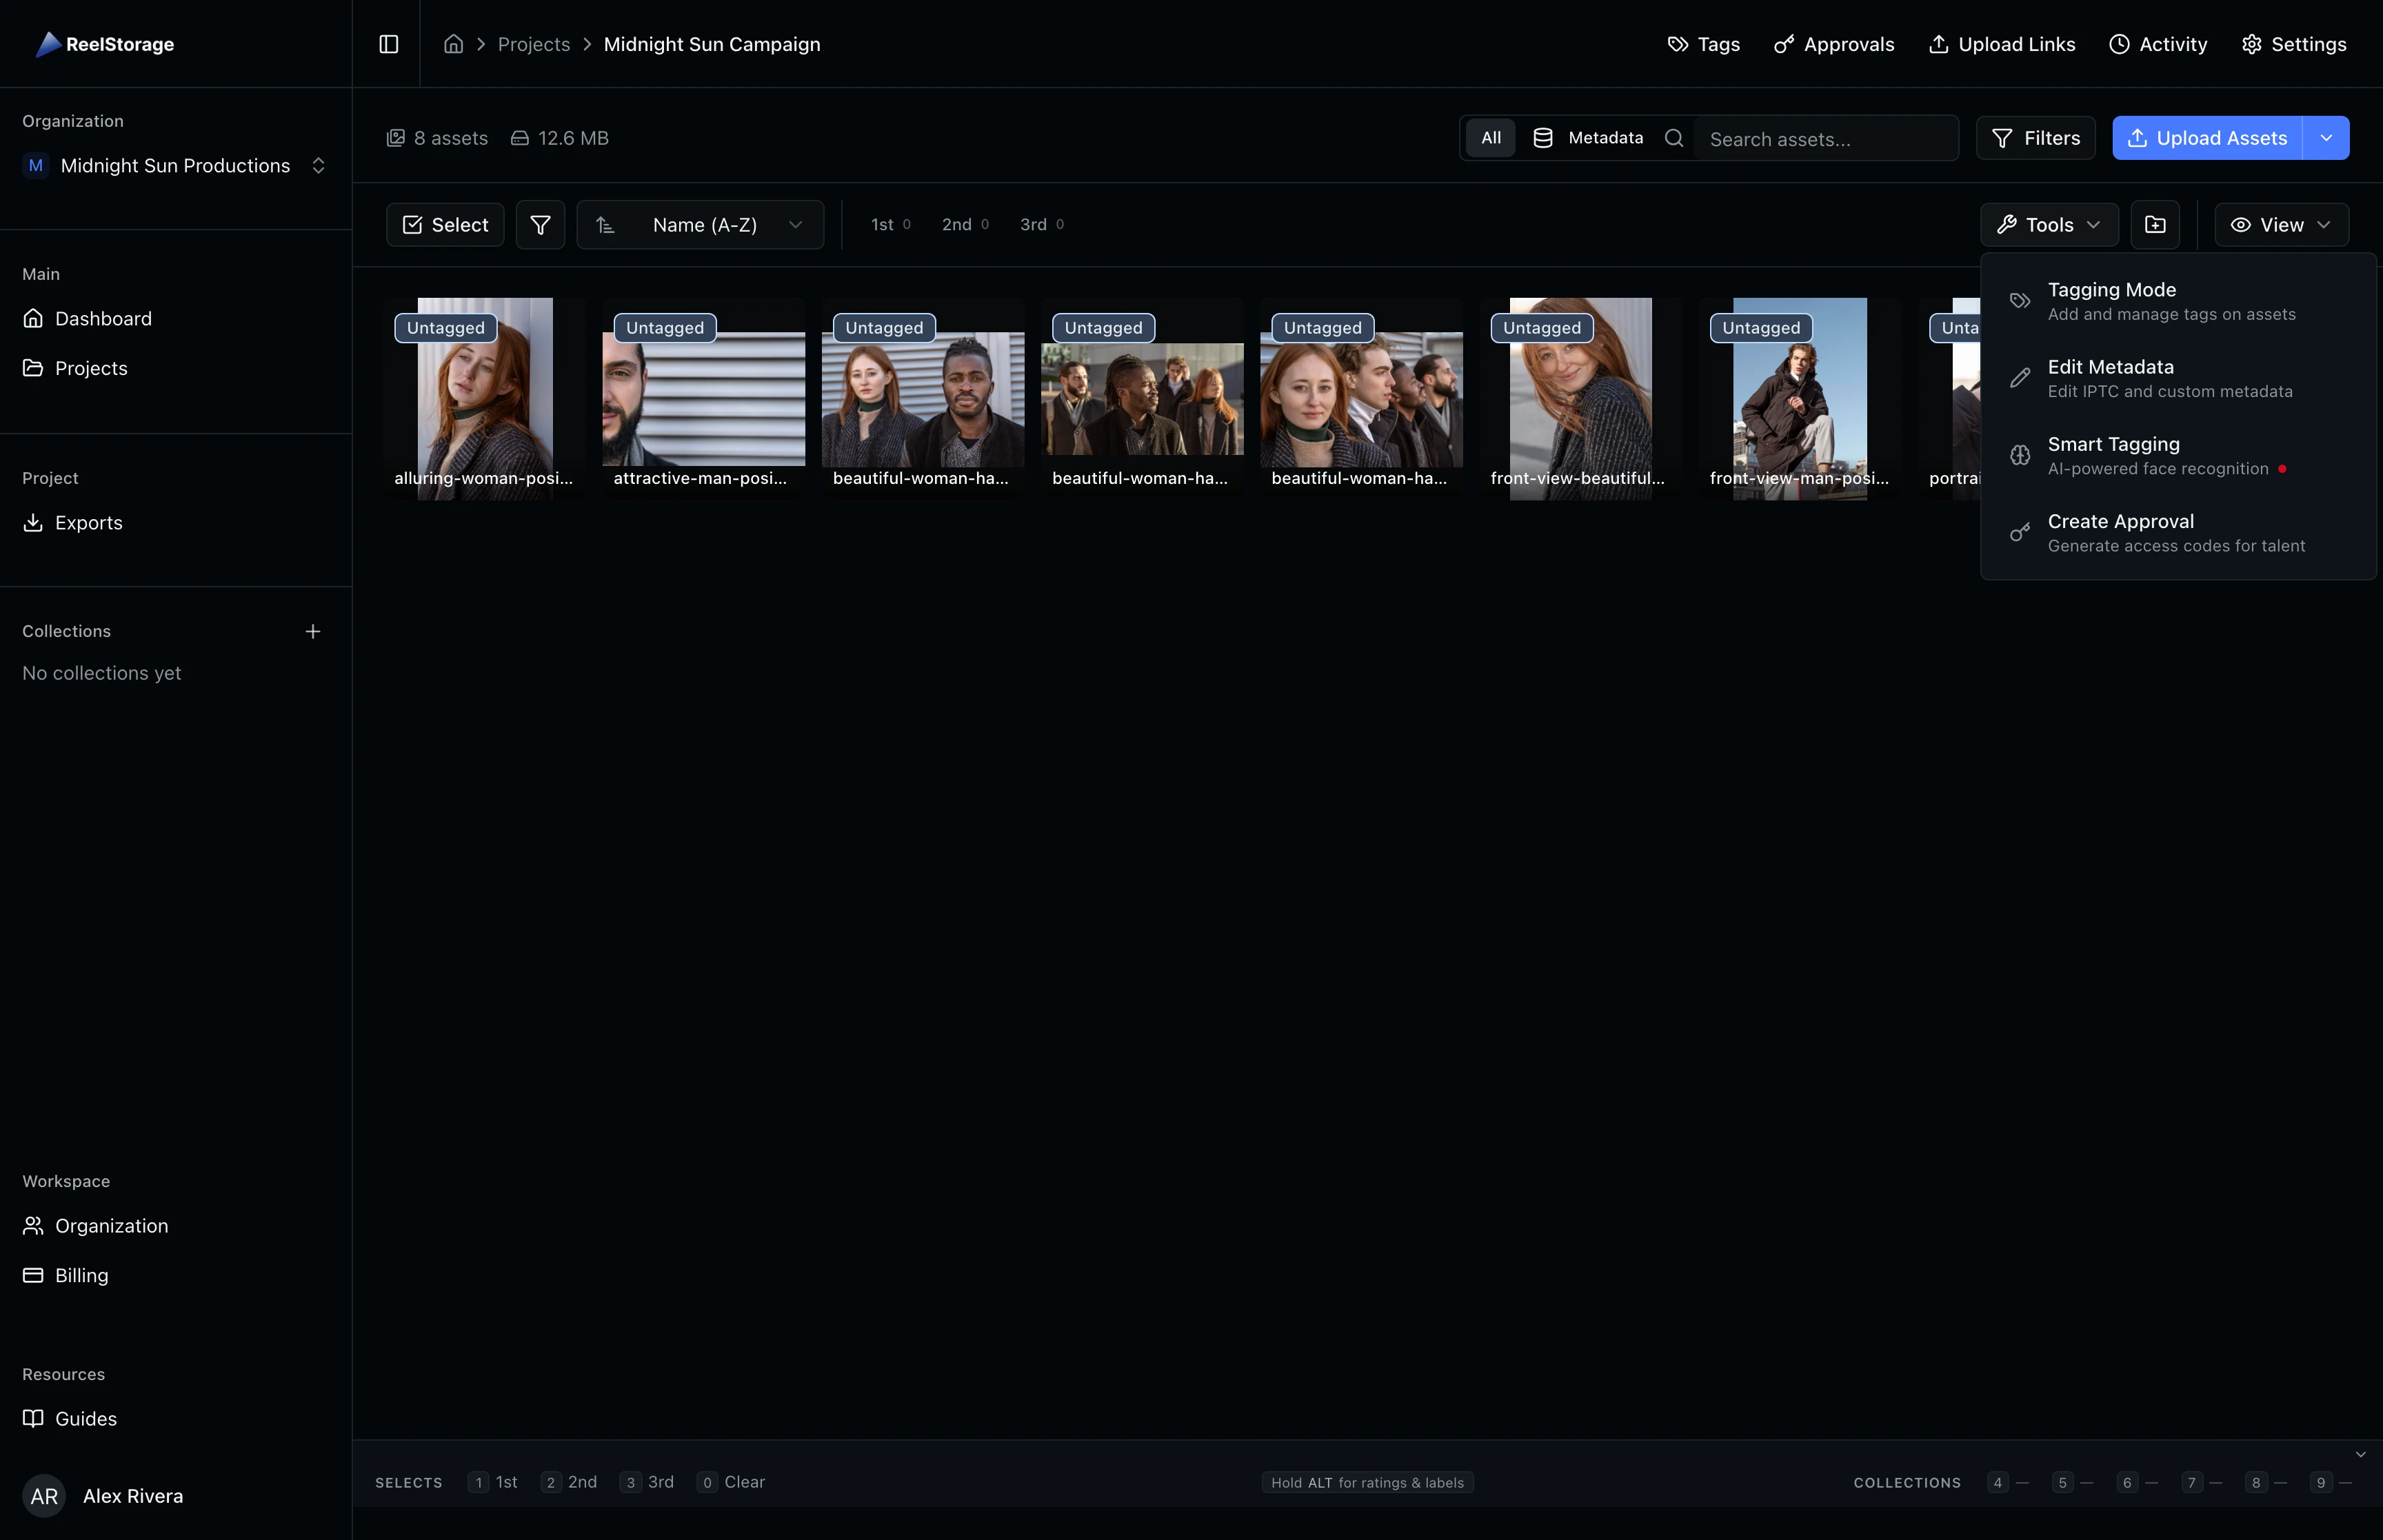
Click the Tools button in the toolbar. A popover appears with four tool modes: Tagging Mode, Edit Metadata, Smart Tagging, and Create Approval. Click Edit Metadata to switch the grid into a split-view layout with the metadata editor panel on the right side of the screen.
Step 3: Select an Asset to Edit
Click any asset in the grid. The metadata editor panel on the right populates with the selected asset's current IPTC field values. The panel header reads "Edit Metadata" and shows a Show all fields toggle at the top. Below it, accordion sections organize fields into groups: Content Description, Classification, Creator & Rights, Location, and more.
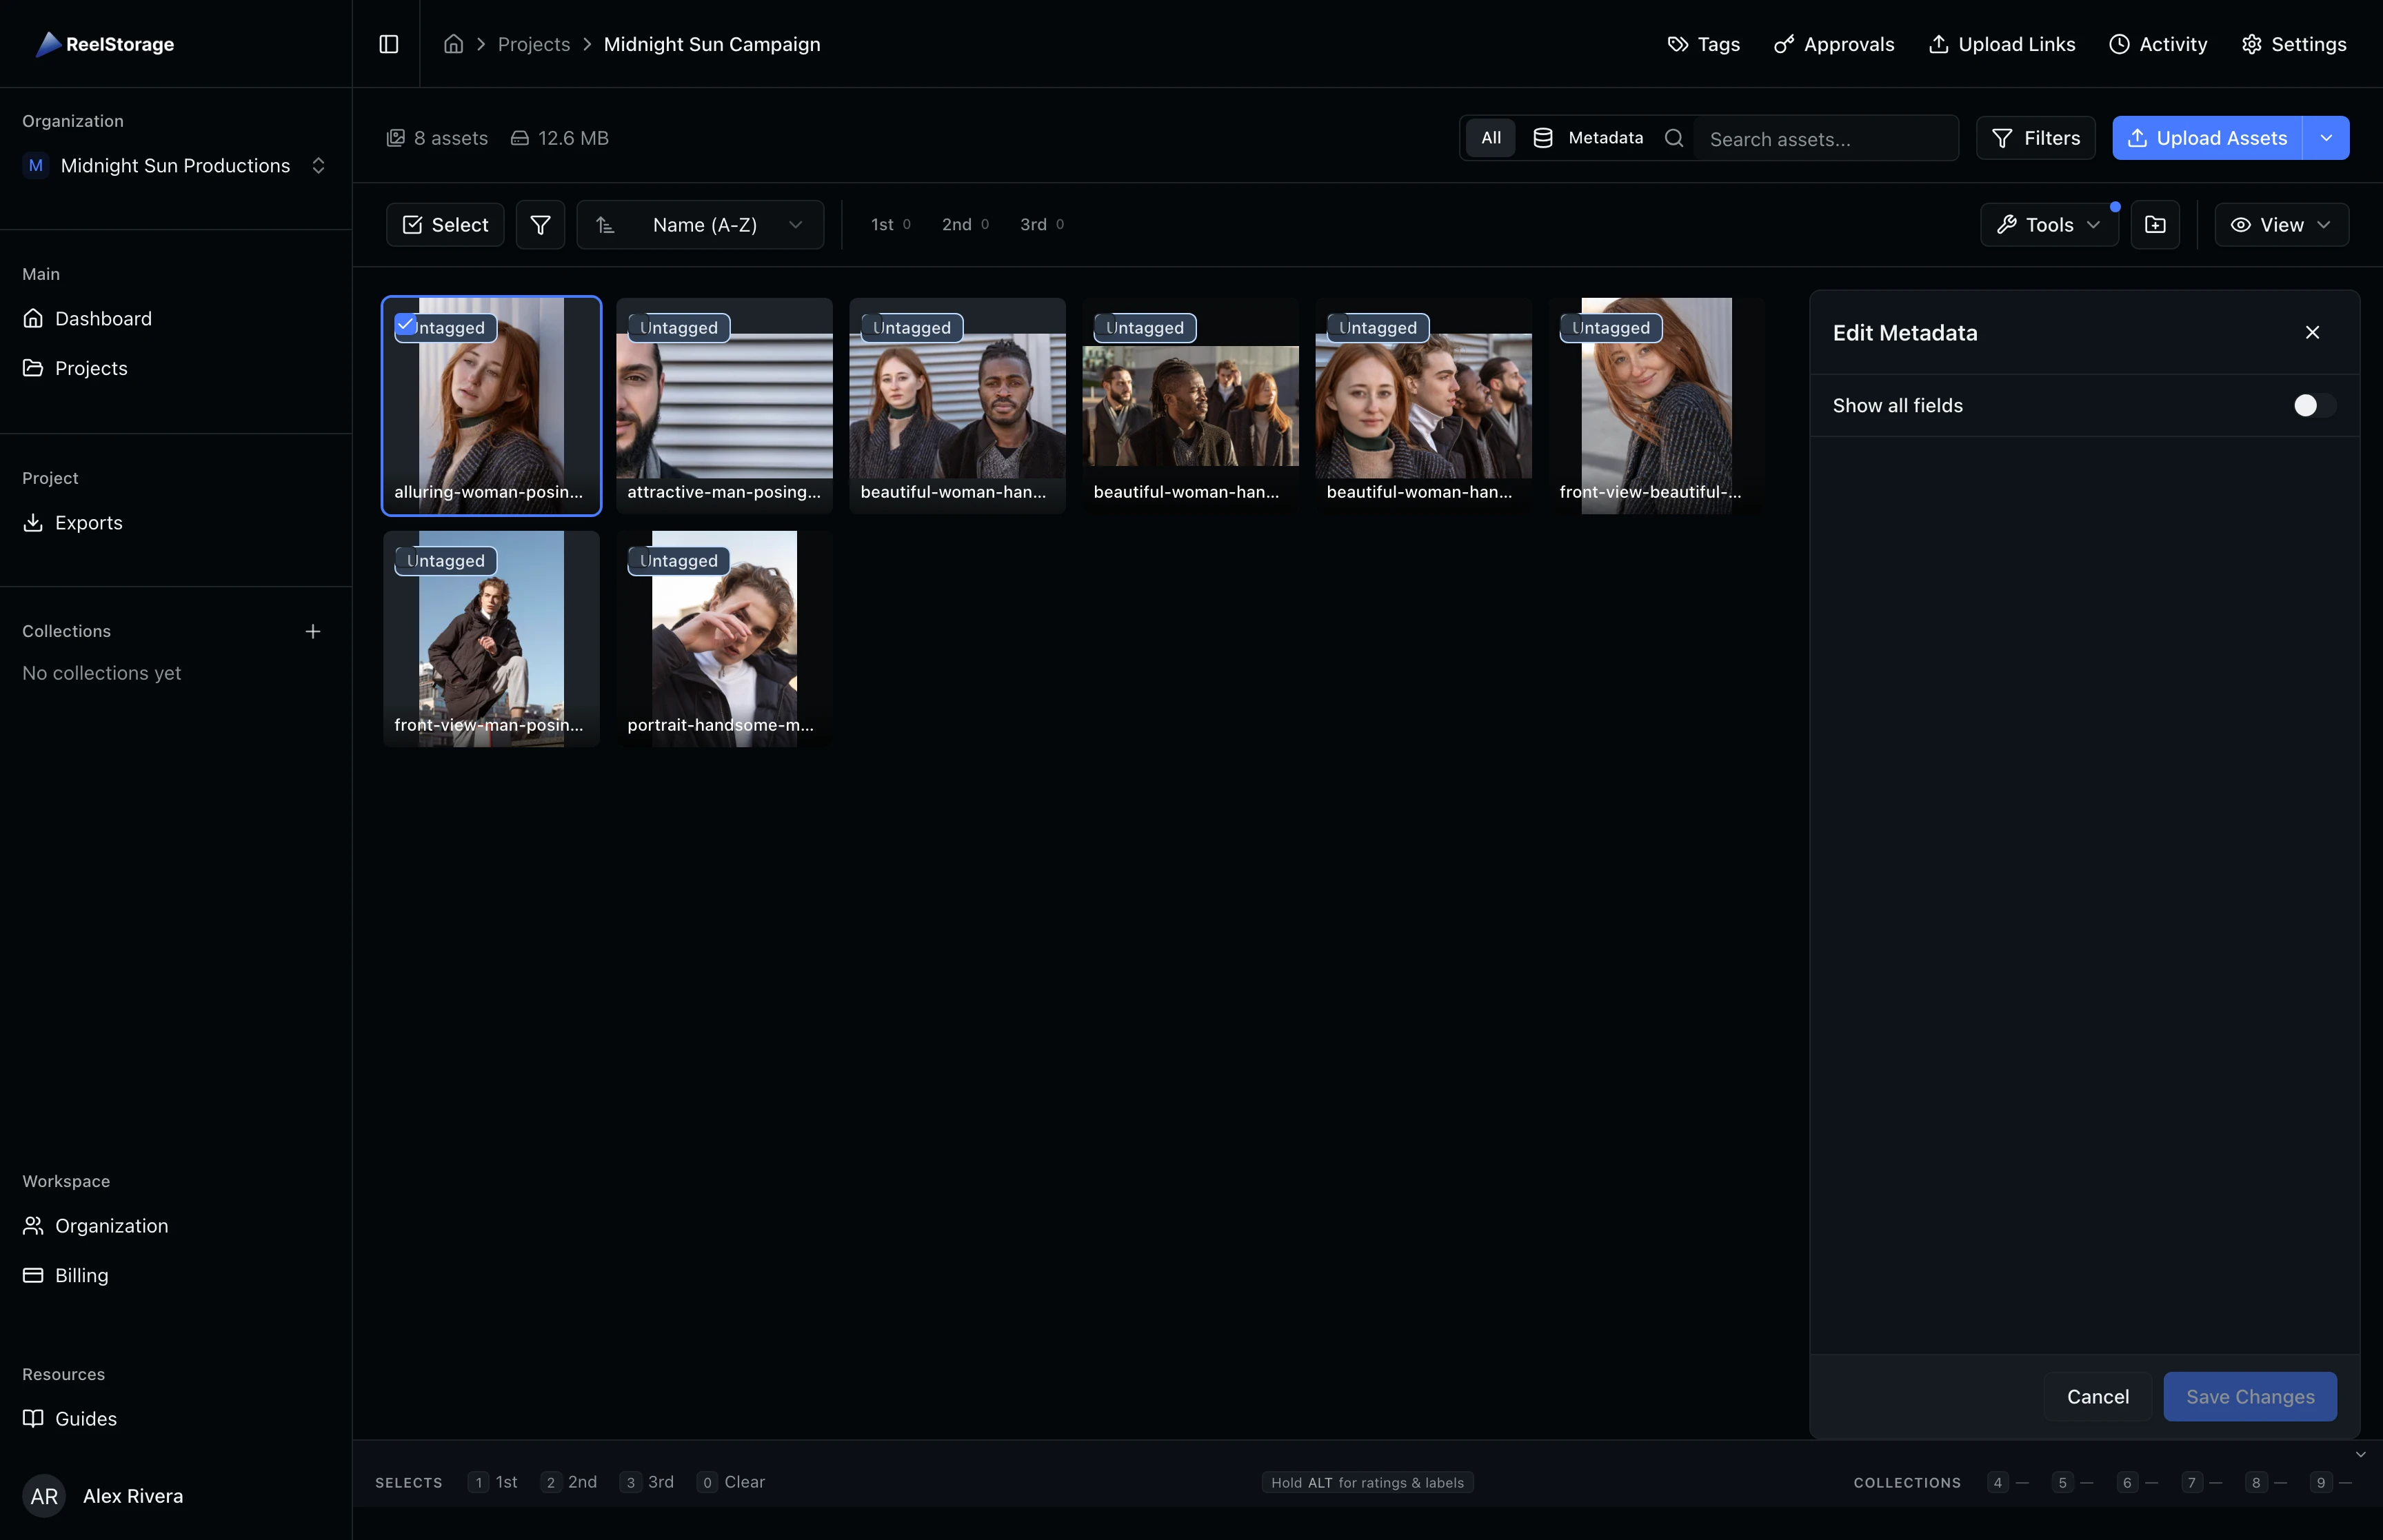
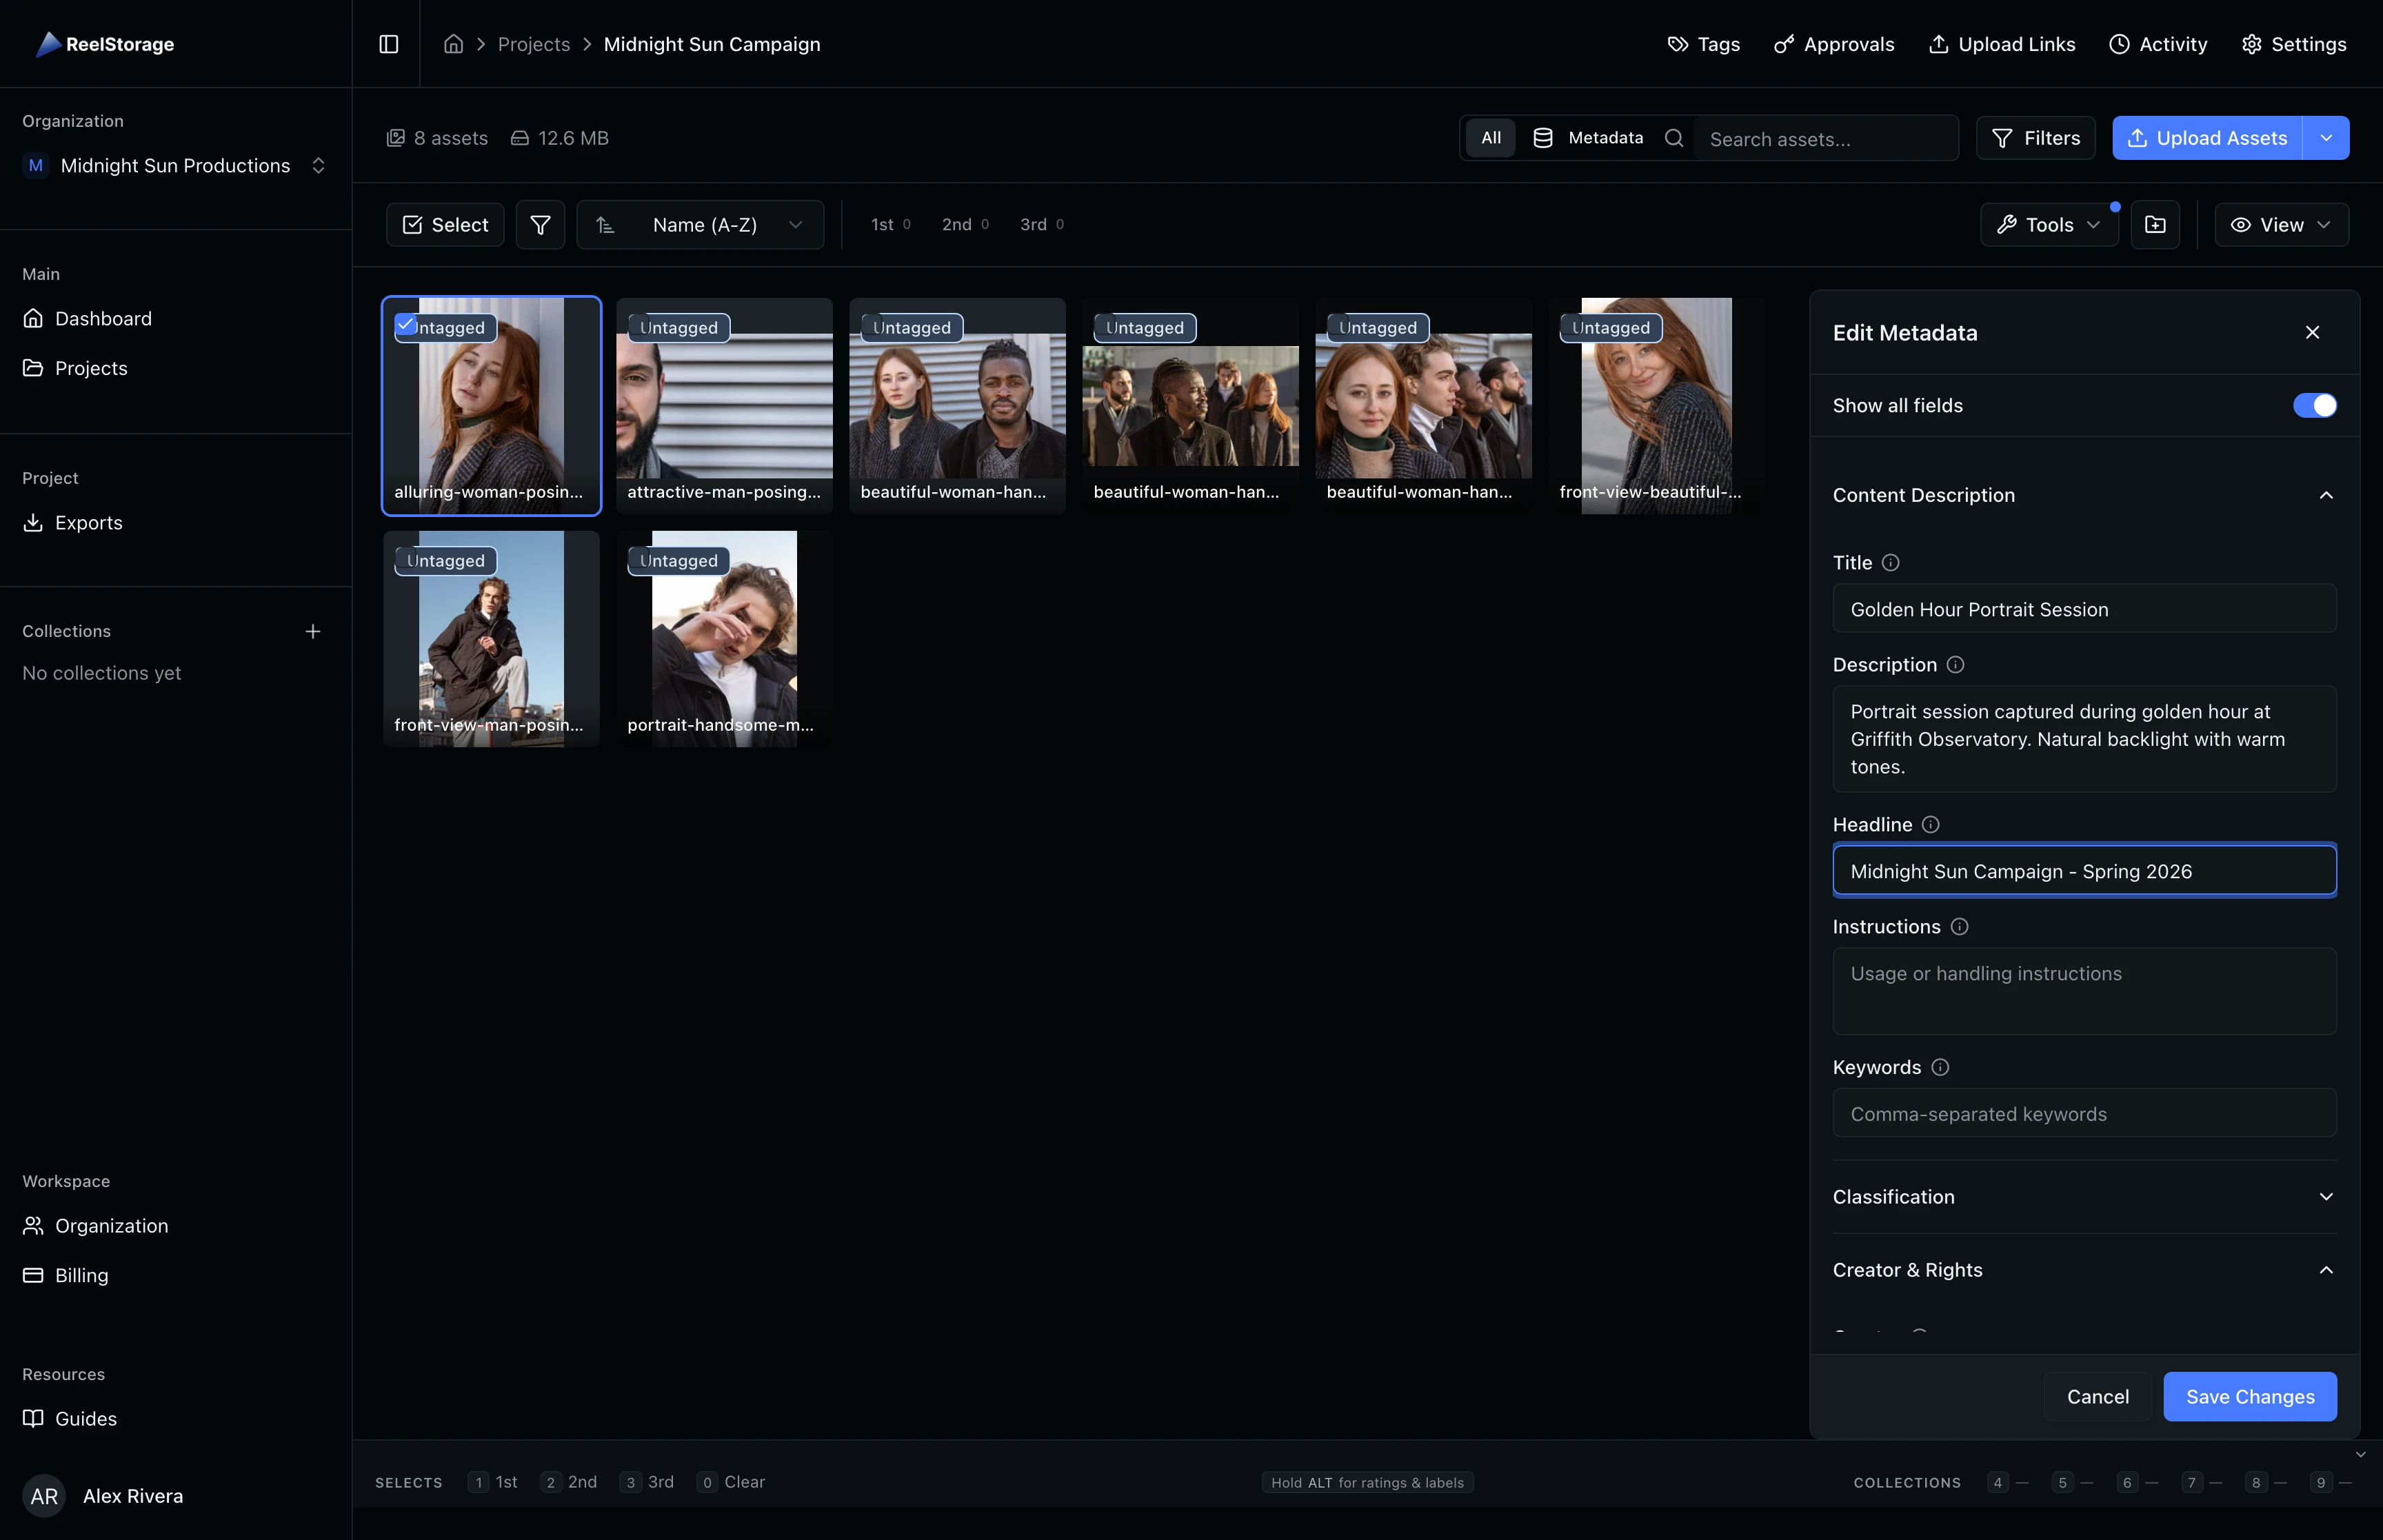
Step 4: Toggle Show All Fields
By default, the editor only displays fields that already have values. Turn on the Show all fields switch at the top of the editor to reveal every available IPTC field. This is useful when you need to fill in fields that are currently empty, such as title, description, or copyright information. The fields are grouped under collapsible accordion sections so you can focus on one group at a time.
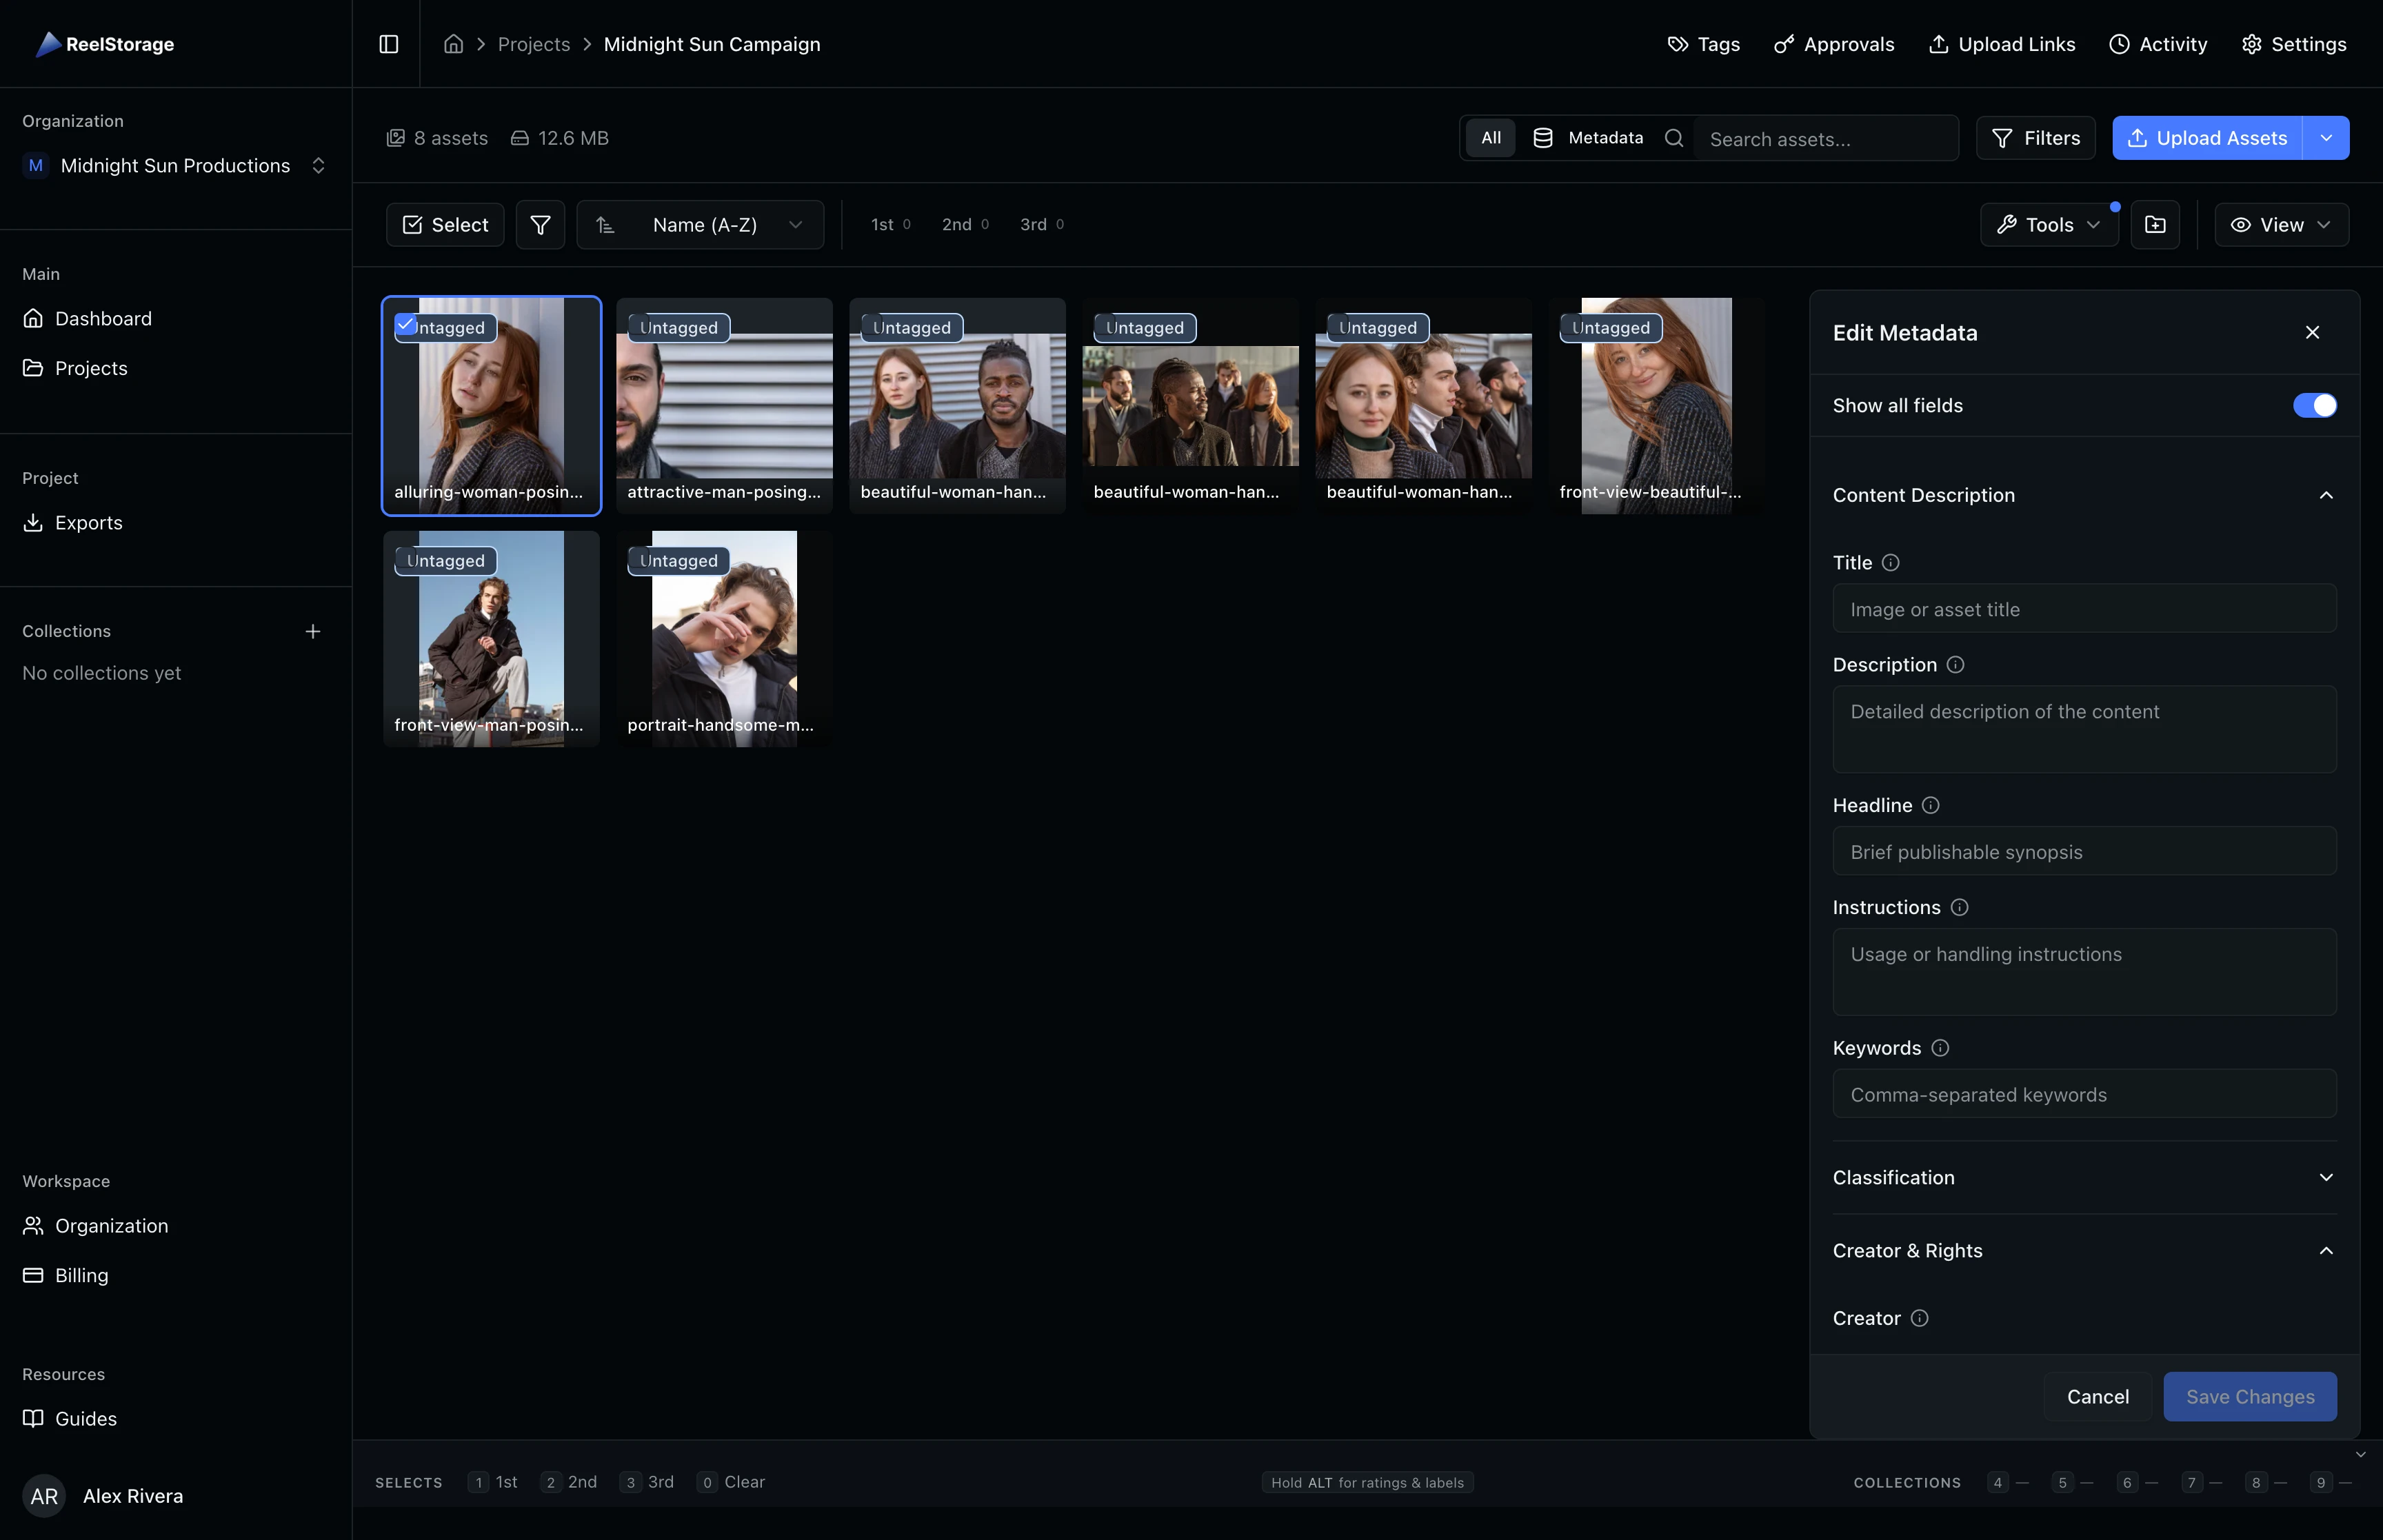
Step 5: Fill In Content Description Fields
Start with the Content Description section. Enter a descriptive Title for the asset, add a Description that captures the context of the image, and set a Headline for editorial use. The Title and Description fields are the most commonly searched, so clear, specific text here makes your assets easier to find later.
Step 6: Add Creator and Copyright Information
Expand the Creator & Rights section by clicking its header. Fill in the Creator field with the photographer's name, set the Copyright notice, and add a Credit Line that specifies how the image should be attributed when published. These fields are embedded in exported files, so any downstream recipient will see the correct ownership information.
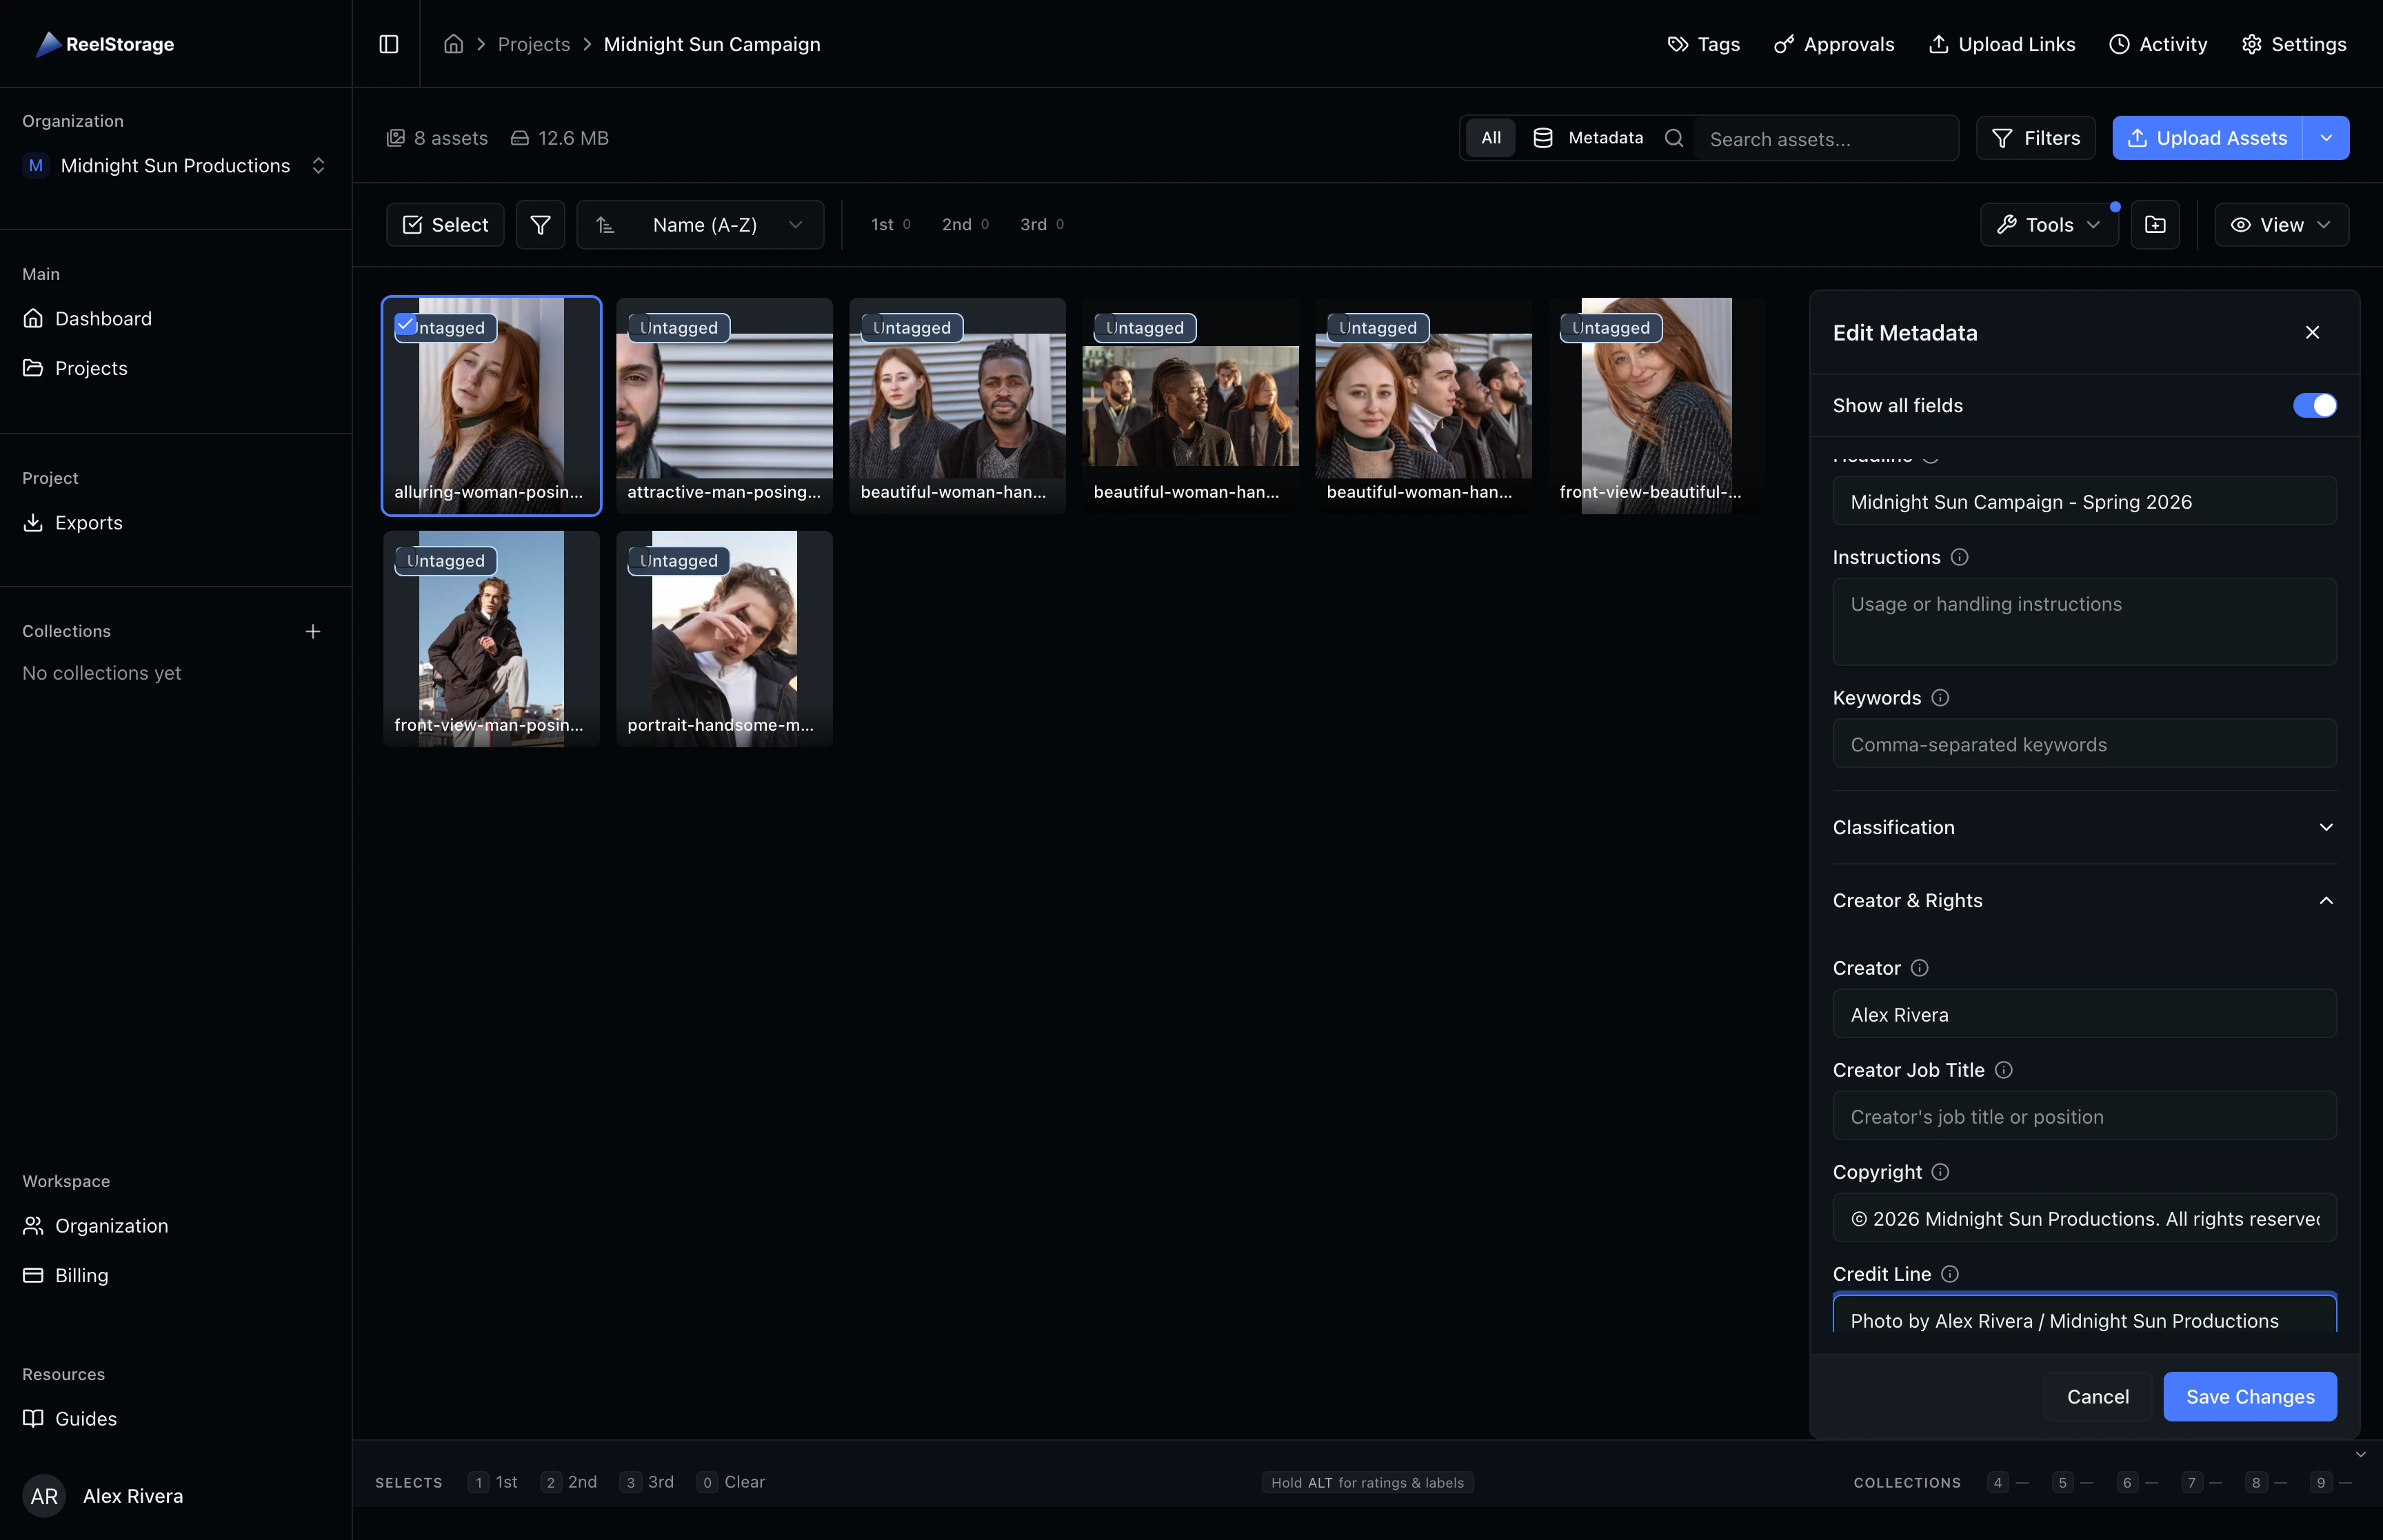
Fill copyright and creator fields right after uploading new assets. This ensures every exported file carries proper attribution from the start.
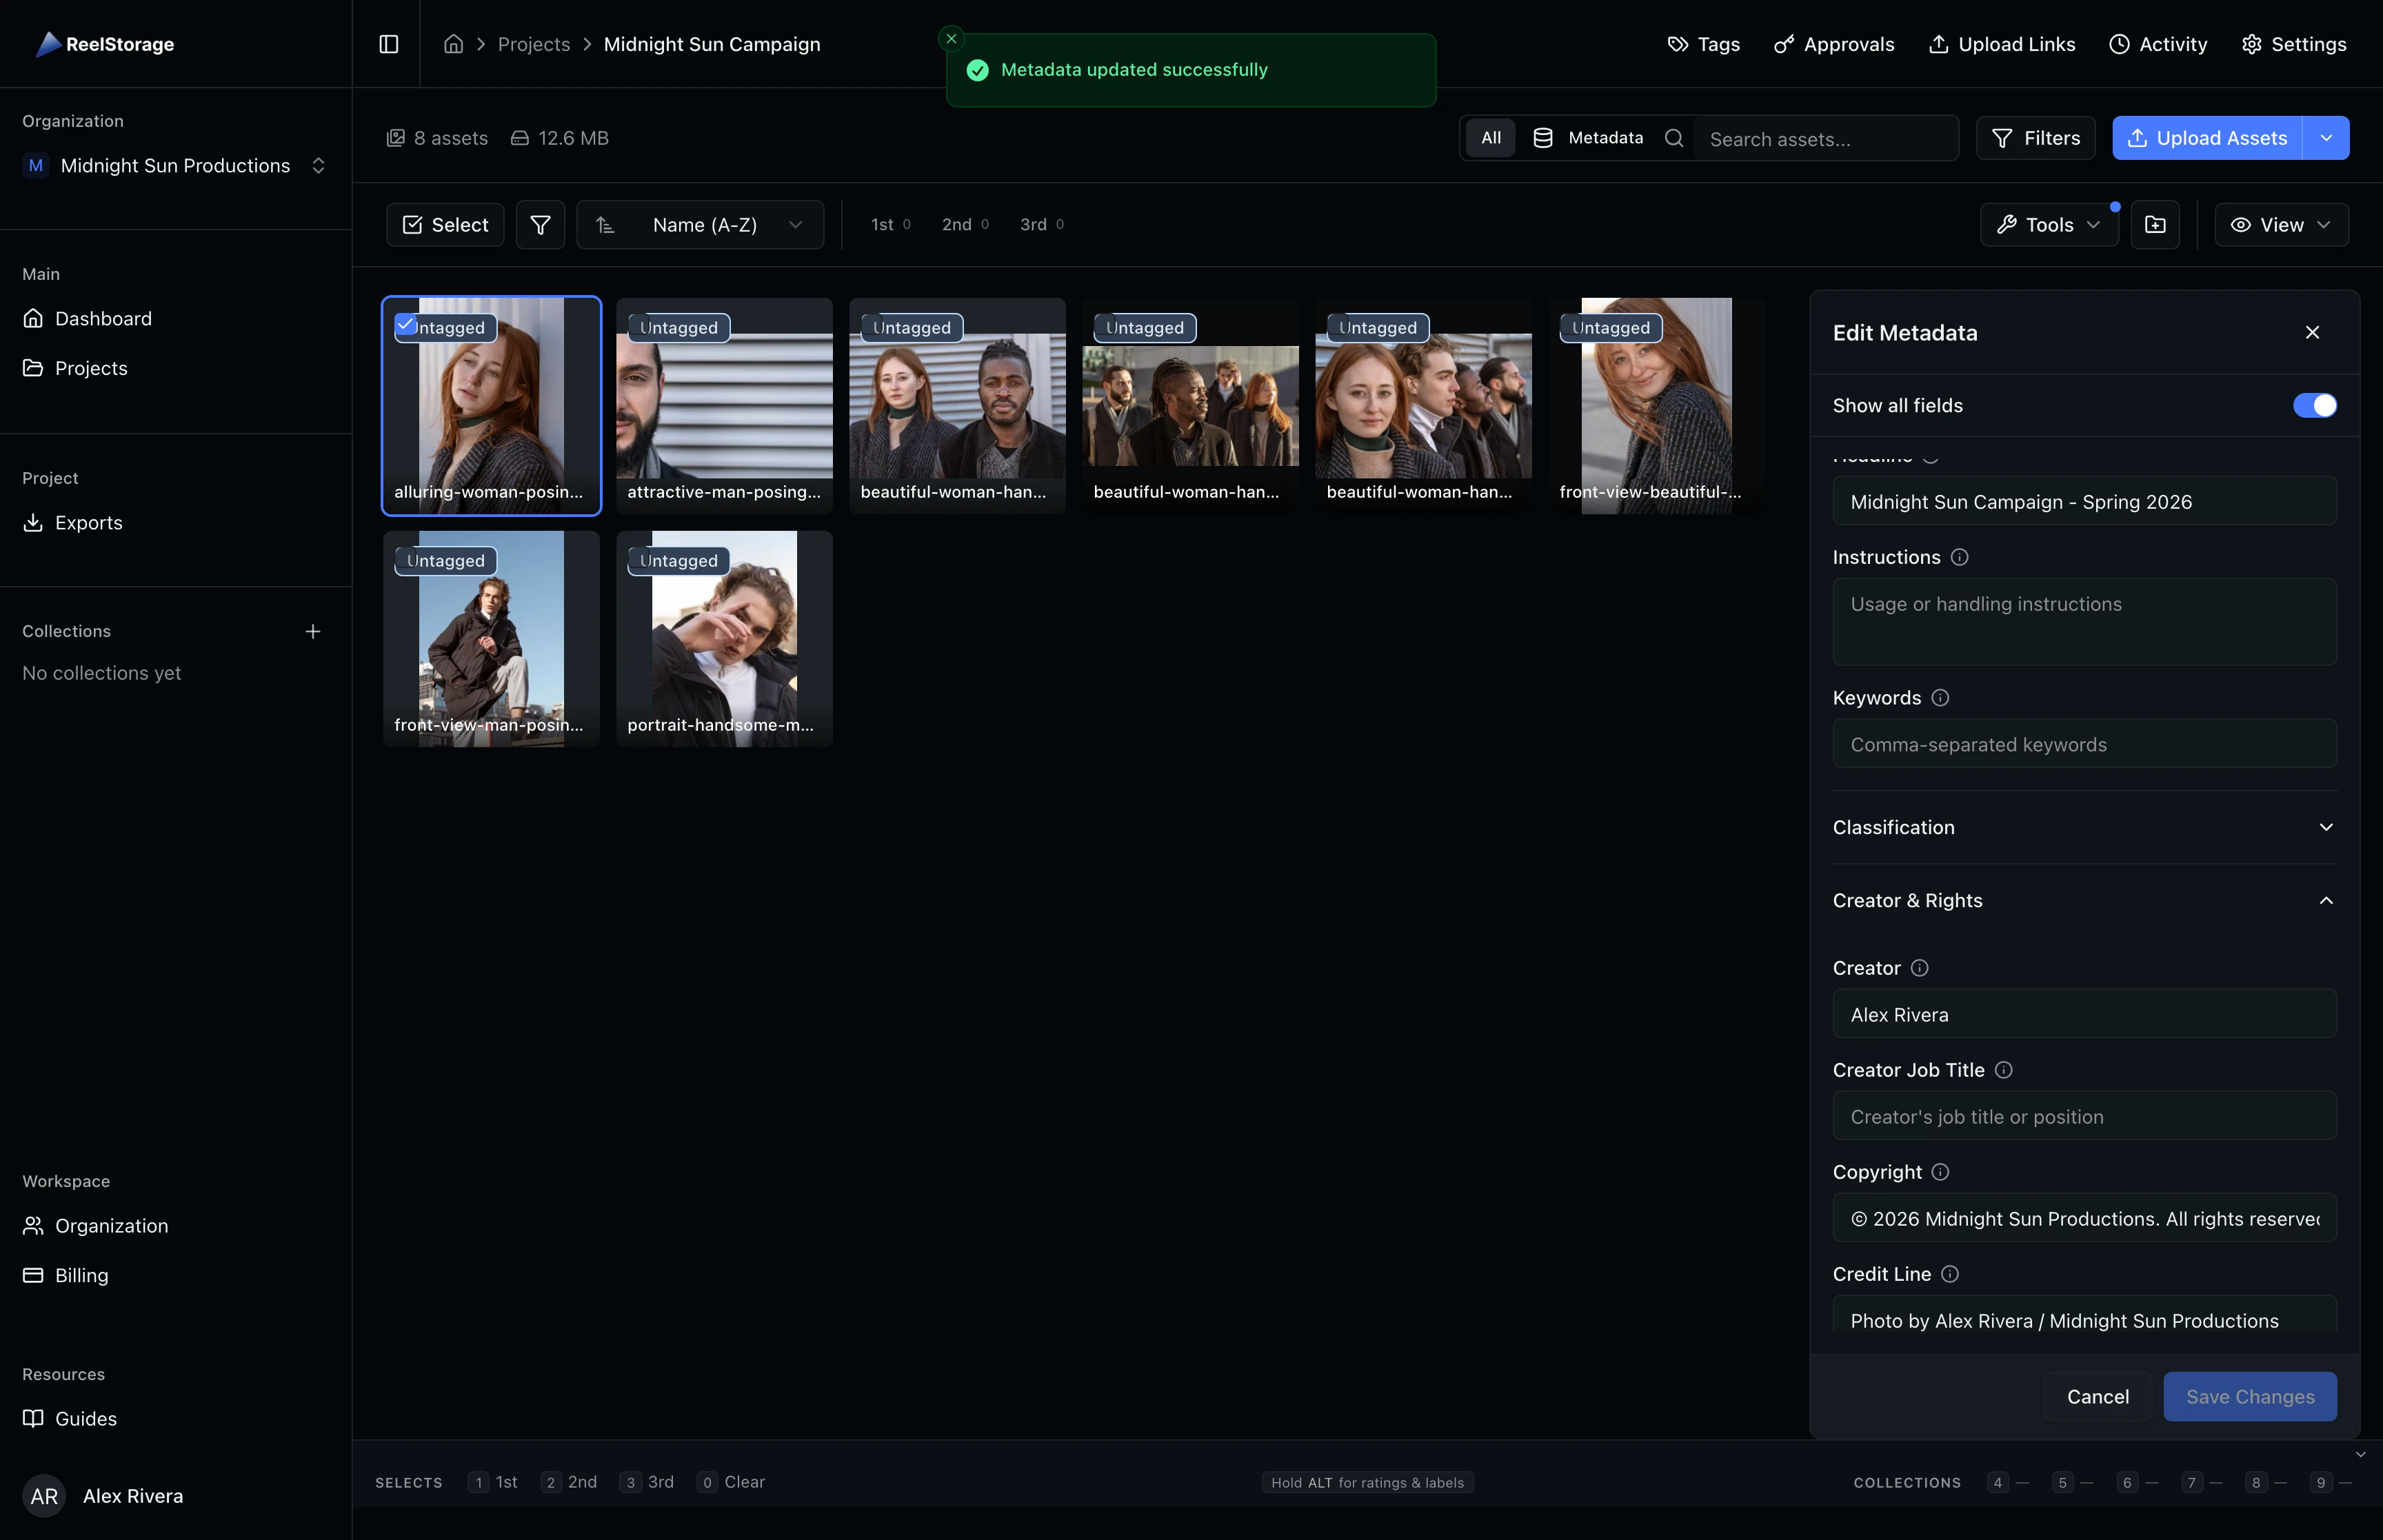
Step 7: Save Your Changes
Click Save Changes at the bottom of the editor. A success toast confirms the metadata was updated. The editor stays open so you can select another asset and continue editing without leaving the mode.
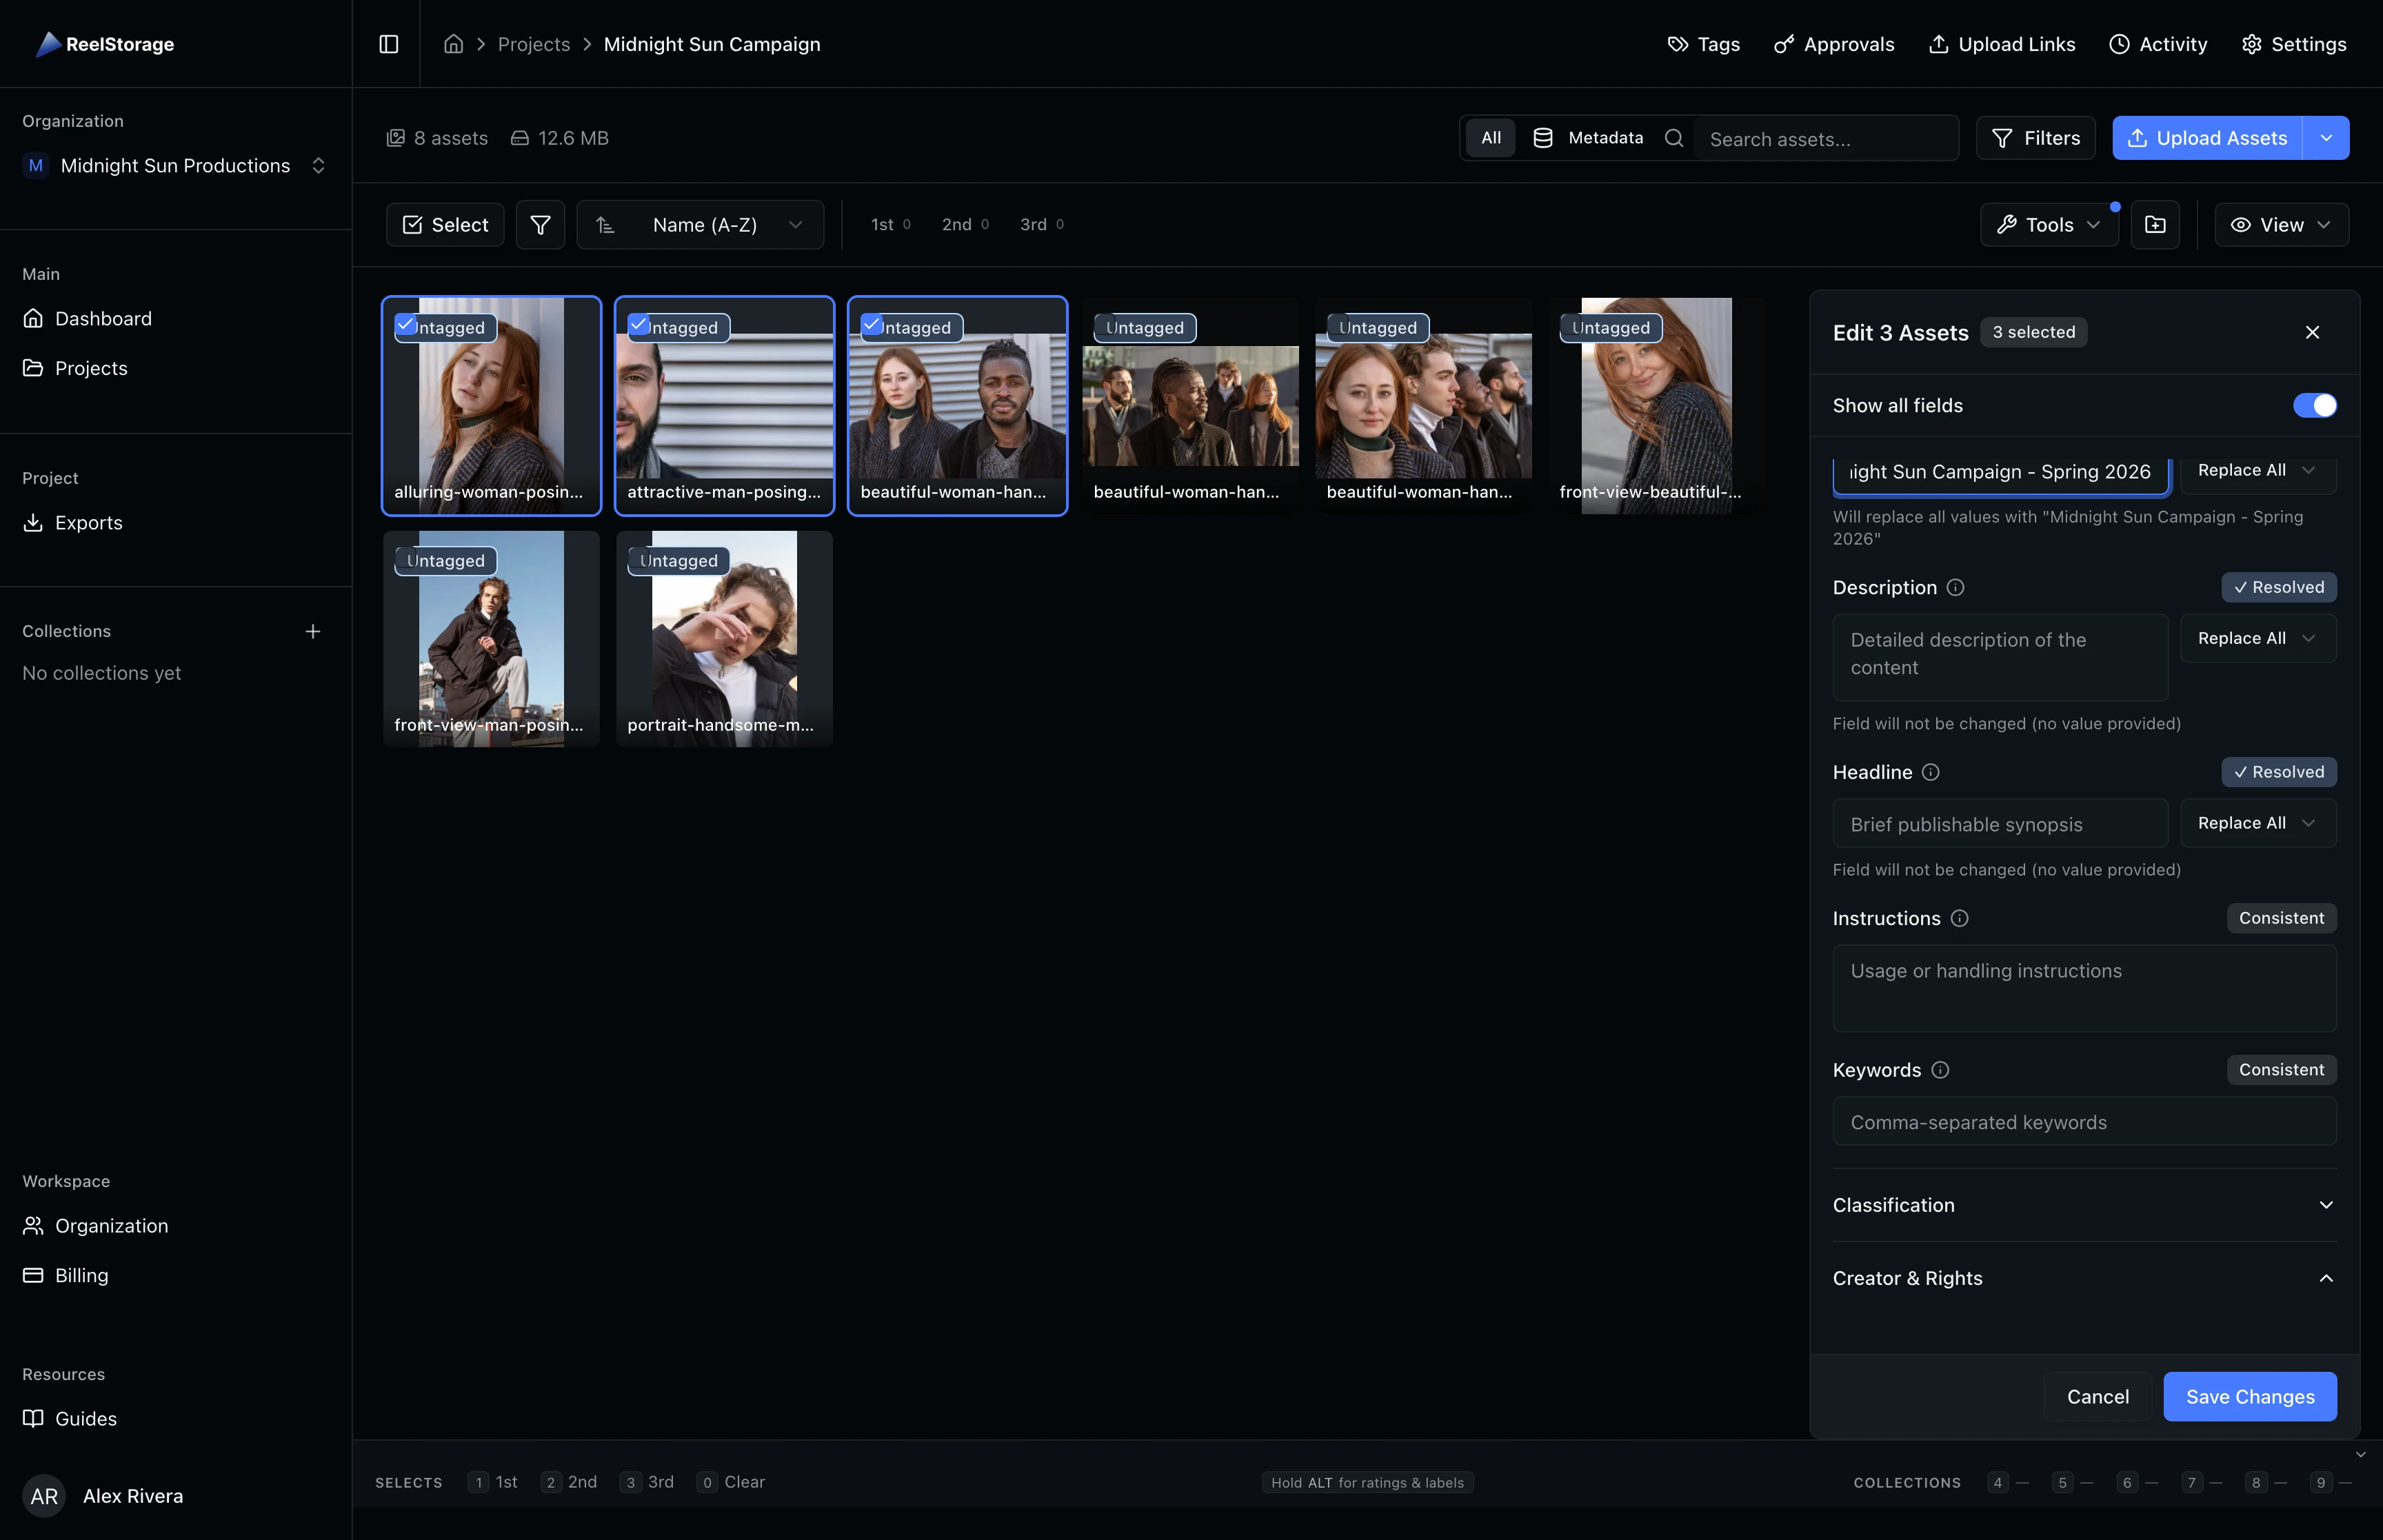
Step 8: Select Multiple Assets for Bulk Editing
To edit metadata across several assets at once, hold Shift and click additional assets in the grid. The editor header changes to "Edit N Assets" with a badge showing the selection count. Fields that have different values across the selected assets display conflict indicators with options to replace or keep existing values.

In bulk mode, saving overwrites the edited fields on all selected assets. Fields you leave empty are not changed. Double-check which assets are selected before saving.
Step 9: Save Bulk Changes
After filling in the shared values you want to apply, click Save Changes. All selected assets receive the updated metadata in a single operation. A toast confirms how many assets were updated. This is the fastest way to apply consistent copyright, location, or event data across an entire shoot.
Tips and Best Practices
- Set copyright on upload batches: When you upload a batch of photos from the same shoot, select all of them and set shared fields (copyright, creator, location) in one pass using bulk editing.
- Use headlines for editorial workflows: The Headline field is designed for short, publishable summaries. If your team distributes images to press or media outlets, fill this field consistently.
- Collapse sections you do not need: The accordion layout lets you hide field groups that are not relevant to your workflow. Your open/closed preferences persist between sessions.
Troubleshooting
Why are some fields hidden?
The editor hides empty fields by default to reduce clutter. Turn on Show all fields at the top of the panel to reveal them.
Why can't I see the Edit Metadata option?
The Edit Metadata tool requires the "editMetadata" permission on the project. Ask your organization owner or admin to grant this permission to your role.
Why does the Save button stay disabled?
The Save button activates only after you change at least one field value. In bulk mode, all field conflicts must be resolved before saving. Check that each conflicting field has a value entered or a strategy selected (Replace All or Consistent).
What's Next
- Using Tags and Metadata: Create tags to label assets with people, objects, and locations
- Browsing and Selecting Assets: Learn about sorting, filtering, and selecting assets in your grid
Related Guides
Using Tags and Metadata
Learn how to create, edit, and manage project tags to organize your assets by people, objects, and locations.
Browsing and Selecting Assets
Learn how to browse your asset grid, search by name or metadata, sort and filter results, and select assets for bulk actions.