Using the Asset Viewer
Prerequisites
The asset viewer is a full-screen modal for reviewing individual photos and videos. It gives you a large preview alongside a sidebar with metadata, tags, approvals, comments, and activity history, all in one place.
What You'll Learn
- How to open the asset viewer from the grid
- How to navigate between assets with arrows and keyboard shortcuts
- How to zoom and pan on images
- How to review metadata, tags, approvals, and comments in the sidebar tabs
- How to rate, label, and classify assets
- How to download or delete an asset from the viewer
- How to start a slideshow across your images
Step 1: Open the Asset Viewer
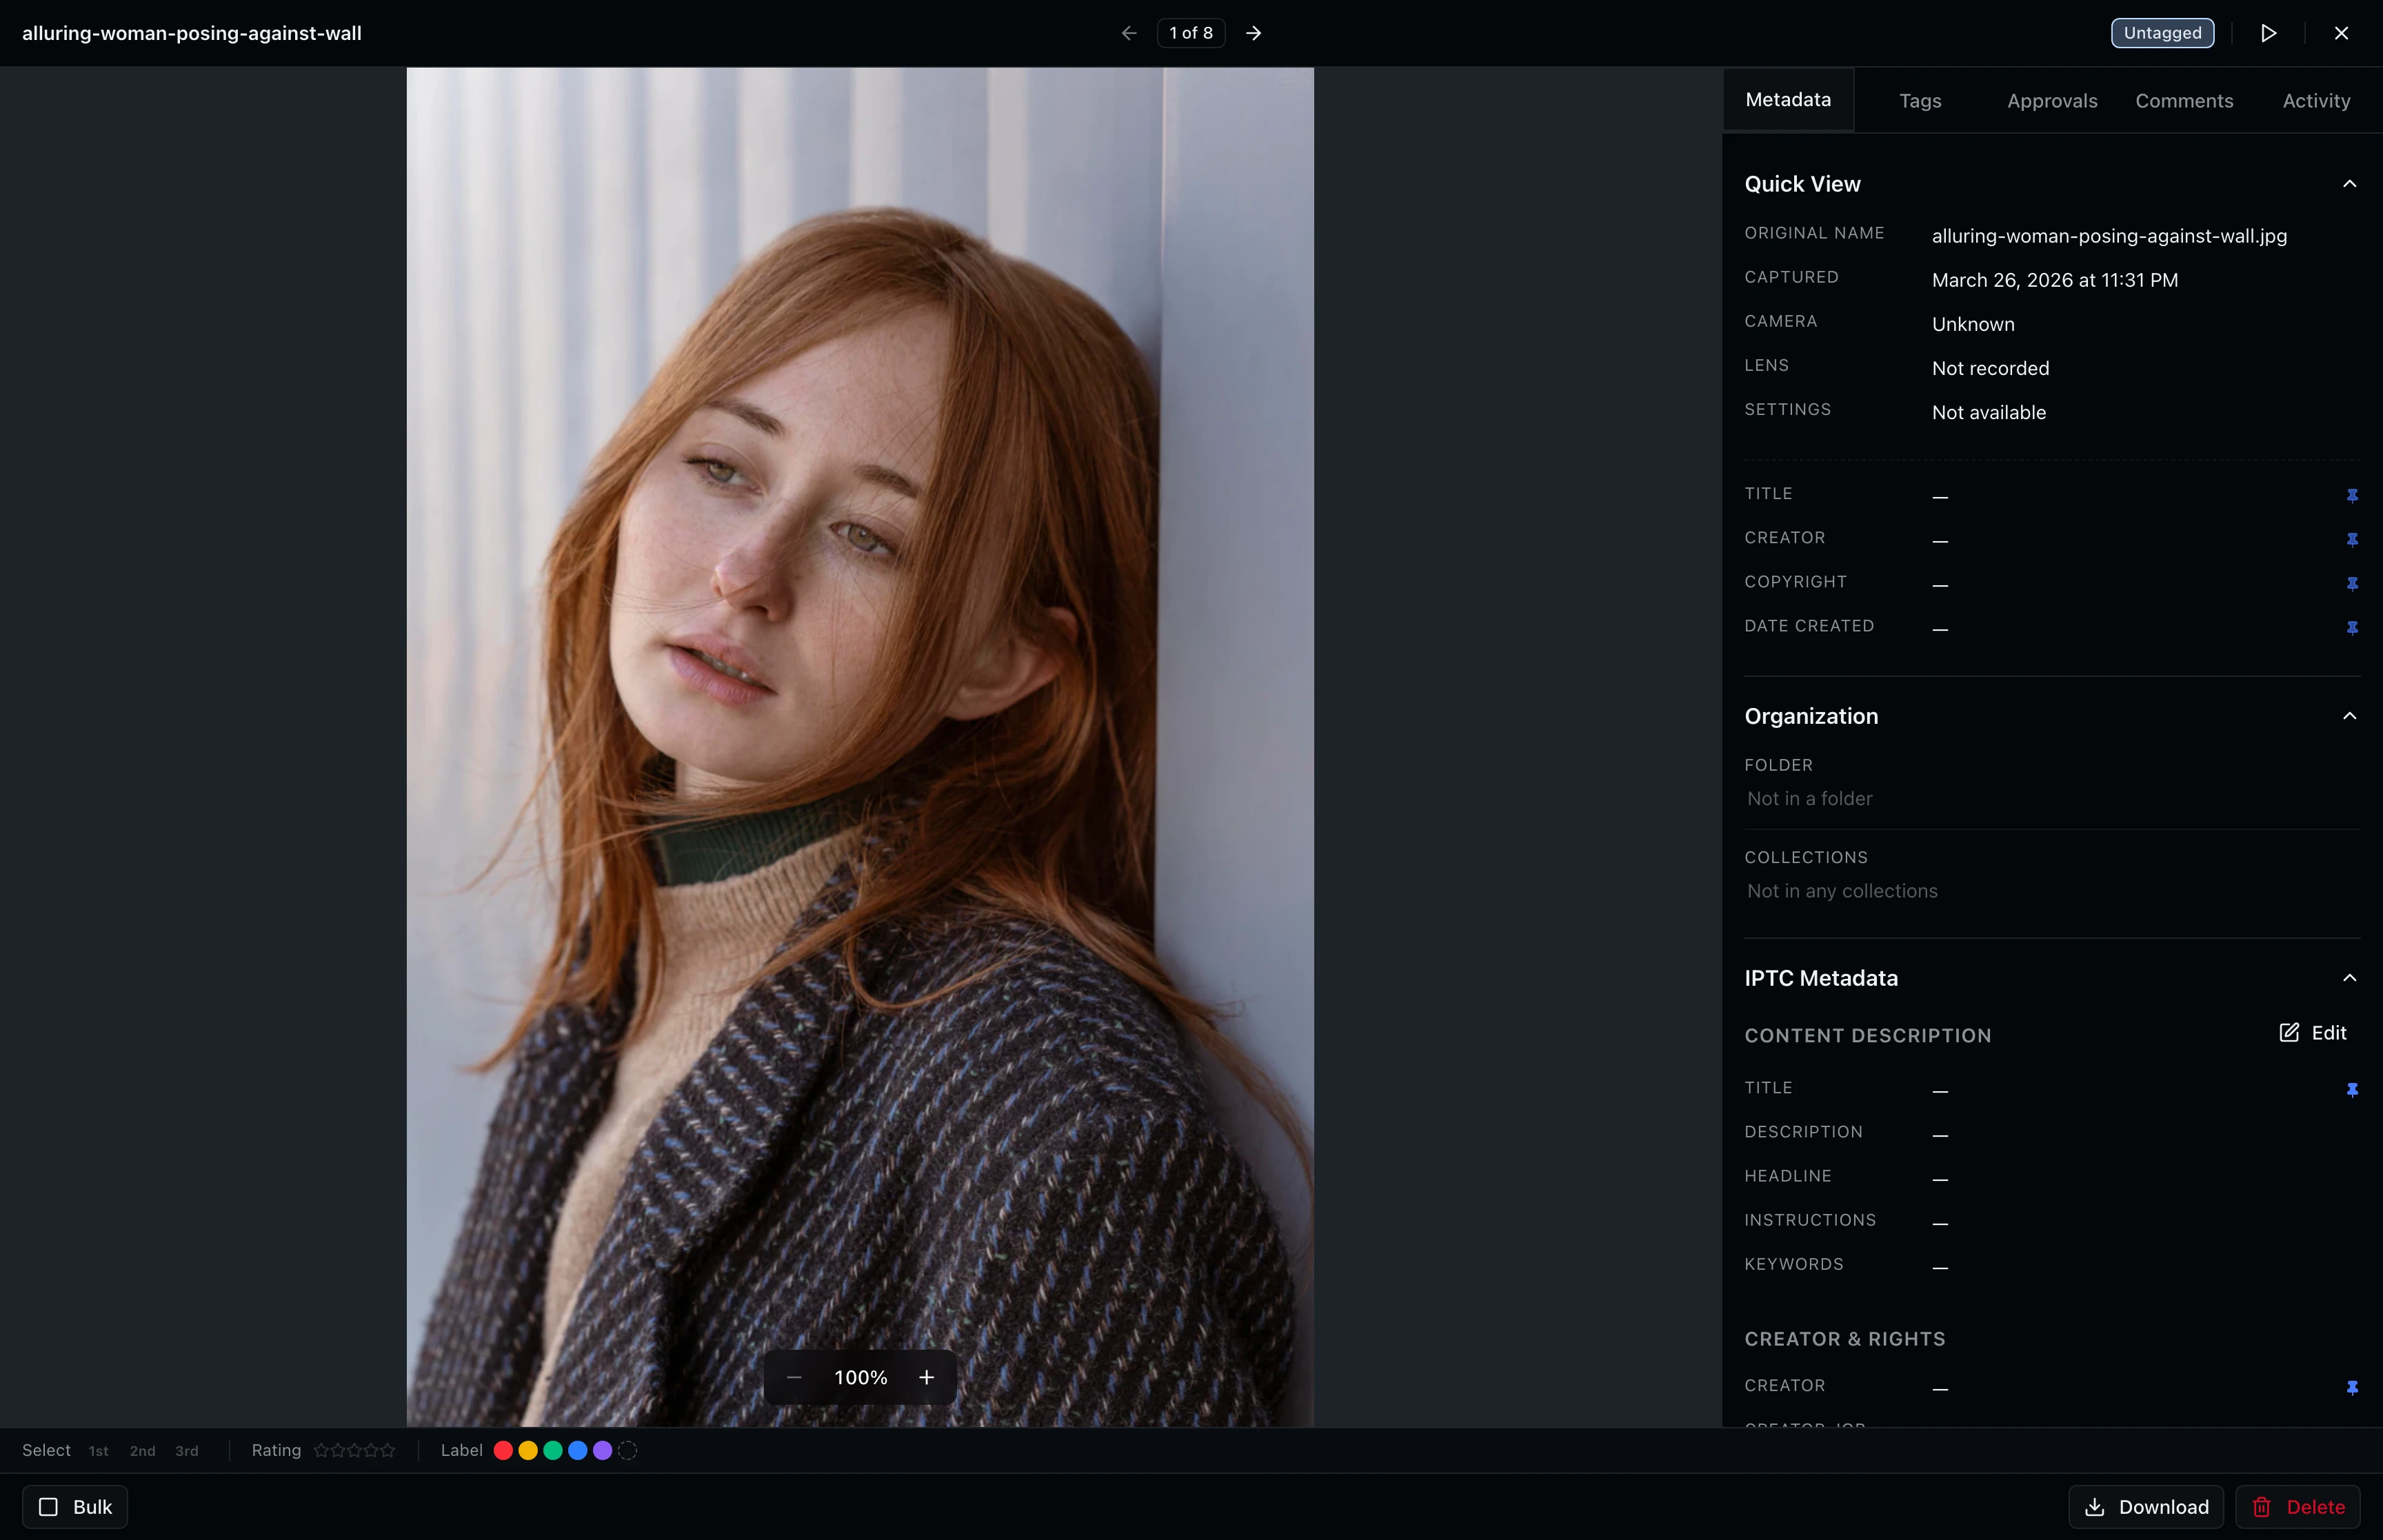
Click any asset thumbnail in the grid to open the full-screen viewer. The viewer takes over the entire screen and shows the selected photo or video in the center. A sidebar on the right provides tabs for metadata, tags, approvals, comments, and activity. The header bar displays the filename, navigation arrows, a position counter (for example, "3 of 12"), the approval status badge, and a close button.
Step 2: Navigate Between Assets
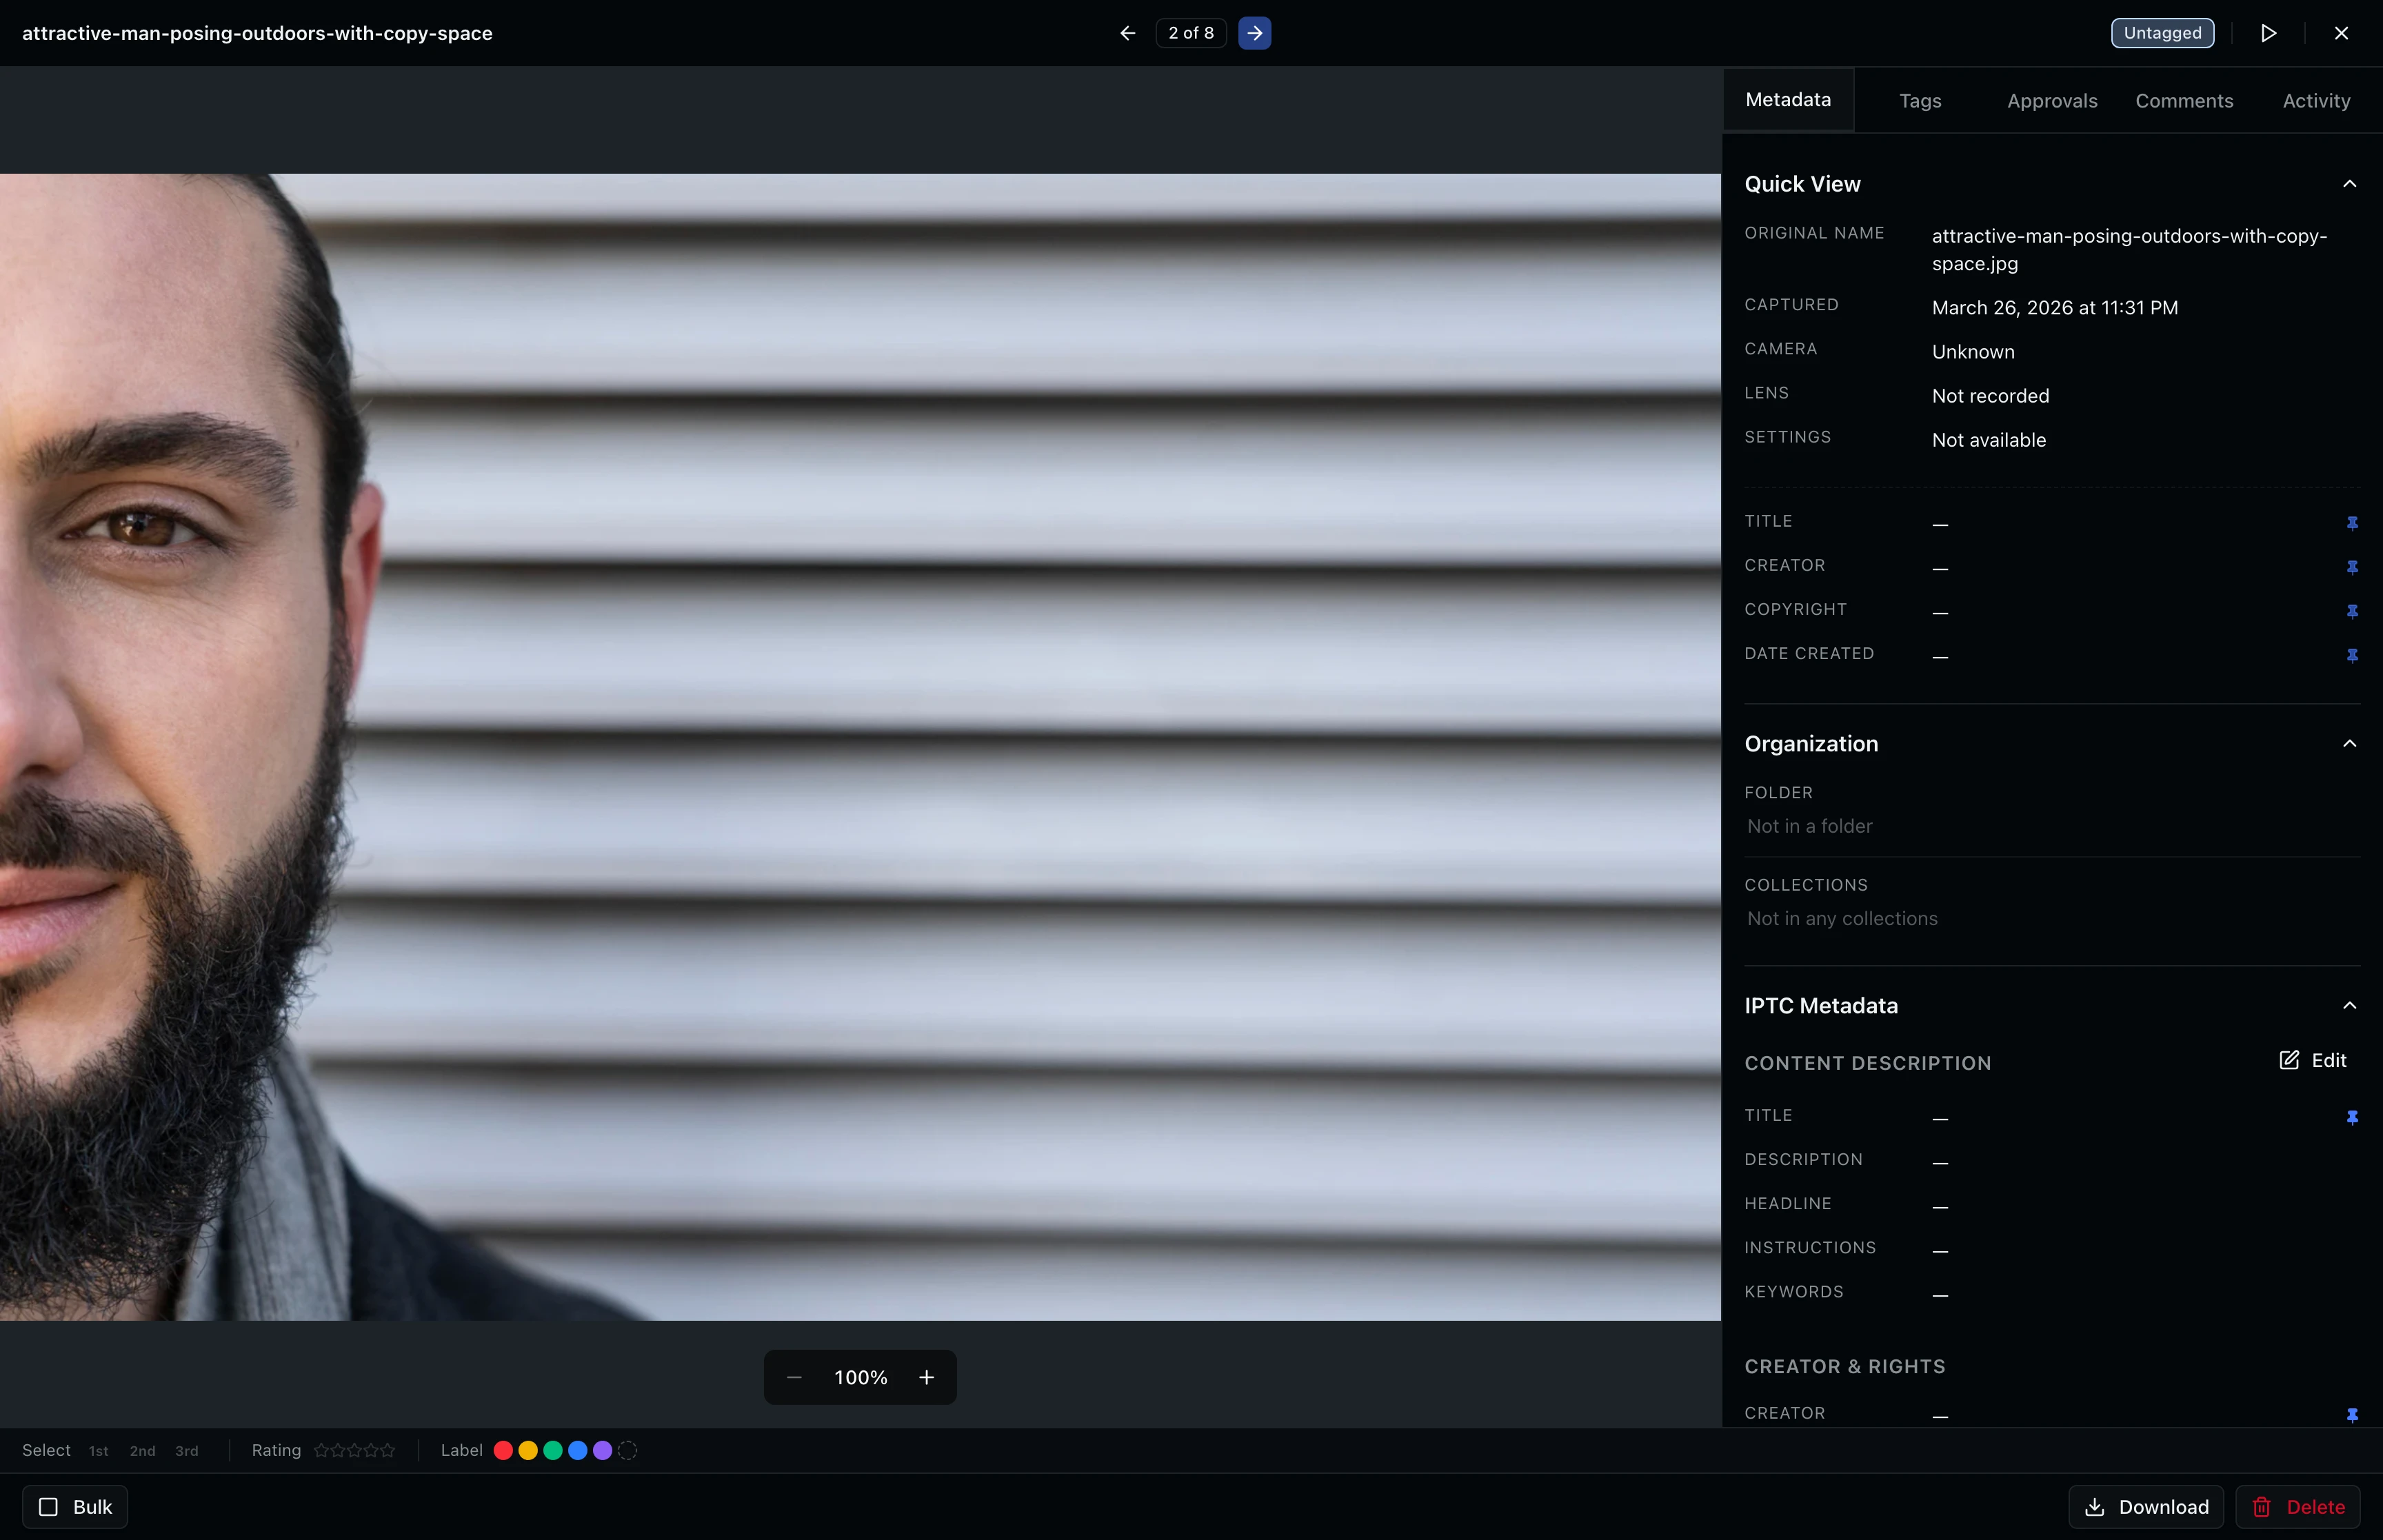
Use the left and right arrow buttons in the header to move between assets. The counter updates to show your current position. You can also press the left and right arrow keys on your keyboard for faster navigation. The viewer wraps around, so pressing next on the last asset takes you back to the first.
Step 3: Zoom and Pan an Image
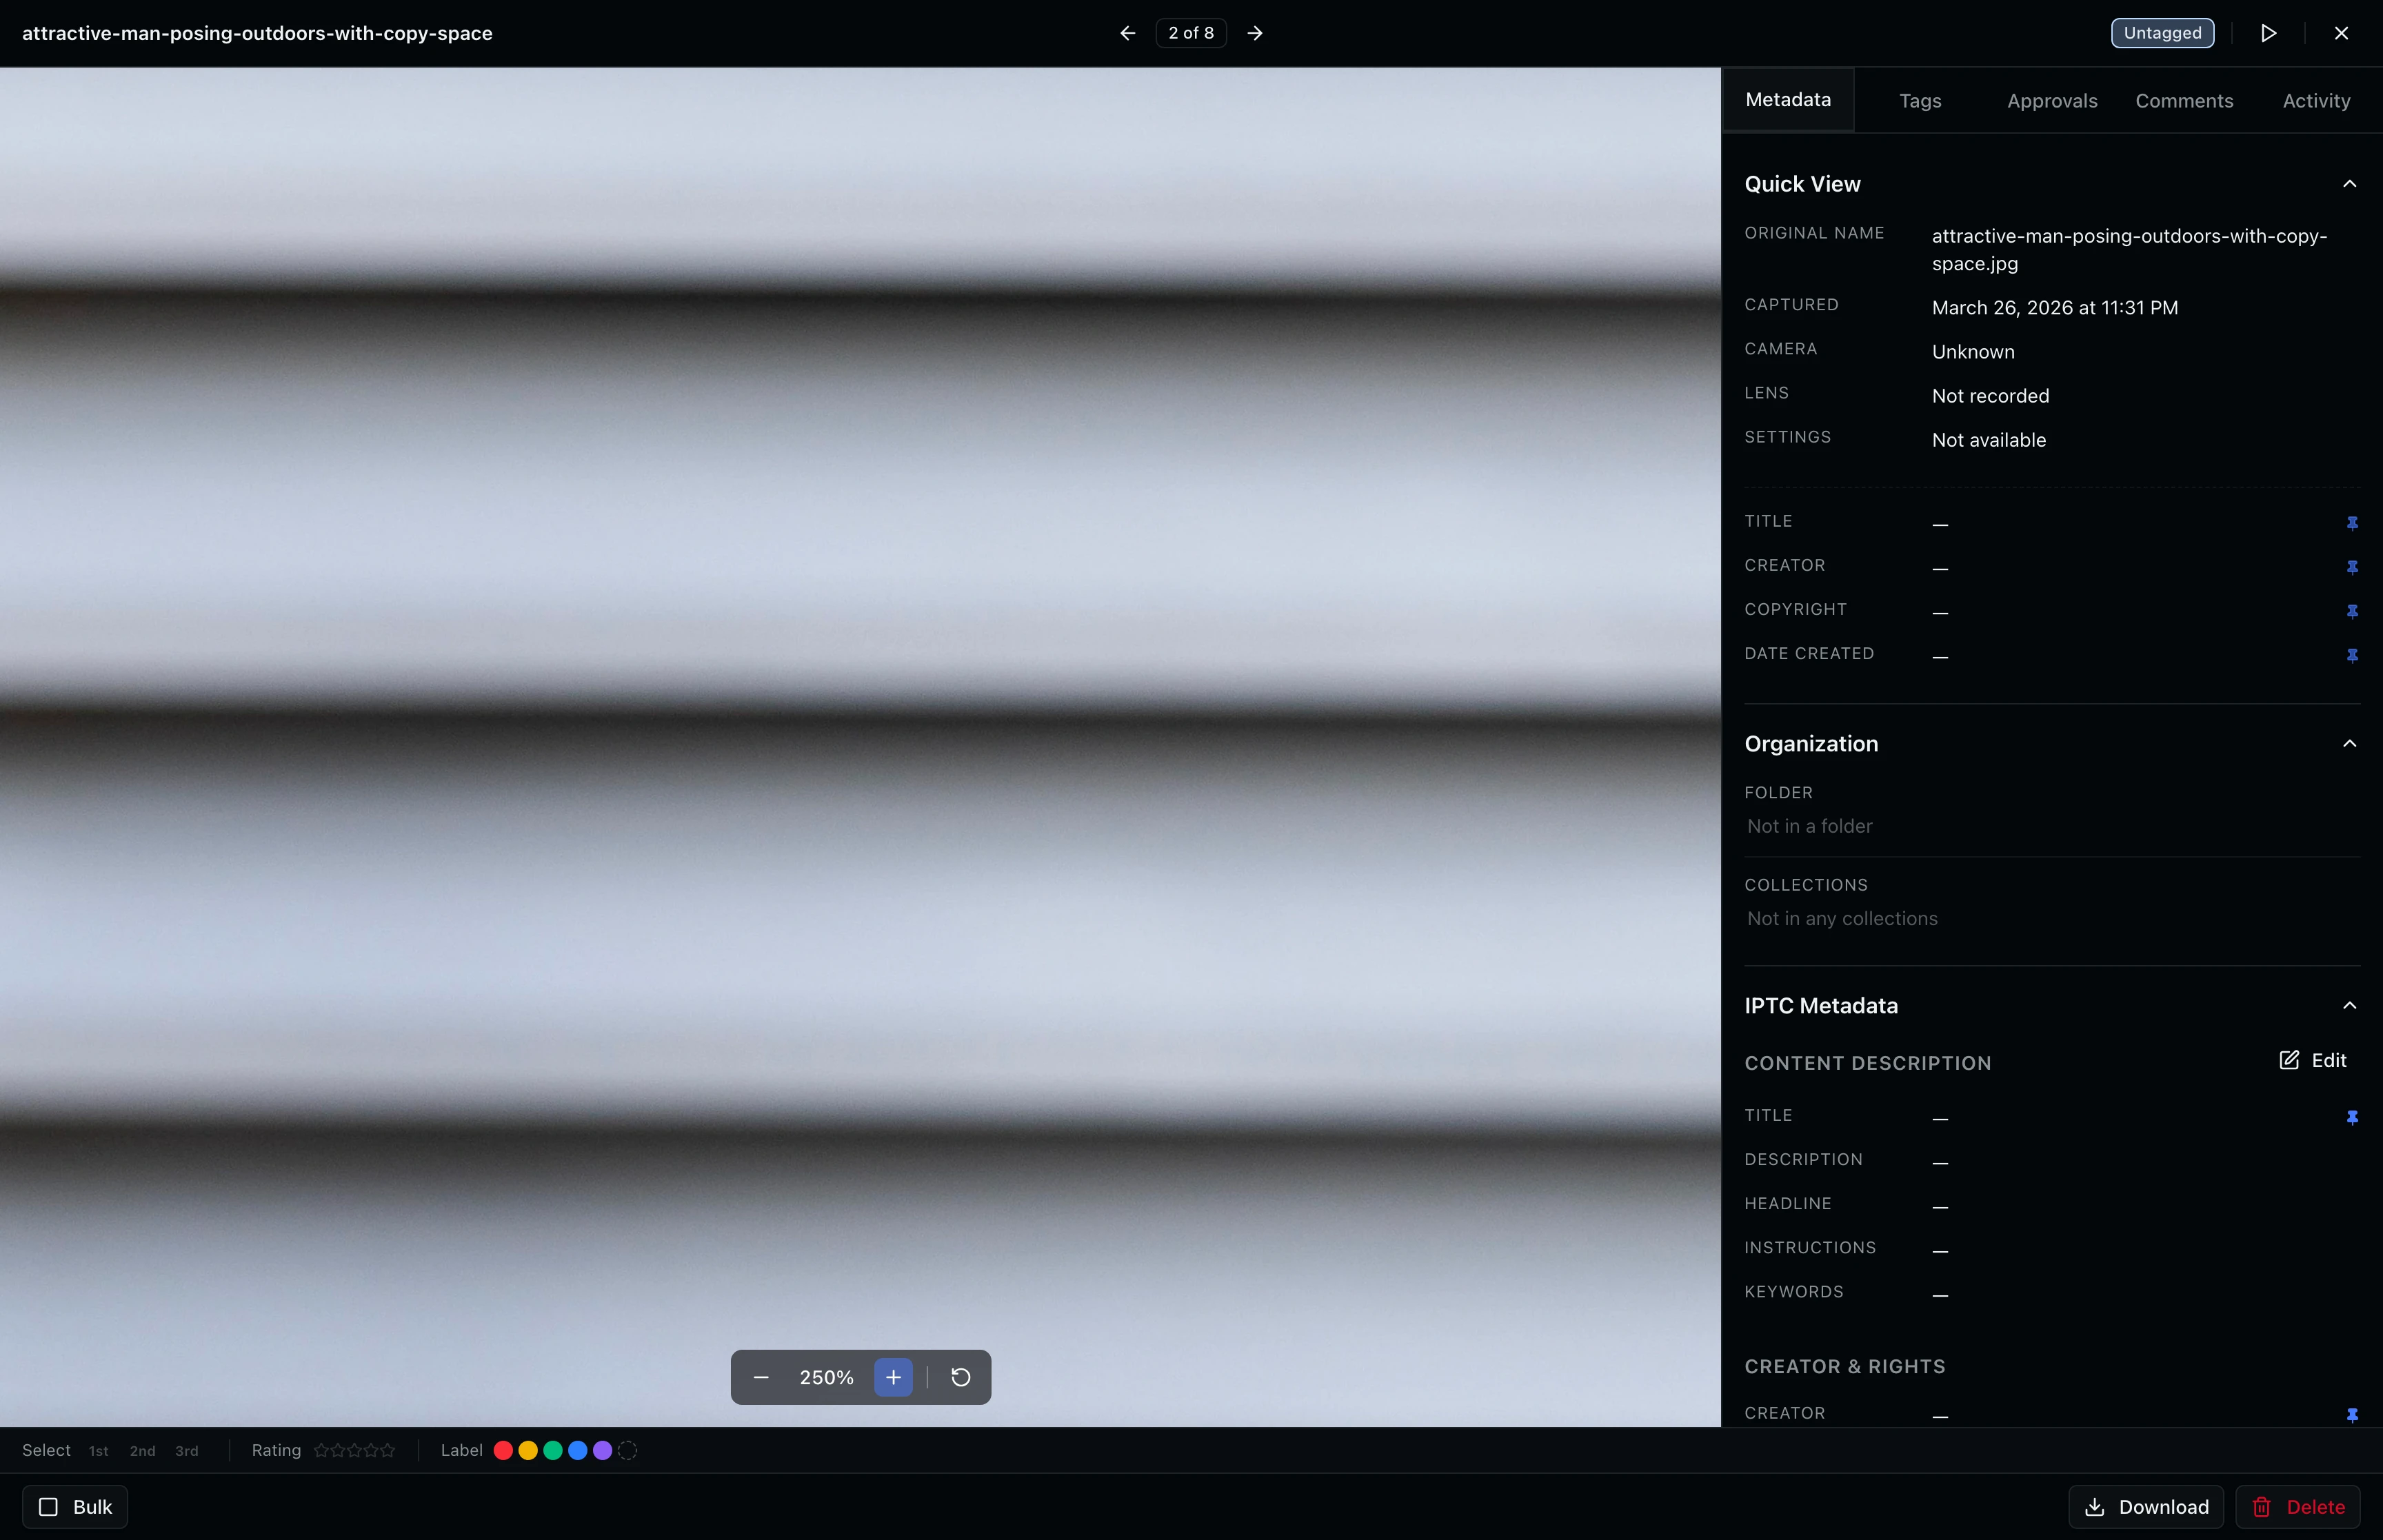
Scroll your mouse wheel over the image to zoom in and out. Click and drag to pan around the zoomed image. The zoom controls at the bottom of the preview area show the current zoom percentage with buttons to zoom in, zoom out, and reset to the default view. The viewer loads a higher-resolution version of the image automatically when you zoom past 2x for sharp detail.
Step 4: Review Metadata
The Metadata tab in the sidebar shows file details like dimensions, file size, format, and upload date. Below the technical info, you can see IPTC fields such as title, description, creator, and copyright. Click the edit button to update metadata fields directly from the viewer without leaving the current asset.

Step 5: Rate and Classify Assets
The classification bar sits between the preview and the action buttons. It has three controls:
- Select tier: Click 1st, 2nd, or 3rd to categorize the asset by priority. Click again to clear the selection.
- Star rating: Click a star (1 to 5) to rate the asset. Click the same star again to remove the rating.
- Color label: Pick a color label (Red, Yellow, Green, Blue, Purple) from the dropdown to visually tag assets for your workflow. Use color labels to mark assets for retouching, client review, or final delivery.
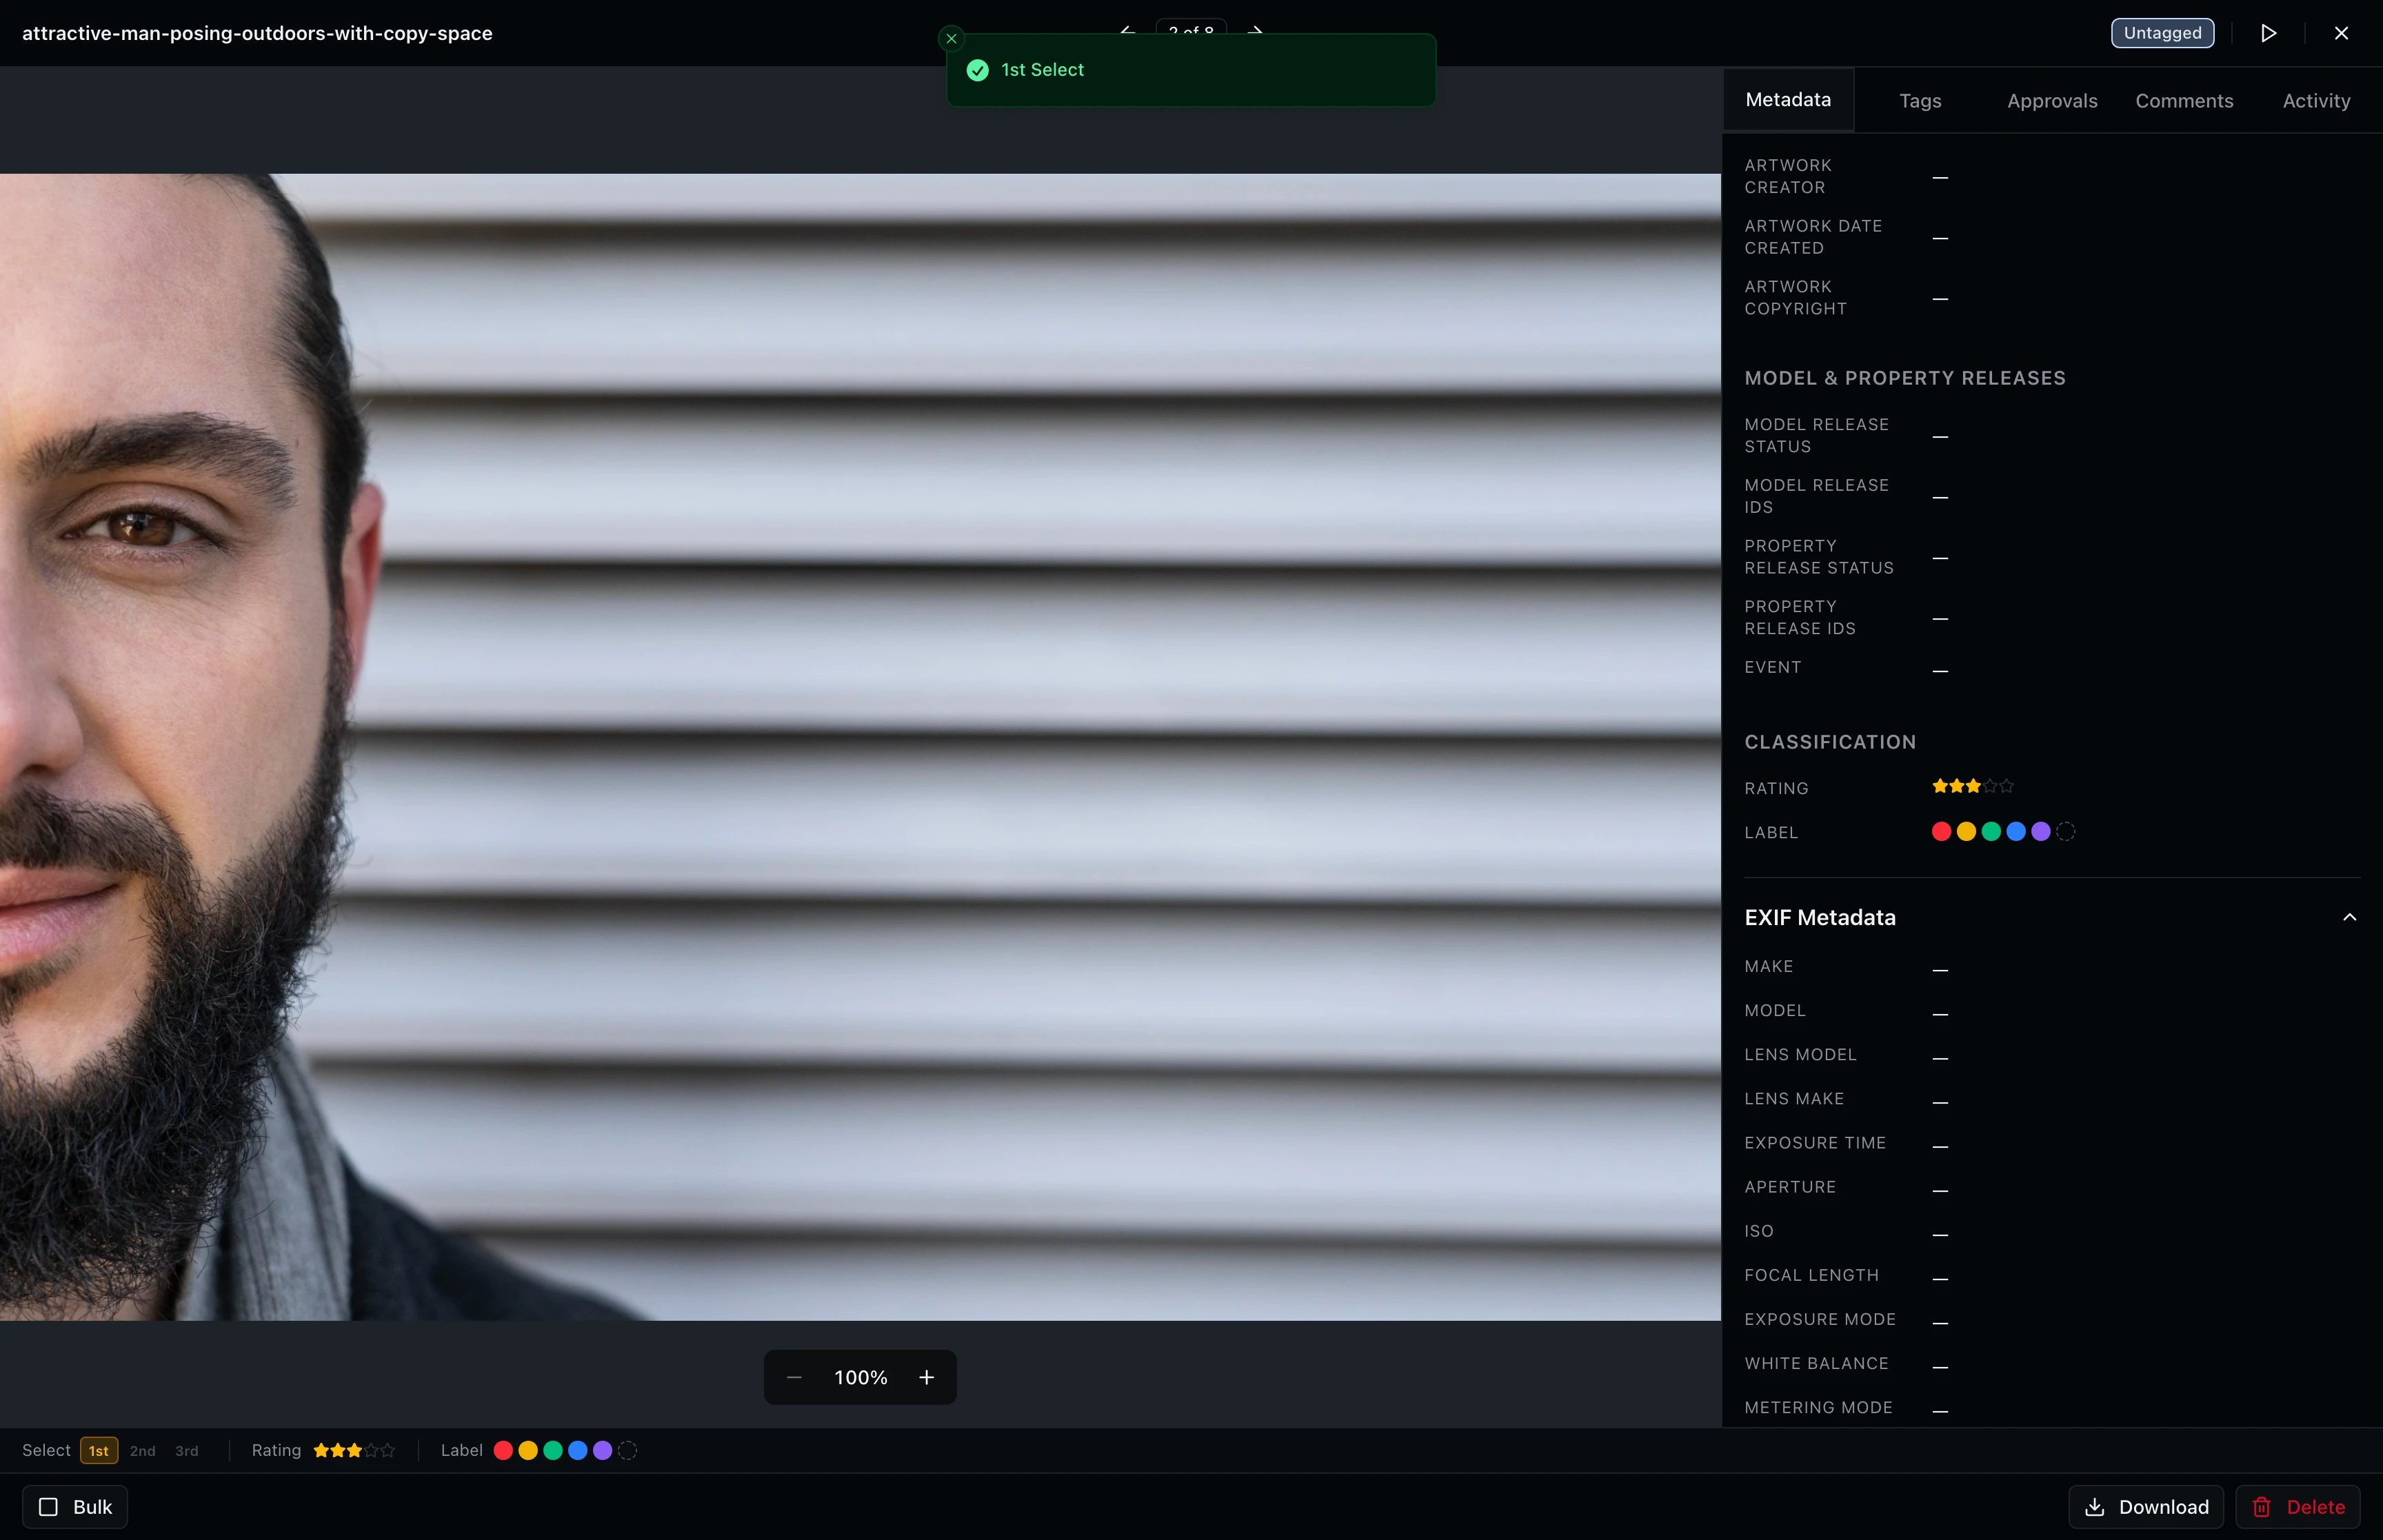
Keyboard shortcuts speed up classification. Press 1, 2, or 3 to set the select tier. Star ratings and color labels can be applied from the grid view as well.
Step 6: Browse Tags
Click the Tags tab to see all tags applied to this asset. Tags include people (talent names), categories (location, lighting conditions), and custom labels your team has created. Person tags with approval rights show an indicator next to the name.

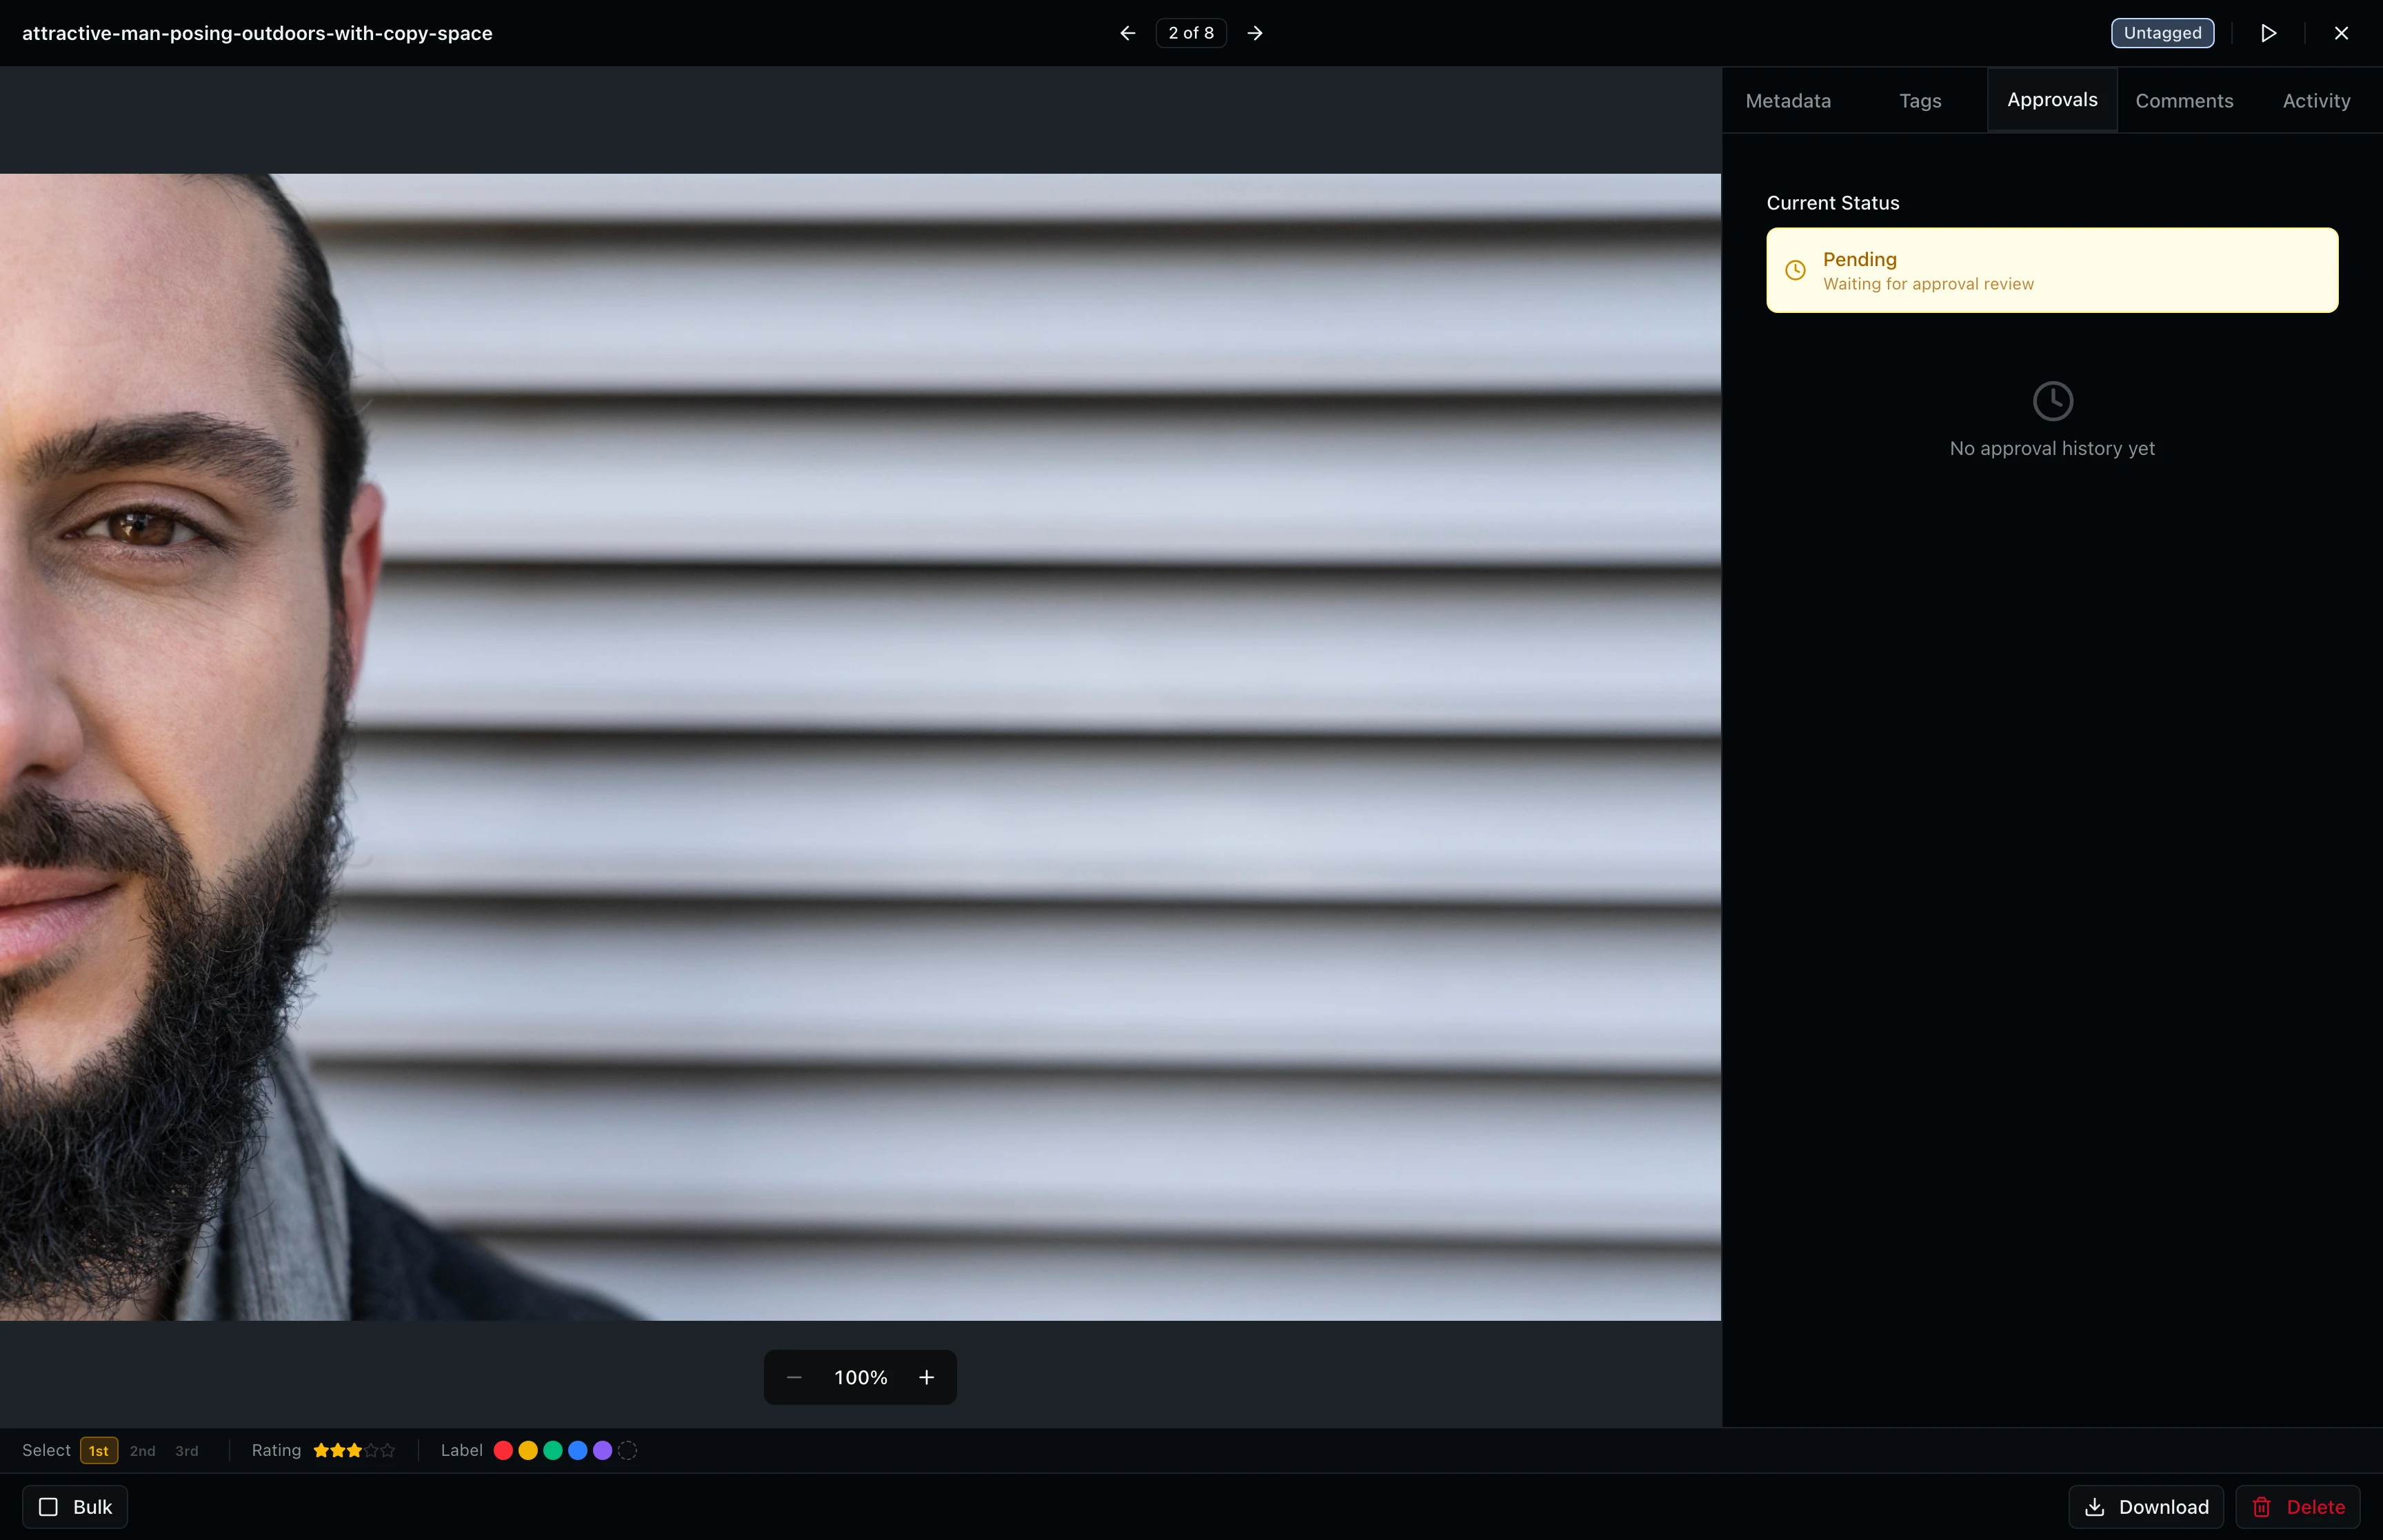
Step 7: Check Approval Status
Click the Approvals tab to see the approval status for each tagged talent. Each talent entry shows whether they have approved, rejected, or not yet reviewed the asset. The approval status badge in the header provides a quick summary. If all tagged talent have approved, the badge shows "Approved." If any talent has not responded, it shows "Pending."
Step 8: View Comments
Click the Comments tab to read and post comments on the asset. Comments support threaded replies and are visible to all project members with access. Use comments to leave feedback, request edits, or coordinate with your team during the review process. A badge on the Comments tab shows the count when comments exist.

Step 9: Review Activity History
Click the Activity tab to see a chronological log of everything that has happened to this asset: uploads, metadata edits, tag changes, approval updates, and downloads. Each entry shows the action, who performed it, and when.

The Activity tab requires the "viewAuditLogs" permission. If you do not see this tab, ask your project admin to grant you access.
Step 10: Download or Delete an Asset
The action bar at the bottom of the viewer provides Download and Delete buttons. Click Download to save the original file to your computer. If the asset has multiple file formats (for example, RAW + JPEG), a popover lets you pick which formats to download. Click Delete to permanently remove the asset from the project.

Both Download and Delete require specific project permissions. If you do not see these buttons, your project role may not include the required permissions. Deletion is permanent and cannot be undone.
Step 11: Start a Slideshow
If the project has two or more images, a play button appears in the header next to the close button. Click it to launch a full-screen slideshow that auto-advances through your images. Use the slideshow controls to pause, change speed, pick a transition effect (fade, slide, or zoom), and toggle looping. Press Escape to exit the slideshow and return to the viewer.

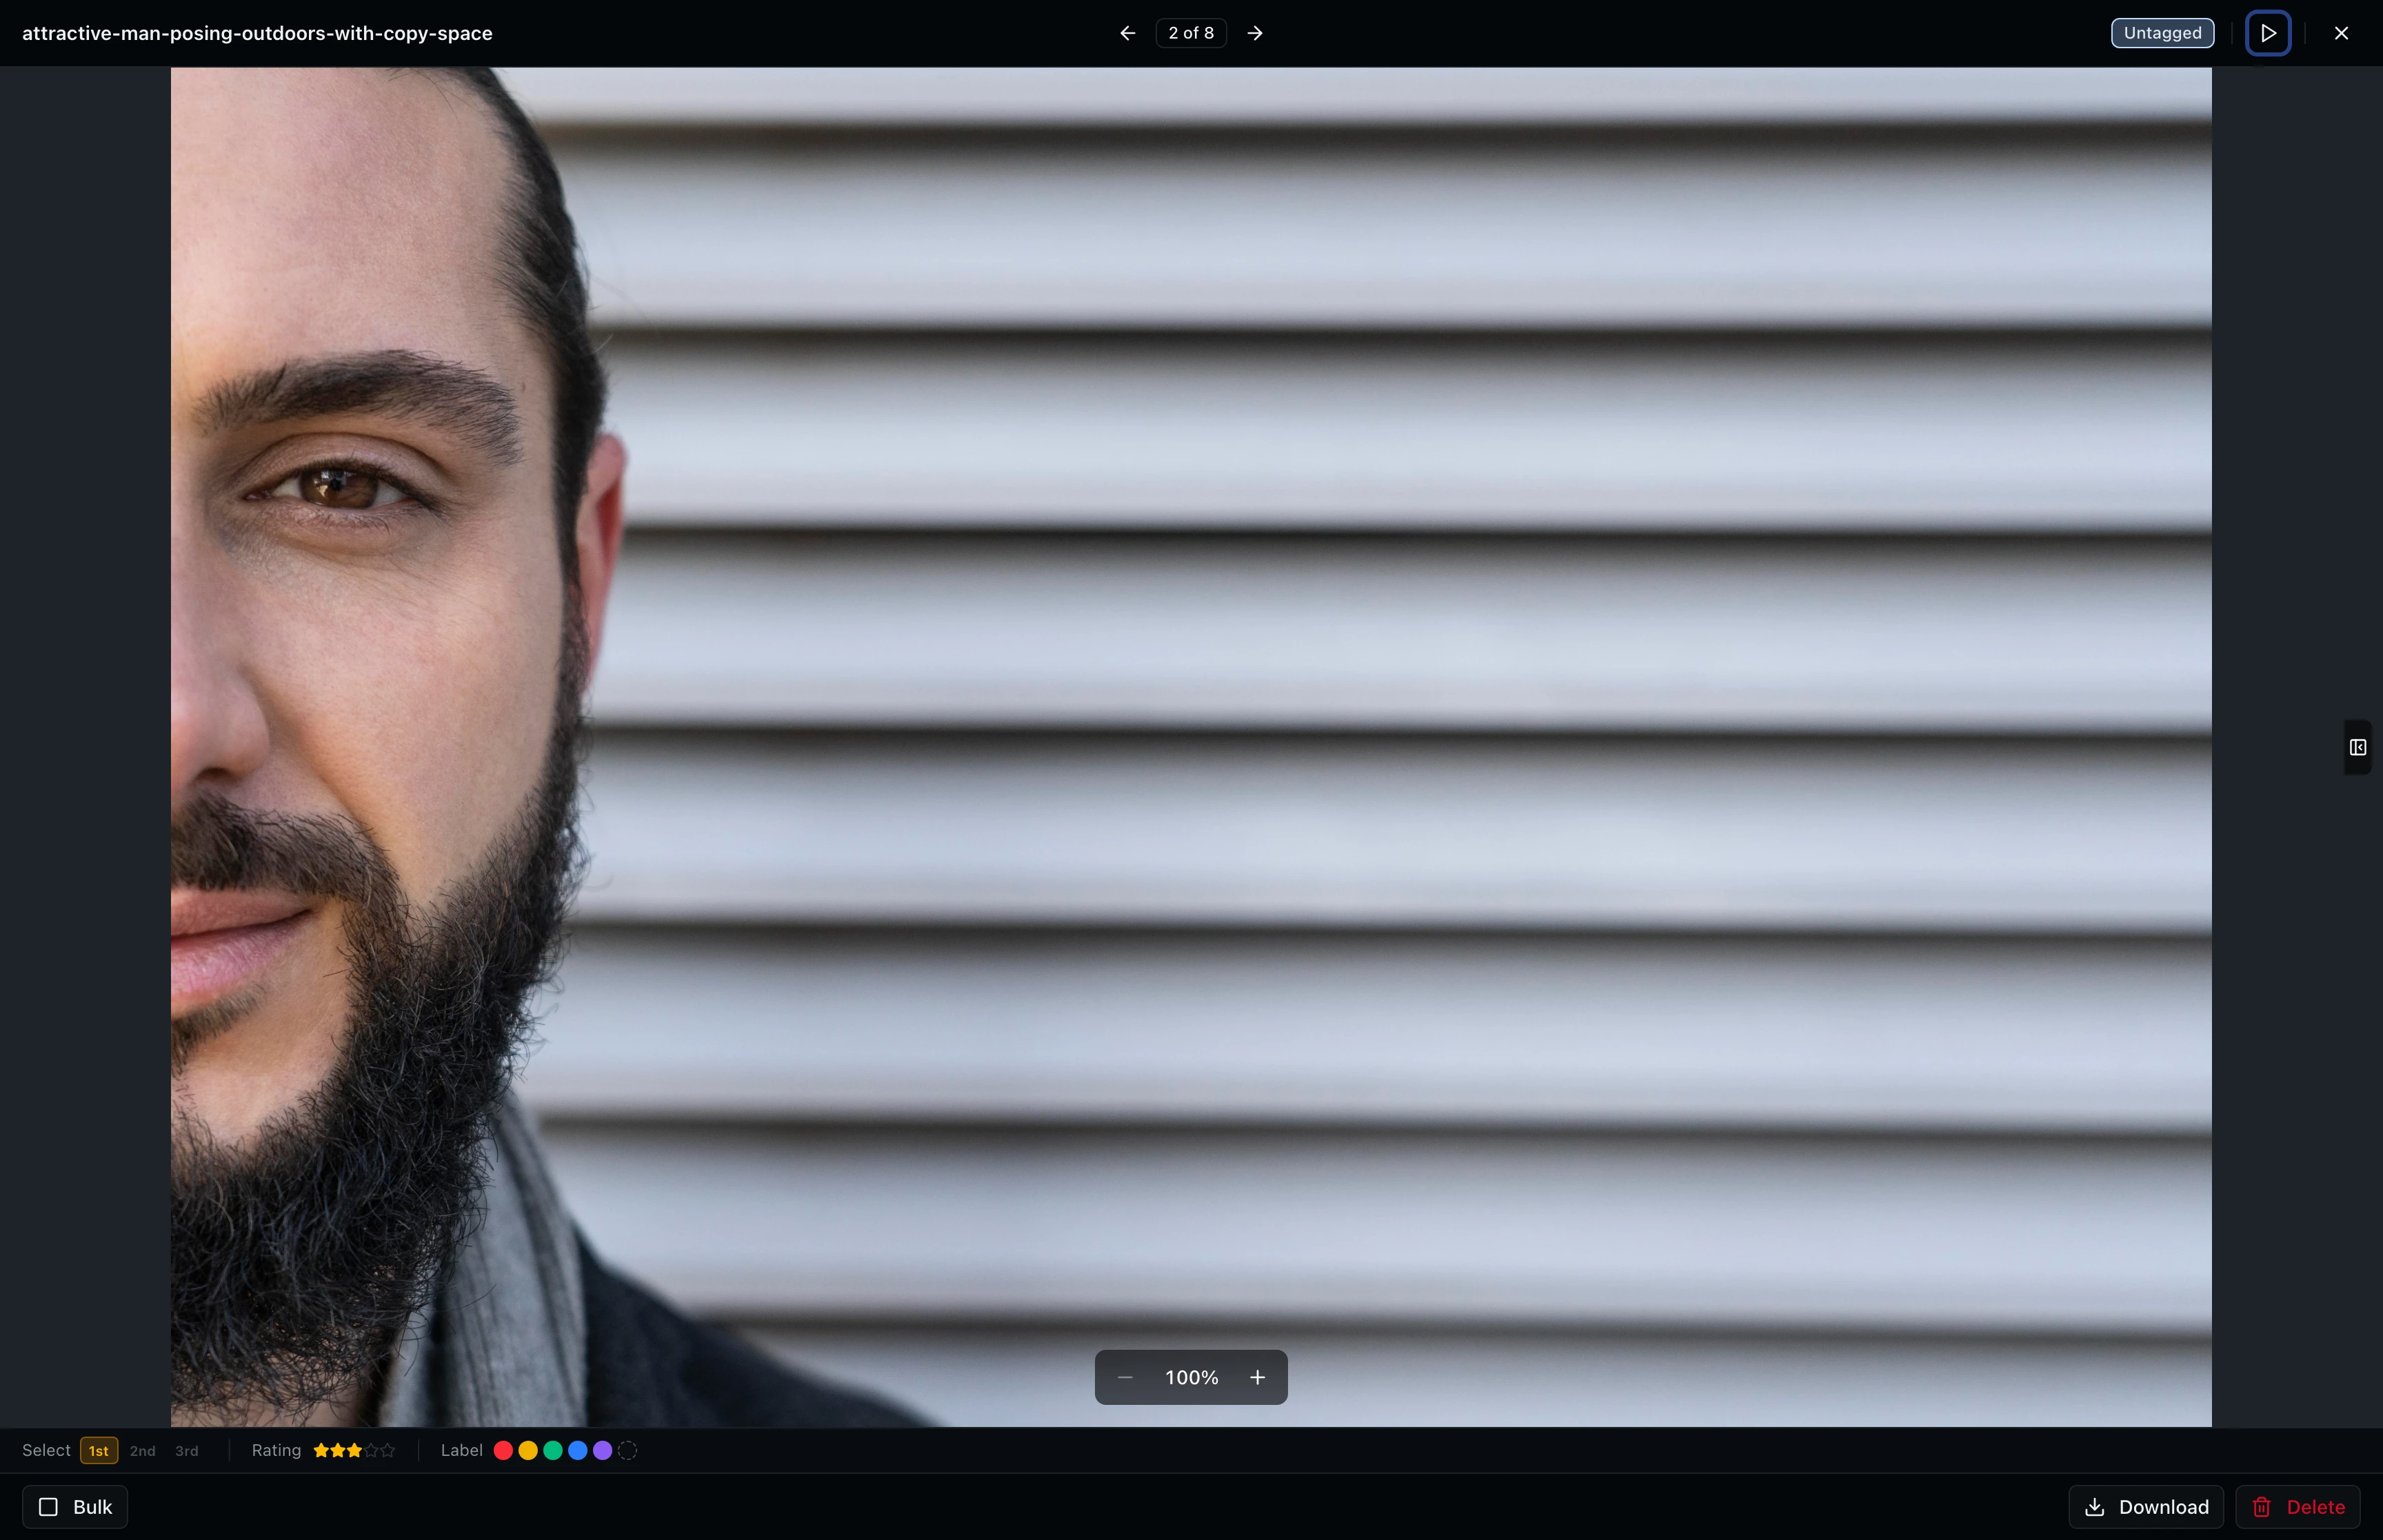
Step 12: Collapse the Sidebar
Hover over the left edge of the sidebar and click the toggle to collapse it, giving the preview more screen space. This is useful when you need to focus on the image without distractions. Click the expand button on the right edge to bring the sidebar back.
Tips and Best Practices
- Use keyboard shortcuts: Press the left and right arrow keys to move between assets, D to download, Delete to remove, B to toggle bulk selection, and Escape to close the viewer.
- Zoom for detail: Scroll to zoom past 2x and the viewer automatically loads a higher-resolution version for pixel-level review.
- Work in bulk: Press B to enter bulk selection mode, then use checkboxes to select multiple assets for batch download, tagging, or deletion.
- Collapse the sidebar: When reviewing image details at high zoom, collapse the sidebar to give the preview the full viewport width.
Troubleshooting
Why can't I see the Download or Delete buttons?
These buttons are permission-gated. Ask your project admin to grant you the "downloadAssets" or "deleteAssets" permission for the project.
Why does the slideshow button not appear?
The slideshow requires at least two images in the project. Video-only projects or single-image projects will not show the slideshow button.
Why does the image look blurry when zoomed in?
The viewer starts with a preview-sized image for fast loading. When you zoom past 2x, a detail-resolution image loads automatically. Wait a moment for the sharper version to appear.
Why don't I see the Activity or Tags tabs?
These tabs are permission-gated. The Activity tab requires "viewAuditLogs" and the Tags tab requires "viewTags." Ask your project admin to update your permissions.
What's Next
- Using Tags and Metadata: Learn to add and manage tags and edit IPTC metadata for your assets.
- Organizing Assets with Collections: Group assets into curated collections for review and sharing.
Related Guides
Browsing and Selecting Assets
Learn how to browse your asset grid, search by name or metadata, sort and filter results, and select assets for bulk actions.
Using Tags and Metadata
Learn how to create, edit, and manage project tags to organize your assets by people, objects, and locations.
Organizing Assets with Collections
Learn how to create collections, add assets to them, view collection contents, and manage collections from the sidebar.