Organizing Assets with Collections
Prerequisites
Collections let you group assets into named sets without moving or duplicating files. Use them to curate selects, organize deliverables, or prepare batches for sharing. A single asset can belong to multiple collections at the same time.
What You'll Learn
- How to create a new collection from the project sidebar
- How to add assets to a collection using selection mode
- How to view and browse a collection's contents
- How to access collection actions through the context menu
- How to edit a collection's name and description
- How to delete a collection you no longer need
Step 1: Open Your Project
Navigate to the Projects page from the sidebar and click Open Project on the project you want to work with. You should have assets uploaded already. The left sidebar shows a Collections section below the folders list. If this is a new project, the section reads "No collections yet" until you create one.

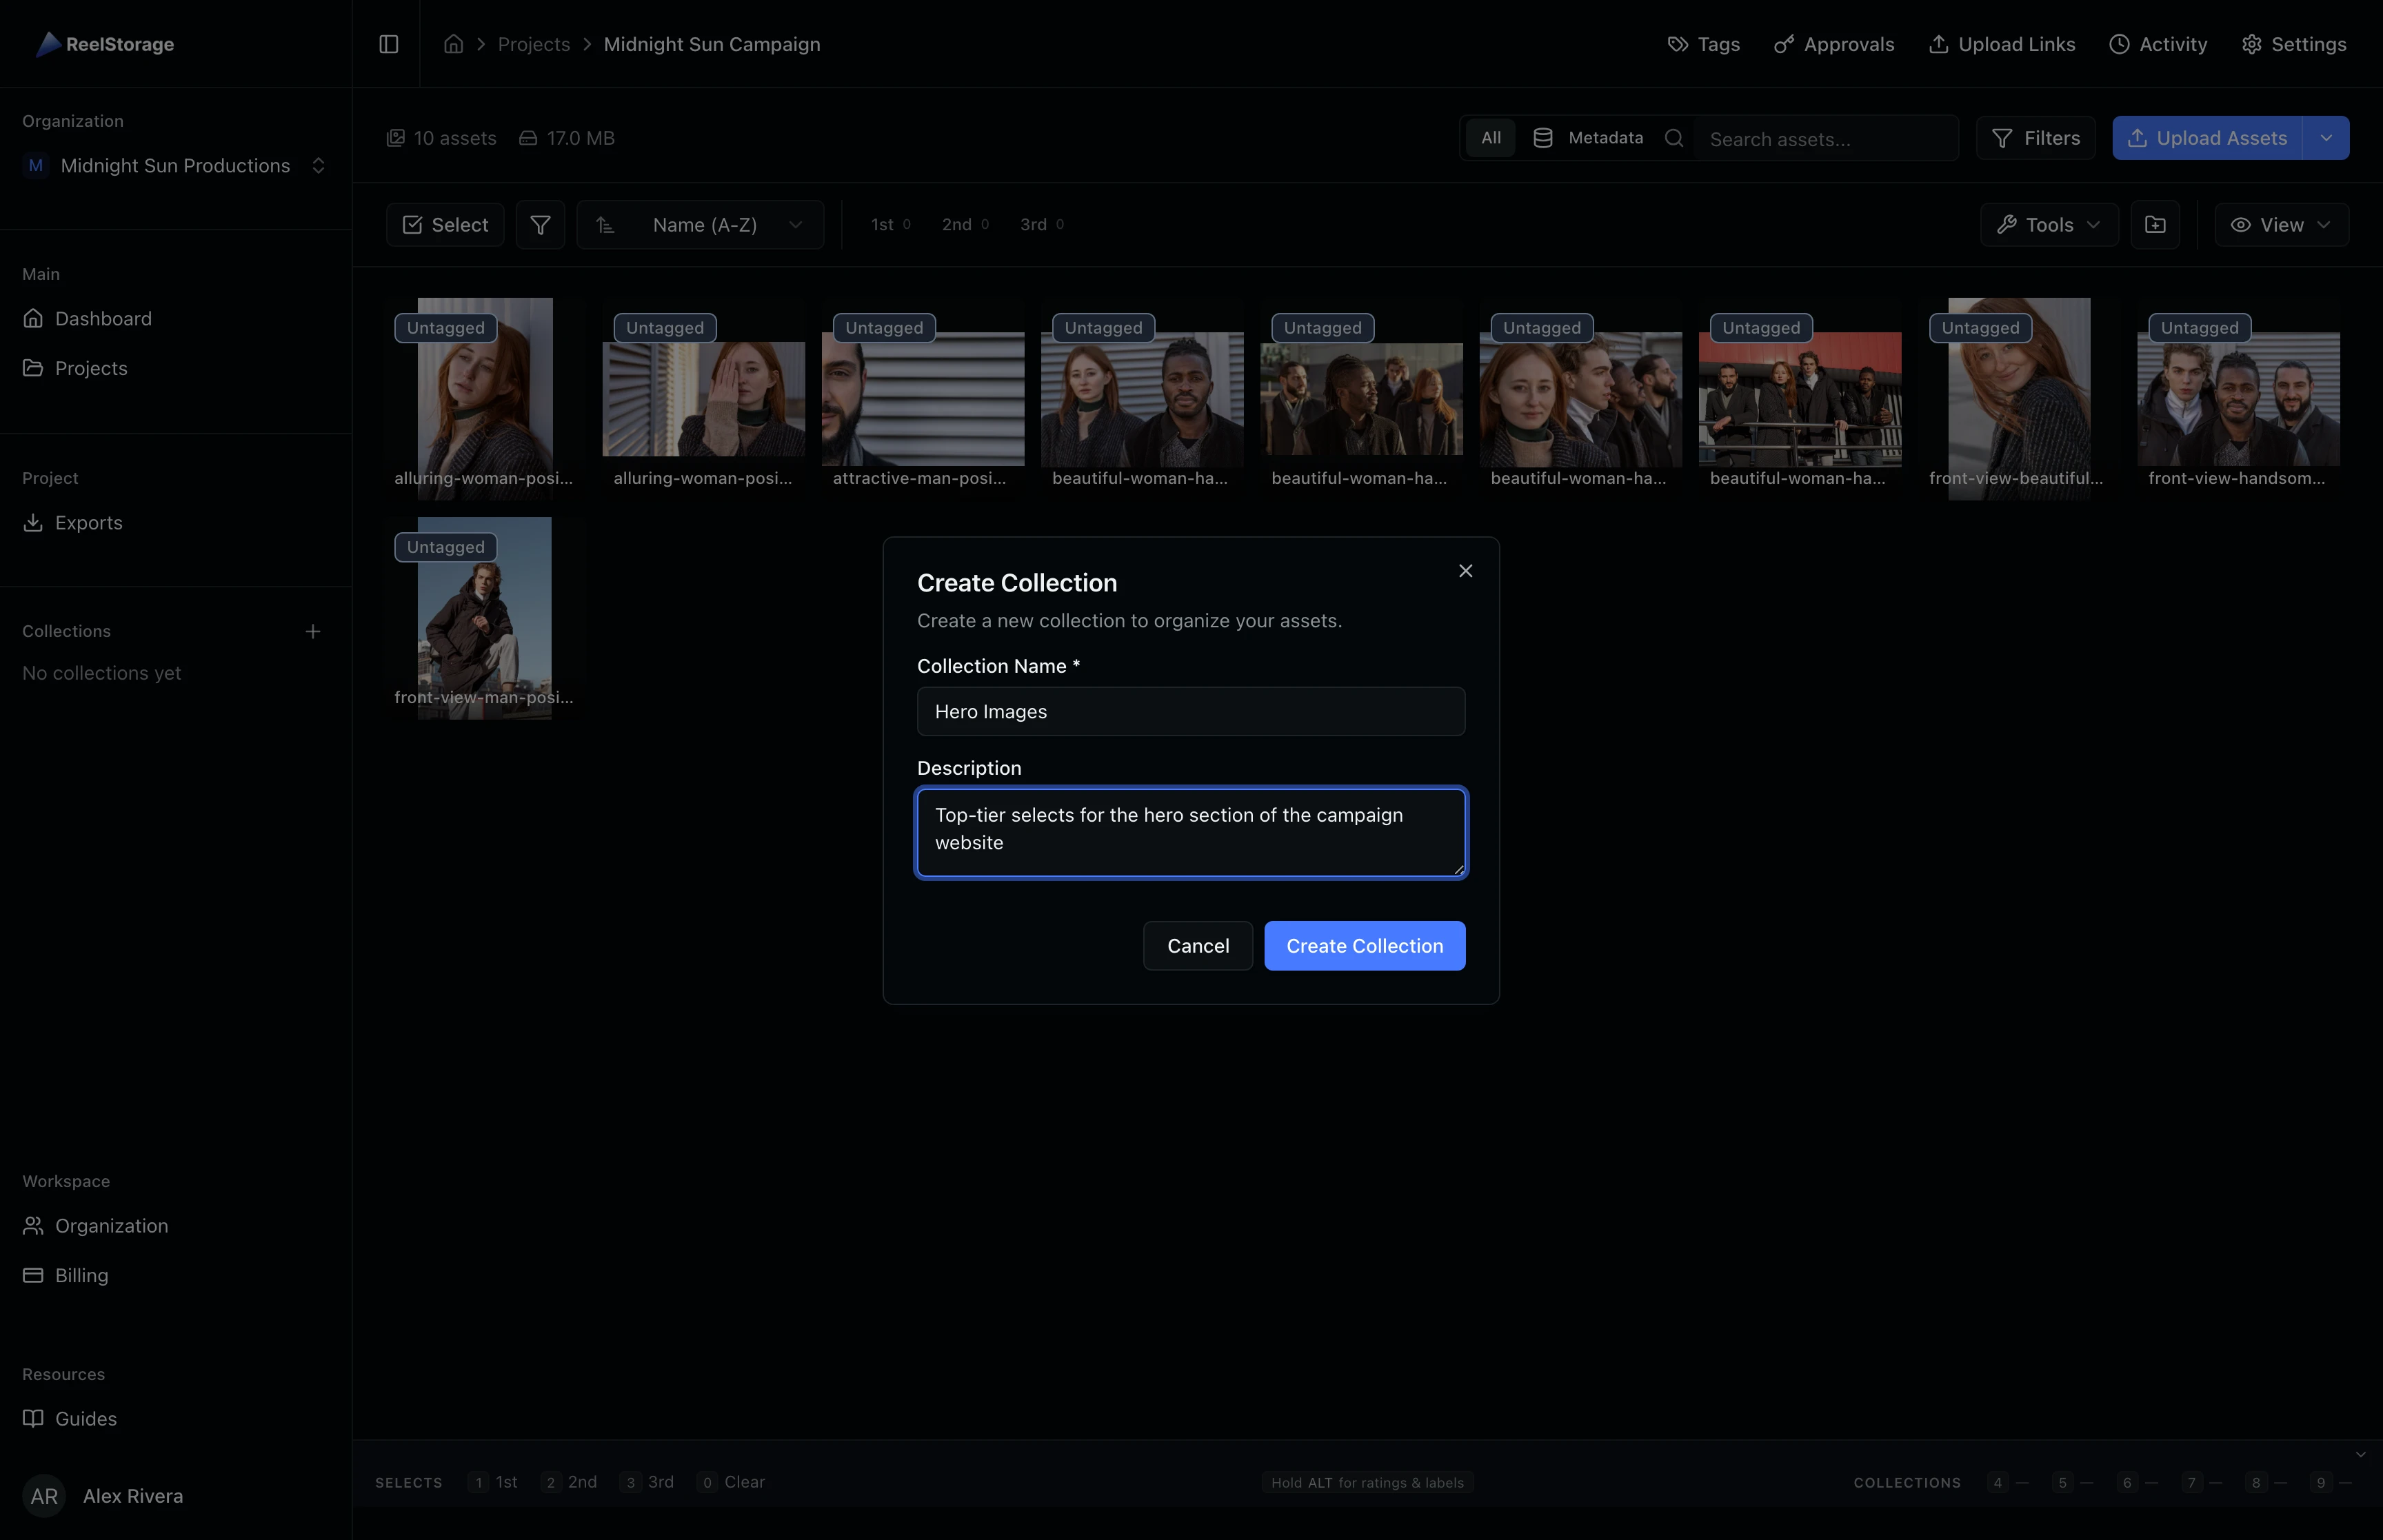
Step 2: Create a Collection
Click the + button next to the Collections label in the sidebar. A dialog appears with fields for the collection name and an optional description. Enter a descriptive name that reflects the purpose of the collection -- for example, "Hero Images" for top picks destined for the campaign website. Add a description to help collaborators understand what belongs in this group. Click Create Collection to save it.
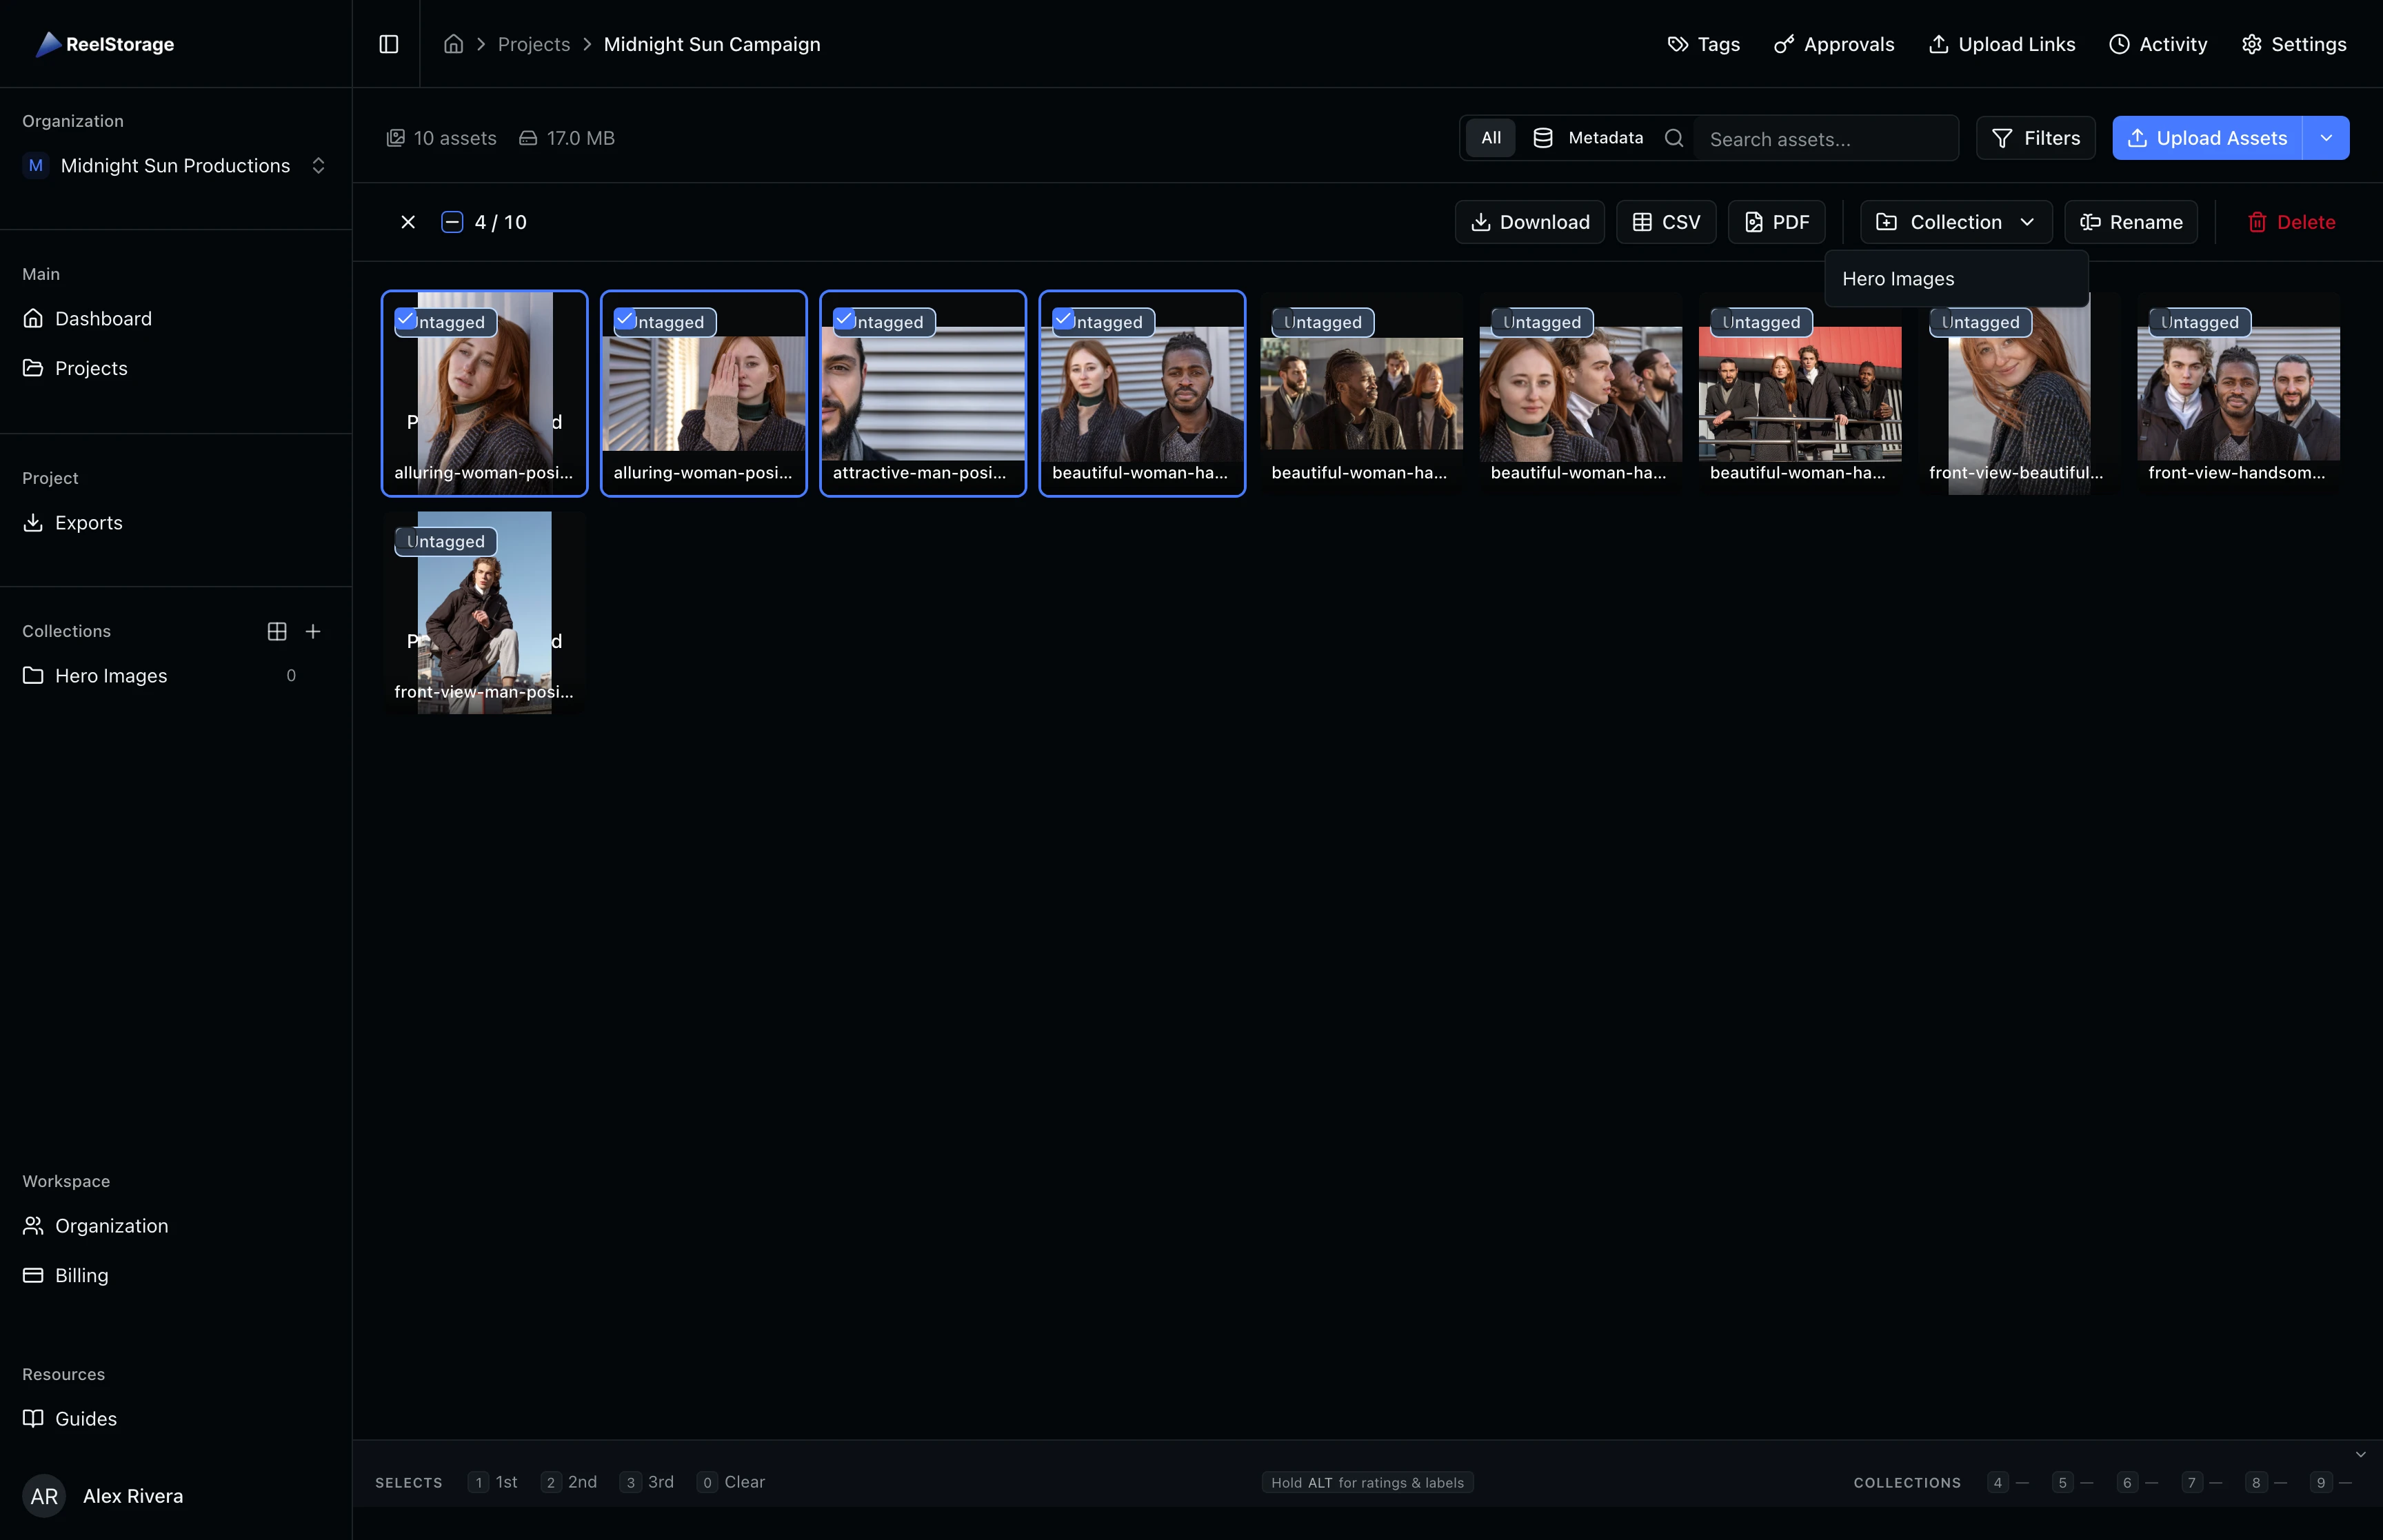
Step 3: Select Assets to Add
Navigate back to the main asset grid by clicking the project name in the sidebar (above the collections list). Click the Select button in the toolbar to enter selection mode. Click on each asset you want to add to your collection. Selected assets show a blue checkmark overlay, and the selection bar appears at the top with a count of selected items.

Step 4: Add Assets to the Collection
With assets selected, click the Collection dropdown button in the selection bar. A dropdown menu lists all available collections. Click the collection name you created in Step 2 to add the selected assets. A confirmation toast appears showing how many assets were added. You can repeat this process to add the same assets to other collections too.
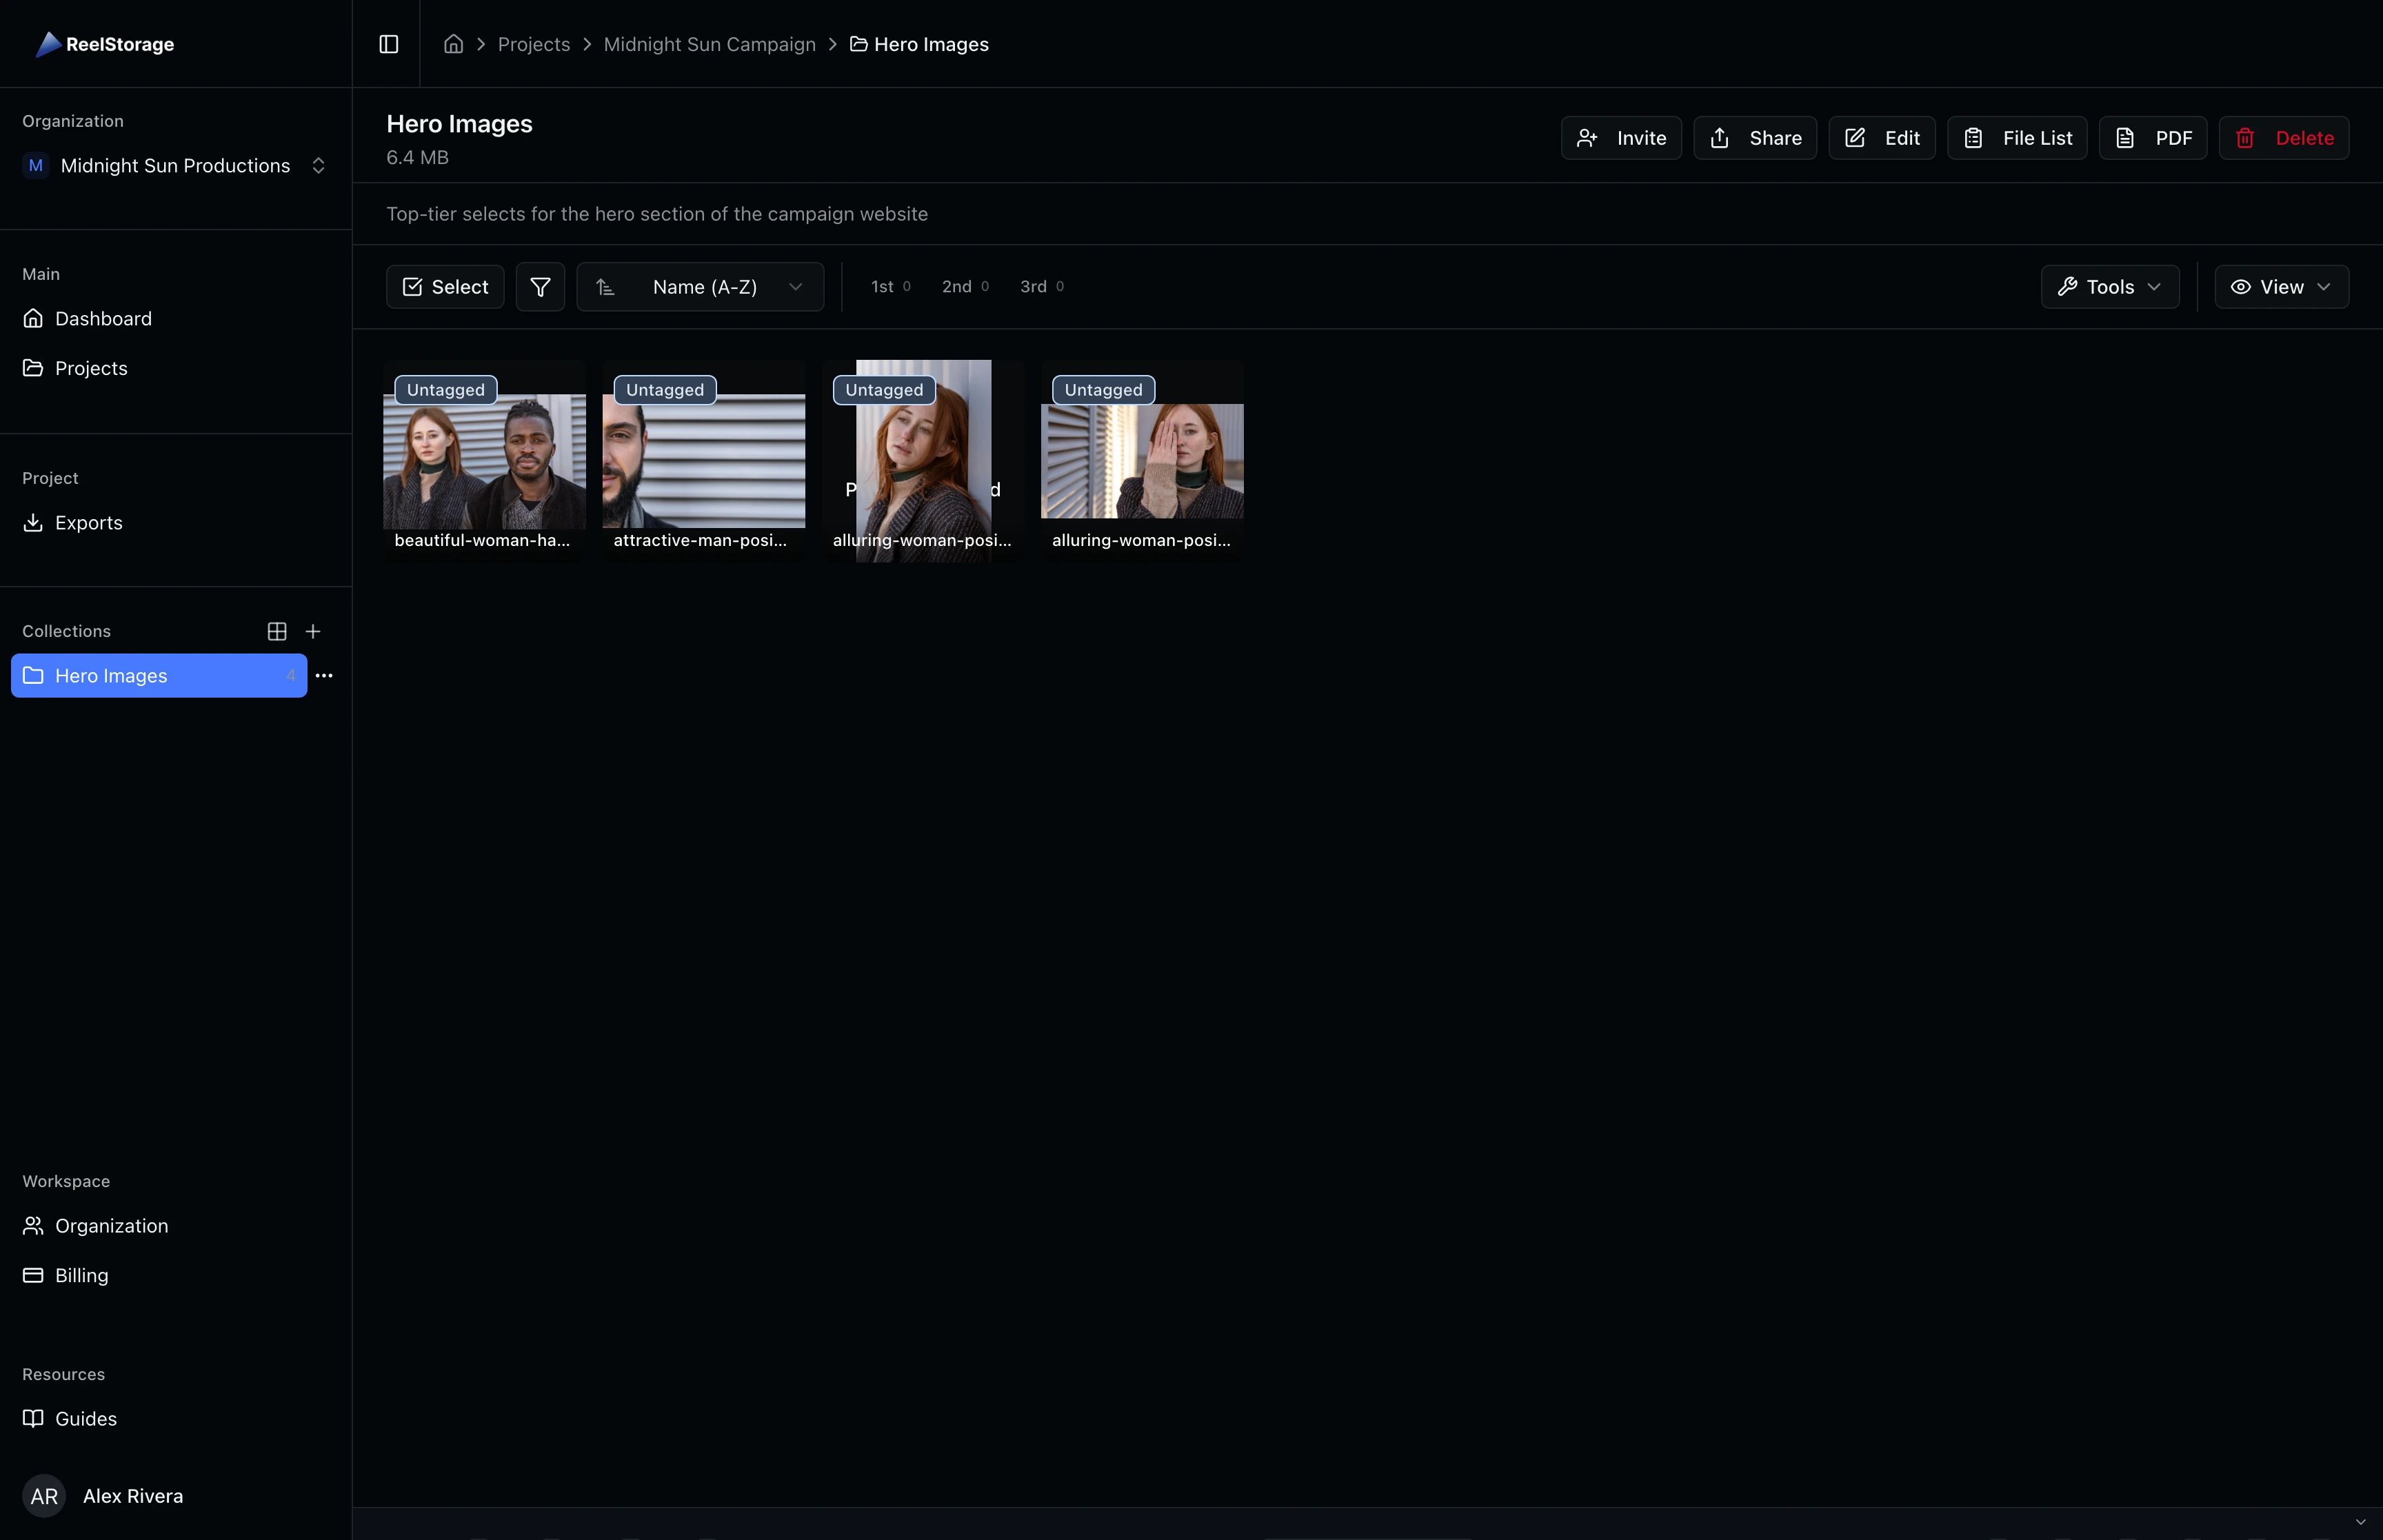
Step 5: View the Collection
Click the collection name in the sidebar to switch to the collection view. The asset grid filters to show only the assets in that collection. A collection header bar appears above the grid displaying the collection name, total size, and action buttons for Invite, Share, Edit, File List, PDF, and Delete.
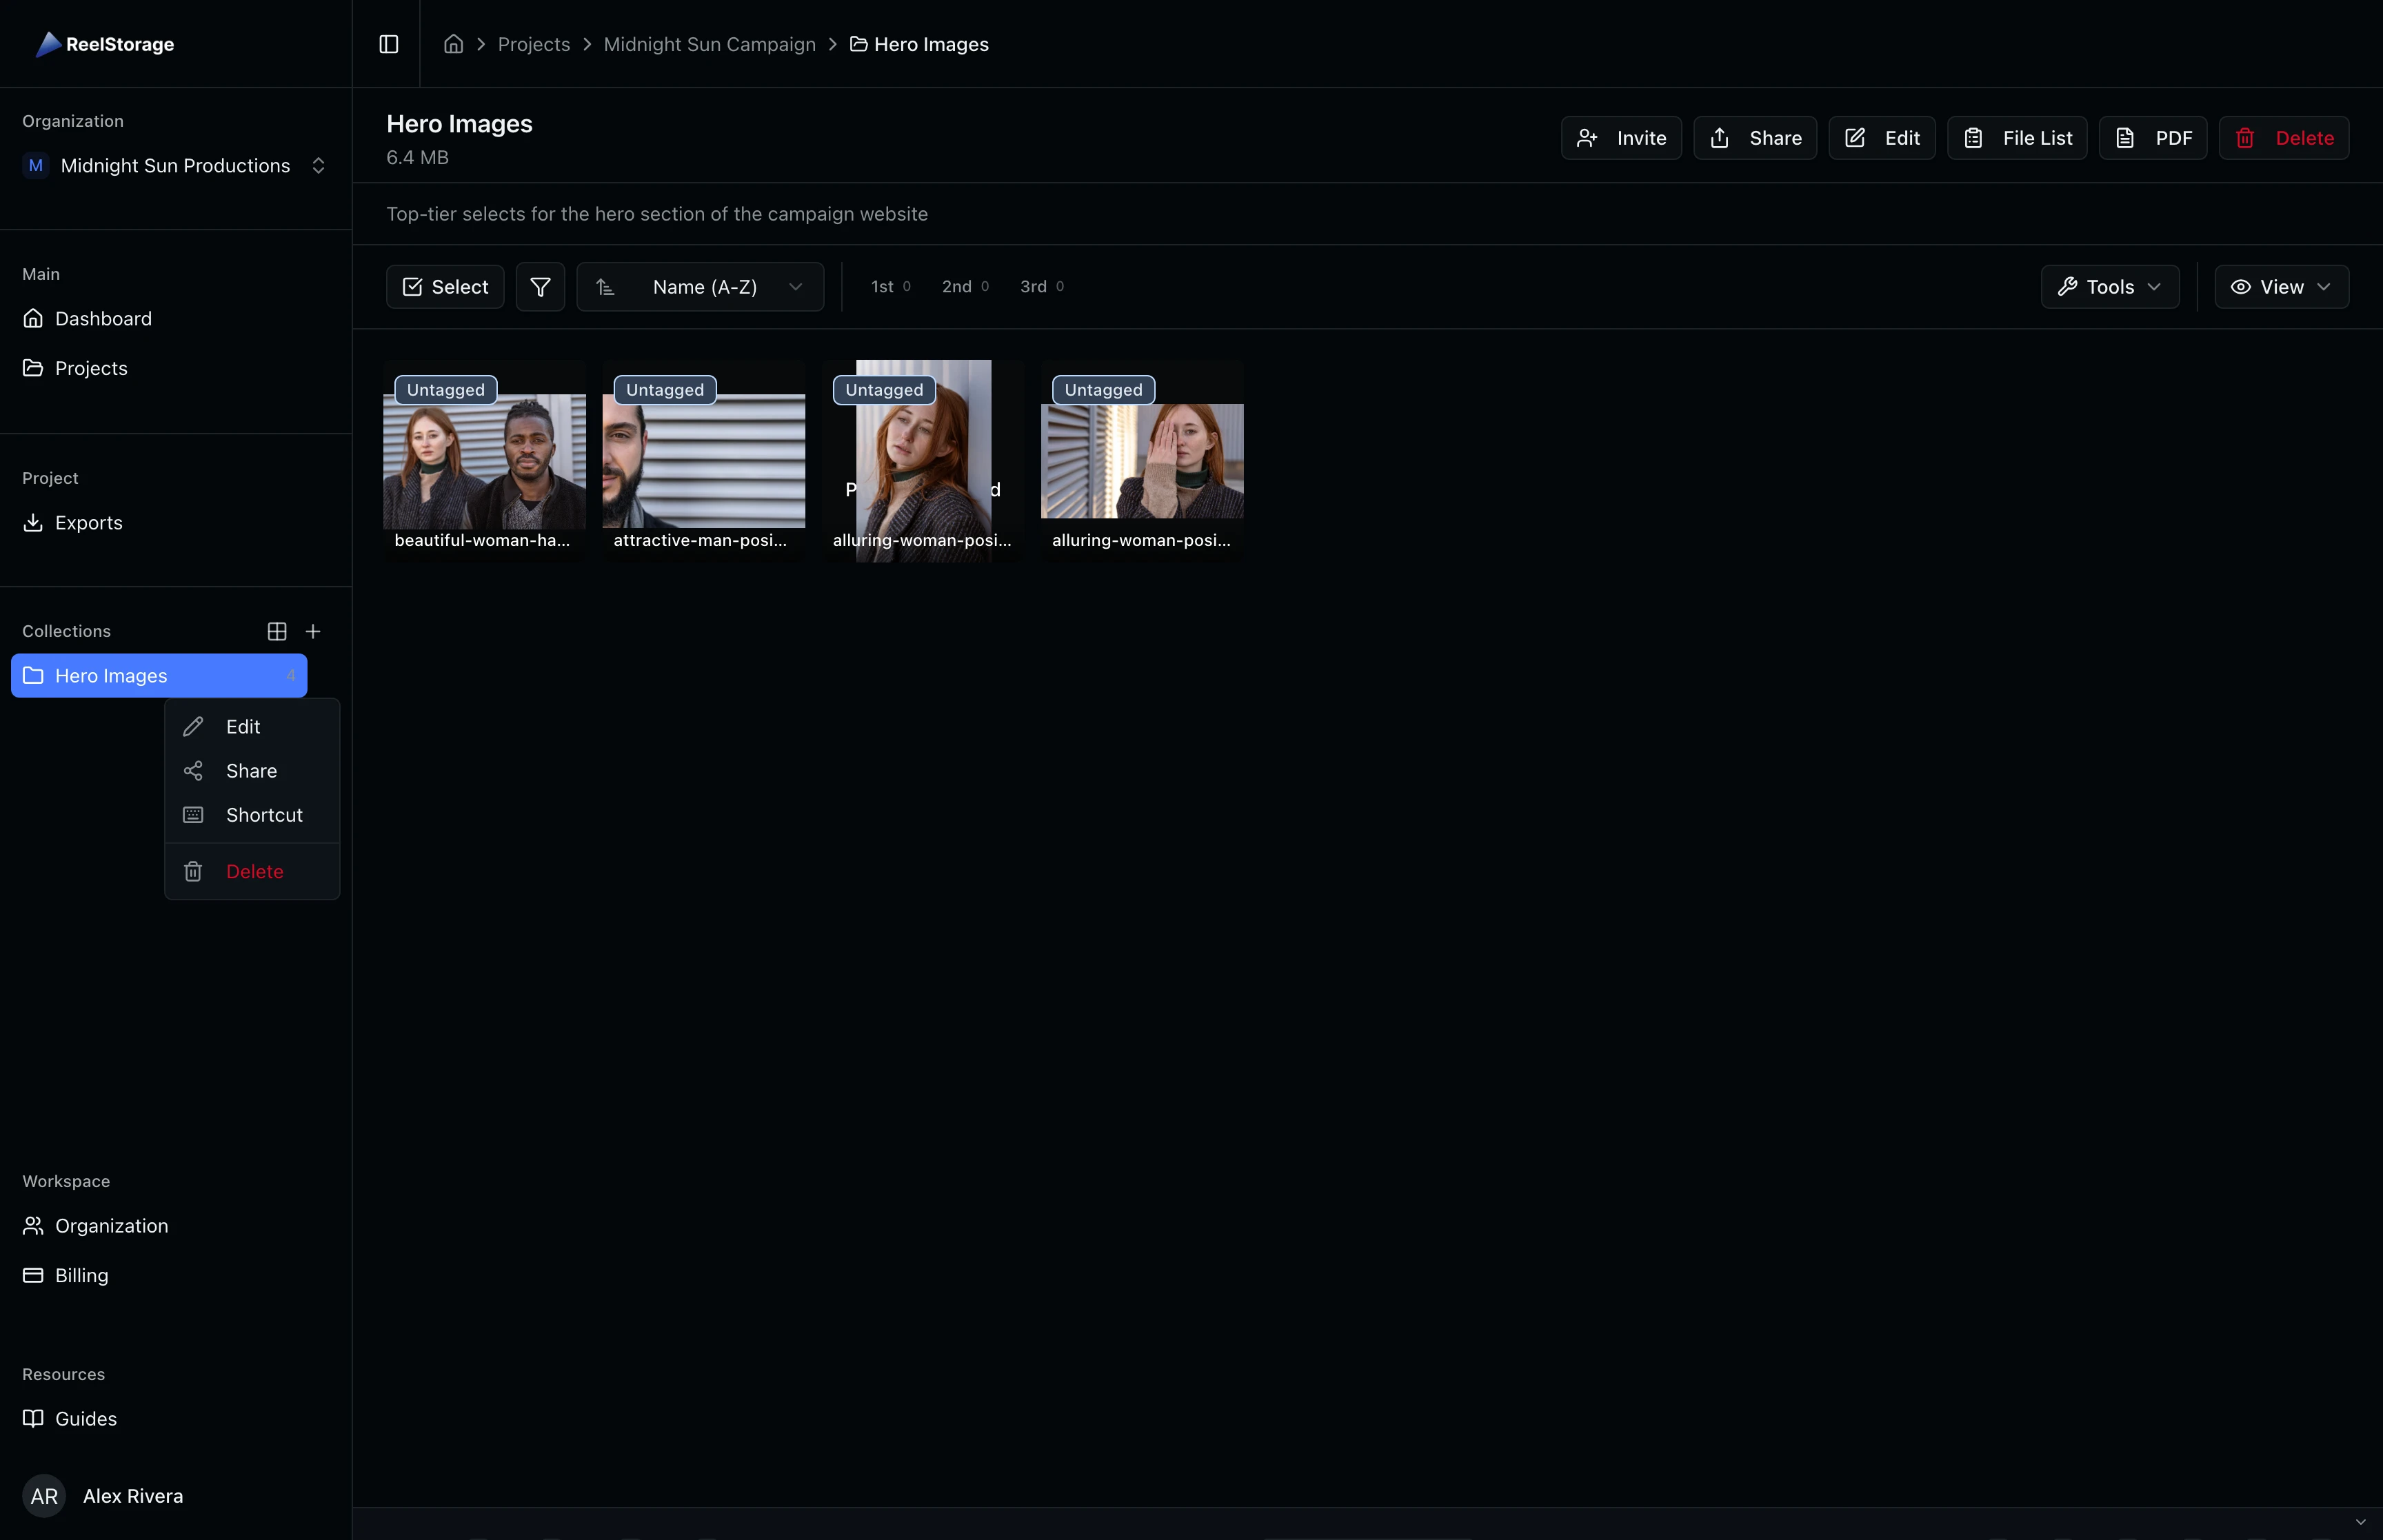
Collection Context Menu
Hover over a collection in the sidebar to reveal a ... menu button. Click it to access quick actions: Edit the collection details, Share the collection with team members or external clients, assign a Shortcut key (4-9) for fast add/remove while browsing assets, or Delete the collection.
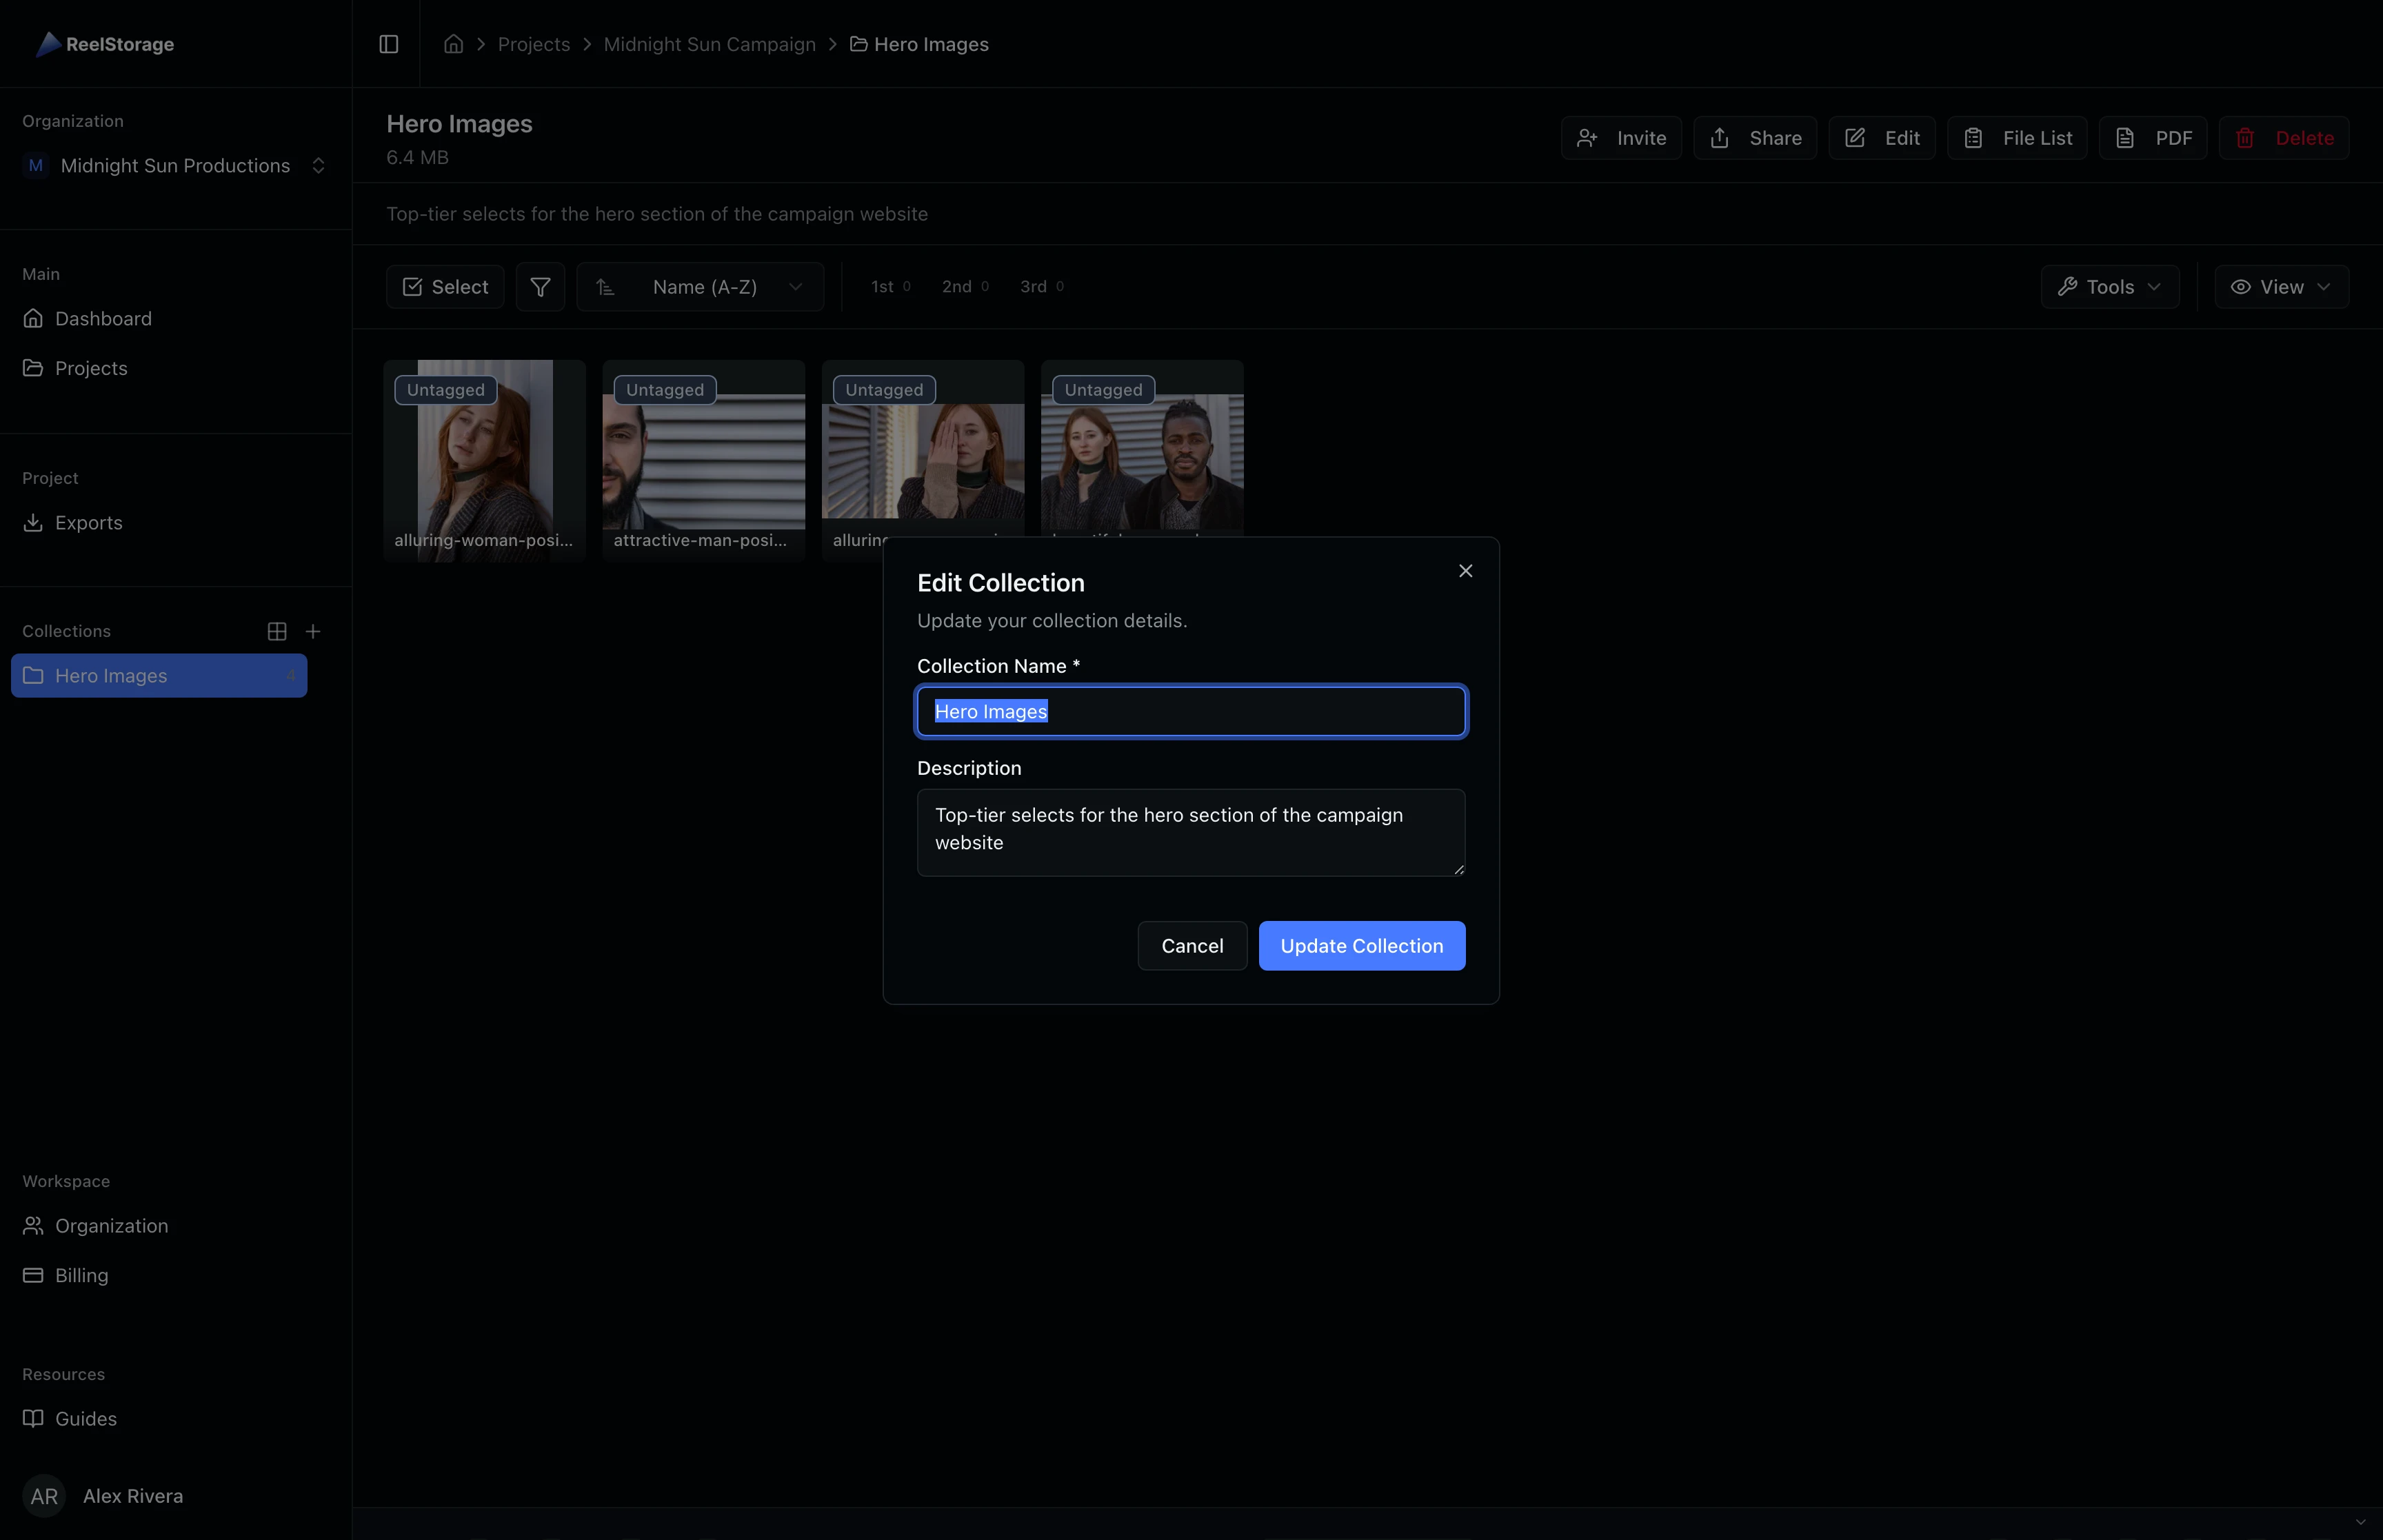
Step 6: Edit the Collection
Click the Edit button in the collection header bar. The Edit Collection dialog opens with the current name and description pre-filled. Update either field and click Save Changes. The sidebar and header update to reflect the new name immediately.
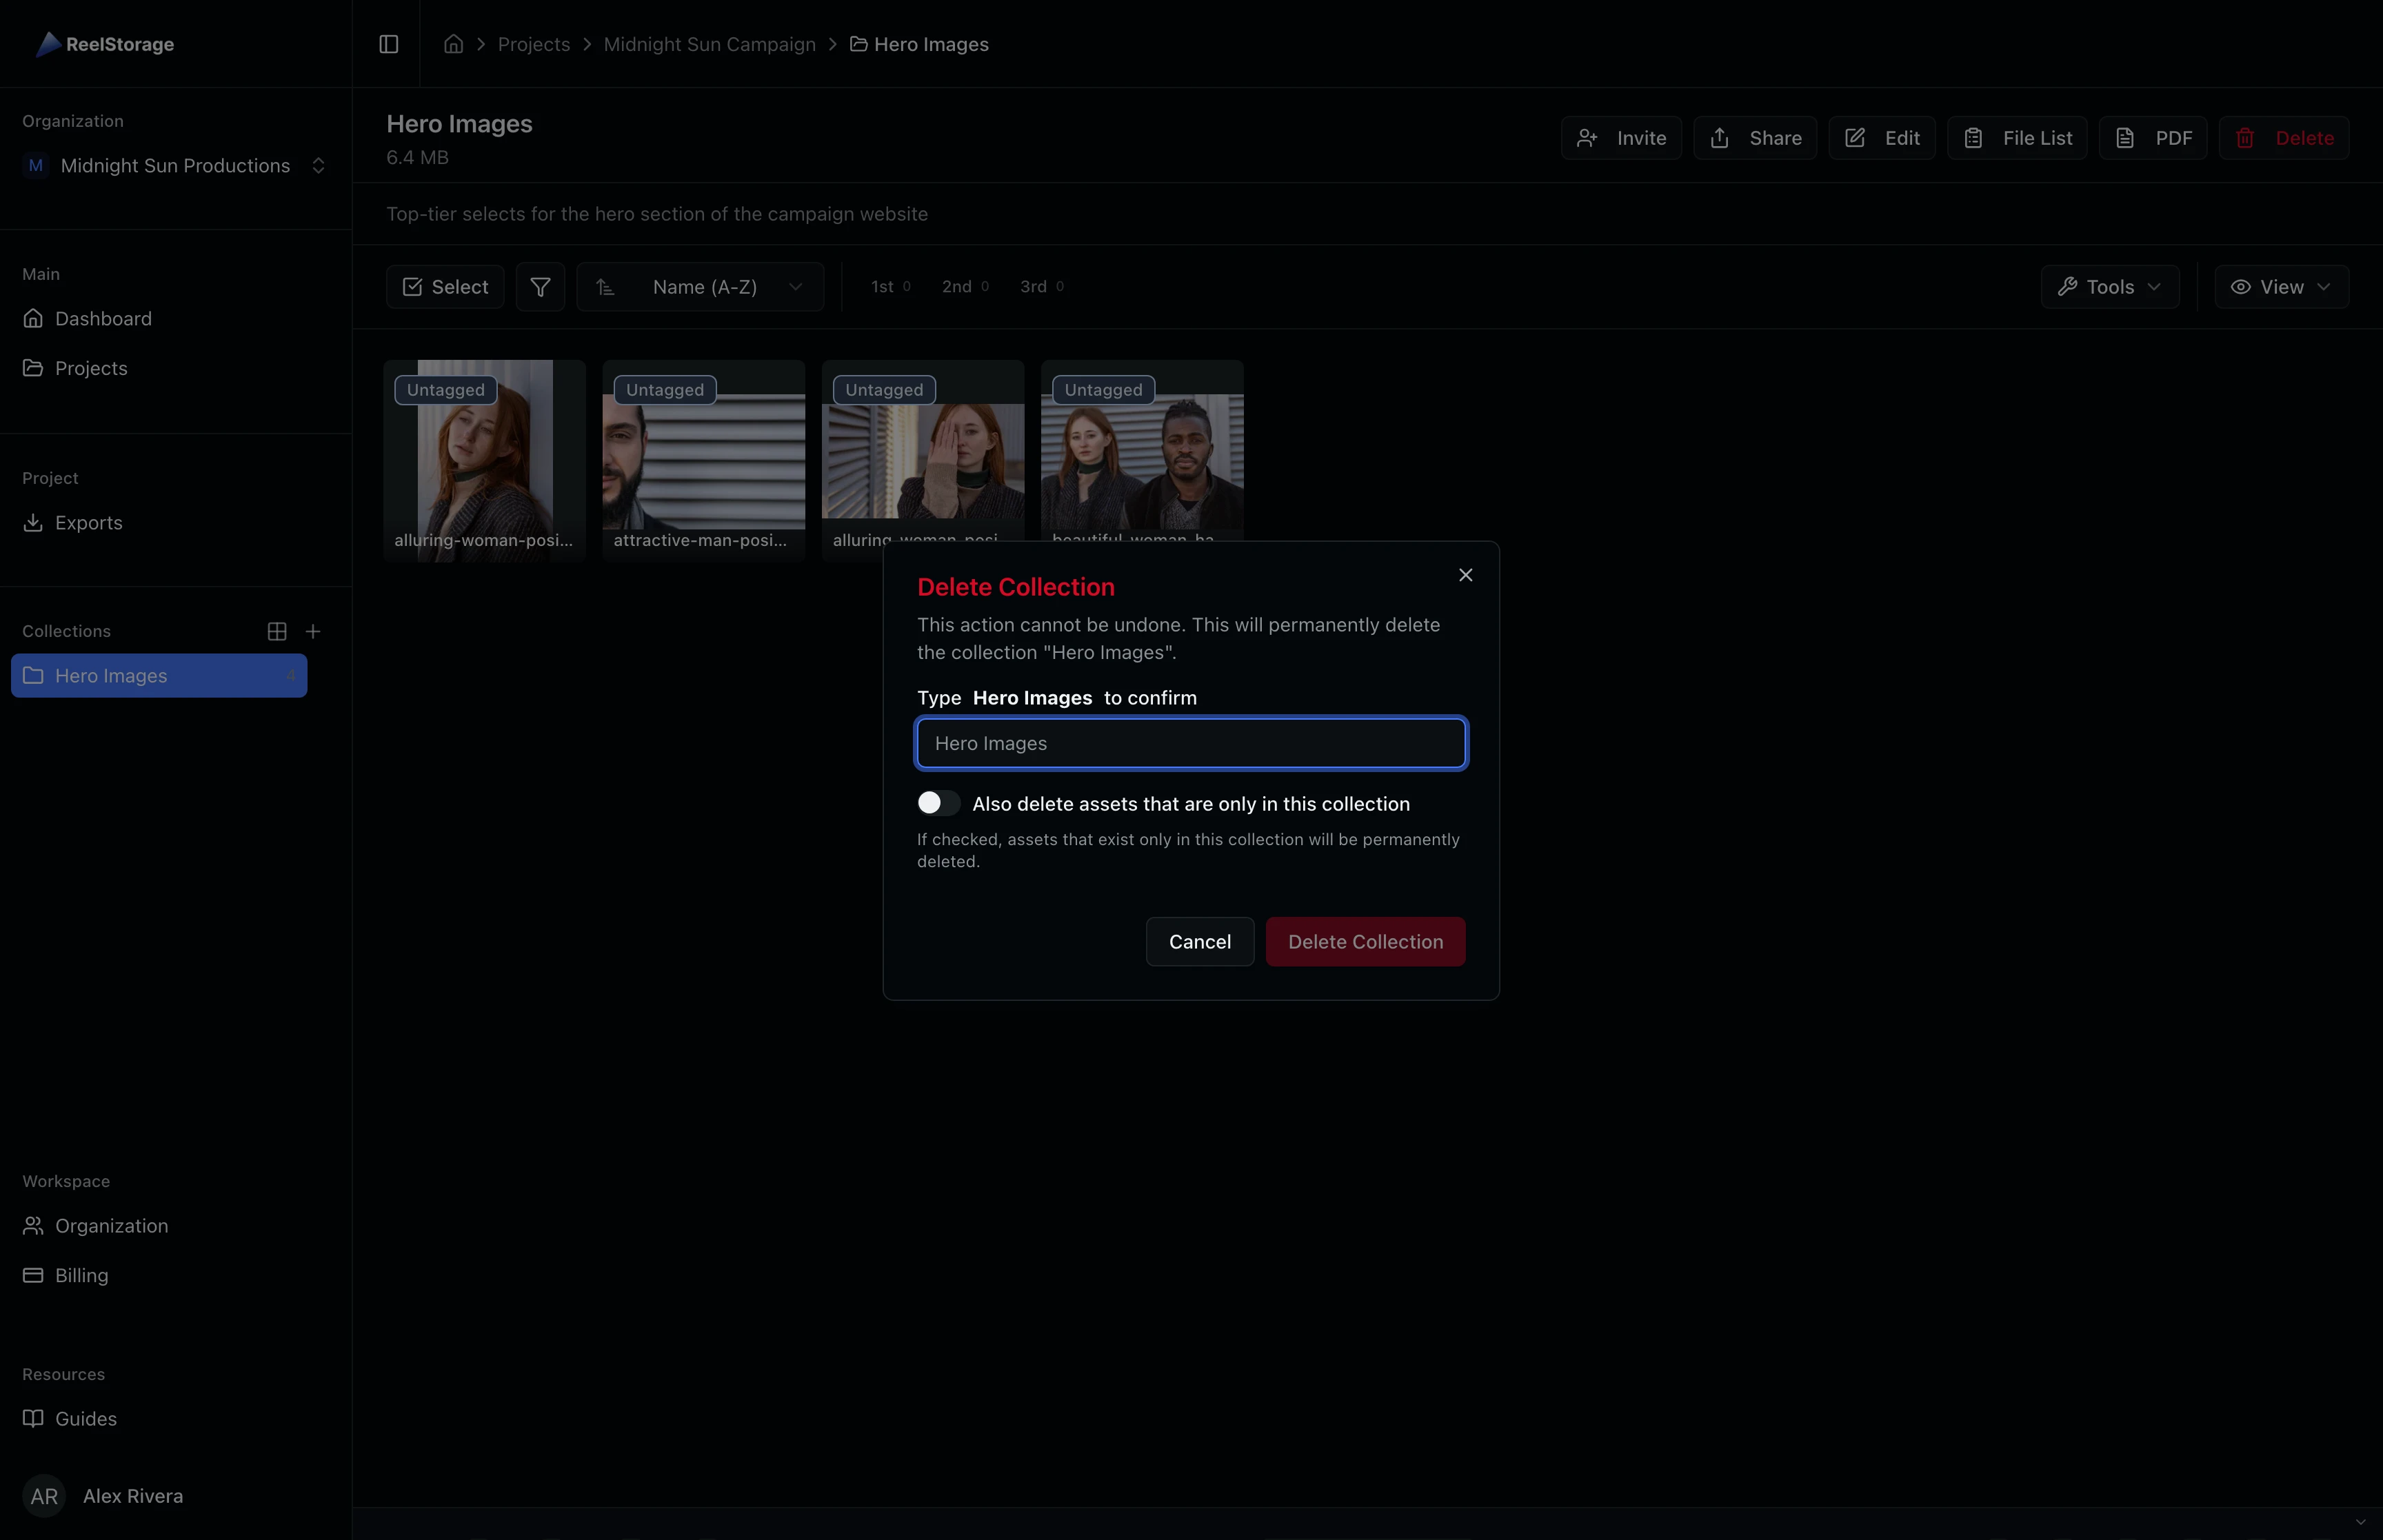
Step 7: Delete a Collection
Click the Delete button in the collection header bar. A confirmation dialog asks you to type the collection name to confirm deletion. You can also toggle a switch to delete assets that exist only in this collection. Type the name and click Delete Collection. The view returns to the main project grid.
Toggling "Delete assets only in this collection" permanently removes any assets that are not part of another collection. Double-check before enabling this option.
Tips and Best Practices
- Keyboard shortcuts speed up curation. Right-click a collection in the sidebar and choose Shortcut to assign a number key (4-9). While viewing any asset, press that key to toggle it in or out of the collection without opening menus.
- Drag and drop from the grid. You can drag assets from the grid directly onto a collection name in the sidebar to add them without entering selection mode.
- One asset, many collections. Assets are not moved when added to a collection. The same photo can appear in "Hero Images", "Client Review", and "Final Selects" at the same time.
- Share collections externally. Use the Share button to generate a link that external collaborators can view without needing an account.
Troubleshooting
I don't see the Collections section in the sidebar
The Collections section appears in the project sidebar below the folders list. Make sure you are inside a project (not on the dashboard or projects list page). If you still don't see it, confirm that your role has permission to view collections.
Can I remove an asset from a collection without deleting it?
Yes. When viewing a collection, select the assets you want to remove and use the remove action. The assets stay in the project but are no longer part of that collection.
Why can't I create or edit collections?
Collection management requires the Edit Collections permission. Ask your organization admin to check your role if these buttons are not available.
What's Next
- Tags and Metadata: Tag assets with people, keywords, and custom metadata for faster searching
- Exporting Assets: Export collections as downloadable packages for client delivery
Related Guides
Uploading Assets
Learn how to upload photos and videos to your project using the upload window, monitor progress, and verify your files appear in the asset grid.
Using Tags and Metadata
Learn how to create, edit, and manage project tags to organize your assets by people, objects, and locations.