Searching and Filtering Assets
Prerequisites
Large projects can contain hundreds or thousands of assets. This guide walks you through every tool available to narrow down the grid: text search and sorting, the quick filter dropdown, and the full advanced Filters panel with metadata fields, tags, approval statuses, and classification filters.
What You'll Learn
- How to search assets by filename and switch to metadata search mode
- How to sort assets by name, date, size, type, or approval status
- How to use the quick filter dropdown for file type and approval filters
- How to open the advanced Filters panel and fill in metadata fields
- How to filter by tags, collections, folders, and talent type
- How to use classification filters (select tier, star rating, color label)
- How to apply, clear, and combine multiple filters
Step 1: Open Your Project
Navigate to the Projects page and open a project that contains assets. The asset grid displays thumbnail cards for every file in the project, showing a preview image, filename, and tag status. This is your starting point for all search and filter operations.

Step 2: Search by Filename
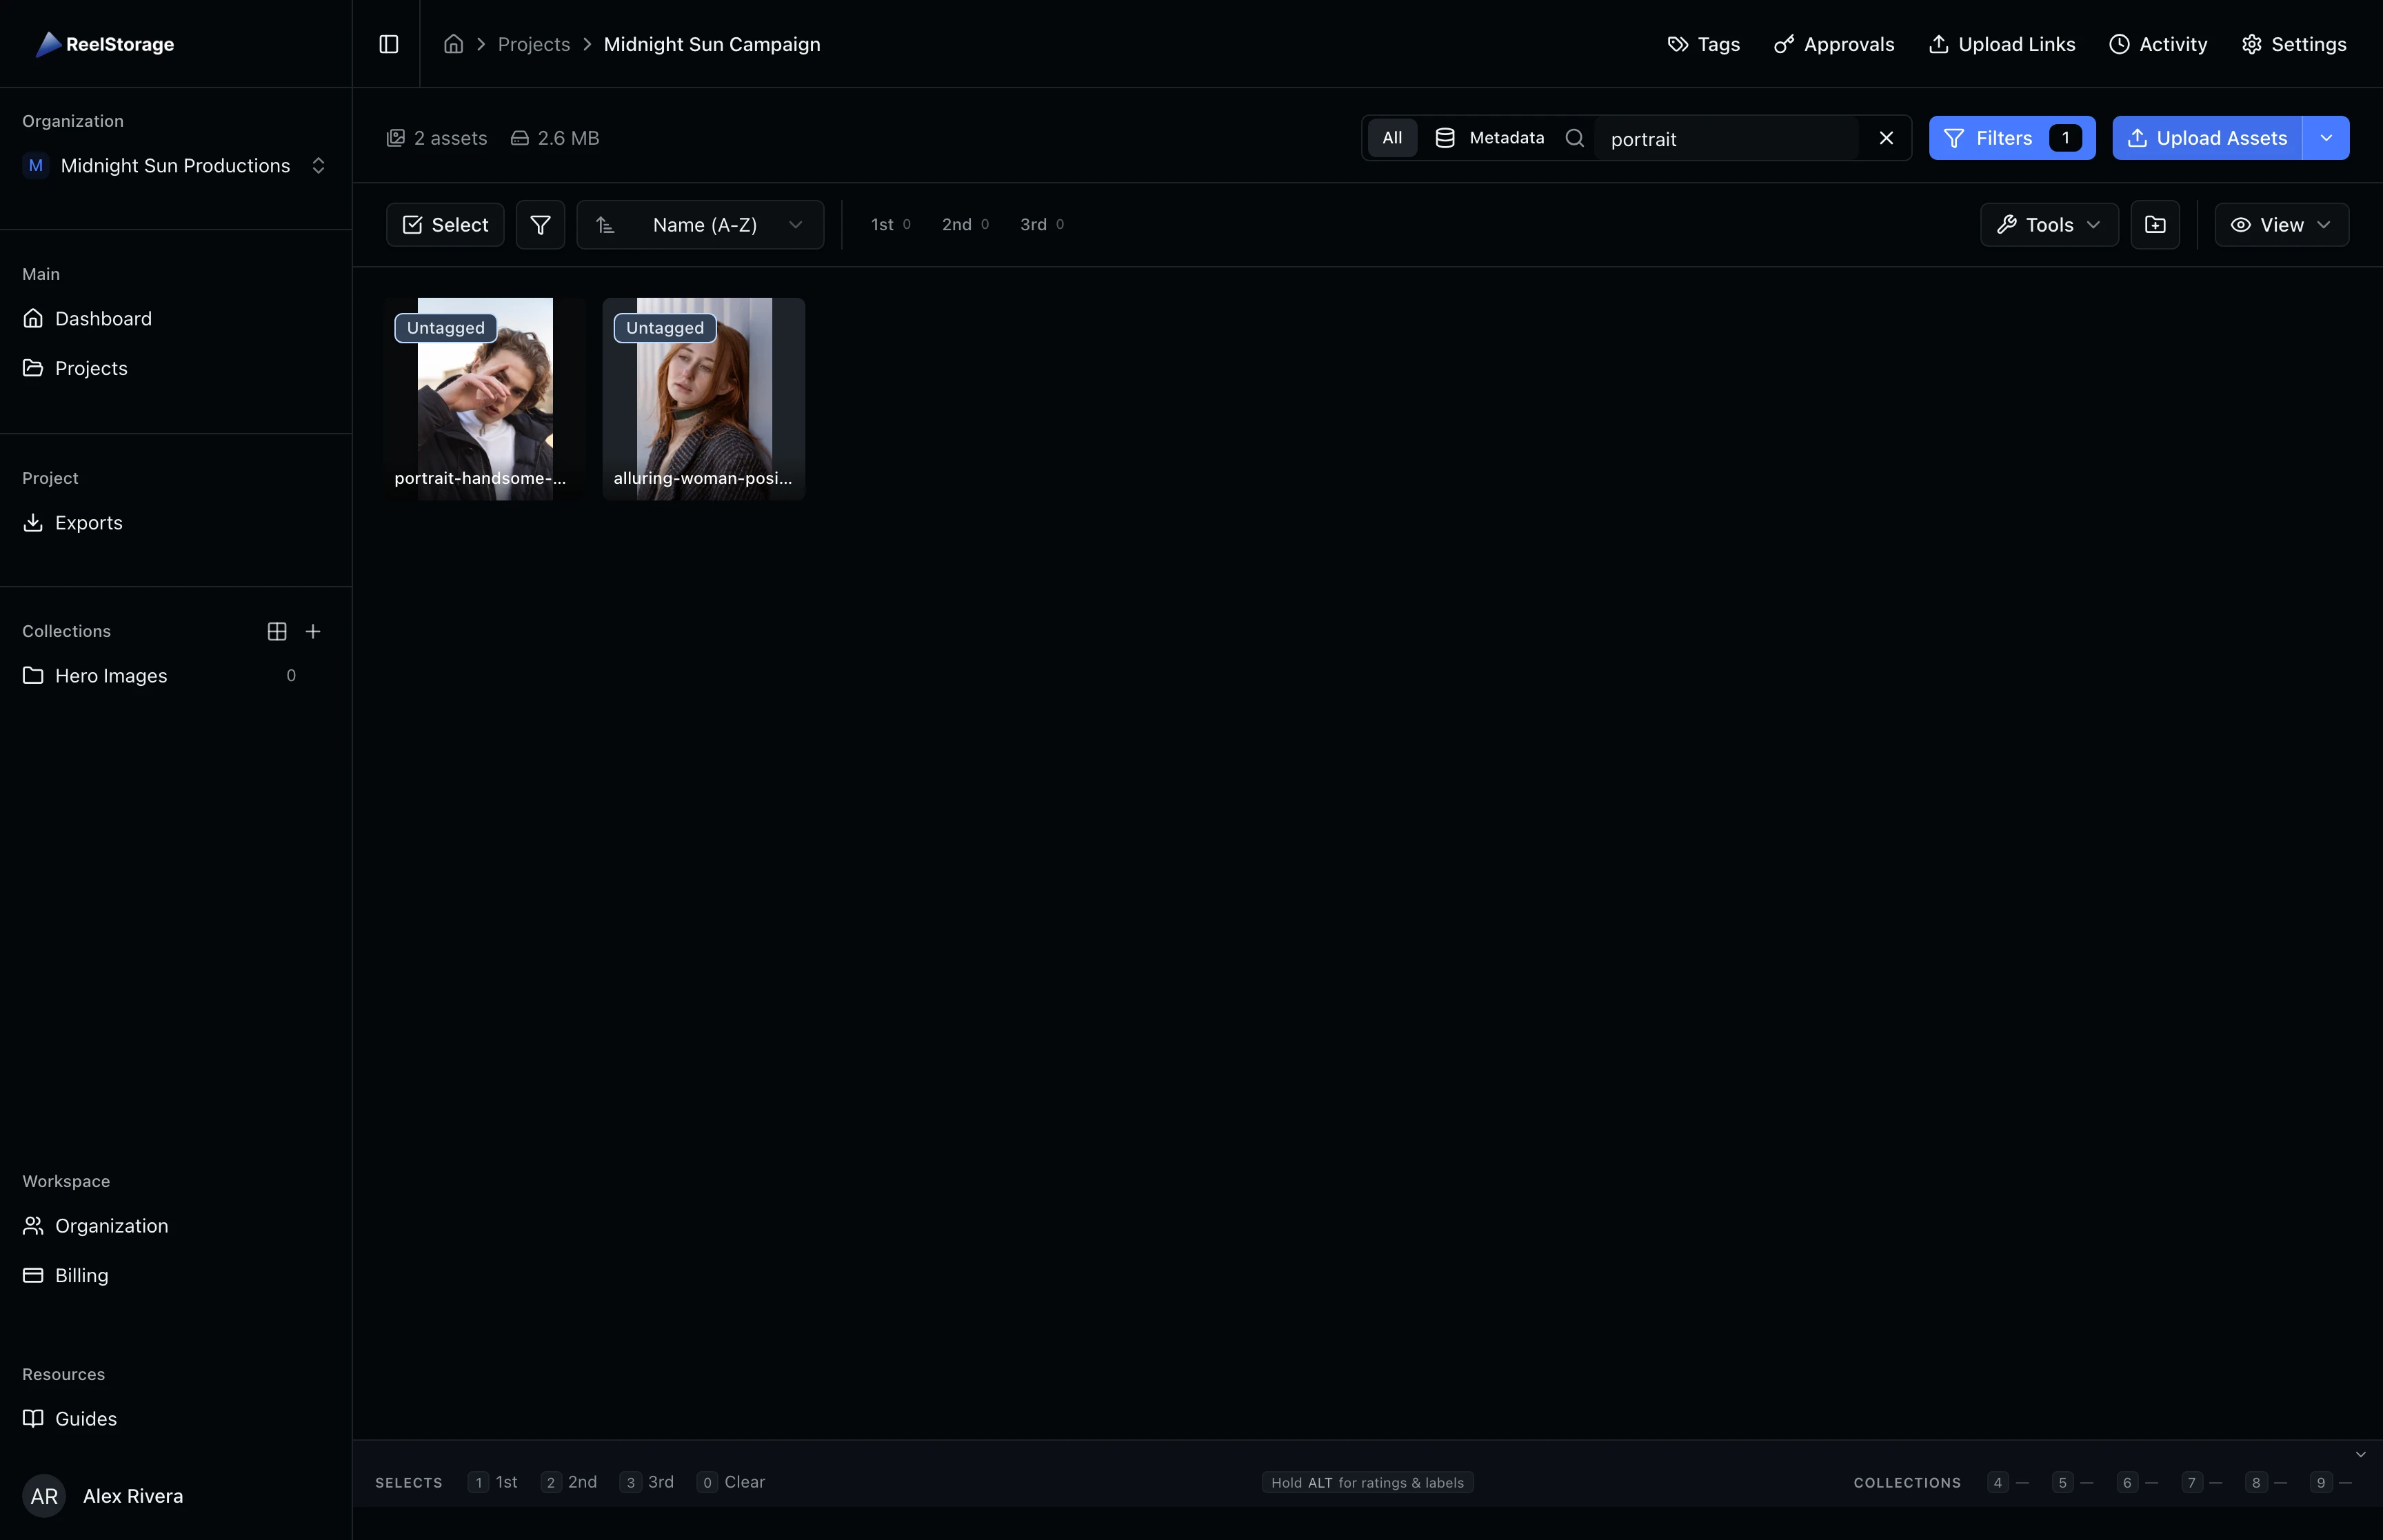
Click the search bar at the top of the project page and type a keyword. Press Enter to submit your search. The grid updates to show only assets whose filenames contain your query. In the example below, searching for "portrait" narrows the grid to matching files. The Filters button in the toolbar shows a badge with "1" to indicate one active filter (the search term).
Step 3: Switch to Metadata Search Mode
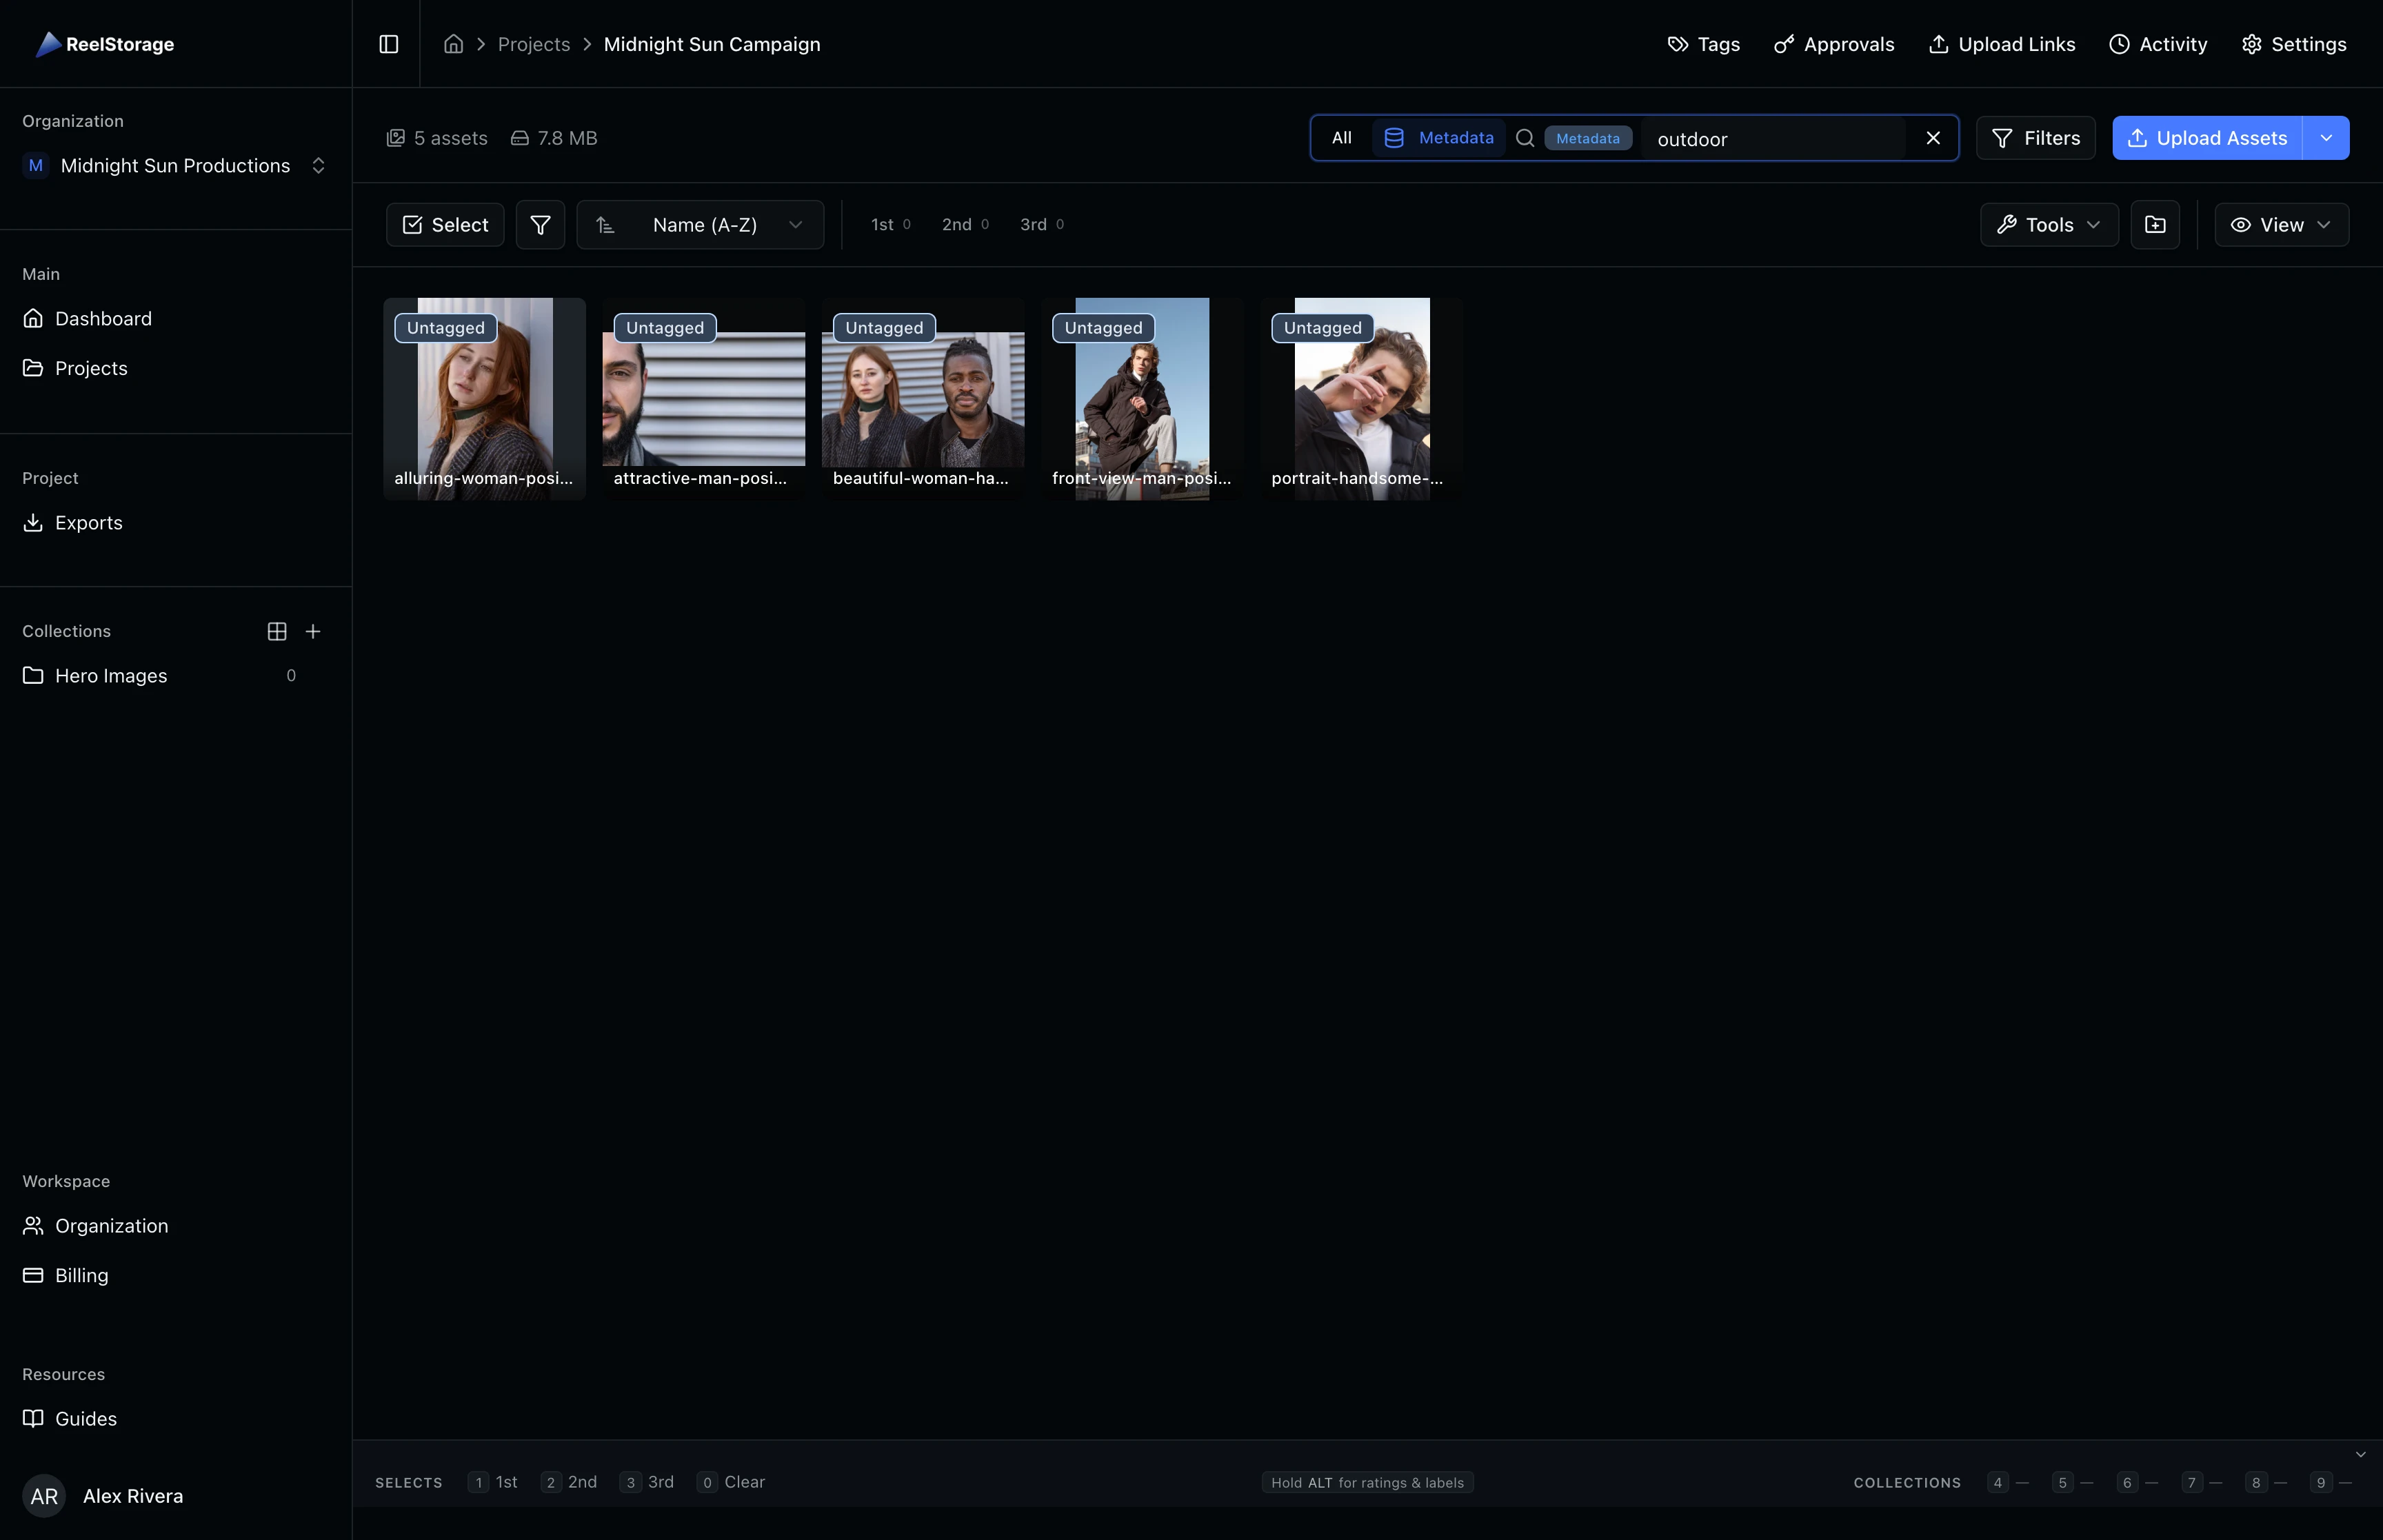
Click the Metadata toggle in the search bar to switch modes. A purple highlight and "Metadata" badge confirm you are in metadata mode. Your search query now matches against IPTC metadata fields (keywords, creator, description) instead of filenames. This is useful when your assets have embedded IPTC data from a photographer or agency. Press Enter to run the search, or click the X button to clear the query and return to the full grid.
Metadata search requires that your assets have embedded IPTC data. If searches return no results, confirm that your files contain metadata by checking the asset detail view.
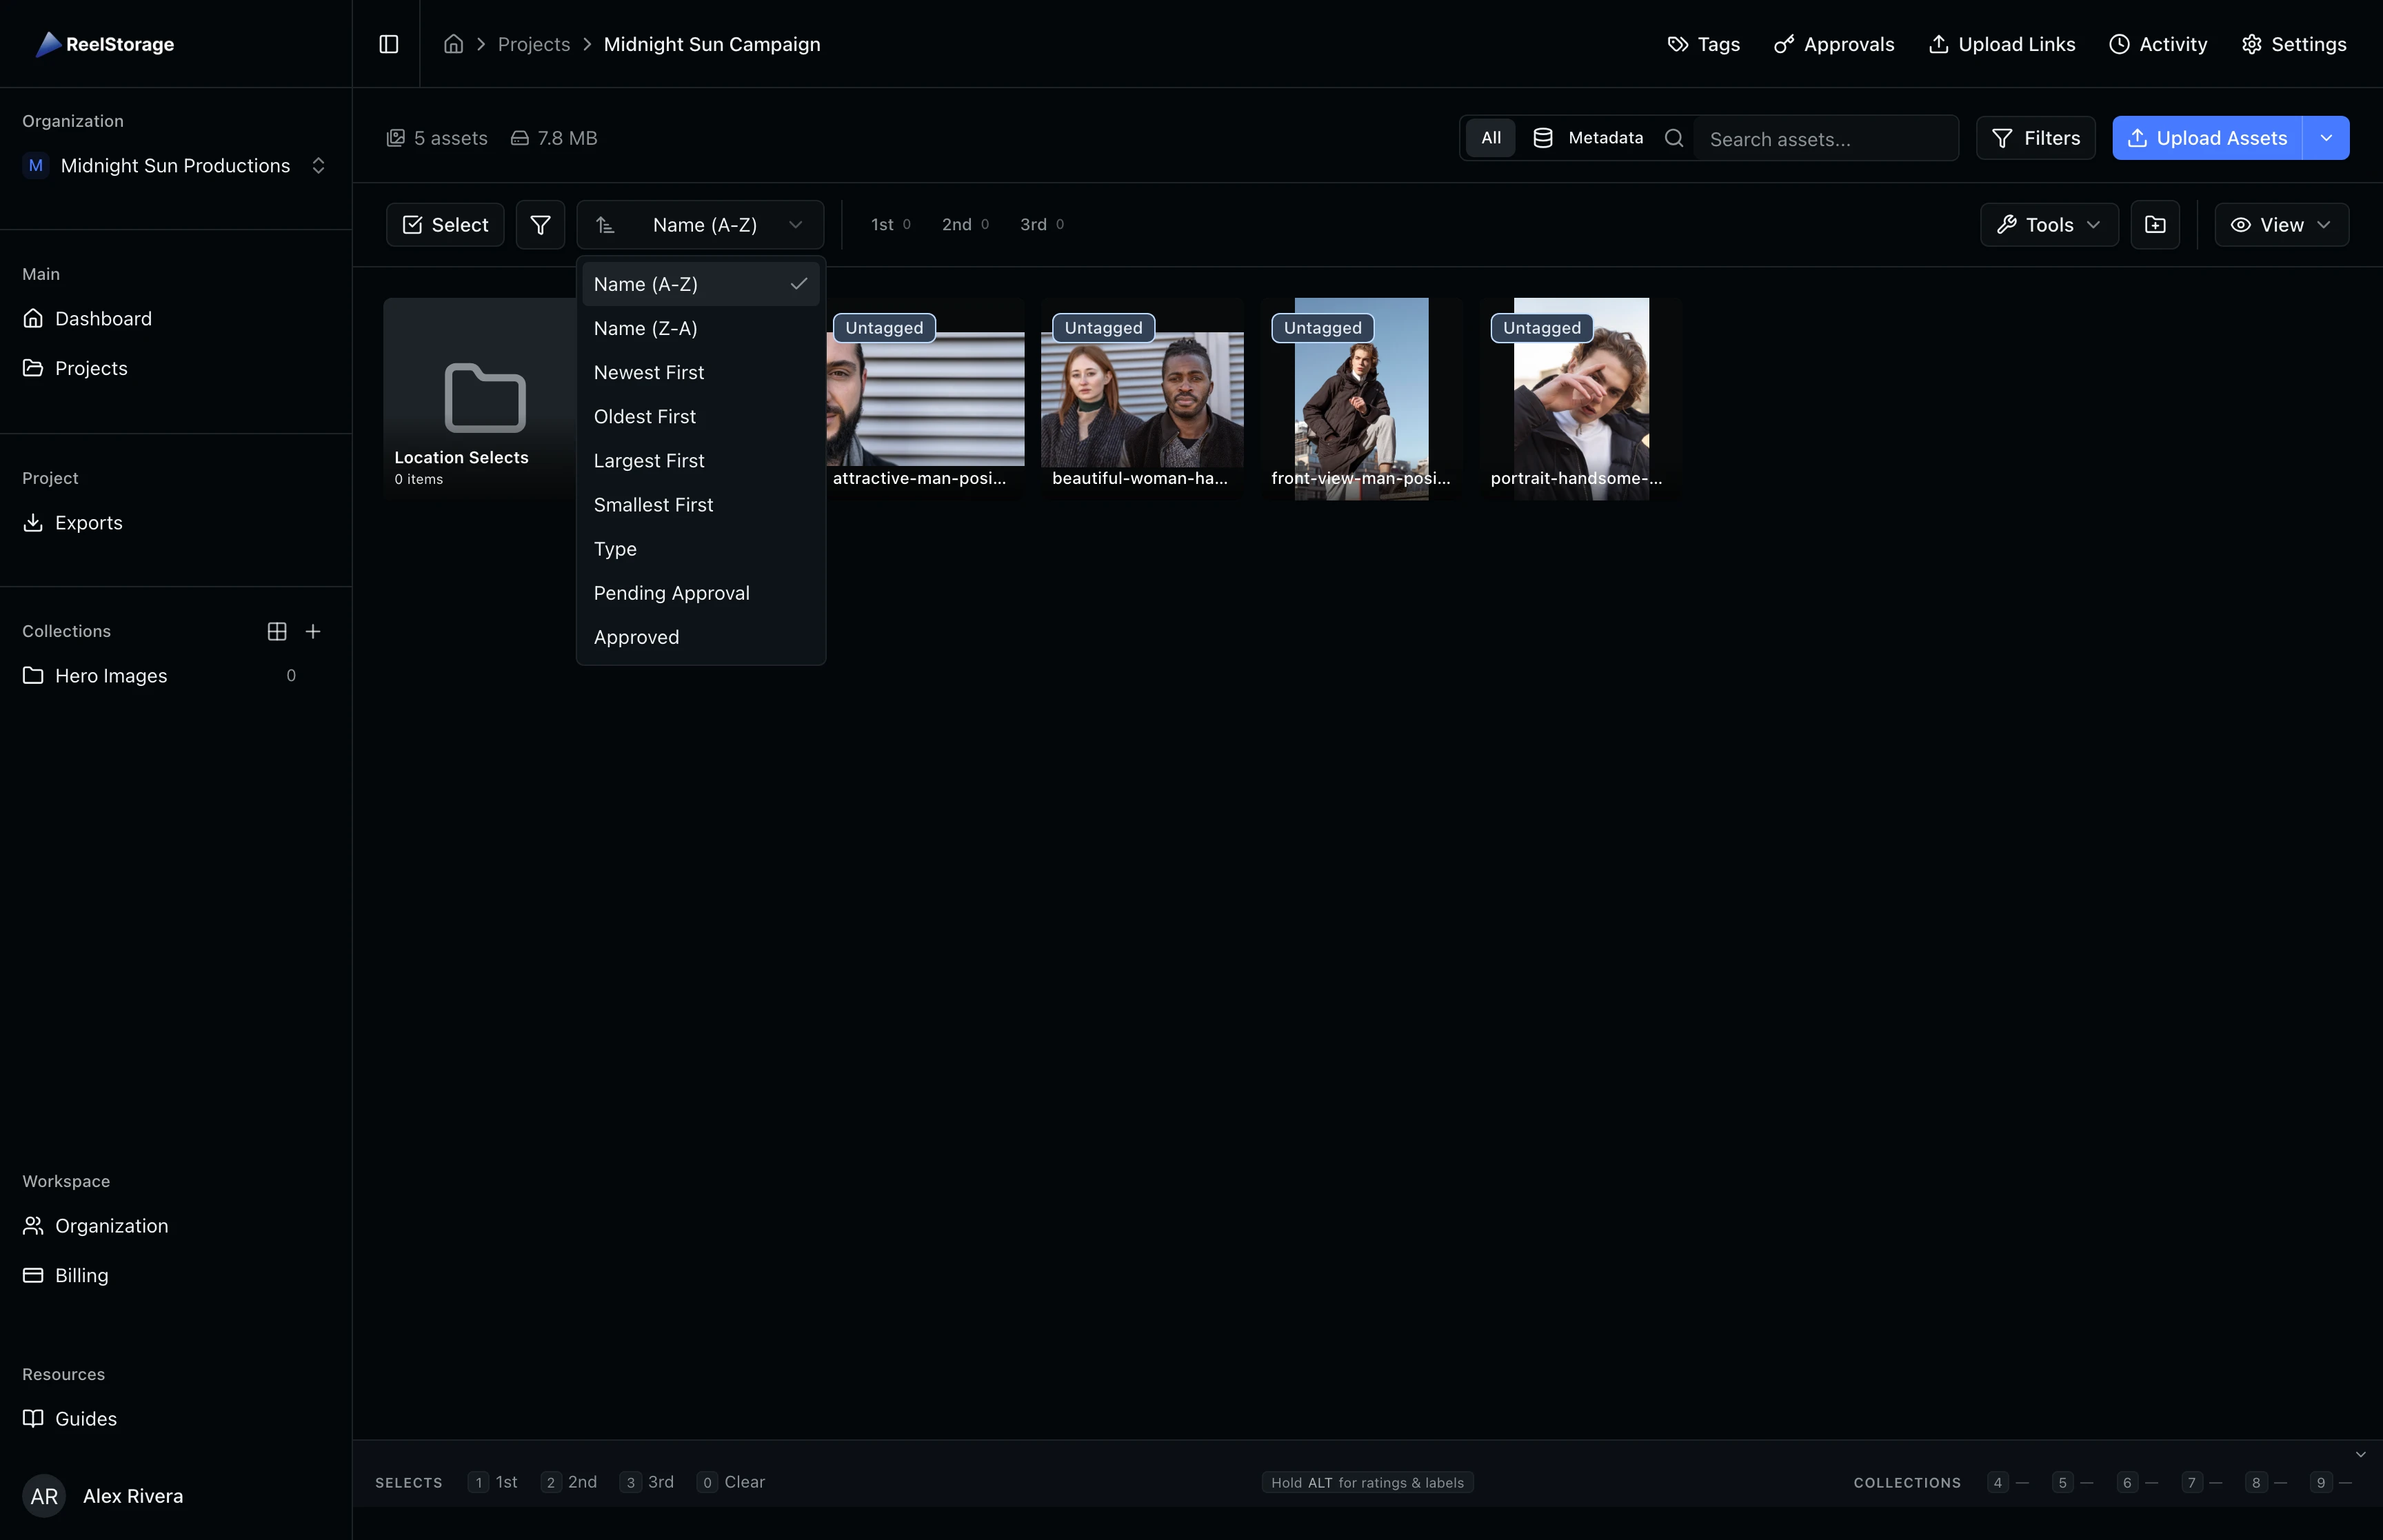
Step 4: Sort Your Assets
Click the Sort by dropdown in the toolbar to change the display order. The available options are:
- Name (A-Z) / Name (Z-A): Alphabetical sorting by filename
- Newest First / Oldest First: Sort by upload date
- Largest First / Smallest First: Sort by file size
- Type: Group by file type (images, then videos)
- Pending Approval / Approved: Sort by approval status
The selected sort order applies immediately and persists as you browse the project.
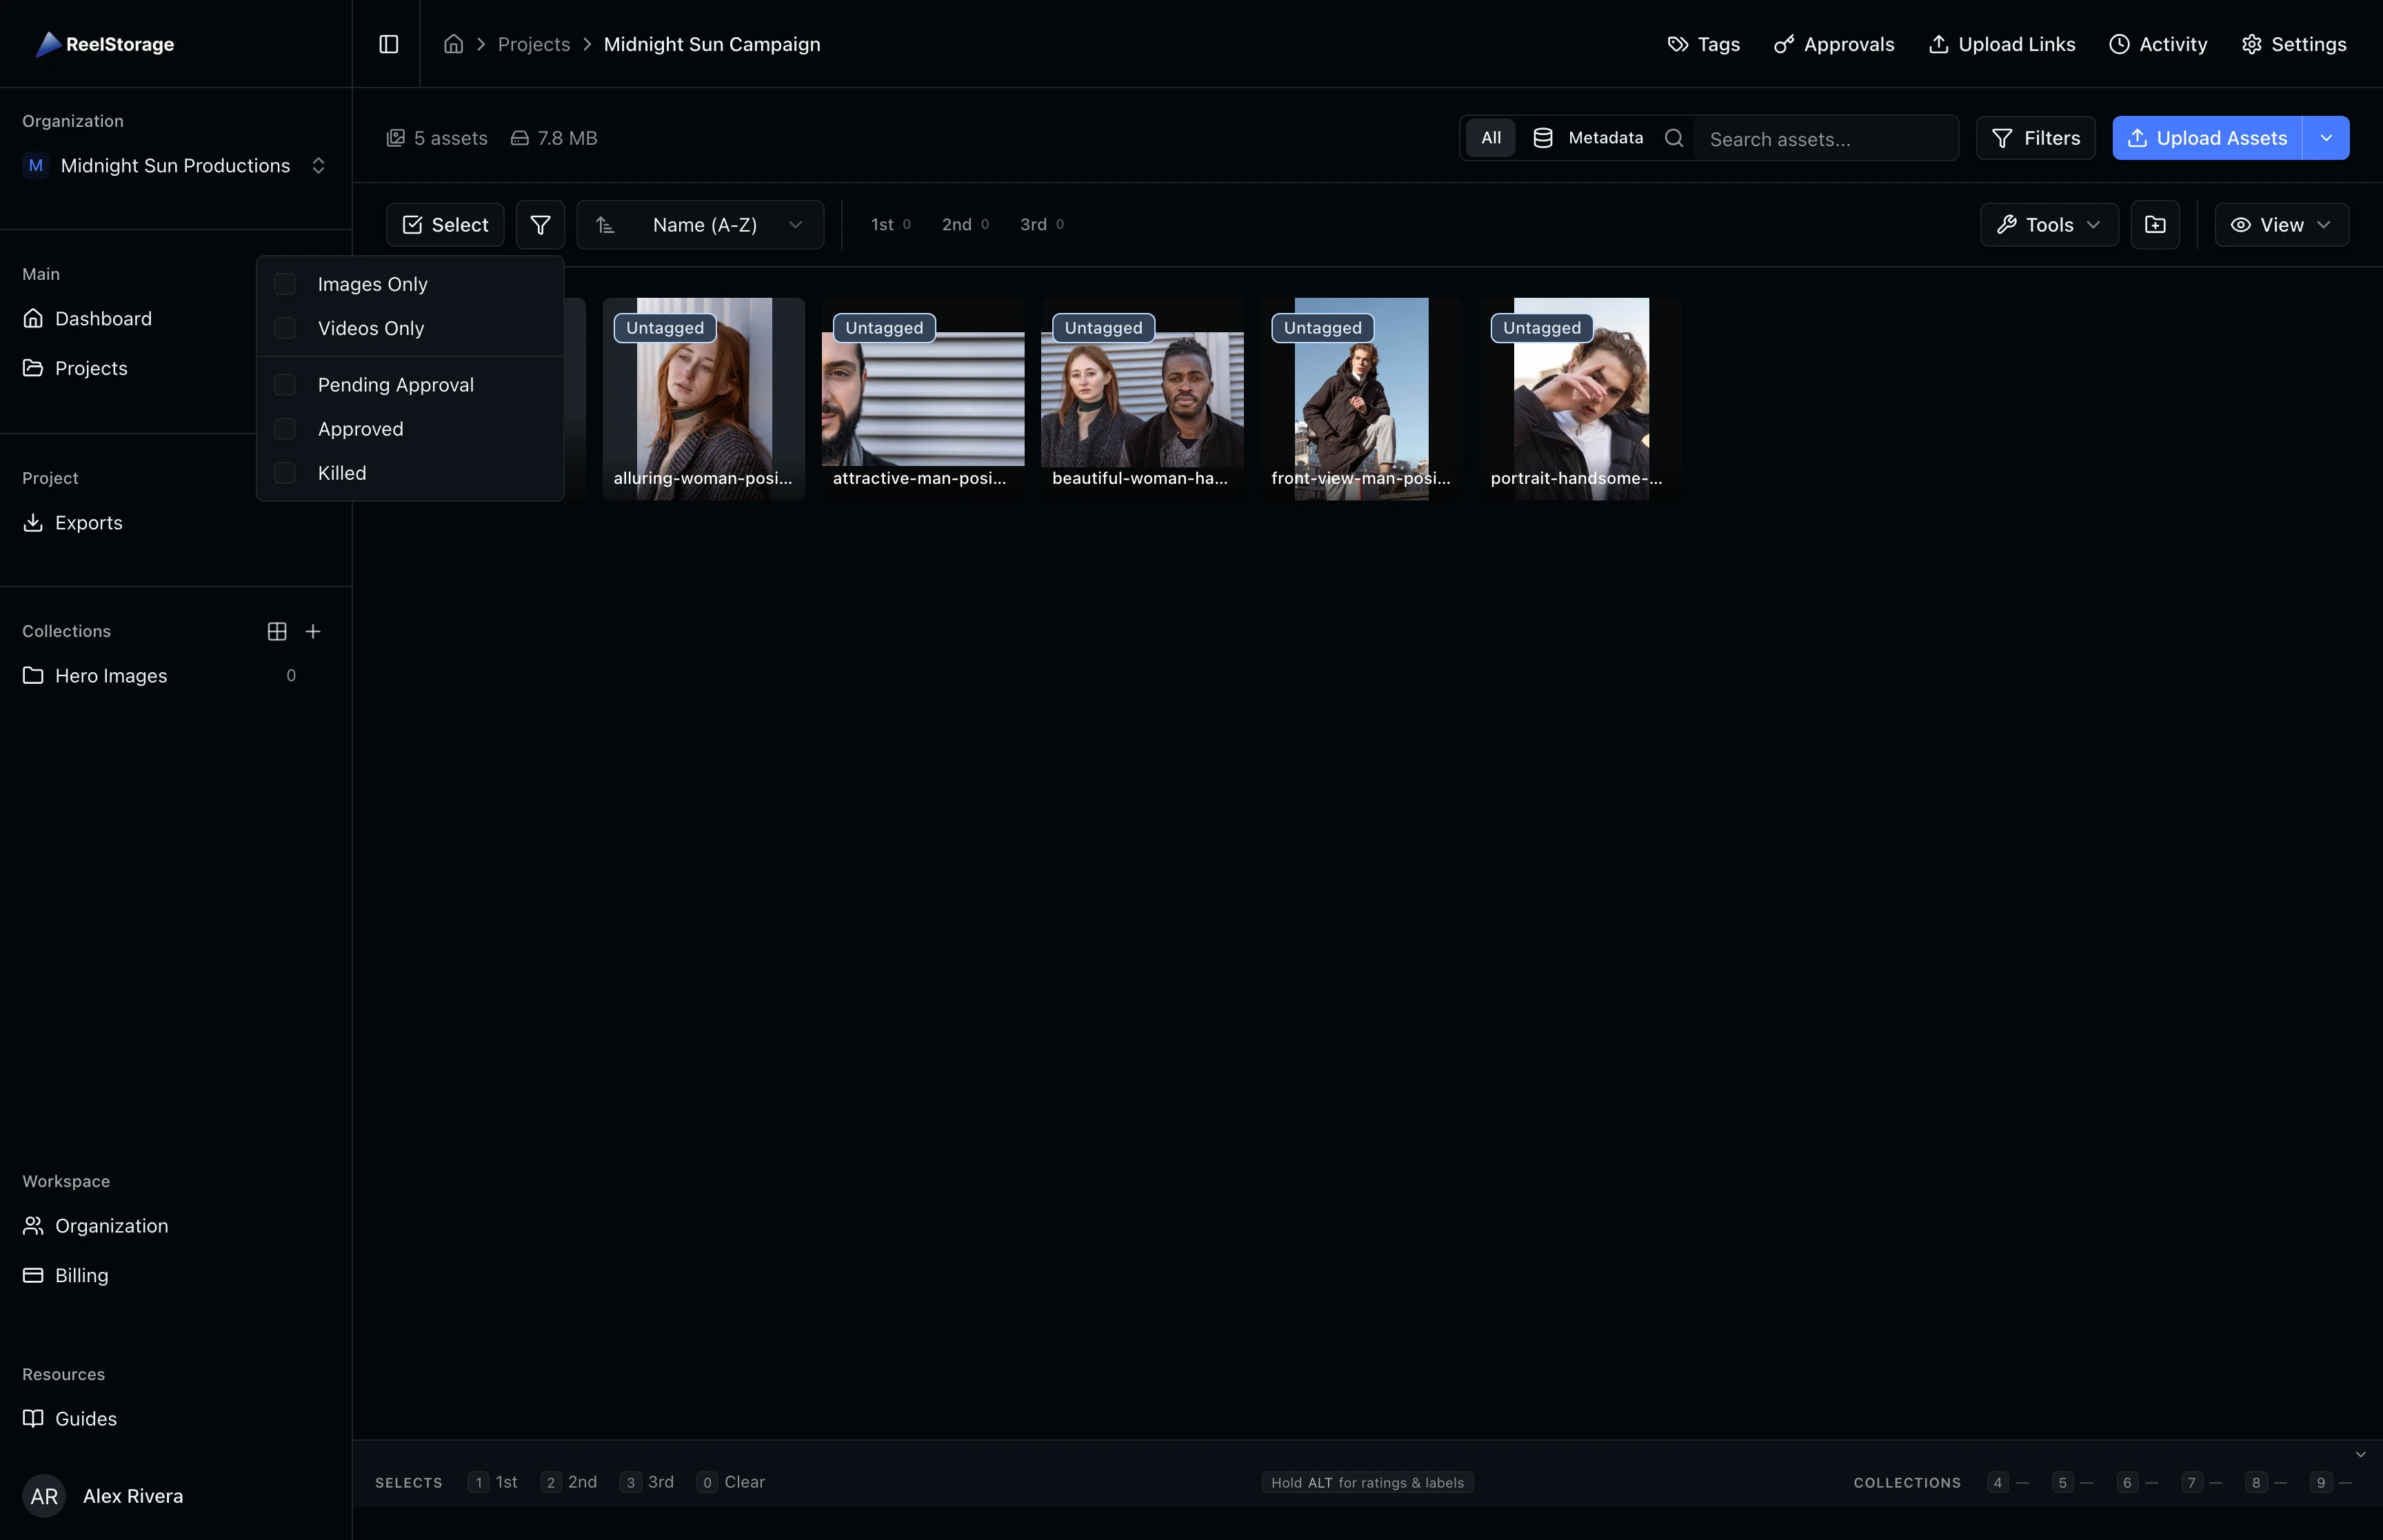
Step 5: Use the Quick Filter Dropdown
Click the filter icon (funnel) in the toolbar to open the quick filter dropdown. This menu offers checkboxes for:
- Images Only: Show only image files
- Videos Only: Show only video files
- Pending Approval: Show assets awaiting talent review
- Approved: Show approved assets
- Killed: Show rejected assets
Toggle any option to filter the grid immediately. A red dot appears on the funnel button when a filter is active, so you can tell at a glance whether the grid is filtered.
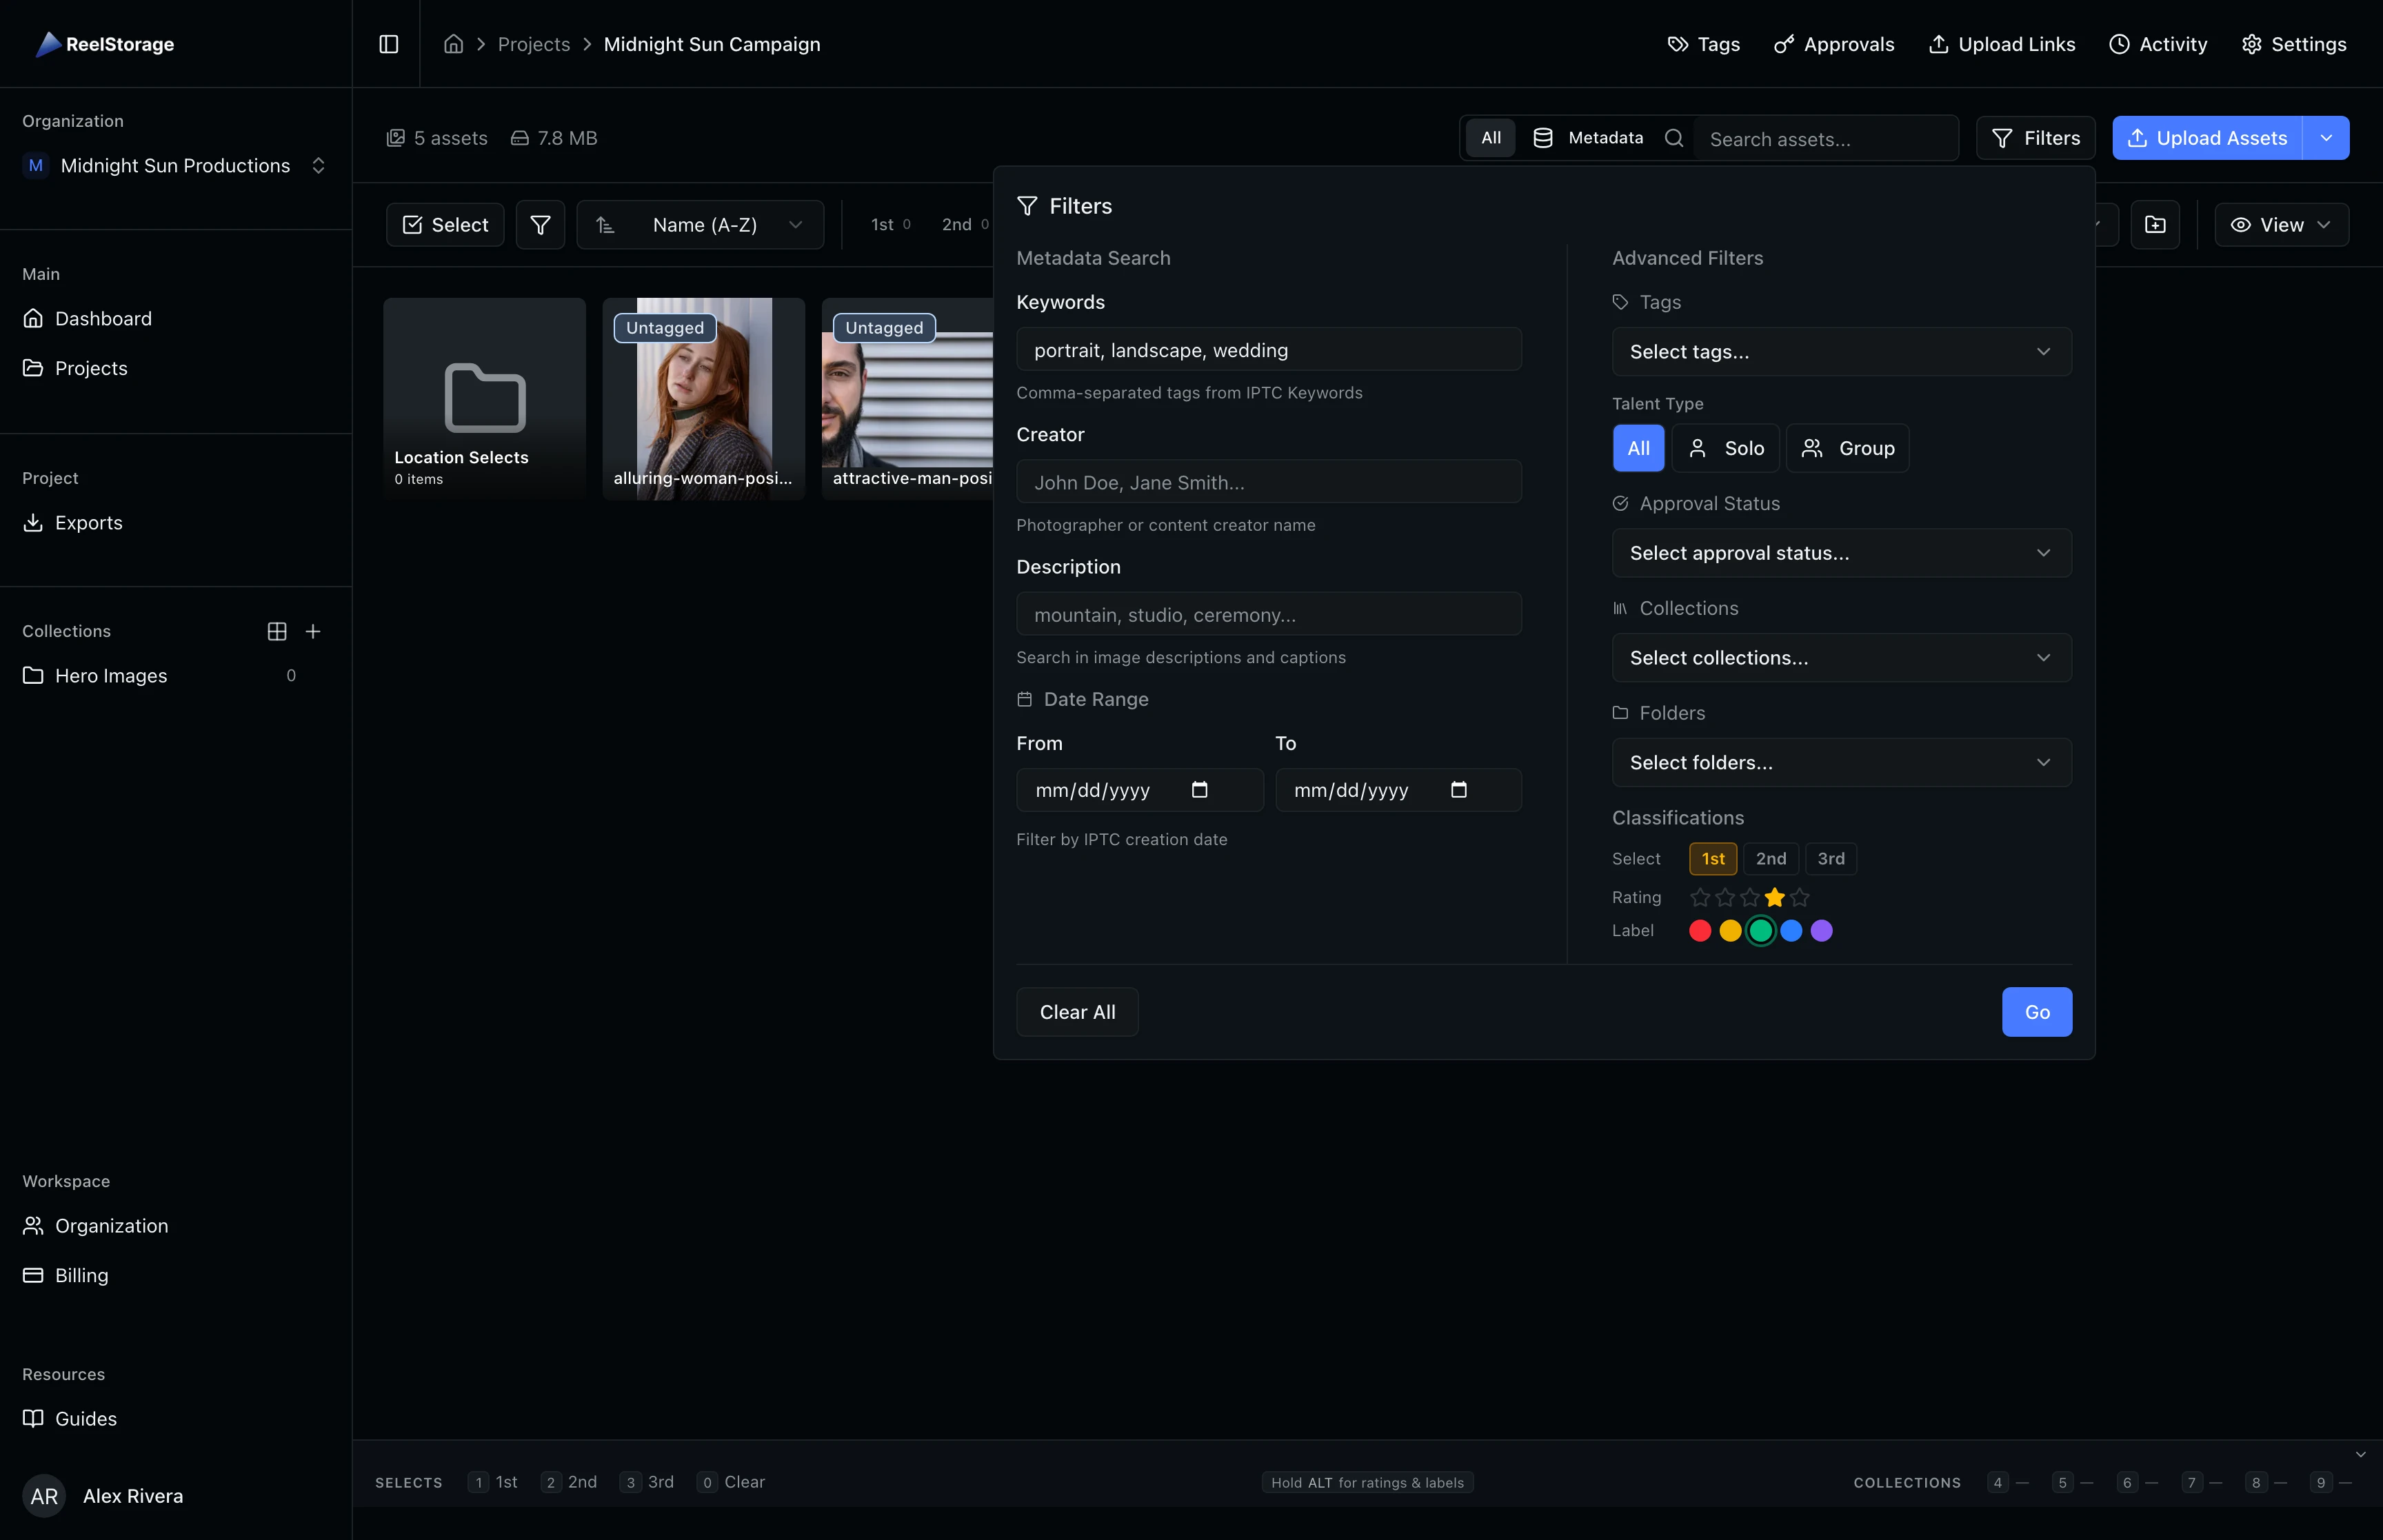
Step 6: Open the Advanced Filters Panel
Click the Filters button in the toolbar to open the advanced Filters panel. This panel is divided into two columns:
Left column (Metadata Search):
- Keywords: Search by IPTC keywords embedded in the file
- Creator: Filter by photographer or creator name
- Description: Search within IPTC description/caption fields
- Date Range: Restrict results to a specific date window
Right column (Advanced Filters):
- Tags: Filter by project tags (people, locations, custom tags)
- Approval Status: Filter by pending, approved, or killed status
- Collections: Show only assets belonging to specific collections
- Folders: Filter by folder assignment
- Talent Type: Toggle between different talent categories
- Classifications: Filter by select tier, star rating, and color label

Step 7: Use Classification Filters
In the advanced Filters panel, scroll to the Classifications section on the right side. Classification filters let you narrow assets by three dimensions:
- Select tier: Click 1st, 2nd, or 3rd tier chips to include assets at that tier level. Selected chips appear highlighted.
- Star rating: Click individual stars (1 through 5) to filter by rating. Selected stars fill in to indicate the active filter.
- Color label: Click colored dots (Red, Yellow, Green, Blue, Purple) to filter by color label.
You can select multiple values in each category. For example, selecting both 4-star and 5-star shows all assets rated 4 or 5. All selections remain in draft state until you click Go.

Step 8: Apply or Clear Filters
After setting your filters, click the Go button at the bottom of the panel to apply all changes at once. The Clear All button resets every field in the panel back to its default state. You can adjust and re-apply as many times as needed without closing the panel.
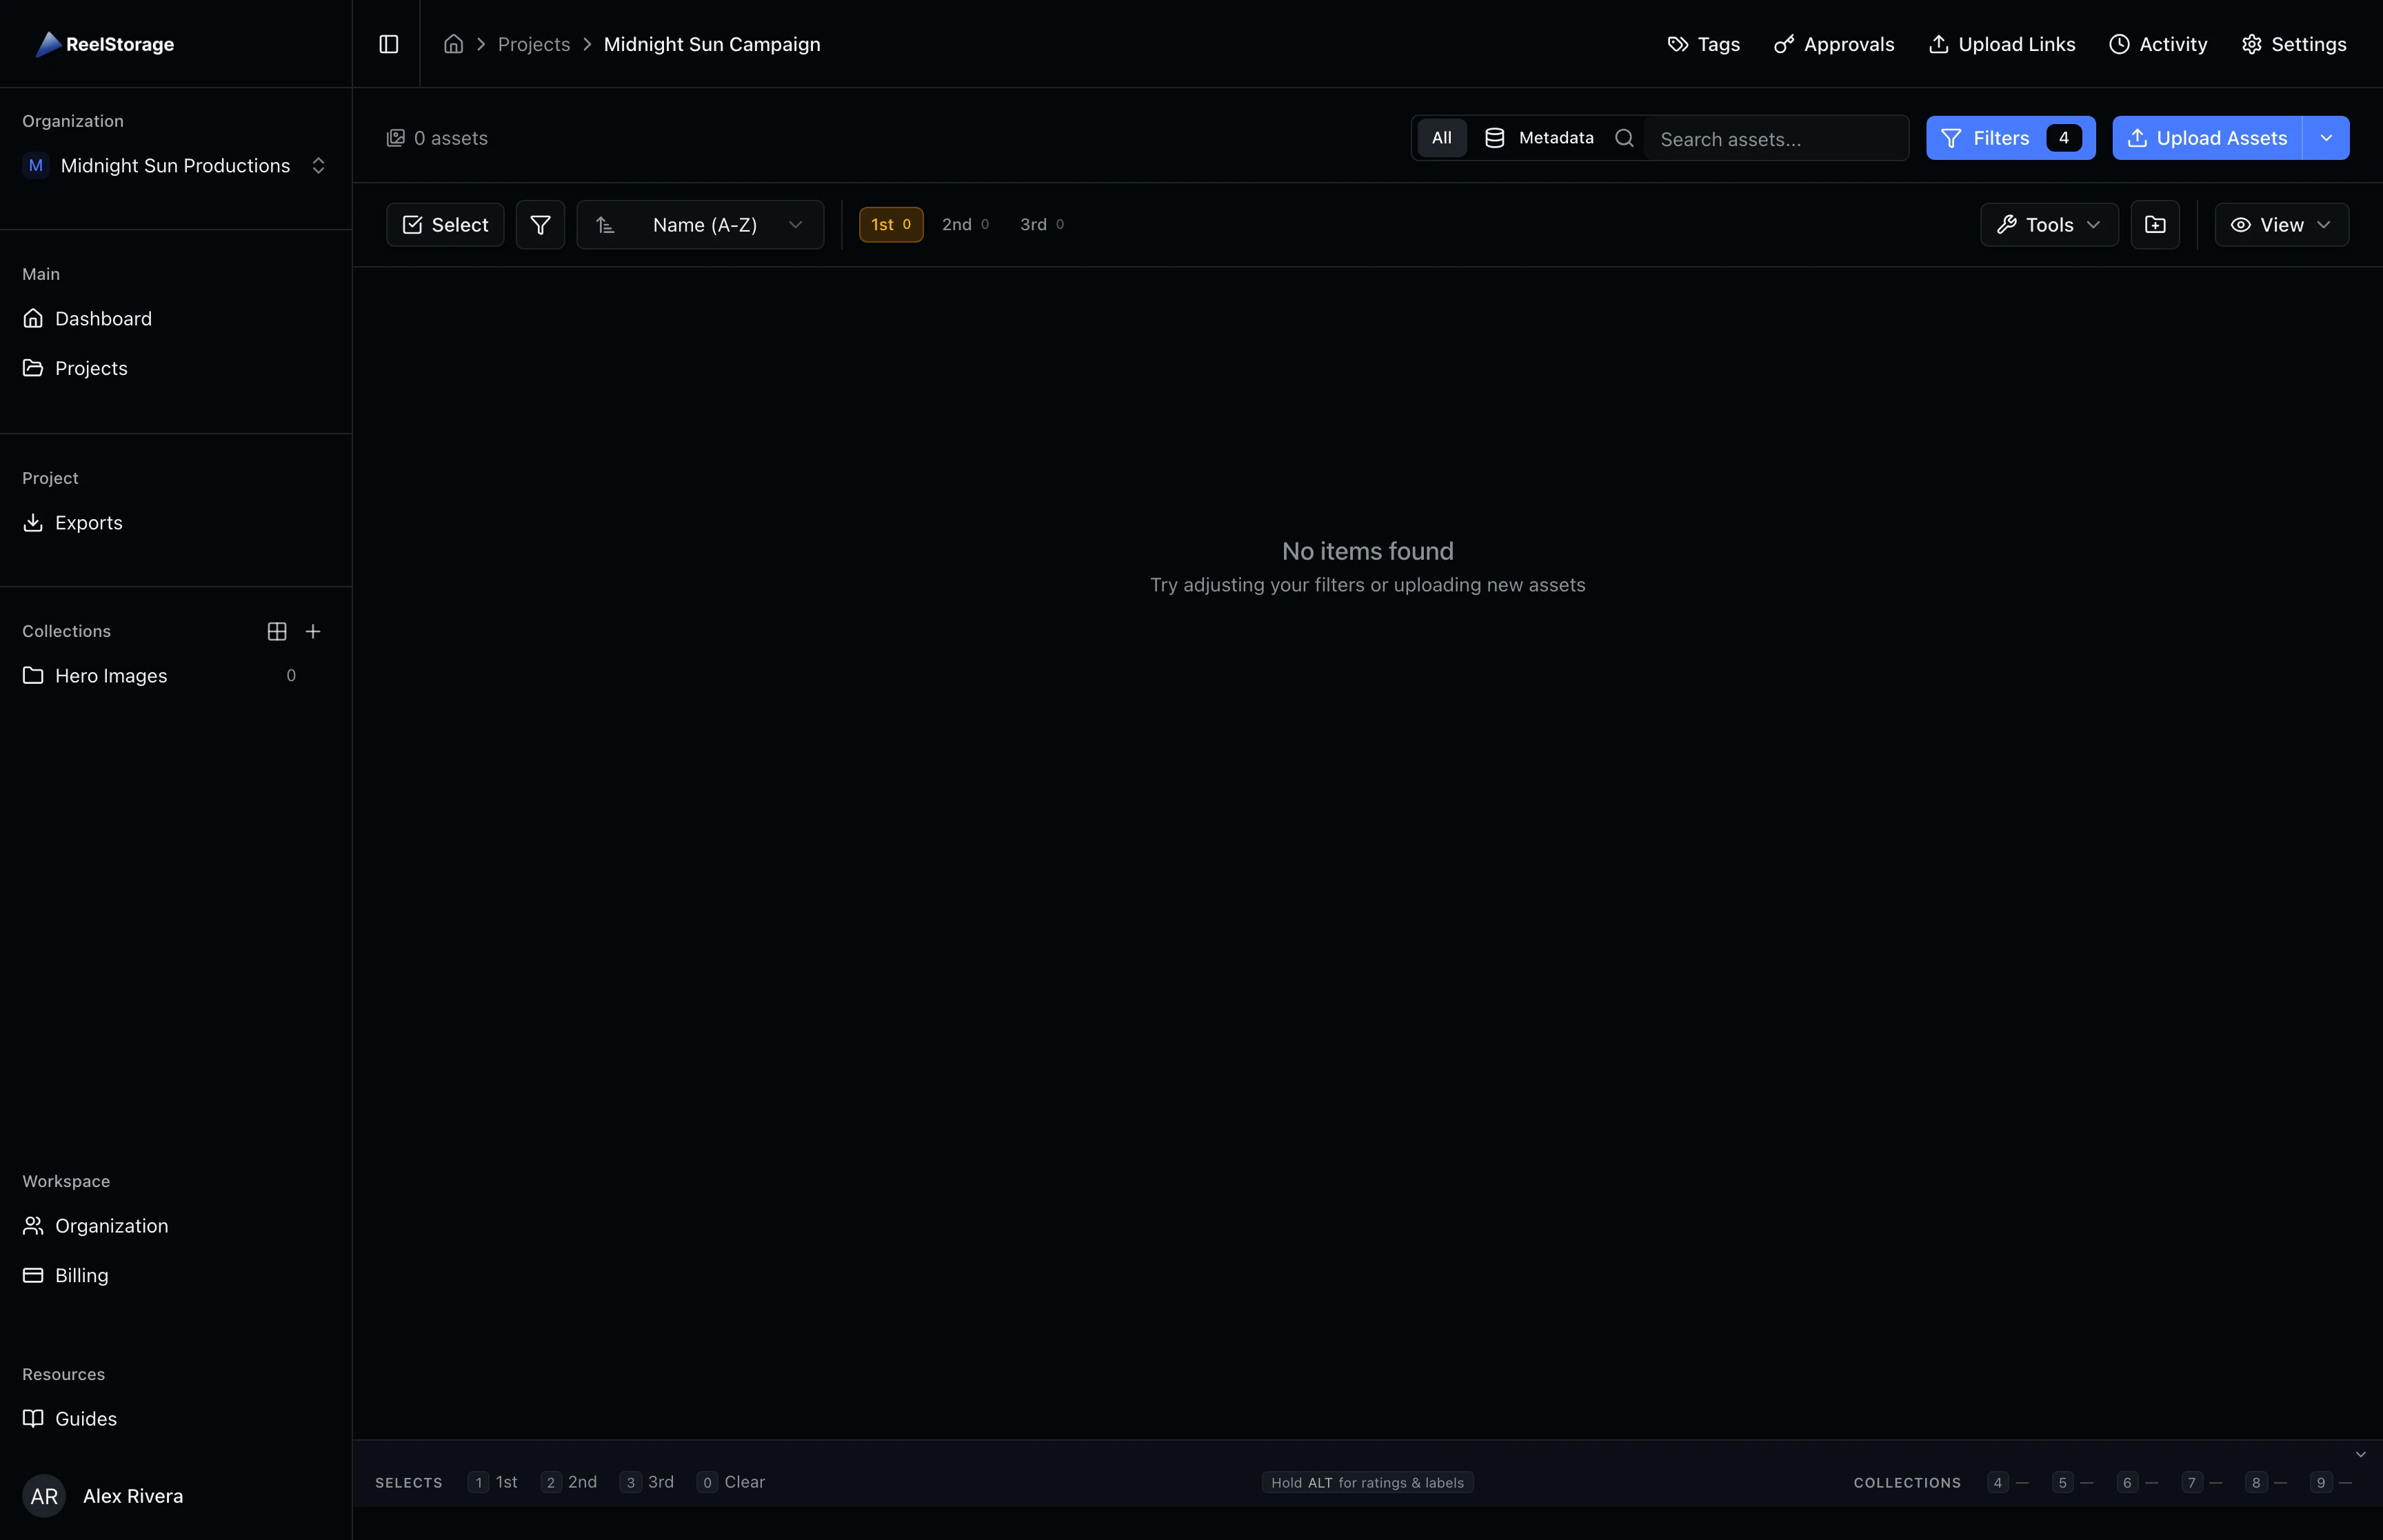
Step 9: Review Filtered Results
After clicking Go, the Filters panel closes and the grid updates to show only matching assets. The Filters button in the toolbar displays a badge with the number of active filters, so you can always tell when the view is filtered. To remove filters, click Filters again, click Clear All, and then click Go to restore the full grid.
Tips and Best Practices
- Combine search with filters: Type a keyword in the search bar and then open the Filters panel to narrow by tag or approval status. Both work together to refine your results.
- Use metadata mode for IPTC data: If your assets have embedded IPTC metadata (photographer name, keywords, descriptions), switch to Metadata mode for more precise searches.
- Classification filters stack: Selecting multiple stars or labels shows assets matching any of the selected values. For example, selecting 4-star and 5-star shows both.
- Check the filter badge: The number on the Filters button tells you how many filters are active. If you see unexpected results, check whether hidden filters are still applied.
Troubleshooting
Why do I see zero results after applying filters?
Your filter combination may be too restrictive. Open the Filters panel and click Clear All to reset. Then add filters one at a time to identify which combination produces the empty set.
Why is the Filters button badge showing a count but I don't see any active filters?
Some filters (like search text or metadata fields) count toward the active filter total but are managed in the search bar, not the Filters panel. Clear the search bar with the X button to reduce the count.
Why can't I find the Tags or Collections dropdown?
The Tags and Collections dropdowns only appear in the advanced Filters panel (the Filters button), not in the quick filter dropdown (the small funnel icon). Make sure you are clicking the labeled Filters button in the toolbar.
What's Next
- Browsing and Selecting Assets: Learn how to select assets for bulk actions after filtering your grid.
- Using Tags and Metadata: Add and manage tags so your filter dropdowns have meaningful options to choose from.
- Organizing Assets with Collections: Group filtered results into collections for sharing and review.
Related Guides
Browsing and Selecting Assets
Learn how to browse your asset grid, search by name or metadata, sort and filter results, and select assets for bulk actions.
Using Tags and Metadata
Learn how to create, edit, and manage project tags to organize your assets by people, objects, and locations.
Organizing Assets with Collections
Learn how to create collections, add assets to them, view collection contents, and manage collections from the sidebar.