Uploading Assets
Prerequisites
Upload photos and videos to your project through a dedicated upload window that runs alongside your main workspace. This guide walks you through opening the upload window, adding files, monitoring progress, and confirming your uploads appear in the asset grid.
What You'll Learn
- How to open the upload window from your project
- Which file formats and sizes are supported
- How to add files by dragging and dropping or browsing
- How to monitor upload progress
- How to verify uploaded assets in the grid
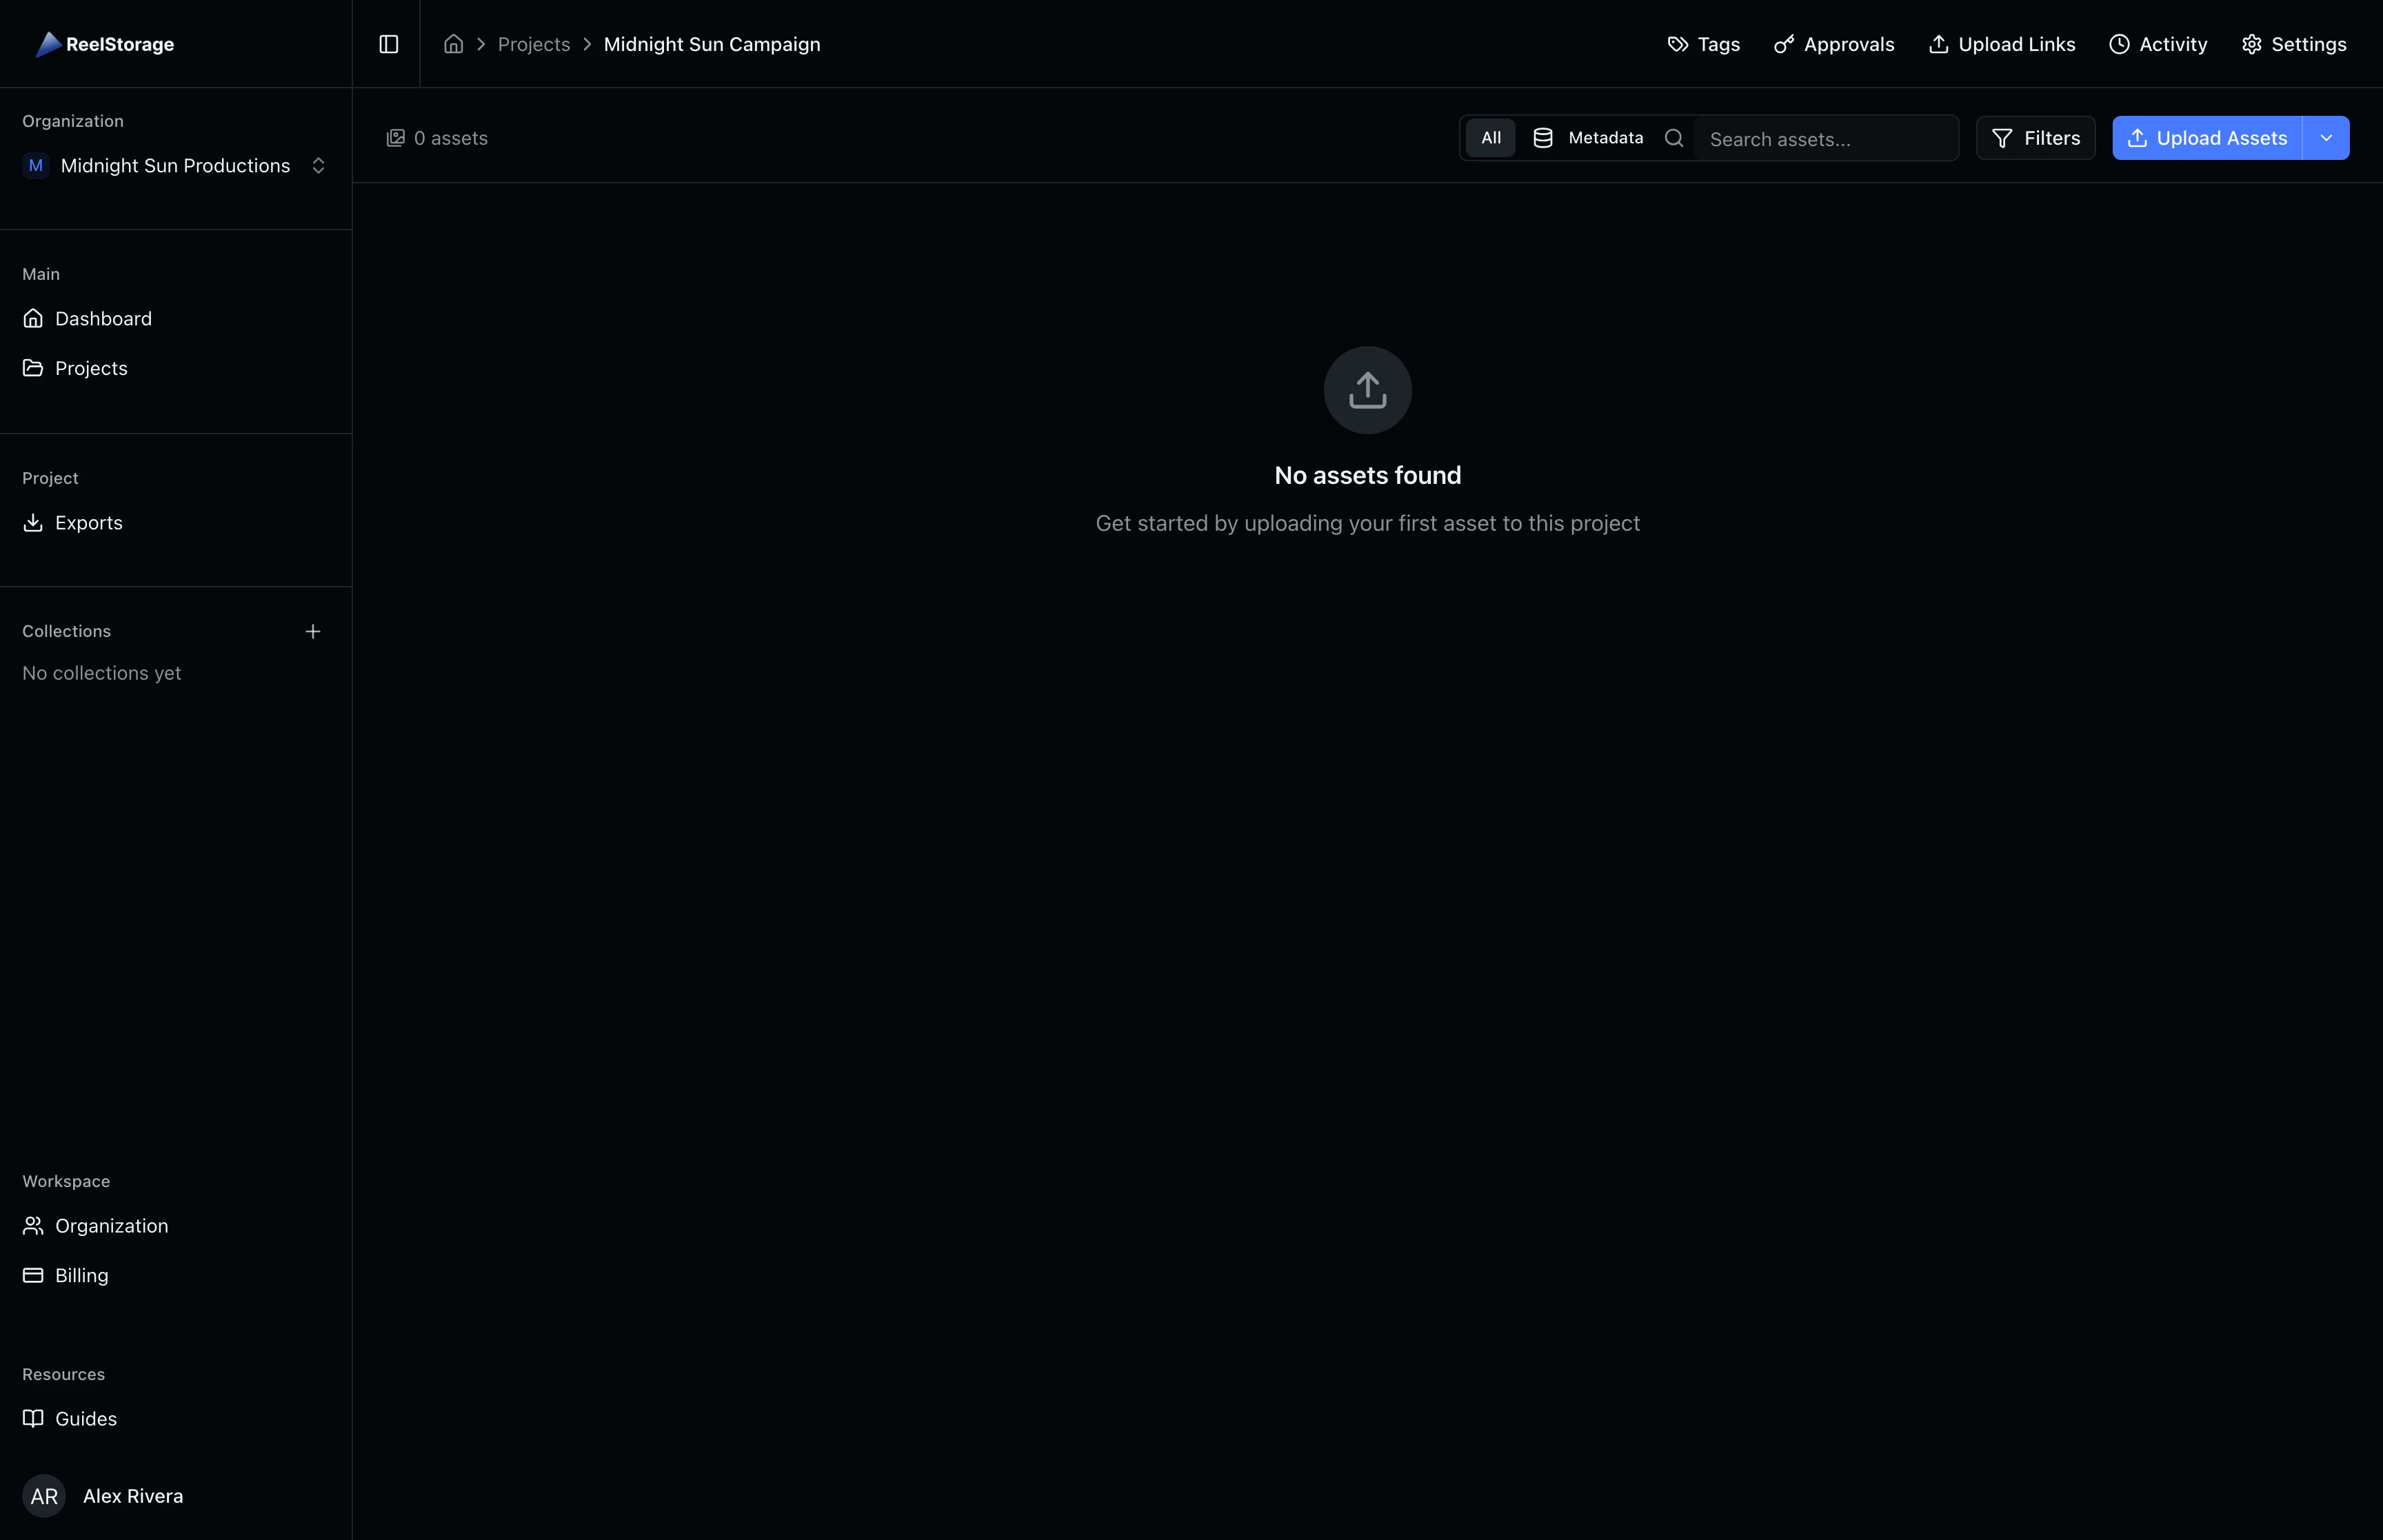
Step 1: Open Your Project
Navigate to the Projects page from the sidebar and select the project where you want to add files. The project page displays your existing assets in a grid layout. Look for the Upload Assets button in the top-right corner of the toolbar.
Step 2: Open the Upload Window
Click the Upload Assets button. A new browser window opens with the upload interface. The window title reads "Upload to" followed by your project name, so you always know where files will land.
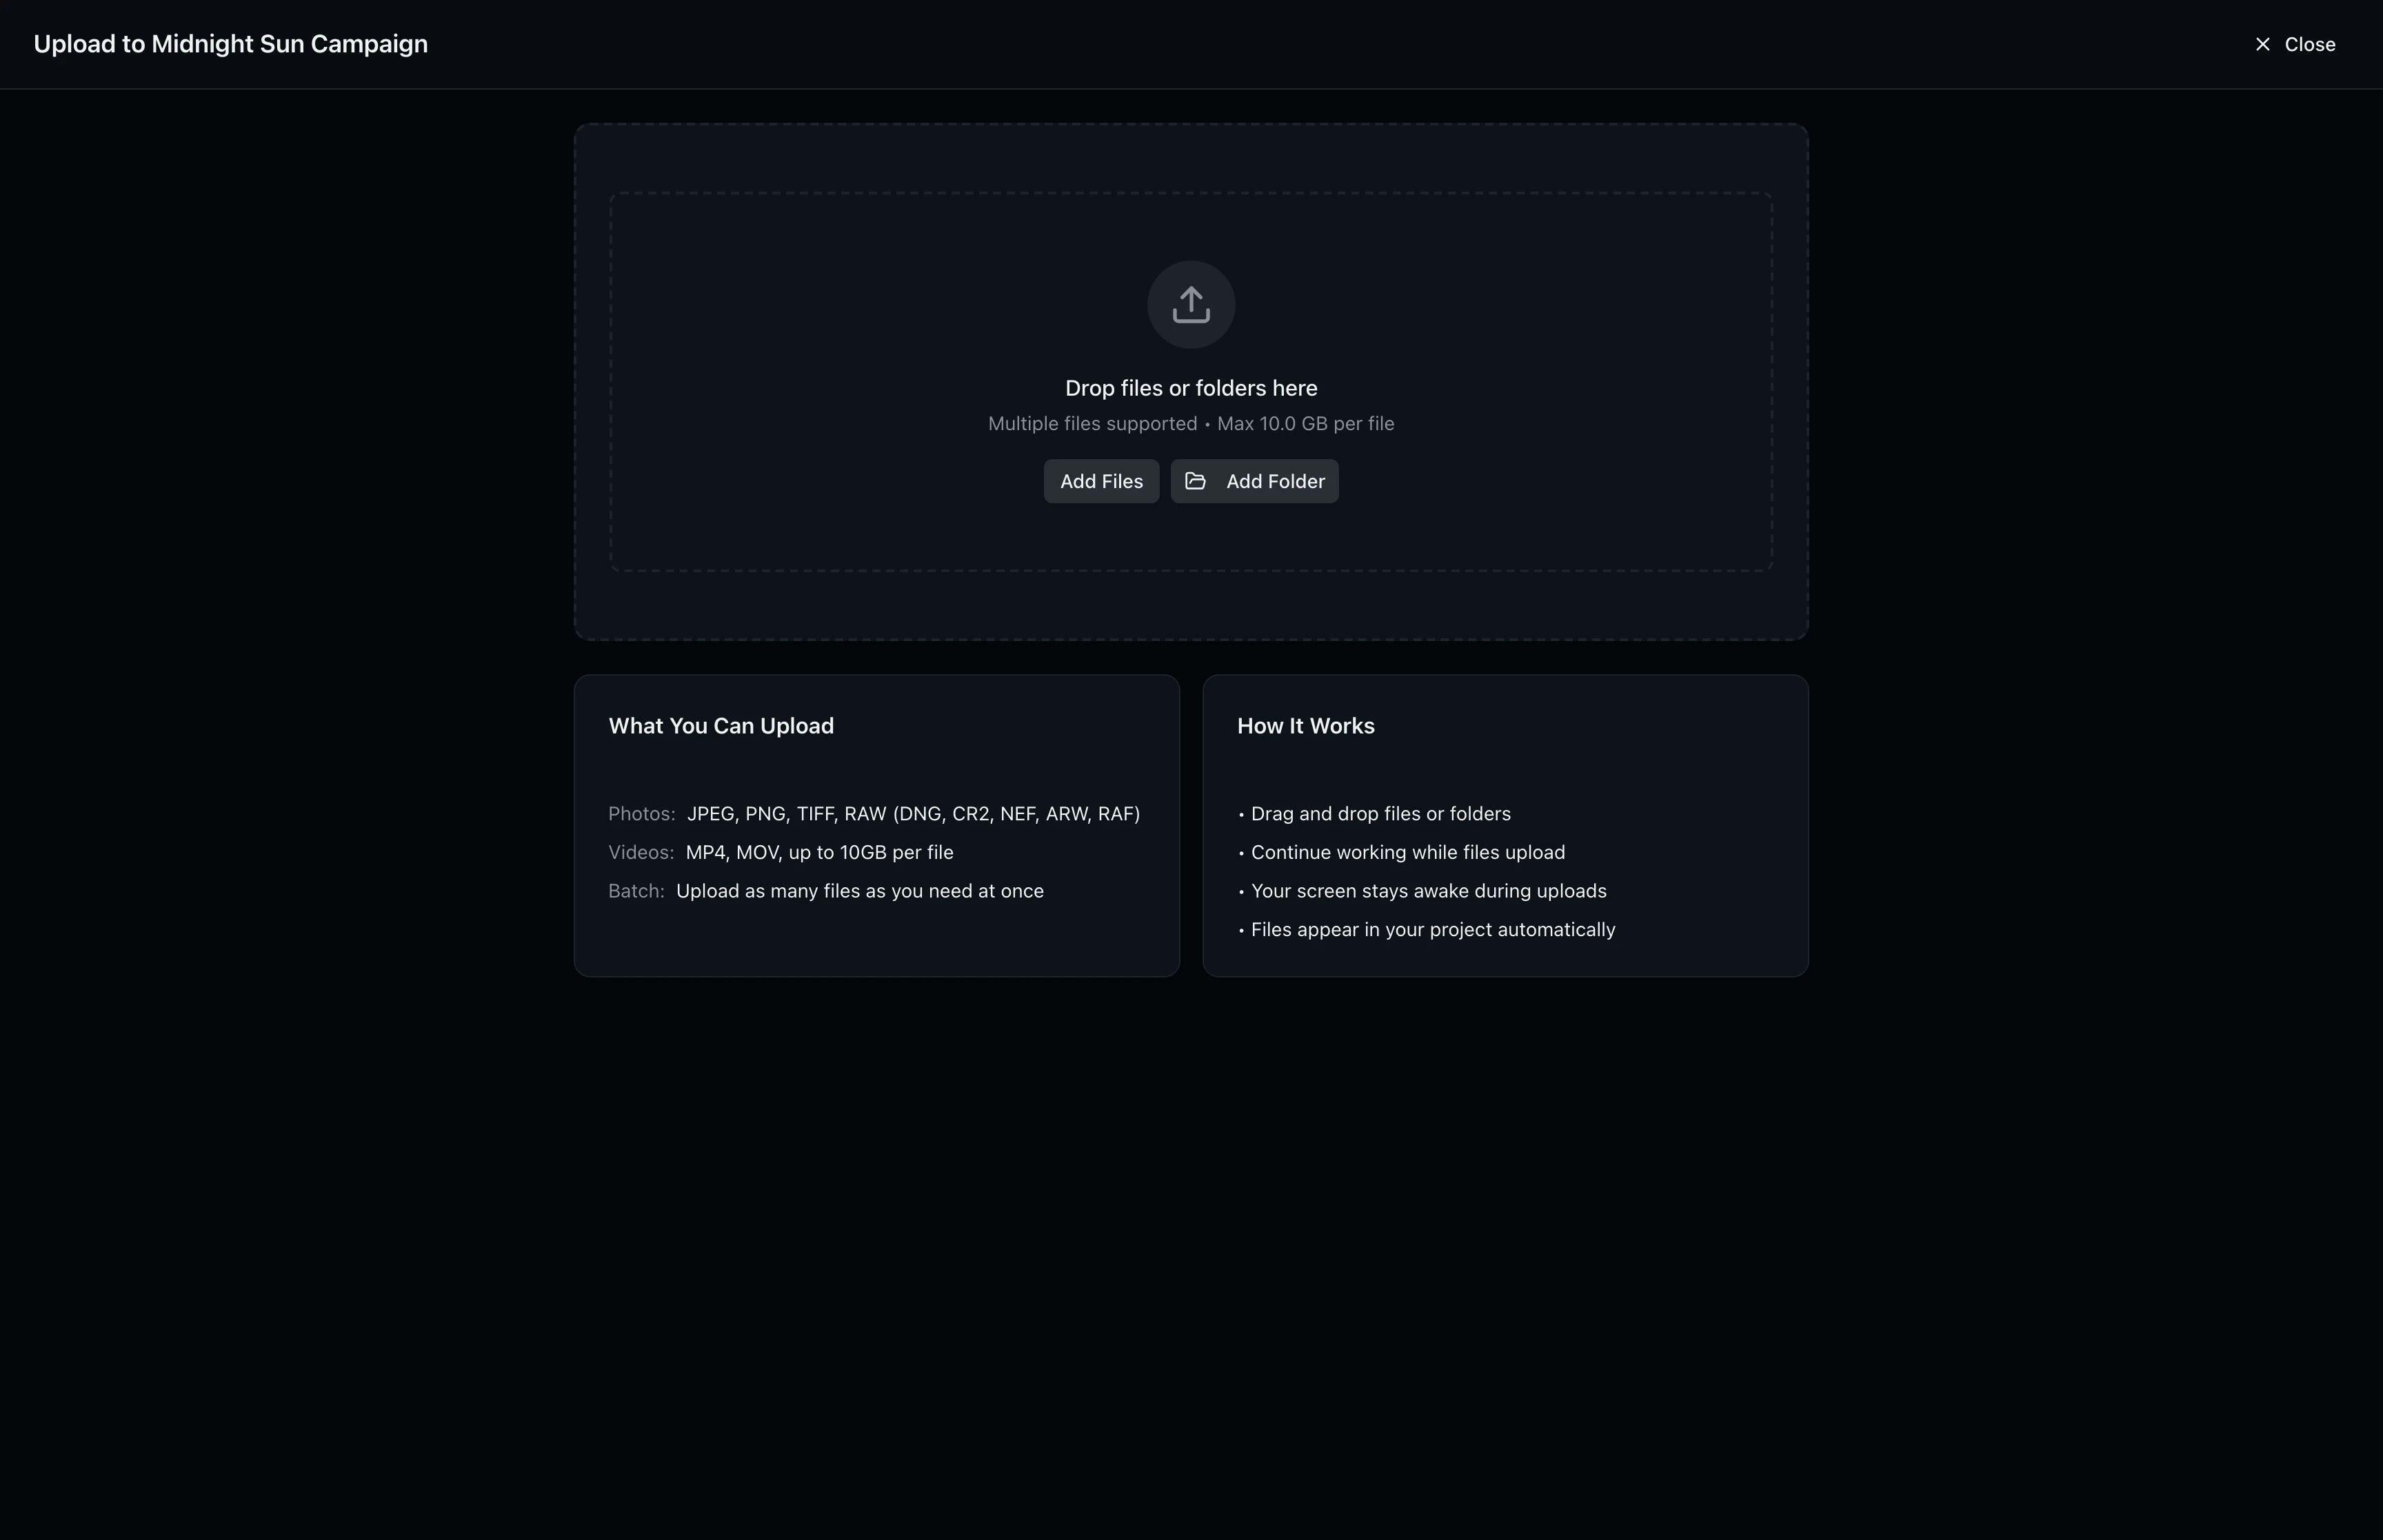
The upload window shows a drop zone in the center with Add Files and Add Folder buttons below it. Two information cards at the bottom explain what you can upload and how the process works:
- What You Can Upload: JPEG, PNG, TIFF, RAW formats (DNG, CR2, NEF, ARW, RAF) for photos, and MP4 or MOV for video. Each file can be up to 10 GB.
- How It Works: Uploads run in the background, your screen stays awake during the process, and files appear in your project automatically when finished.
Your browser must allow popups for ReelStorage. If the upload window does not open, check your browser's popup blocker settings, allow popups for this site, and try again.
Step 3: Add Files
Drag files or folders from your computer directly onto the drop zone, or click Add Files to open a file picker. You can also click Add Folder to upload an entire folder at once. The upload starts automatically as soon as files are added. Each file shows its name, size, and a progress indicator as it uploads.

You can add multiple batches of files. Drop a second set of files onto the drop zone while the first batch is still uploading and they will be queued automatically.
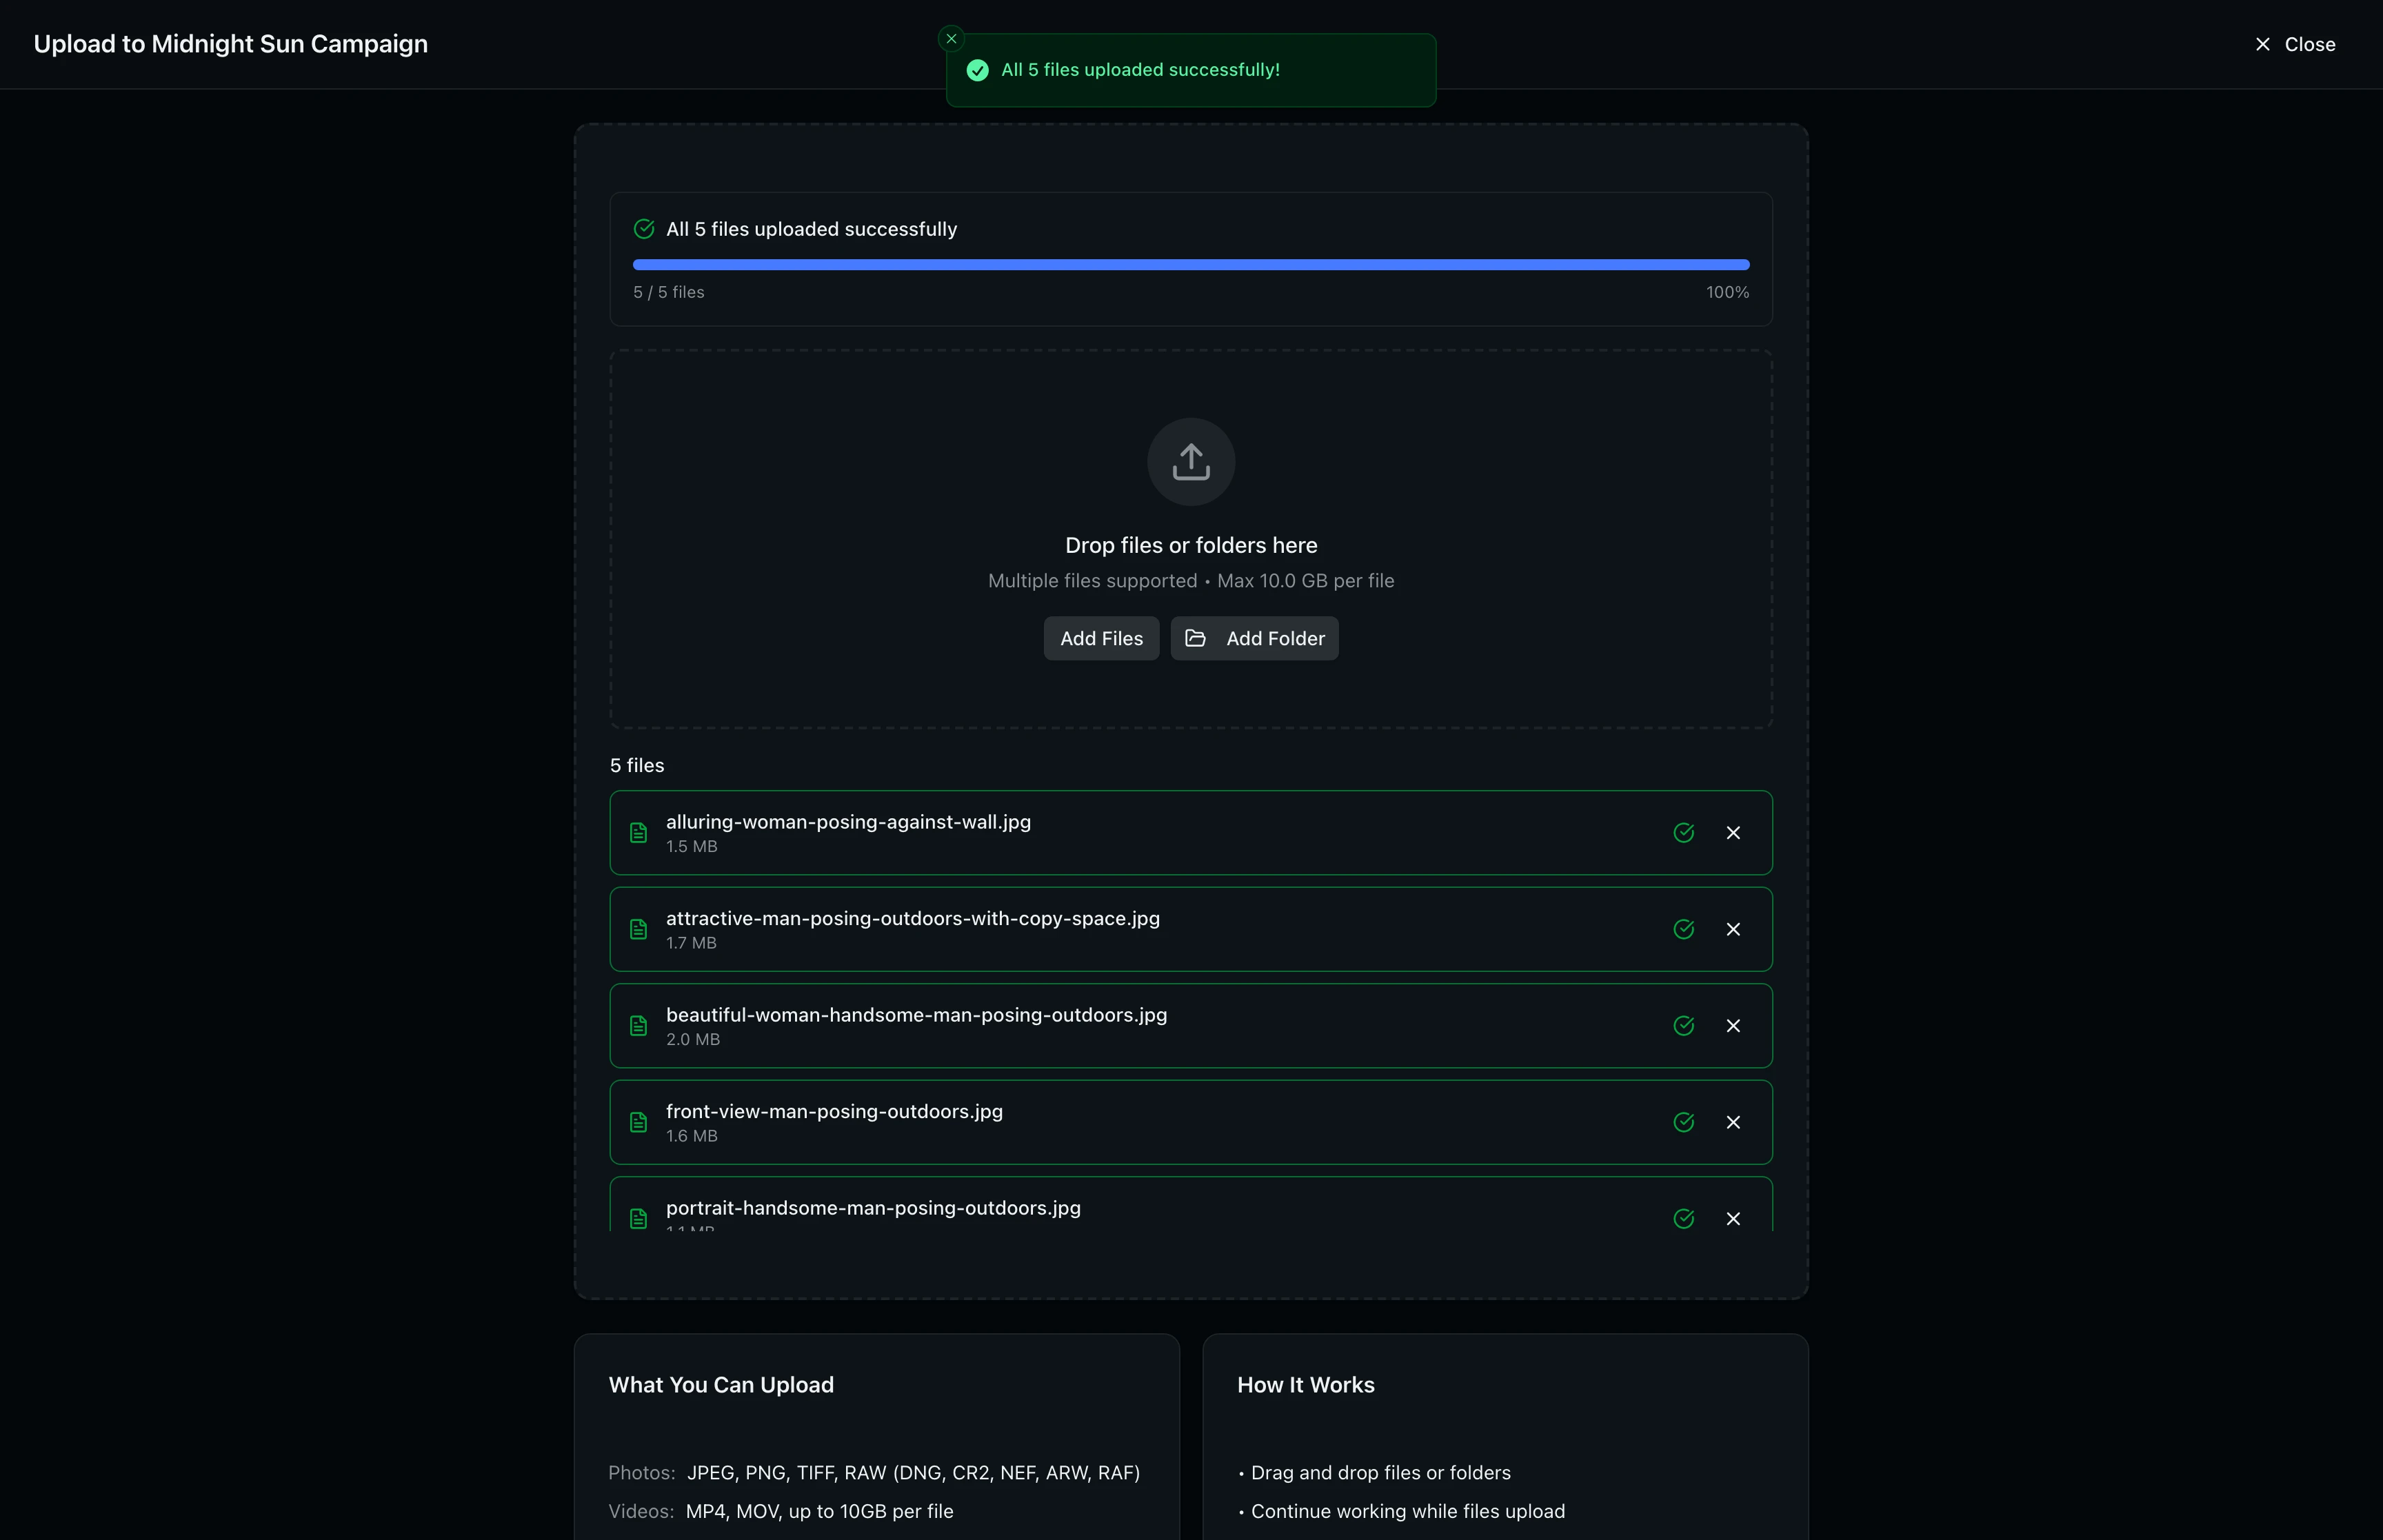
Step 4: Monitor Upload Progress
The upload window tracks progress at both the file level and the overall batch level. A progress bar at the top shows how many files have completed along with a percentage. When all files finish, a success banner confirms the upload is complete.
You can switch back to your main project tab at any time. Uploads continue in the background regardless of which tab is active, and the upload window keeps your screen awake to prevent interruptions.
Step 5: Verify Uploaded Assets
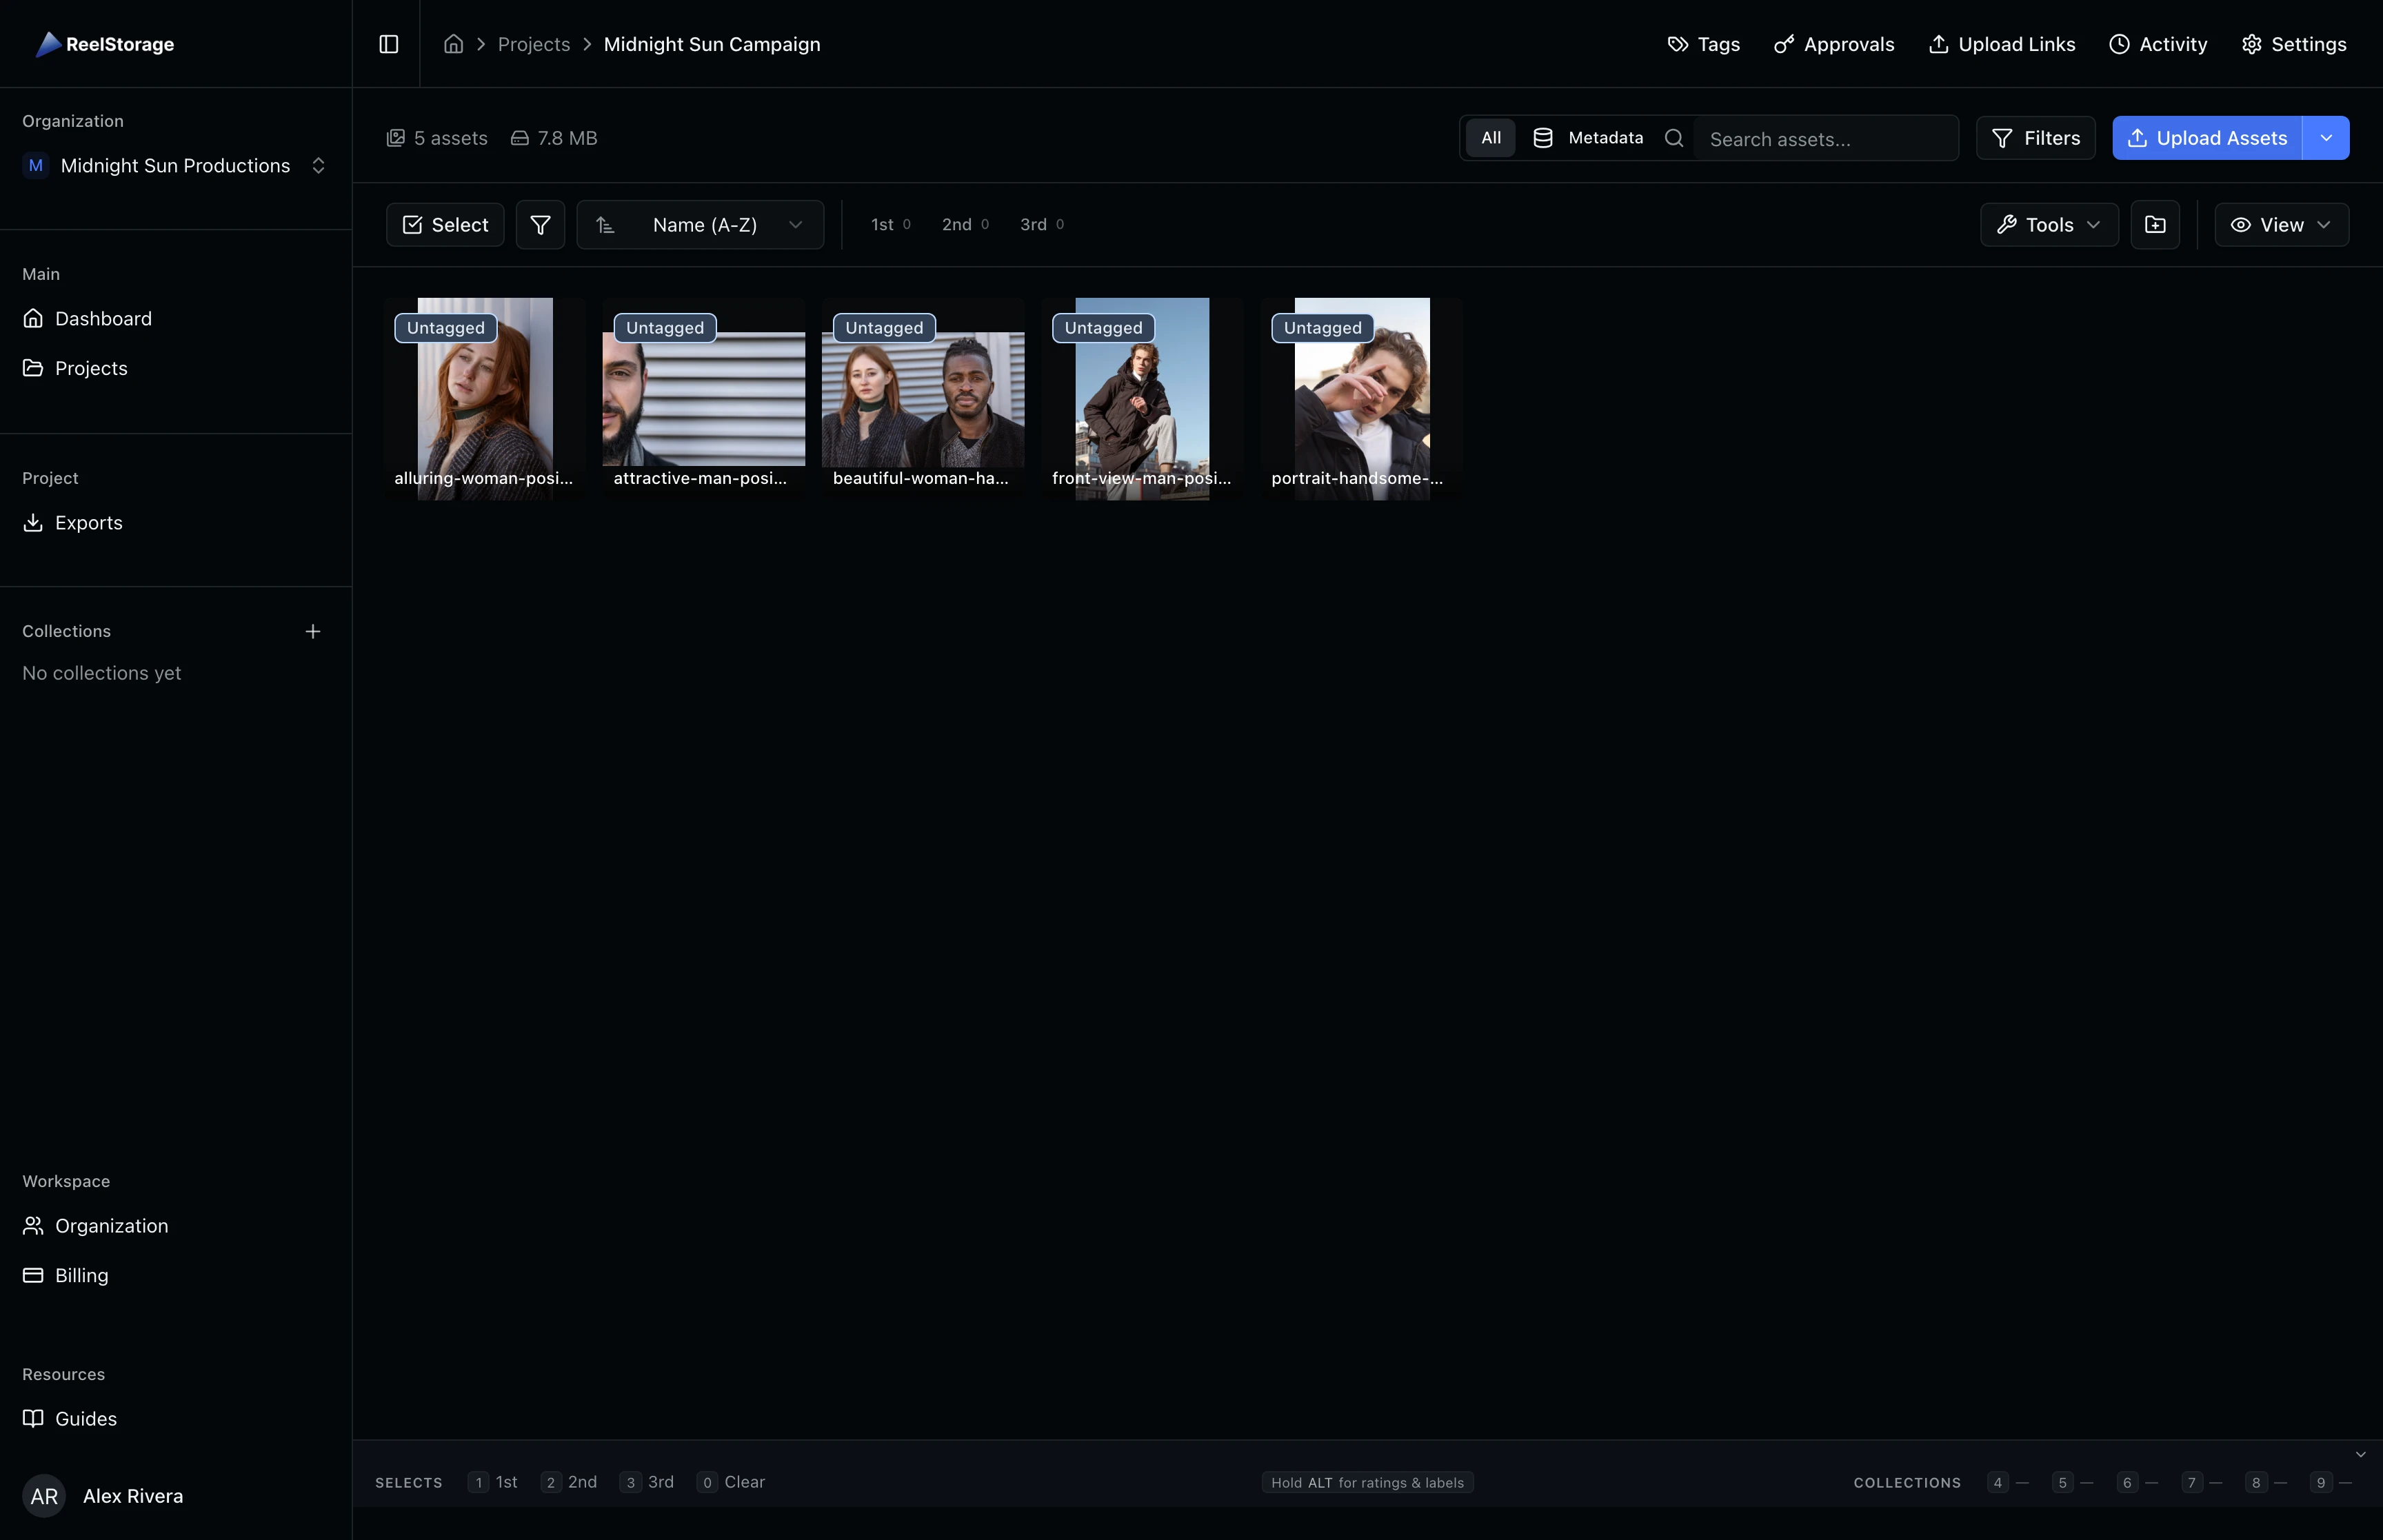
Close the upload window or switch back to your project tab once uploads finish. Reload the project page if the assets have not appeared yet. Your uploaded files display as thumbnail cards in the asset grid, ready for organizing, tagging, and review.
Tips and Best Practices
- Upload full folders: Click Add Folder or drag an entire folder onto the drop zone to add a complete shoot at once.
- Keep the window open: The upload window prevents your display from sleeping during uploads. Do not close it until all files finish.
- Watch for errors: If a file fails, the upload window shows a retry button next to it. Click retry to re-upload that file without affecting the rest of the batch.
- Check file formats first: RAW files from most camera manufacturers are supported (DNG, CR2, NEF, ARW, RAF). If your format is not listed, convert to TIFF or JPEG before uploading.
Troubleshooting
The upload window does not open?
Your browser is blocking popups for this site. Go to your browser's popup settings, allow popups for ReelStorage, and click the Upload Assets button again.
Uploads seem stuck or interrupted?
Check your internet connection. The uploader retries failed files automatically up to three times. If a file continues to fail, try uploading it again in a smaller batch.
My files do not appear in the grid after uploading?
Reload the project page. Uploaded files are processed in the background and may take a few moments to generate thumbnails. Large files and videos take longer to process.
What's Next
- Browsing and Selecting Assets: Navigate, sort, filter, and select assets for bulk actions.
- Editing Asset Metadata: Add IPTC metadata and custom fields to organize your assets.
Related Guides
Managing Projects
Learn how to create, organize, and manage photo projects in ReelStorage, including settings, team members, and archiving.
Browsing and Selecting Assets
Learn how to browse your asset grid, search by name or metadata, sort and filter results, and select assets for bulk actions.
Editing Asset Metadata
Learn how to view and edit IPTC metadata fields on your assets, including titles, descriptions, copyright info, and location data.