Exporting and Sharing Files
Prerequisites
Exports let you package selected assets into ZIP files for download or sharing. Whether you need to send final selects to a client or archive a batch of approved images, the exports workflow handles packaging, delivery, and access control in one place.
What You'll Learn
- How to create an export from selected assets
- How to view and download ready exports
- How to share an export with external recipients via email
- How to view recipients and manage shared access
Step 1: Navigate to the Exports Page
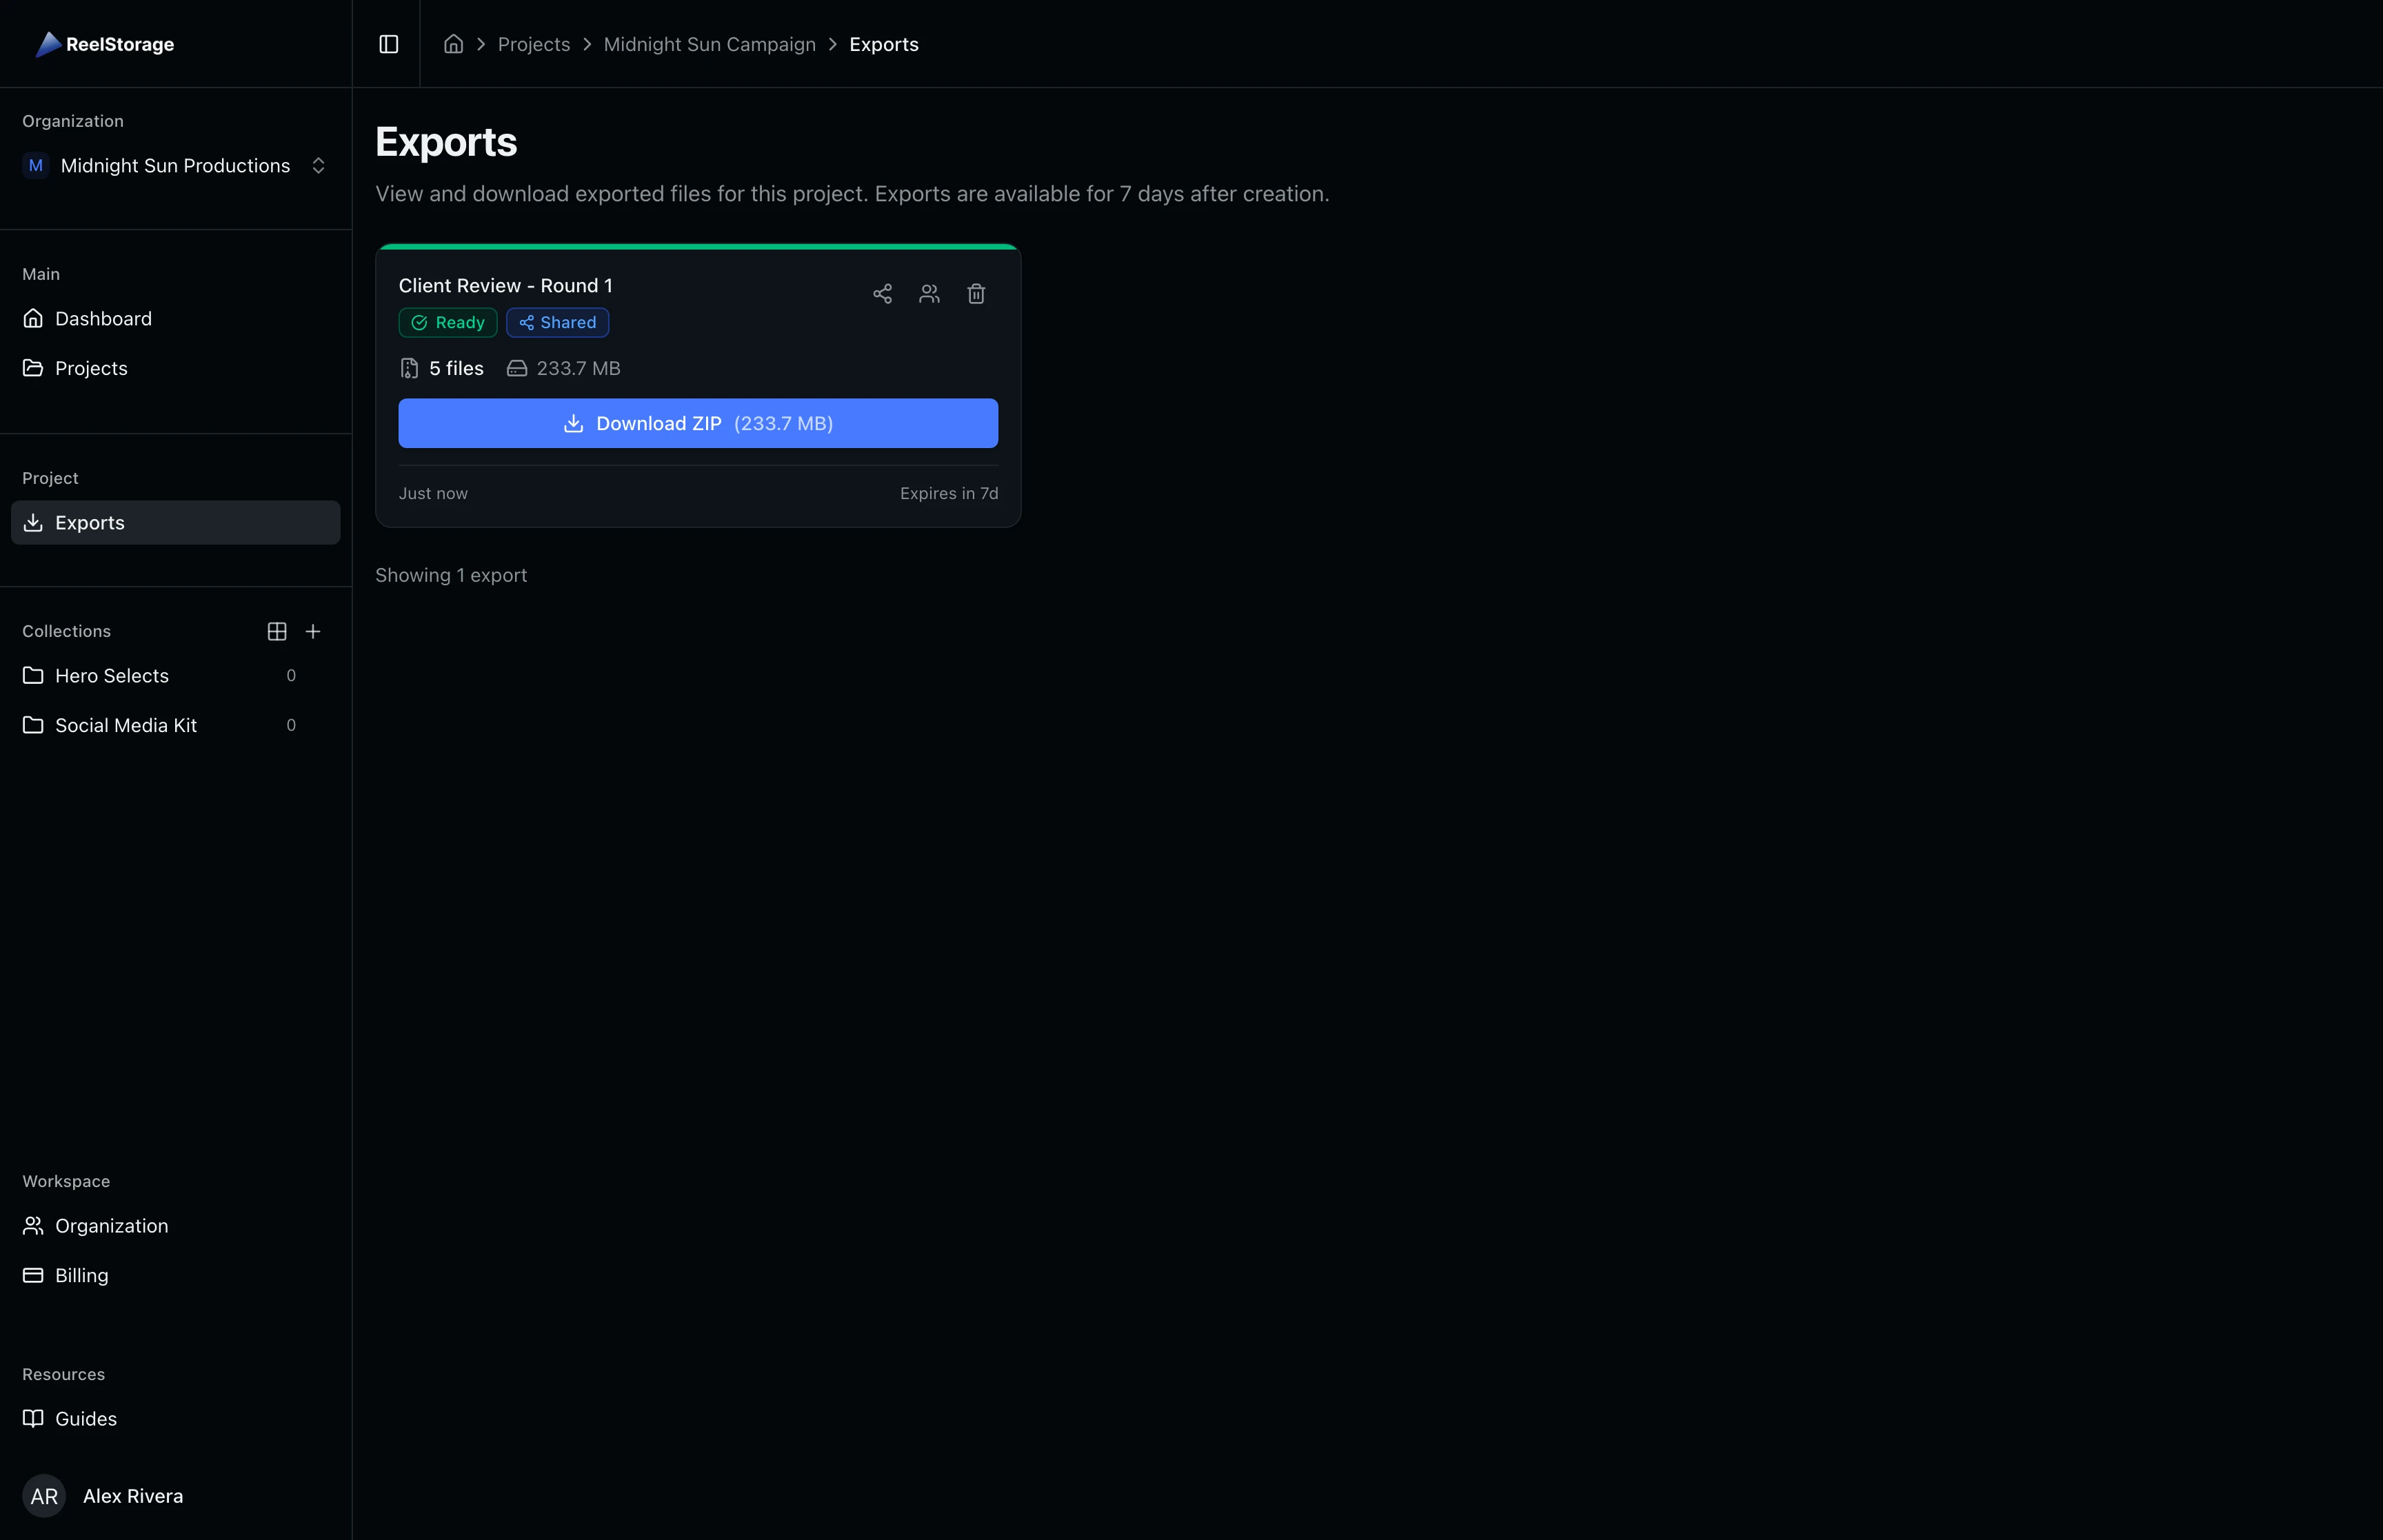
Open your project and click Exports in the sidebar navigation. The Exports page displays all export jobs for this project as a grid of cards. Each card shows the export name, current status, file count, total size, creation date, and expiration countdown. Action buttons on each card let you download, share, or delete the export.

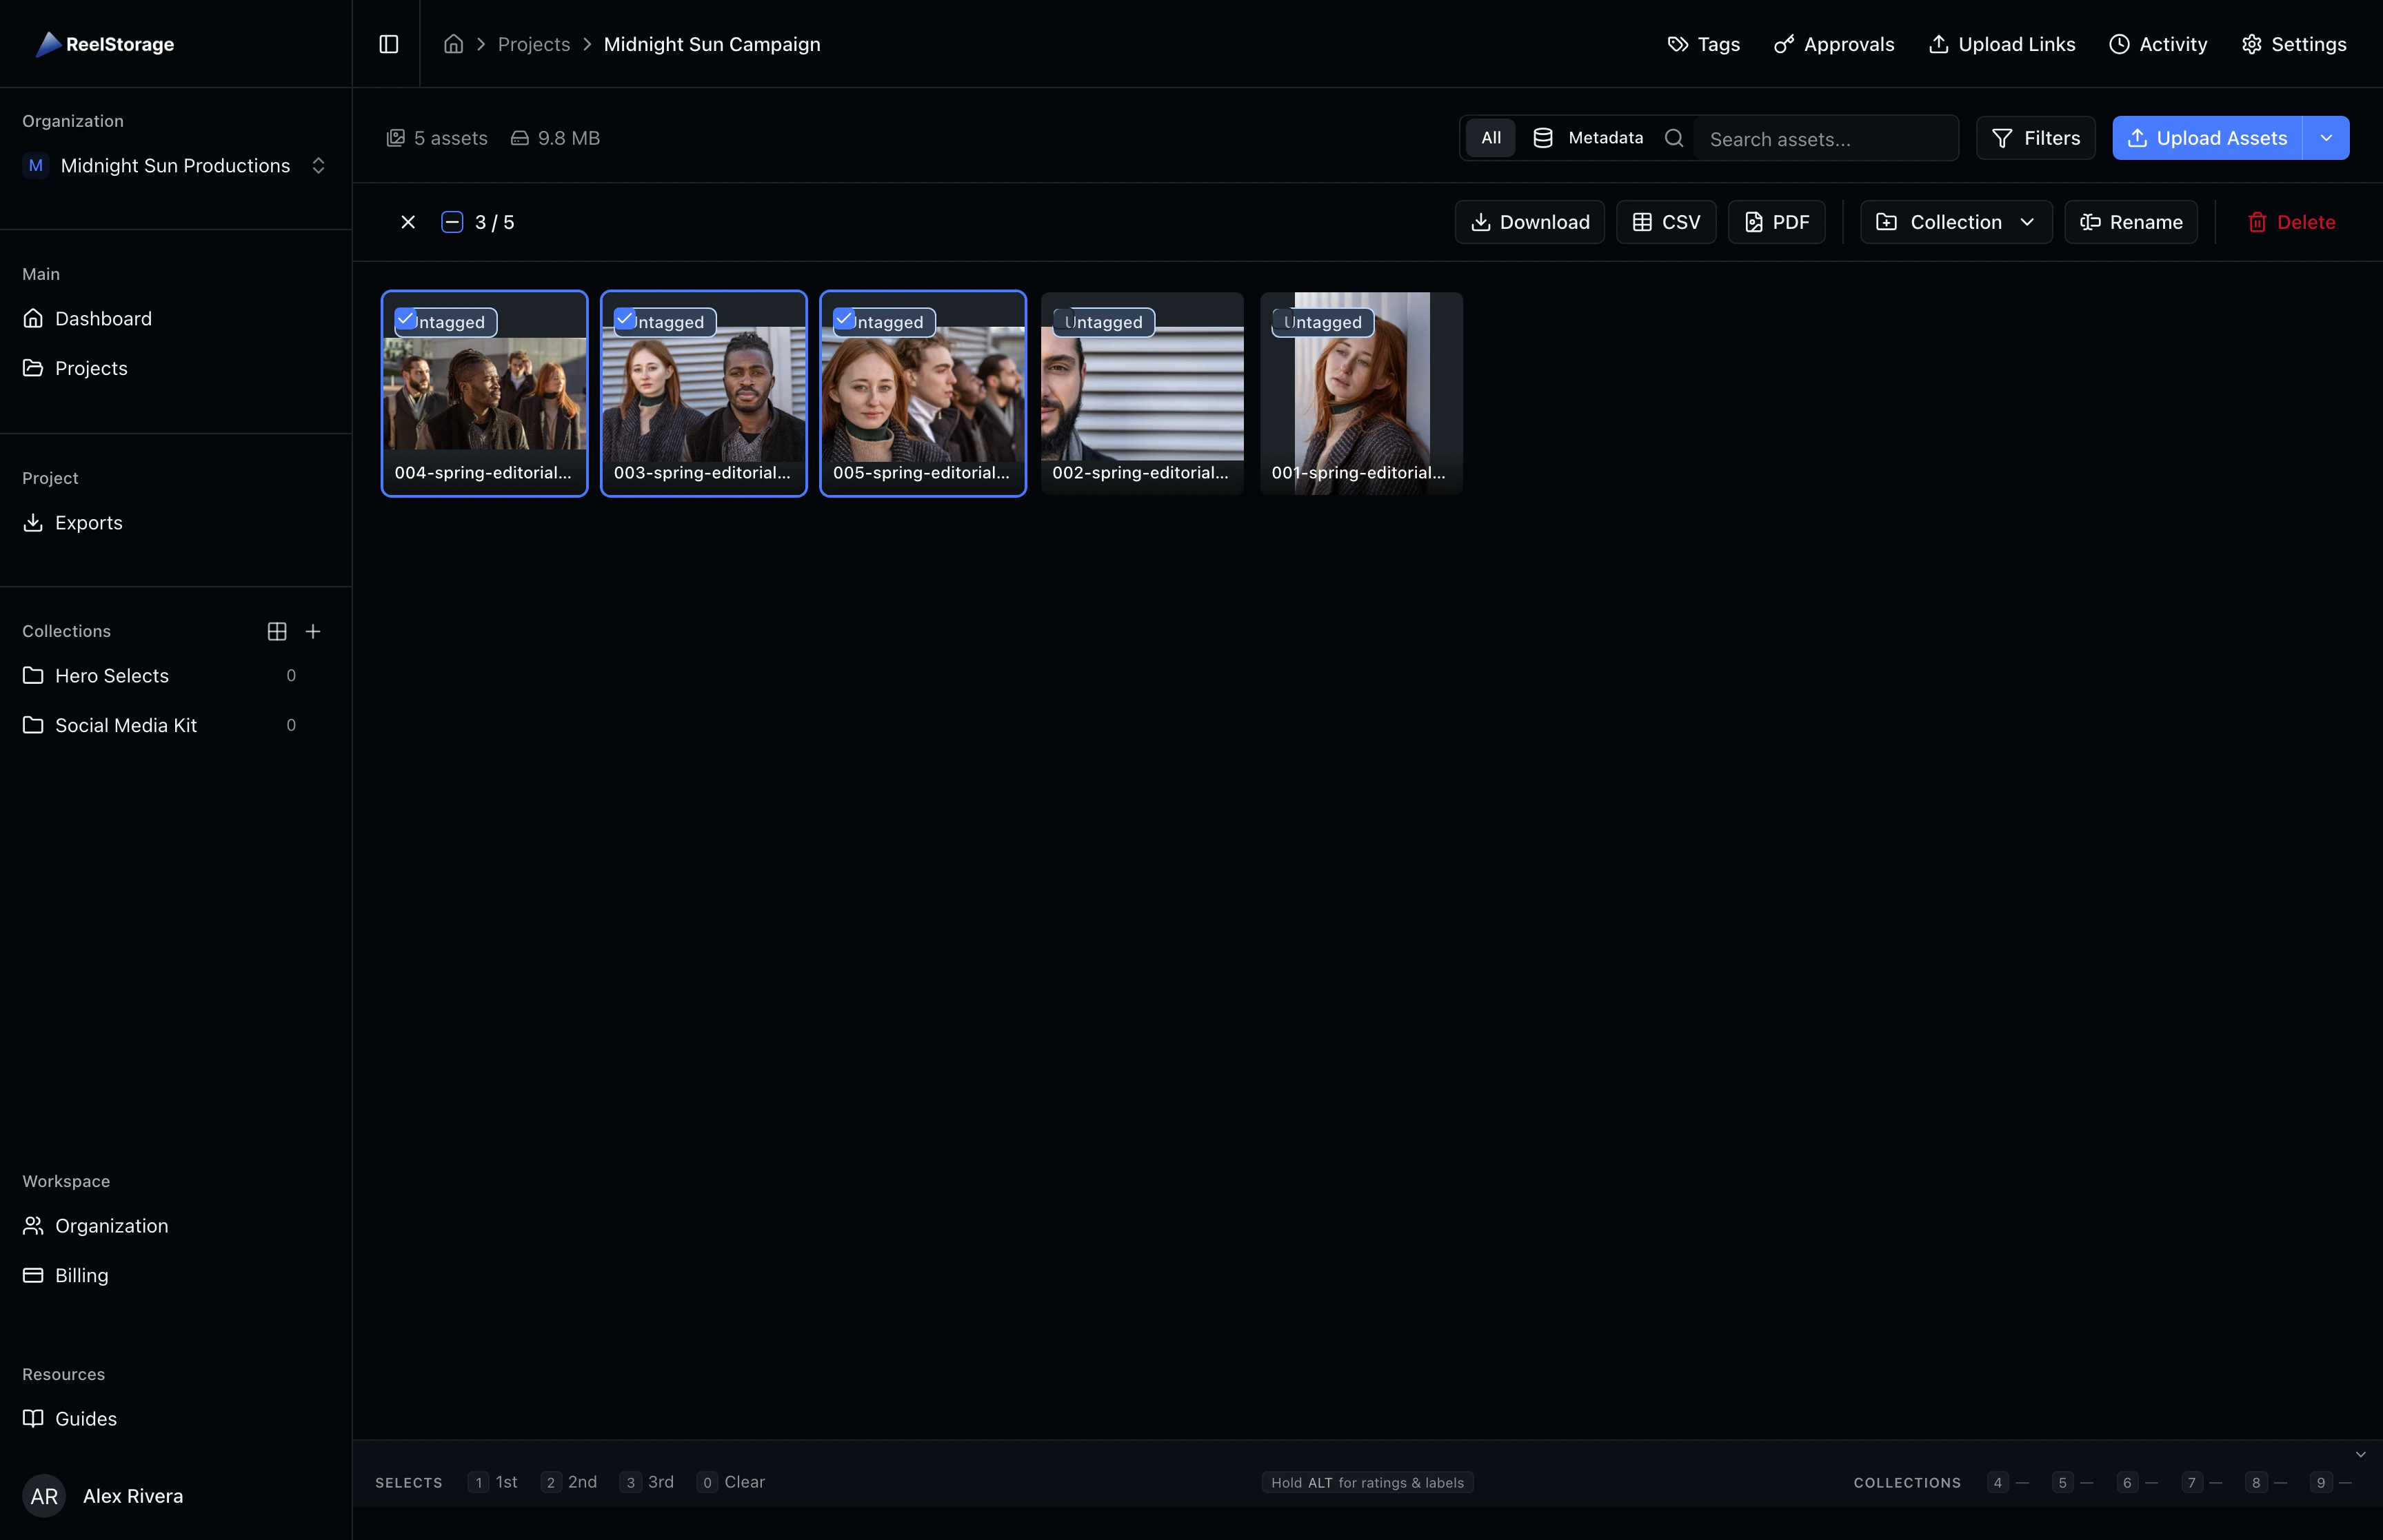
Step 2: Select Assets and Create an Export
Navigate to the asset grid and click Select in the toolbar to enter selection mode. Click on each file you want to include in the export. A selection bar appears at the top showing the number of selected assets and available bulk actions.
Click the Download button in the selection bar to create an export job. ReelStorage packages the selected files into a ZIP archive in the background. You can continue working while the export processes.
Step 3: View Your Export
Return to the Exports page to check on your export. A progress bar tracks how many files have been packaged while the status shows Processing. Once packaging completes, the status changes to Ready with a green indicator, and a Download ZIP button appears on the card.
The card also displays the total file size and an expiration countdown. Exports remain available for 7 days after creation.

Step 4: Download the Export
Click the Download ZIP button on a ready export to save the archive to your computer. The download starts immediately for single-chunk exports.
For large exports that exceed the chunk size limit, the system splits the archive into multiple parts. Each part gets its own download button labeled with its file size, so you can download them individually.

Step 5: Share an Export via Email
Click the Share button (share icon) on a ready export to open the Share Export dialog. The dialog shows the export name, file count, total size, and expiration date at the top for reference.
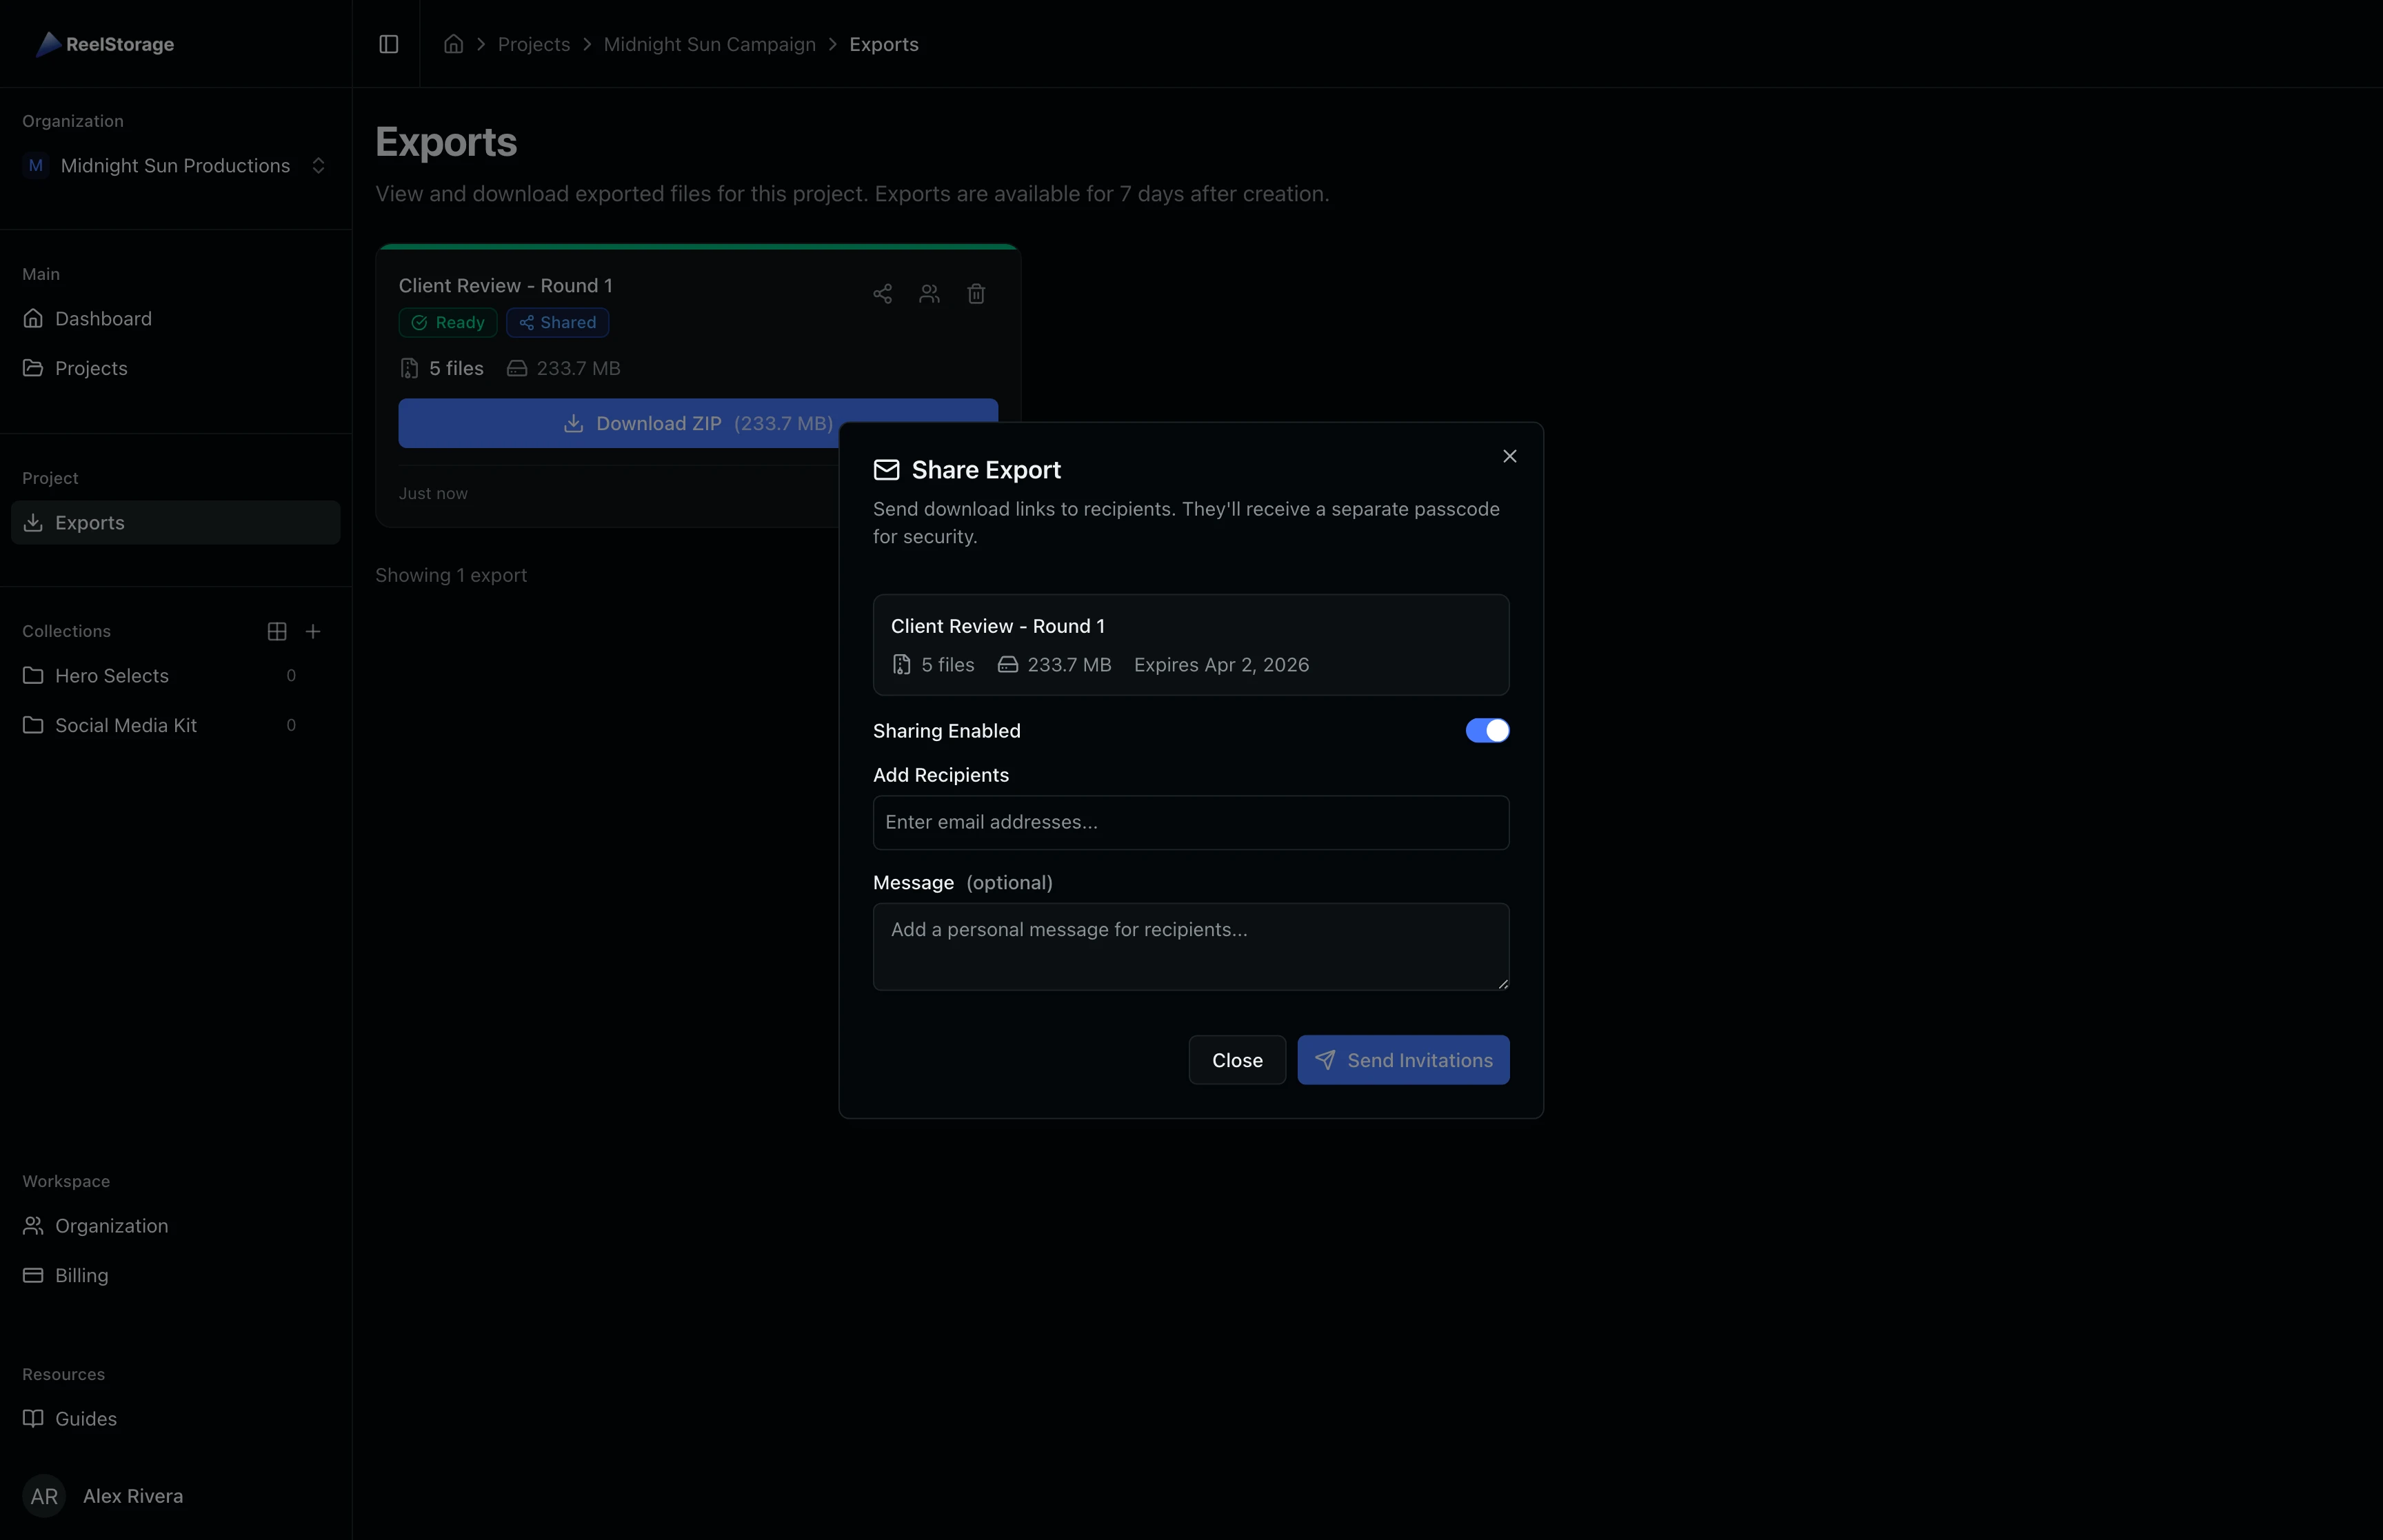
Toggle Sharing Enabled on, then type each recipient's email address and press Enter to add it. You can add multiple recipients at once. Use the Message field to provide context about the files, then click Send Invitations to deliver the download links.

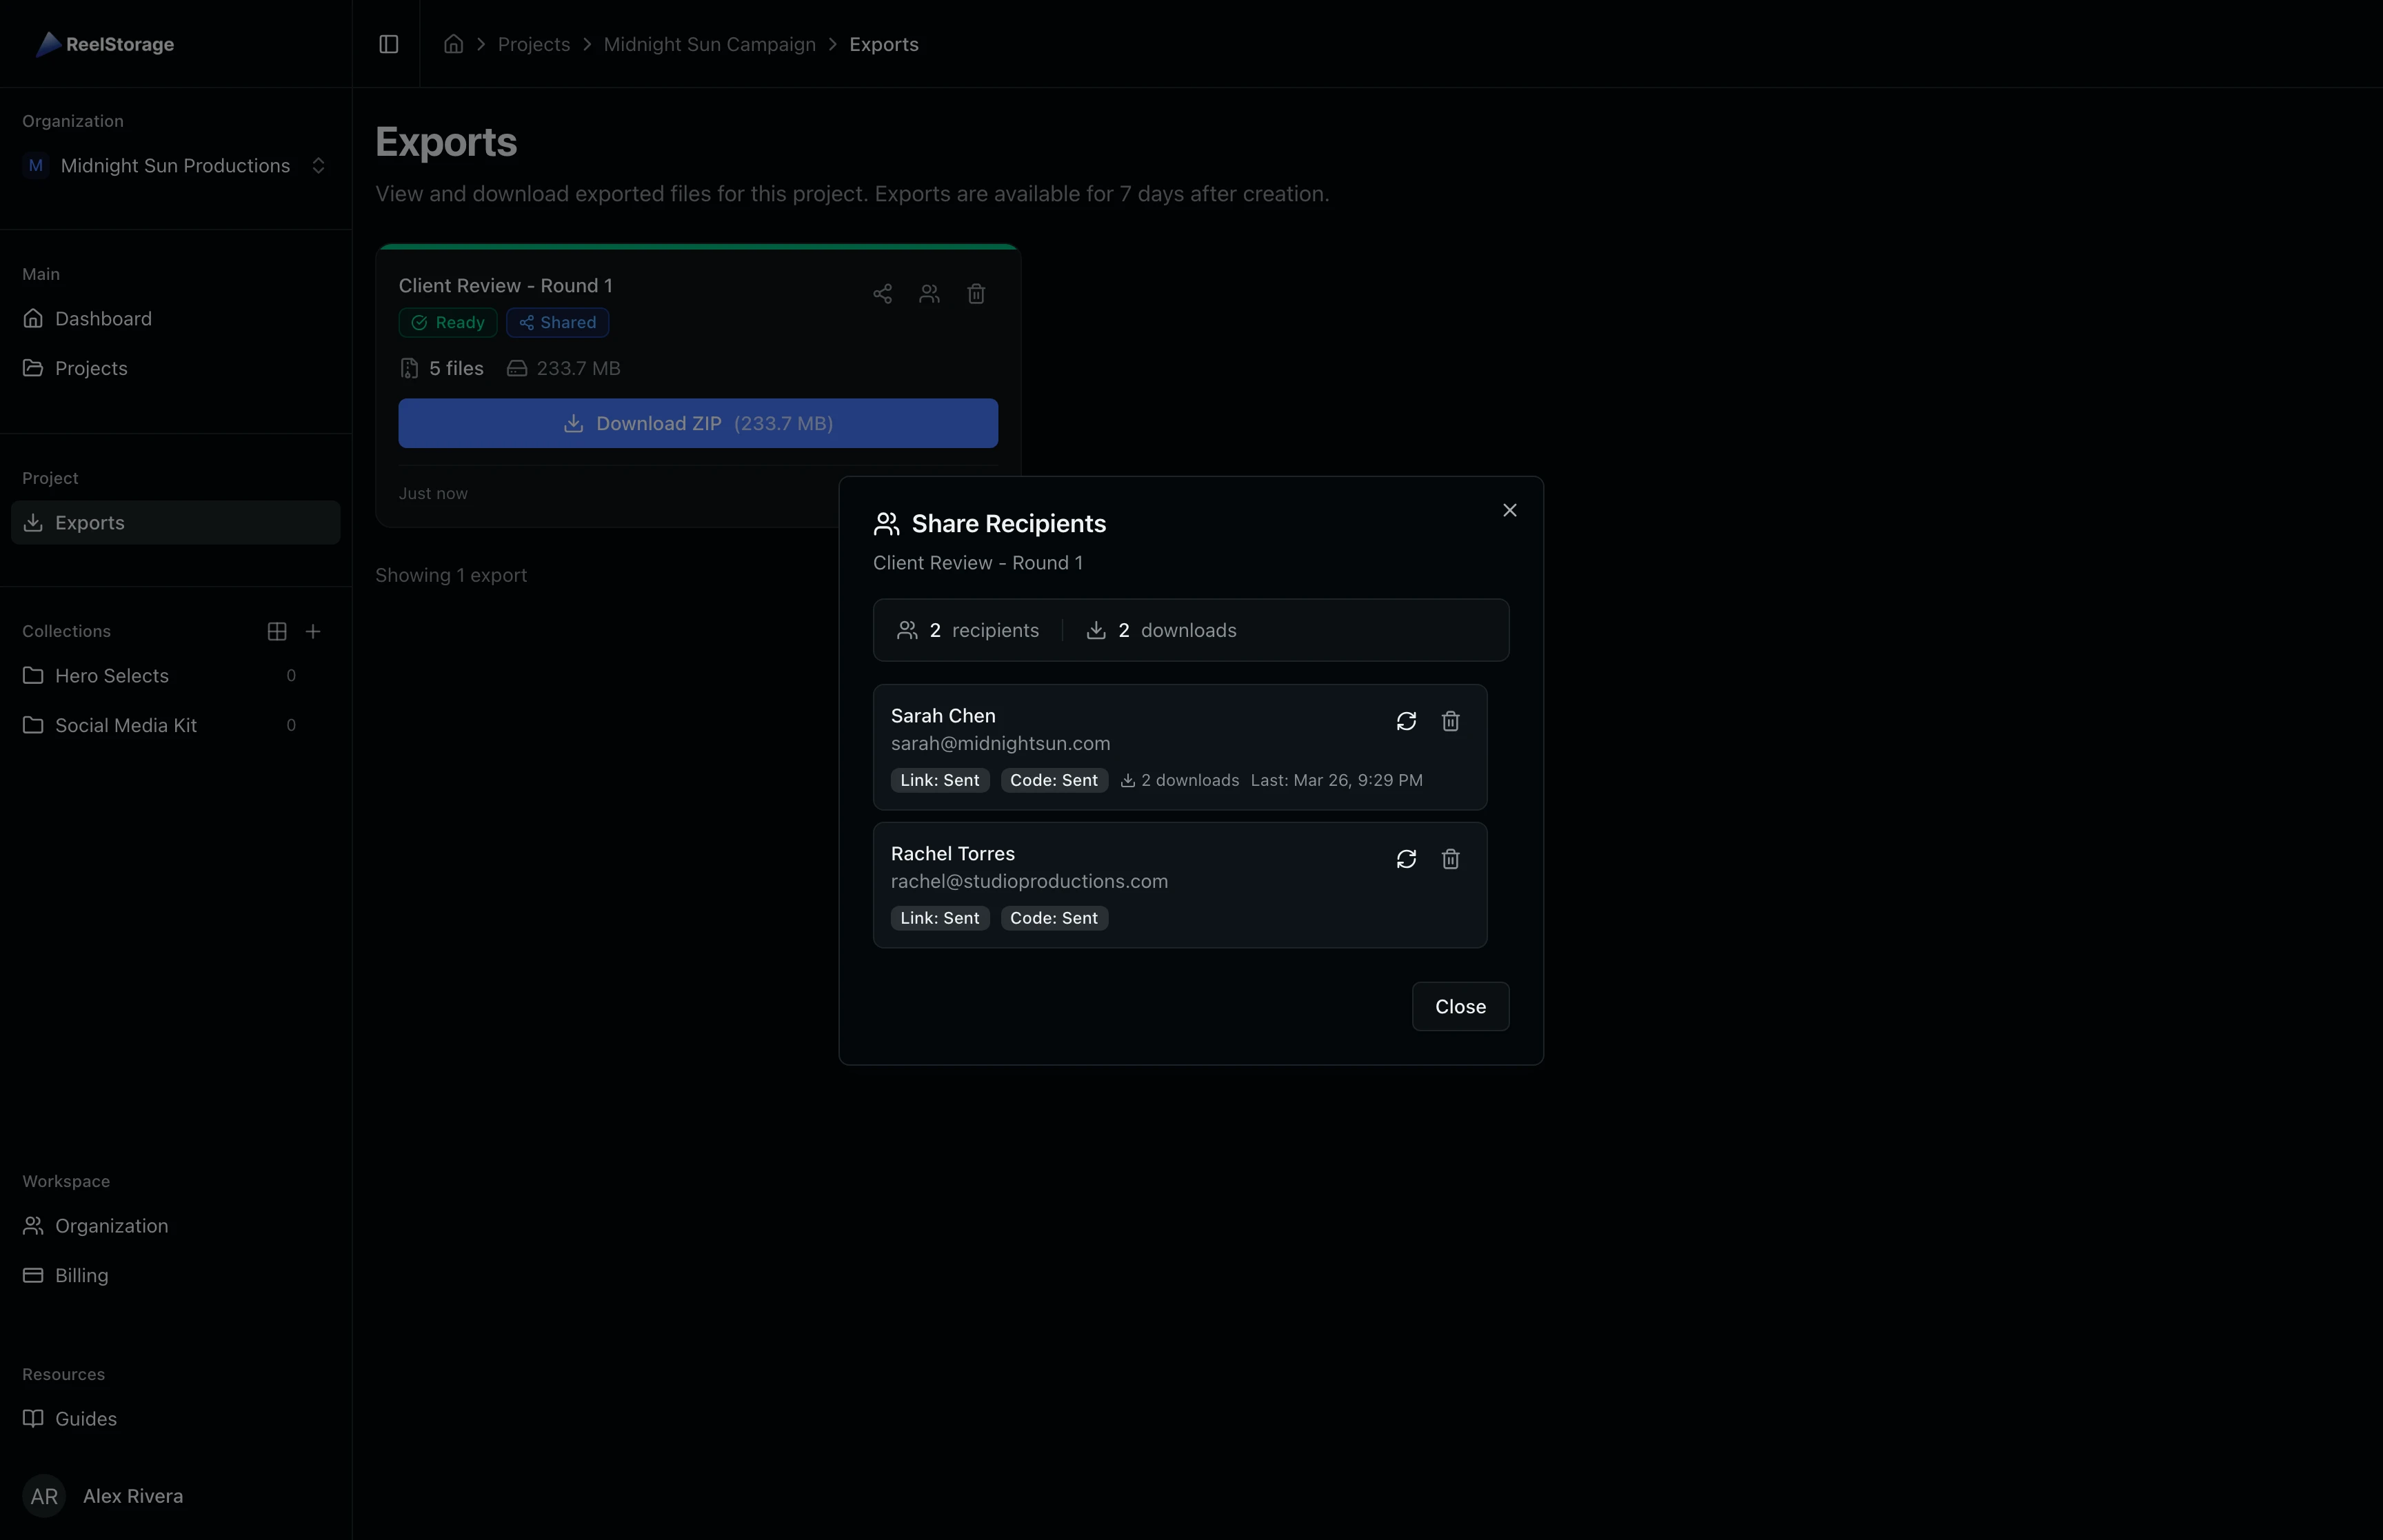
Step 6: View and Manage Recipients
Click the Recipients button (people icon) on a shared export card to open the Share Recipients dialog. A Shared badge on the card confirms that sharing is active.
The dialog lists every recipient with their email address, the delivery status of both the link and passcode emails (Sent, Pending, or Failed), their total download count, and the timestamp of their last download. Use the action buttons next to each recipient to resend both emails or remove their access entirely.
Step 7: Delete an Export
Click the Delete button (trash icon) on the export card to remove it. Deleting an export removes the ZIP archive from storage and revokes download access for all shared recipients at once.
Tips
- Plan for the 7-day window. Create exports well before your delivery deadline so recipients have time to download. If the window is too short, create a new export.
- Add context in the message field. When sharing with clients or external teams, note which round of selects, the shoot date, or any usage restrictions so recipients know exactly what they are receiving.
- Monitor delivery status. Check the Recipients dialog after sharing to confirm that both the link and passcode emails were delivered successfully. Resend if any show a Failed status.
- Use partial exports for urgent needs. If an export partially fails (some files could not be packaged), you can still download and share the successfully packaged files while you investigate the failures.
Troubleshooting
Export stuck on "Processing"
Large exports with many high-resolution files can take several minutes to package. The page polls automatically, so the status updates when processing completes. If the export stays in this state for more than 15 minutes, create a new export with the same assets.
Recipient did not receive the passcode email
Open the Recipients dialog and click the resend button next to their name. This re-sends both the link and passcode emails. Ask the recipient to check their spam or junk folder as well.
Can I share an export after creation?
Yes. You can share any export that has a Ready or Partial status. Click the share icon on the card to open the sharing dialog at any time before the export expires.
What's Next
- Sending Approvals to Talent: Send assets to talent for review and approval before publication.
- Uploading Assets: Upload files to your project asset library.
Related Guides
Uploading Assets
Learn how to upload photos and videos to your project using the upload window, monitor progress, and verify your files appear in the asset grid.
Sending Approvals to Talent
Create talent approvals, assign images for review, and track approval progress with detailed statistics and settings.