Sending Approvals to Talent
Prerequisites
Send approvals to talent so they can review and approve or reject images from a shoot. This guide walks you through creating an approval, viewing its details, tracking statistics, and managing recipients.
What You'll Learn
- How to view and filter the approvals list for a project
- How to filter approvals by status to find active, finalized, or expired items
- How to open the Create Approval panel and assign images to a talent
- How to select a talent from the dropdown and configure approval options
- How to review approval details including the access code and passcode
- How to read approval statistics to track review progress
- How to configure approval settings like expiration and watermarking
- How to manage recipients and resend access codes
Step 1: Open the Approvals Page
Navigate to your project and click the Approvals tab in the sidebar. The approvals page displays all approvals as cards in a responsive grid. Each card shows the talent name, access code, image count, view count, approval percentages, and expiration date.
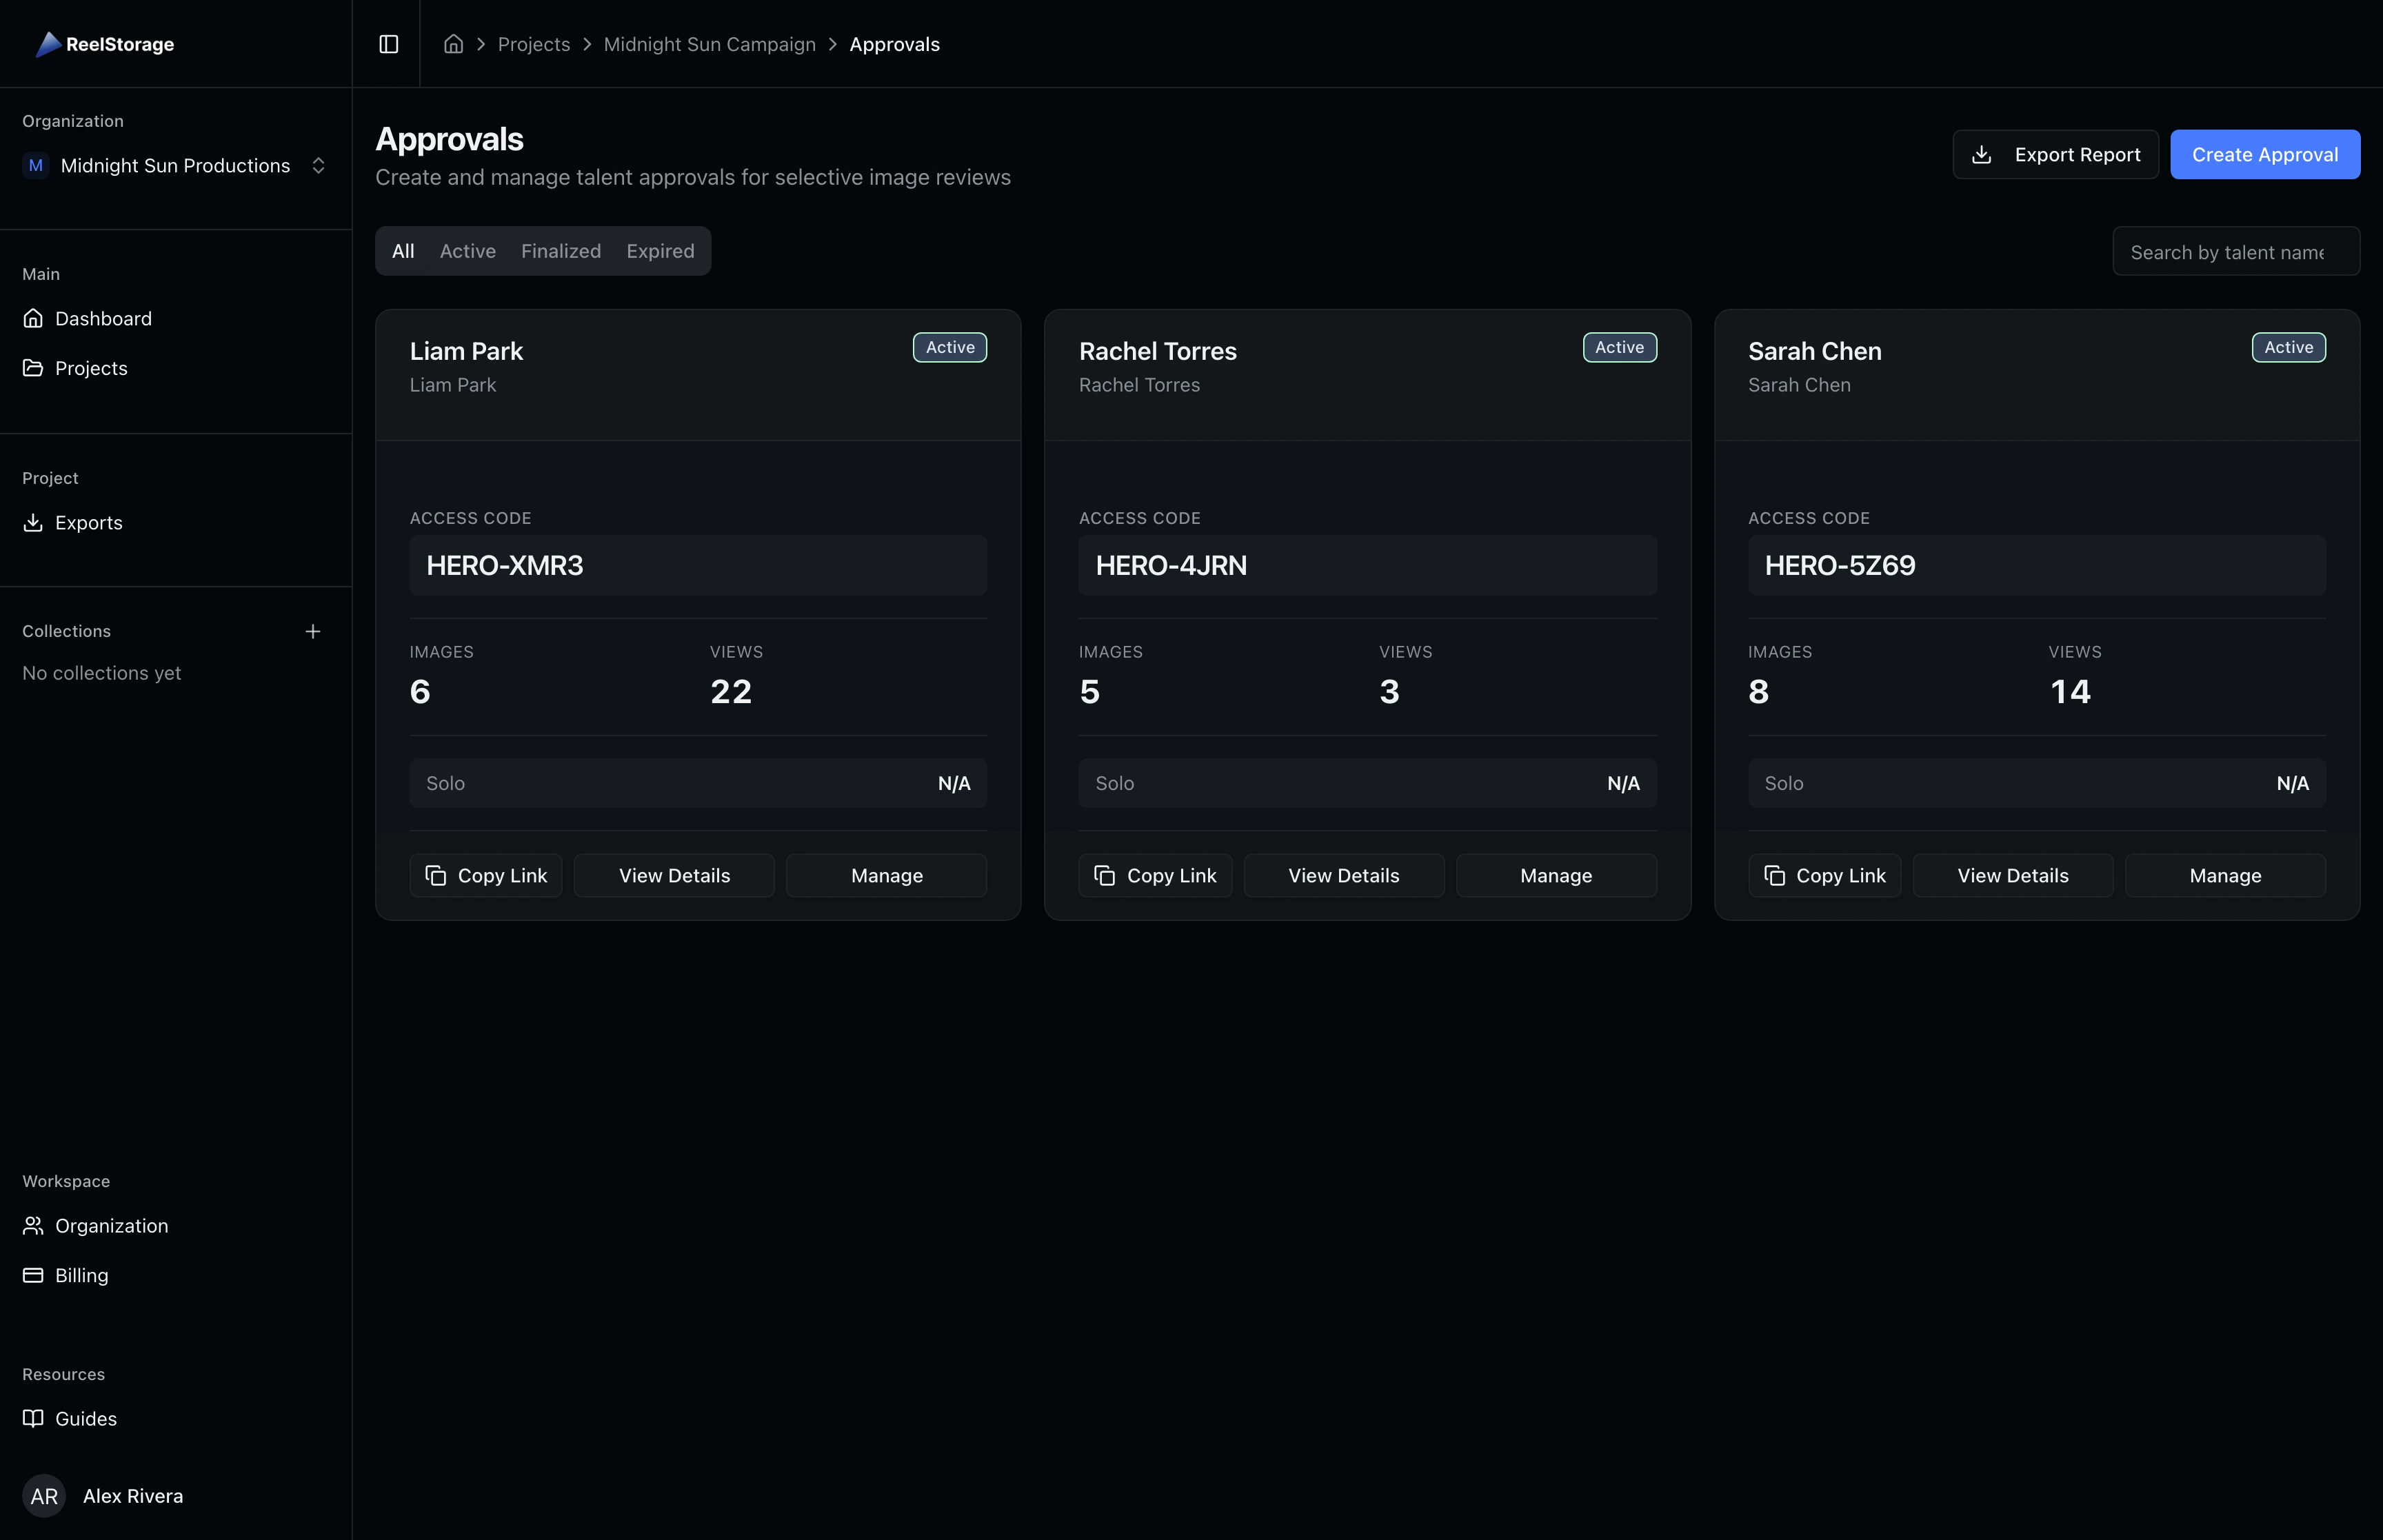
Use the status filter tabs at the top to narrow the view. The All tab shows every approval regardless of status. Click Active, Finalized, or Expired to focus on a specific group. The search bar filters by talent name or email.
Step 2: Filter by Status
Click the Active tab to show only approvals that talent can currently access. Active approvals have a green status badge and show real-time view counts and approval percentages. Finalized approvals are locked and cannot receive new responses. Expired approvals have passed their expiration date.
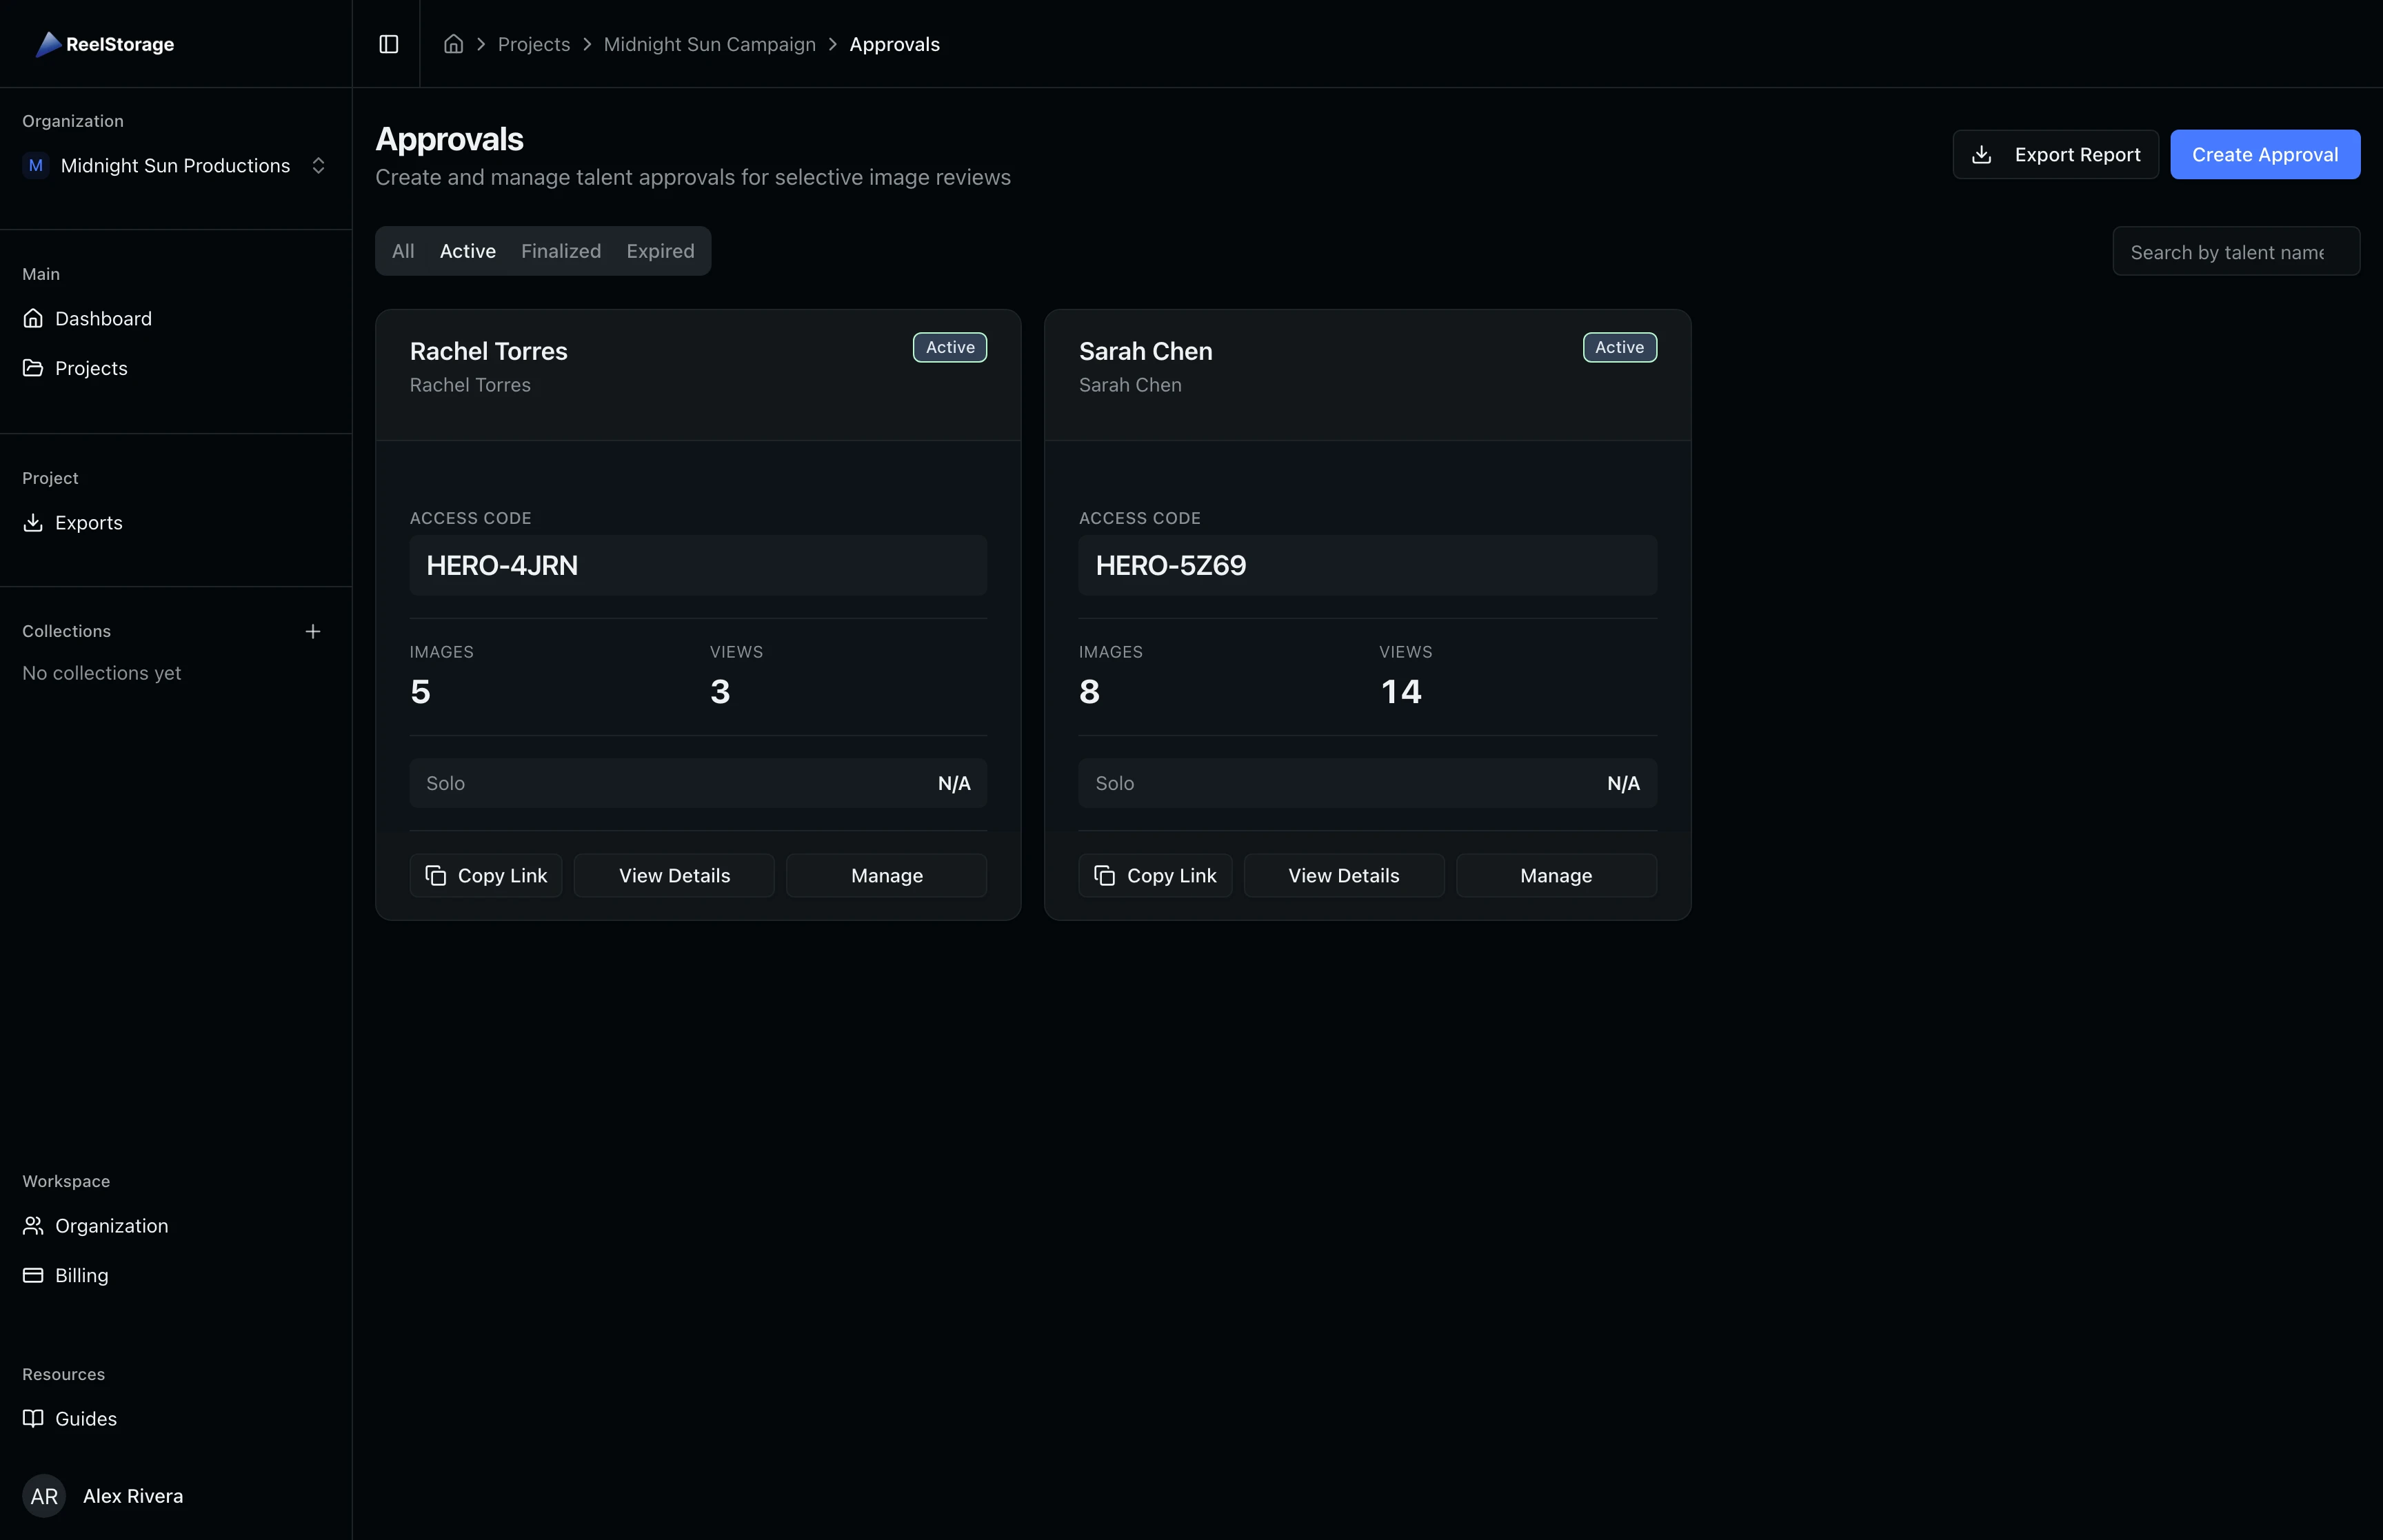
Use the Active filter when preparing to follow up with talent who have not yet reviewed their images. The view count on each card tells you whether they have opened the link.
Step 3: Create a New Approval
Click the Create Approval button in the top right of the approvals page. This opens the project asset grid with a creation panel on the right side. Select images by clicking them in the grid. Selected images show a blue checkmark overlay.
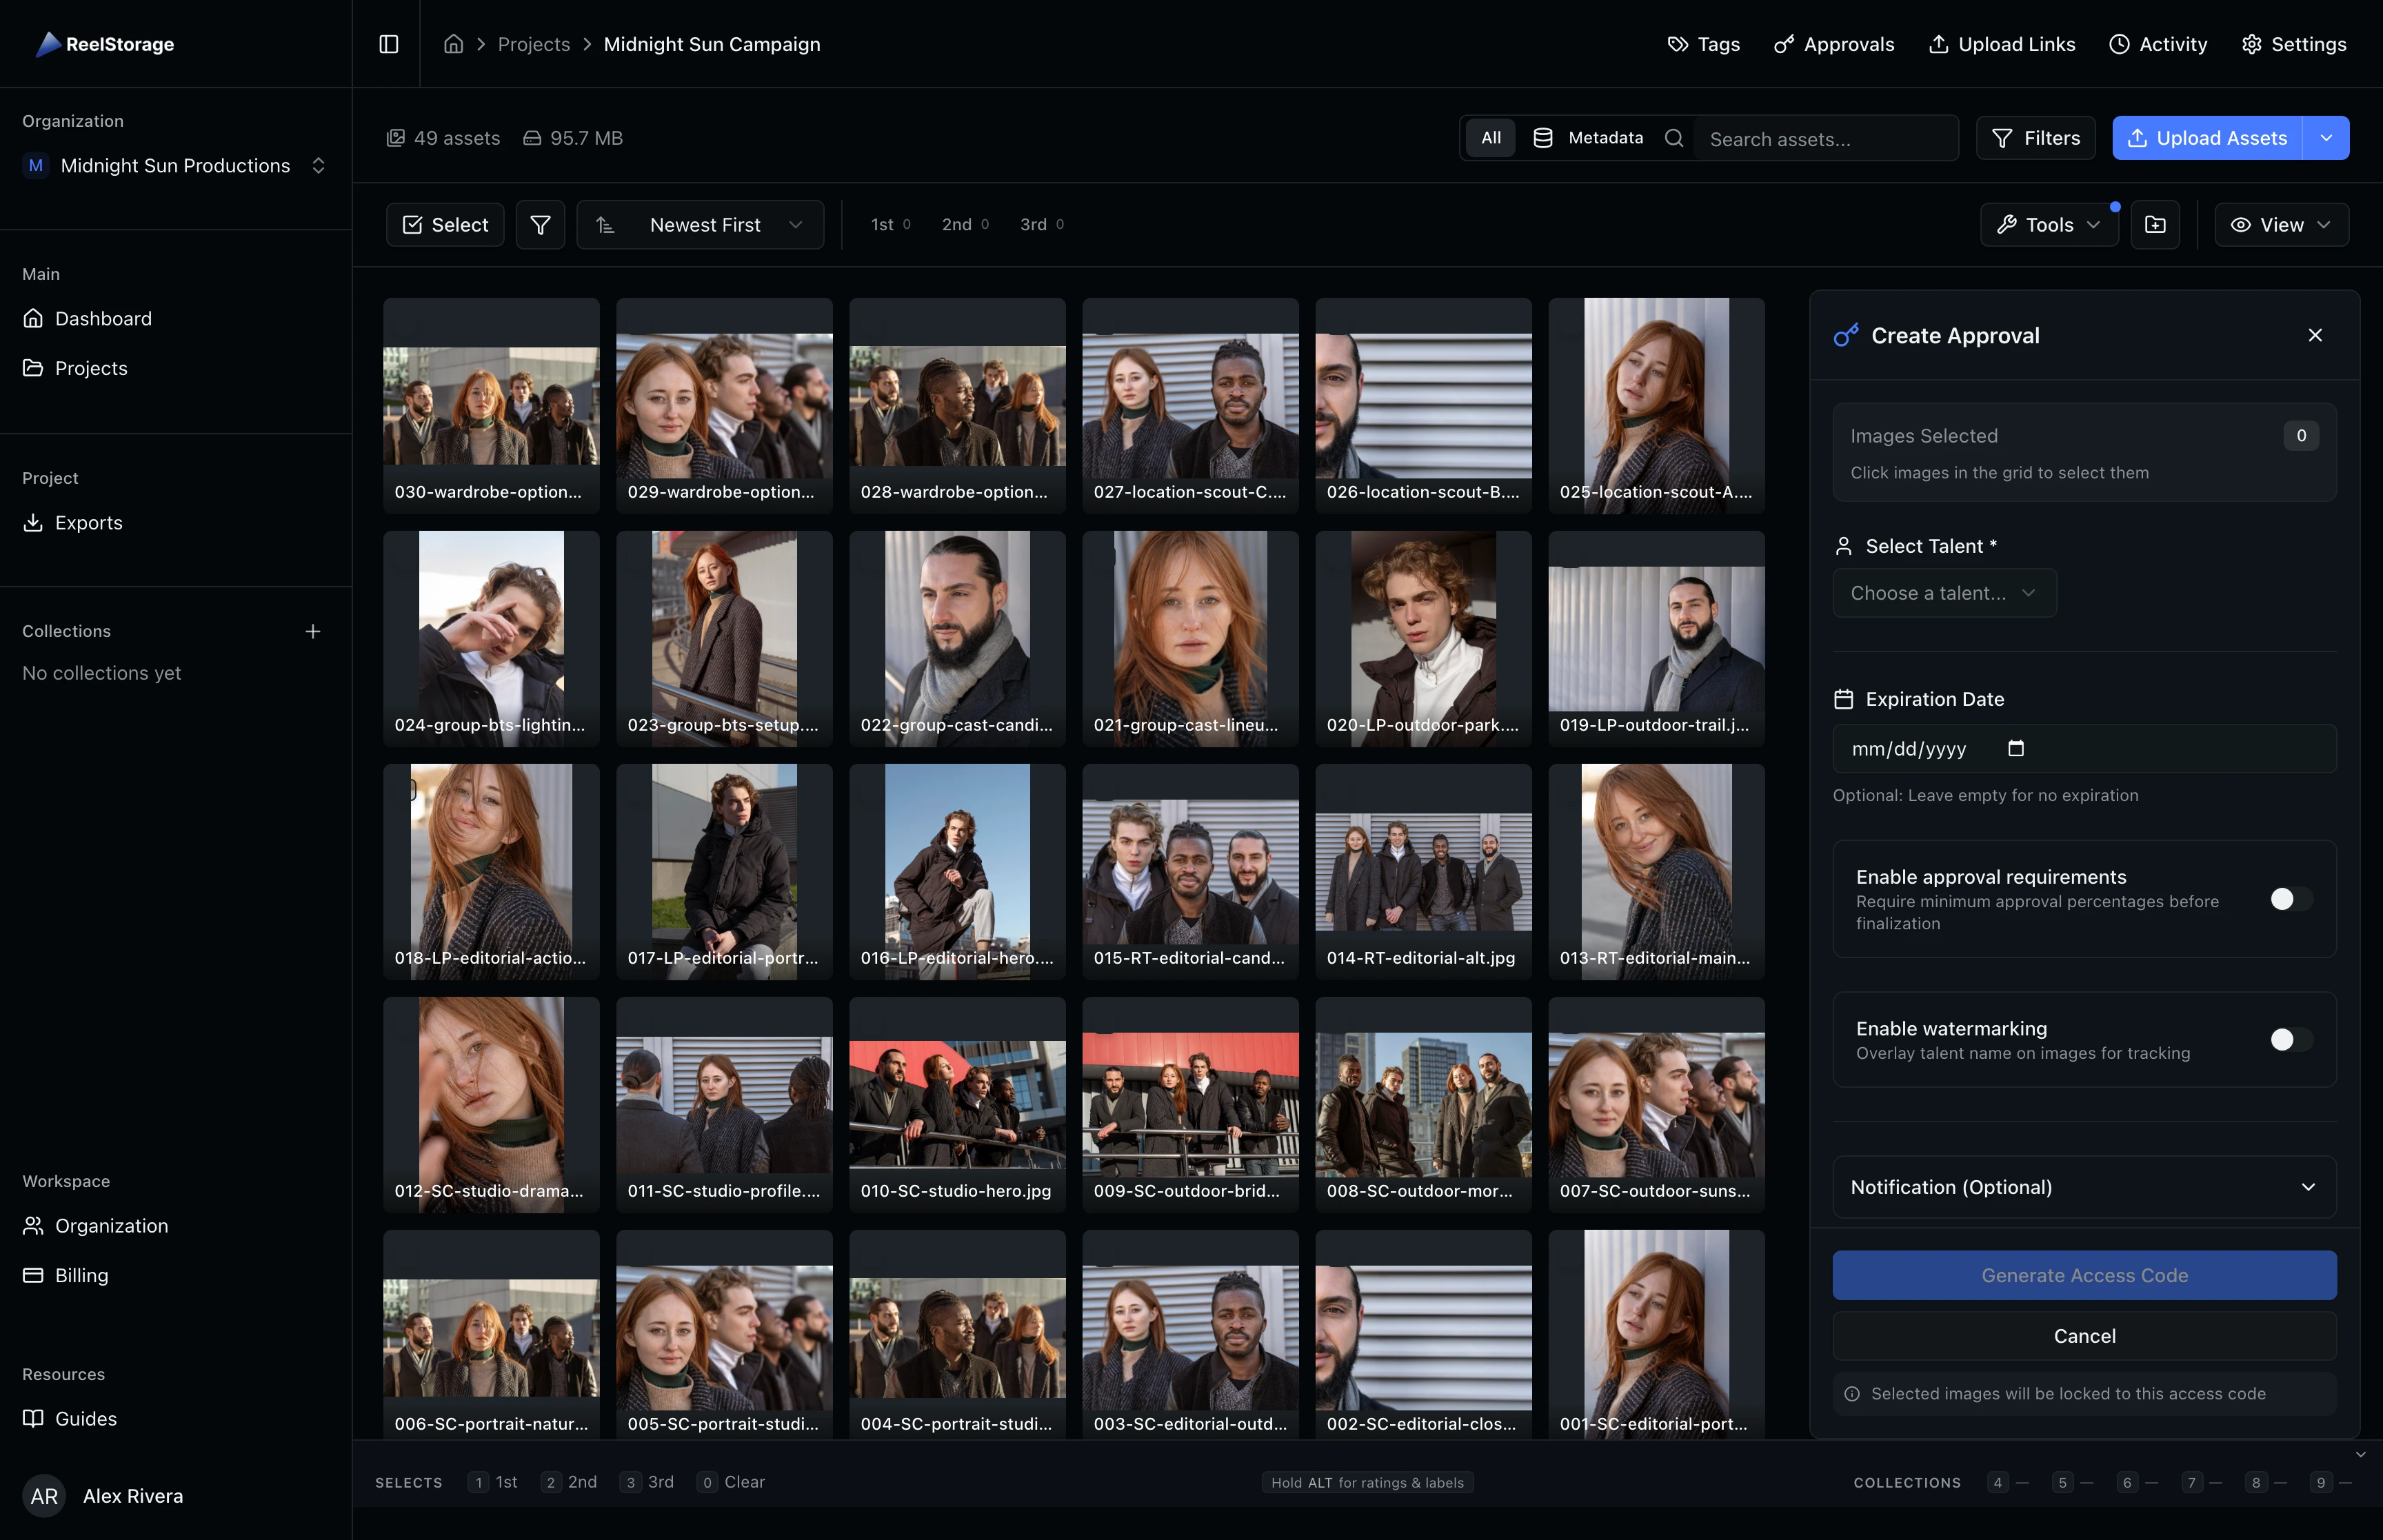
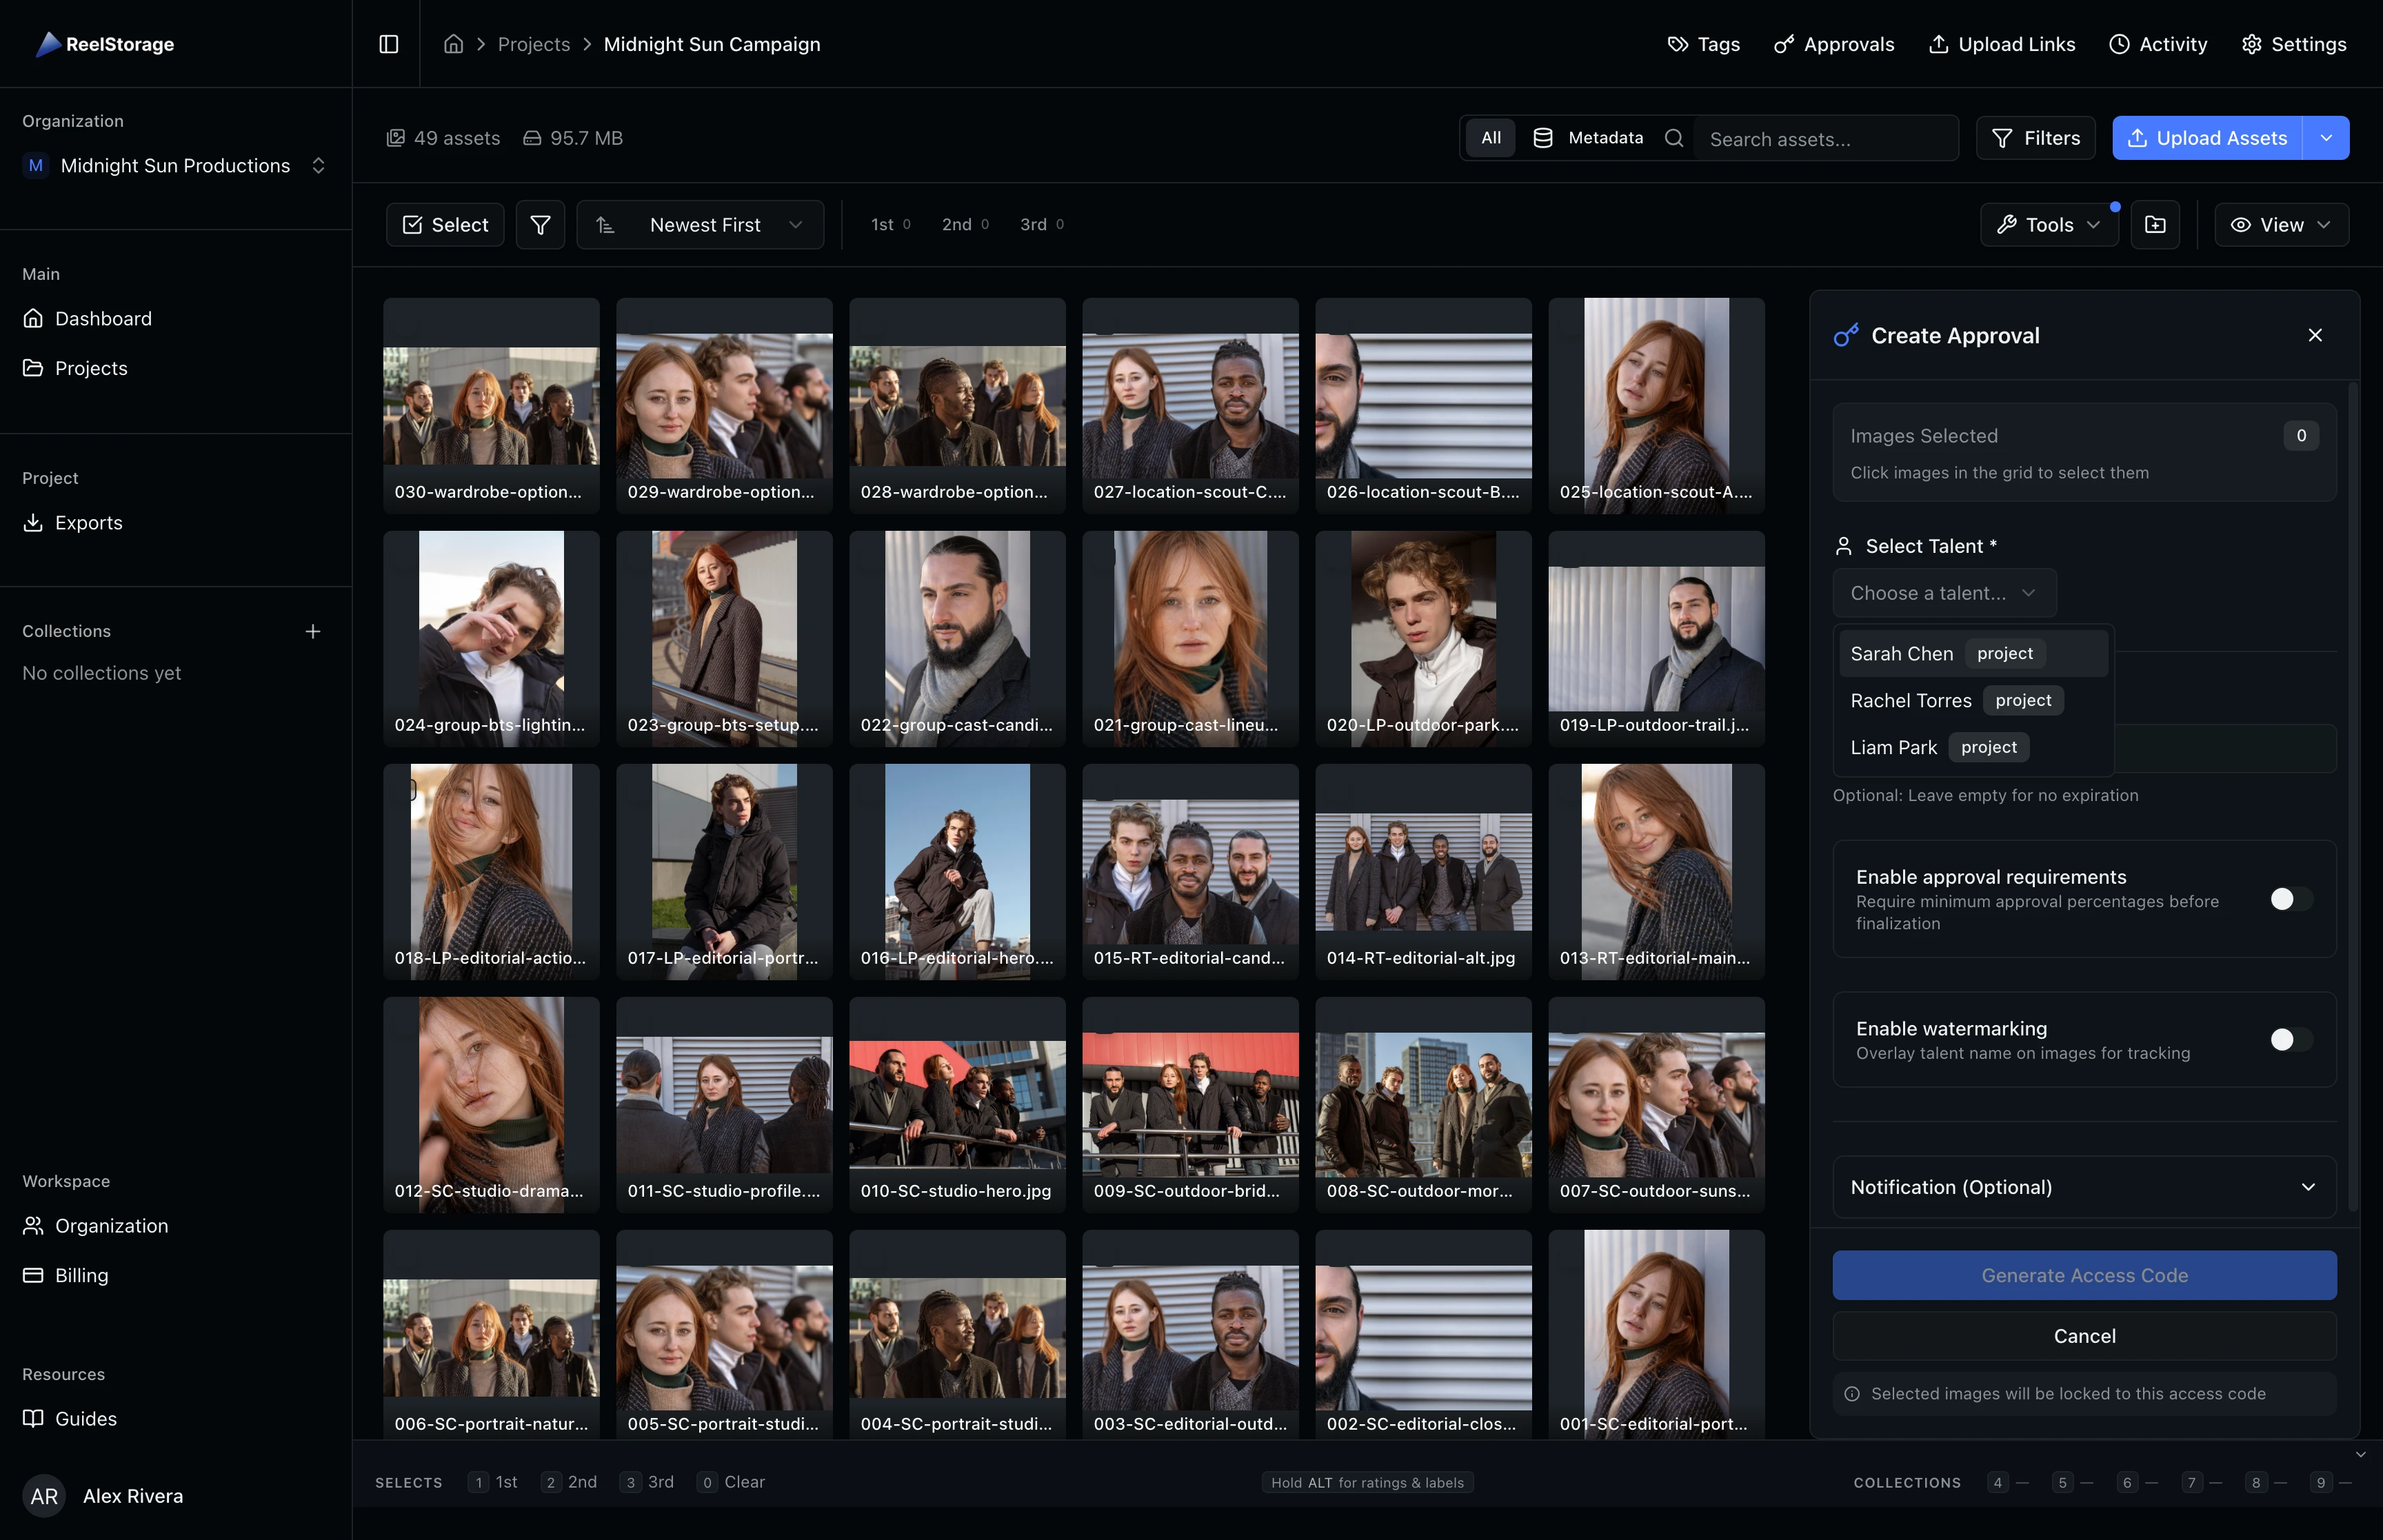
In the panel, start by choosing a talent from the Select Talent dropdown. This list shows all people tags in the project that have approval rights enabled. If your talent does not appear, check that they have been added as a person tag with approval rights in the Tags & Metadata settings.
Configure the remaining approval options:
- Expiration date: Set when the approval link stops working. Leave blank for no expiration.
- Approval requirements: Toggle on to set minimum approval percentages for solo and group images. This prevents finalization until enough images meet the threshold.
- Watermark protection: Toggle on to overlay the talent's name on images, making unauthorized distribution traceable. Adjust the opacity slider to balance visibility with image preview quality.
- Notification settings: Expand the Notification section to add recipient email addresses and an optional custom message. The system sends the access code and passcode to each recipient.
Click Generate Access Code when ready.
Once you generate an access code, you cannot change the assigned talent. Create a new approval if you need to send images to a different person.
Step 4: Review Approval Details
After creating an approval, you land on the detail page. The page header shows the talent name and a status badge. Below the header, the code information card displays the generated access code, passcode controls, associated tag, and total image count.
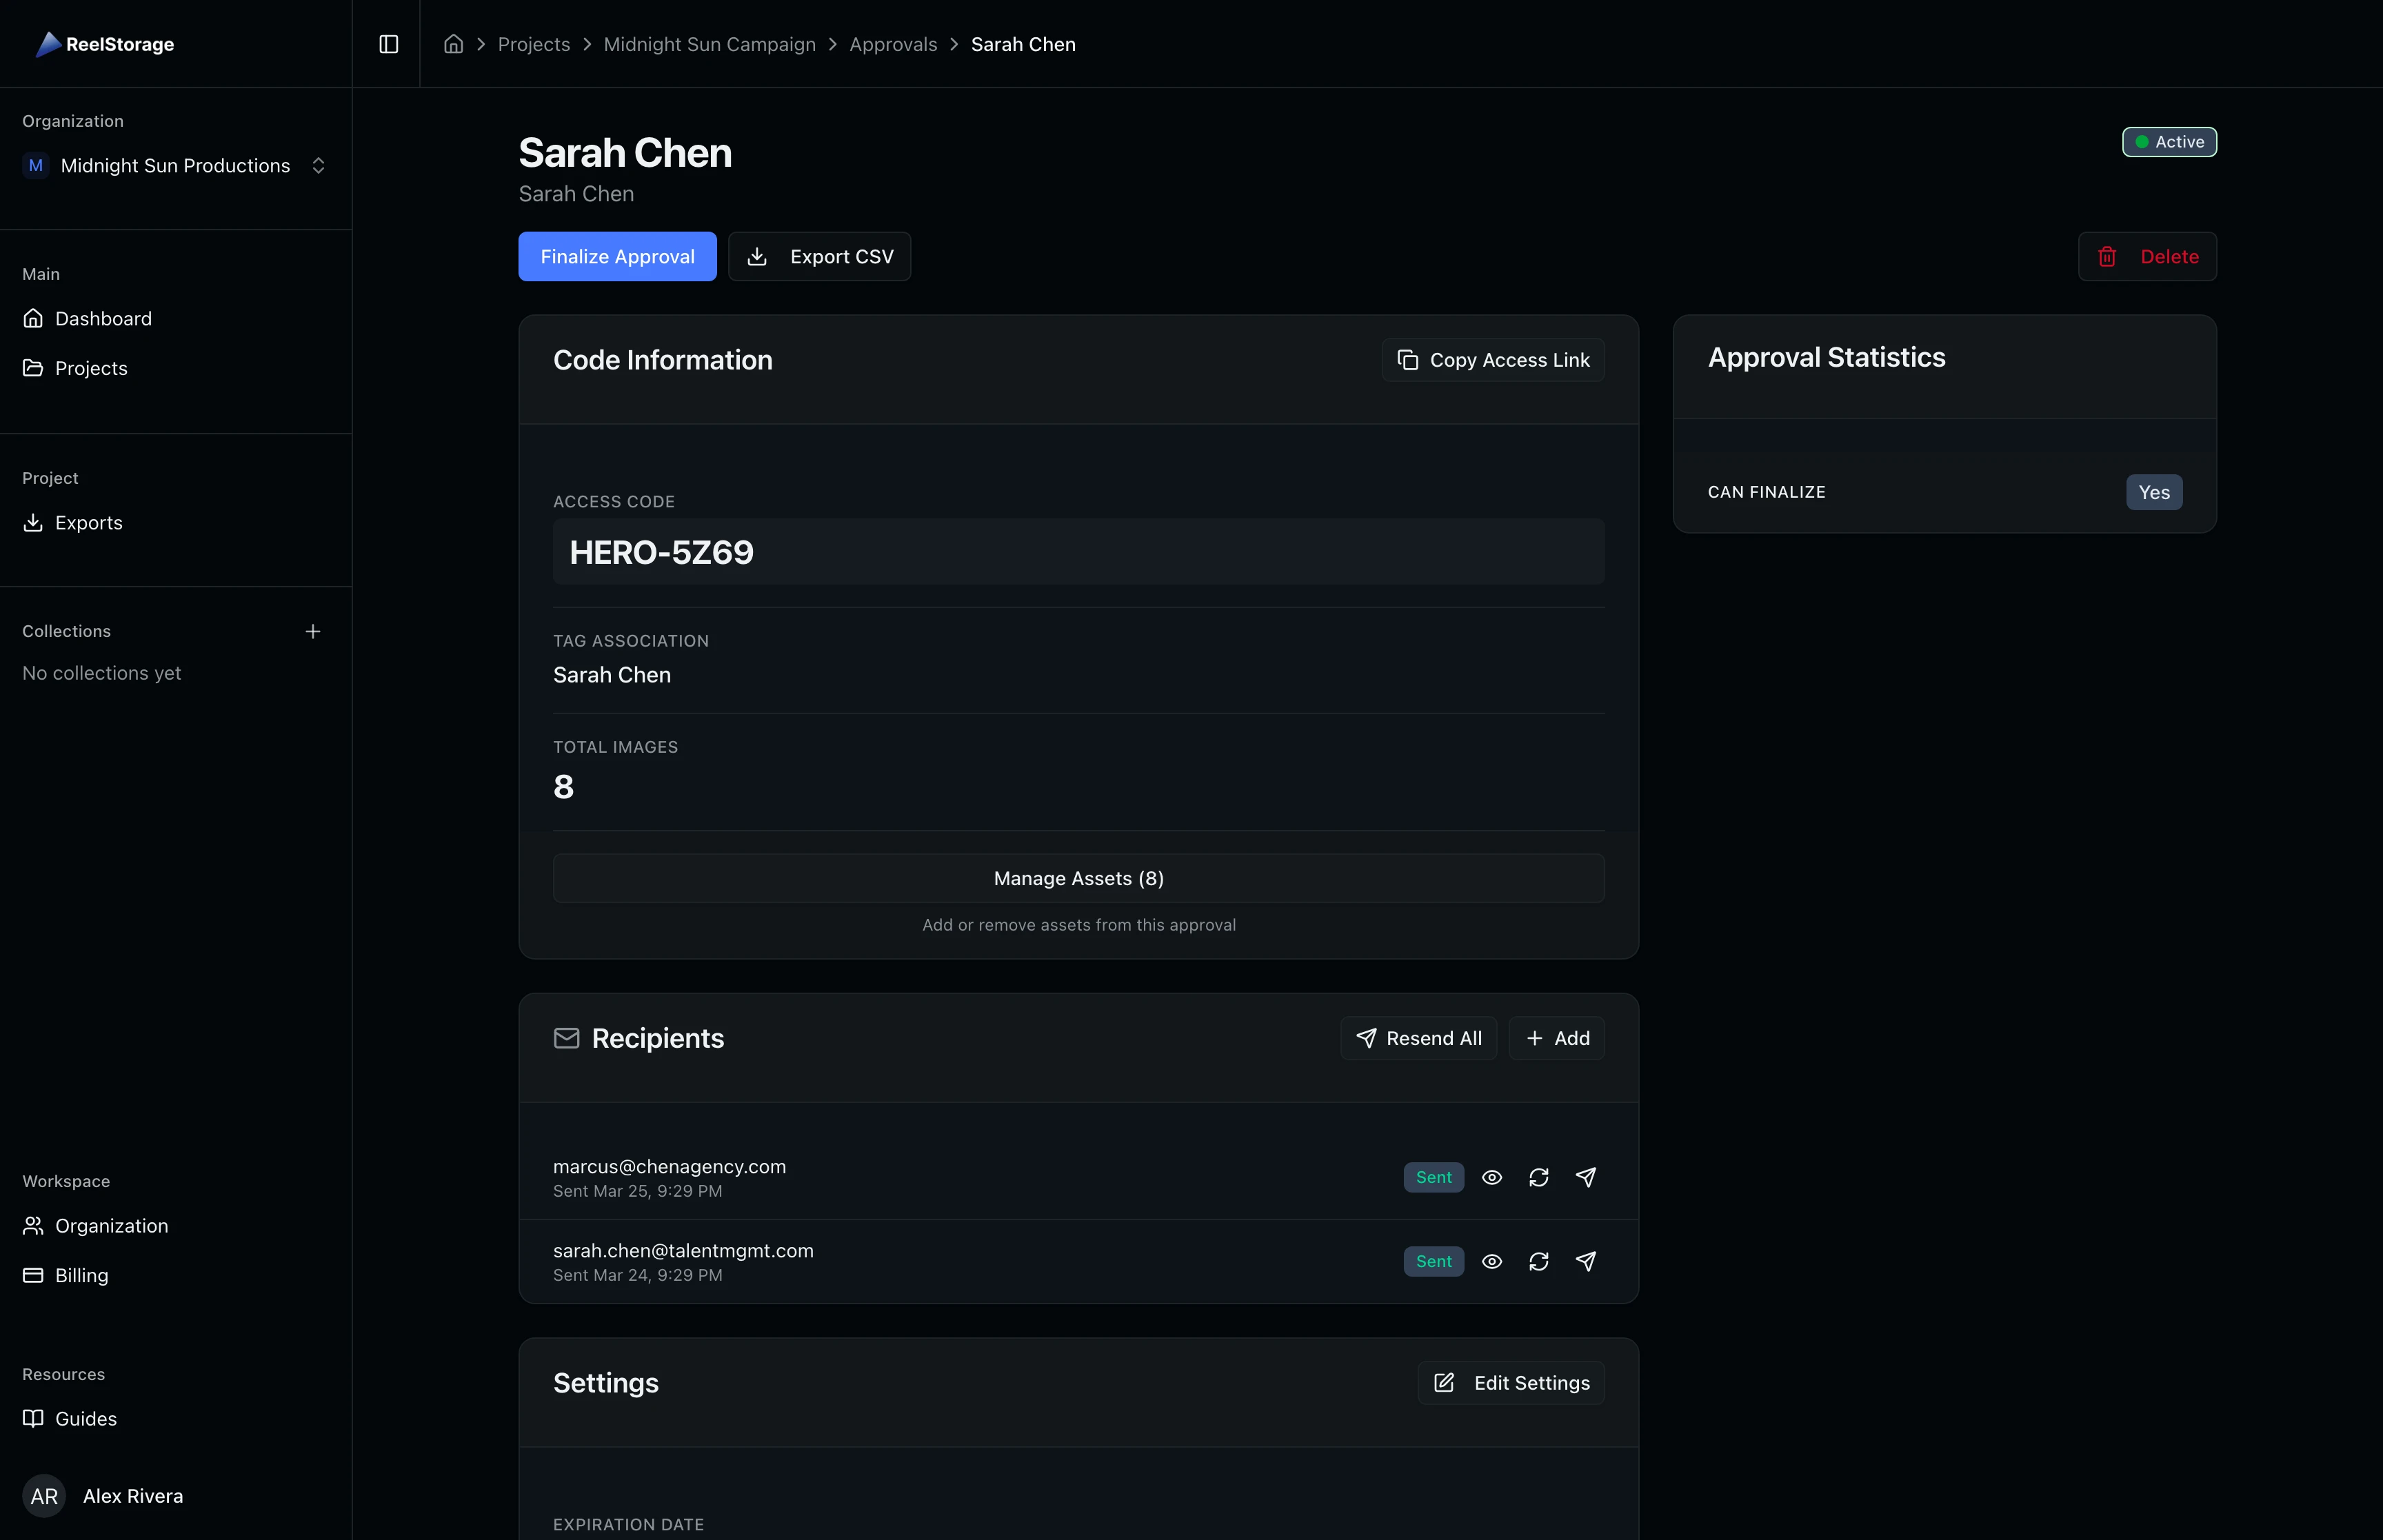
Click Copy Access Link to copy the shareable link to your clipboard. Send this link to the talent directly or use the recipients section to have the system email it. The passcode section lets you reveal, regenerate, or copy the passcode that the talent needs to sign in.
Step 5: Track Approval Statistics
The approval statistics card shows overall review progress. Solo and group images are tracked separately, each with approved, rejected, and pending counts displayed as percentages. The card also indicates whether the approval can be finalized based on your configured thresholds.
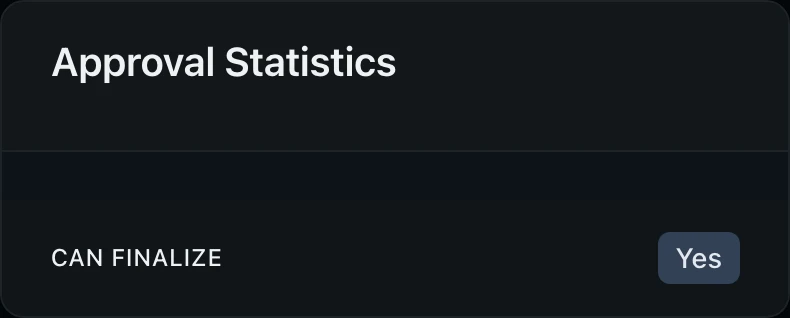
When approval requirements are enabled, the statistics card shows the required threshold alongside the current percentage. A green badge appears when the threshold is met, indicating the approval can be finalized. If the threshold is not met, you will see how many more approvals are needed.
Check the statistics card before finalizing an approval. If the group approval percentage is below the required threshold, the talent may not have finished reviewing all group shots.
Step 6: Configure Approval Settings
Scroll down on the detail page to the settings card. This section displays the current configuration and usage metrics for the approval.
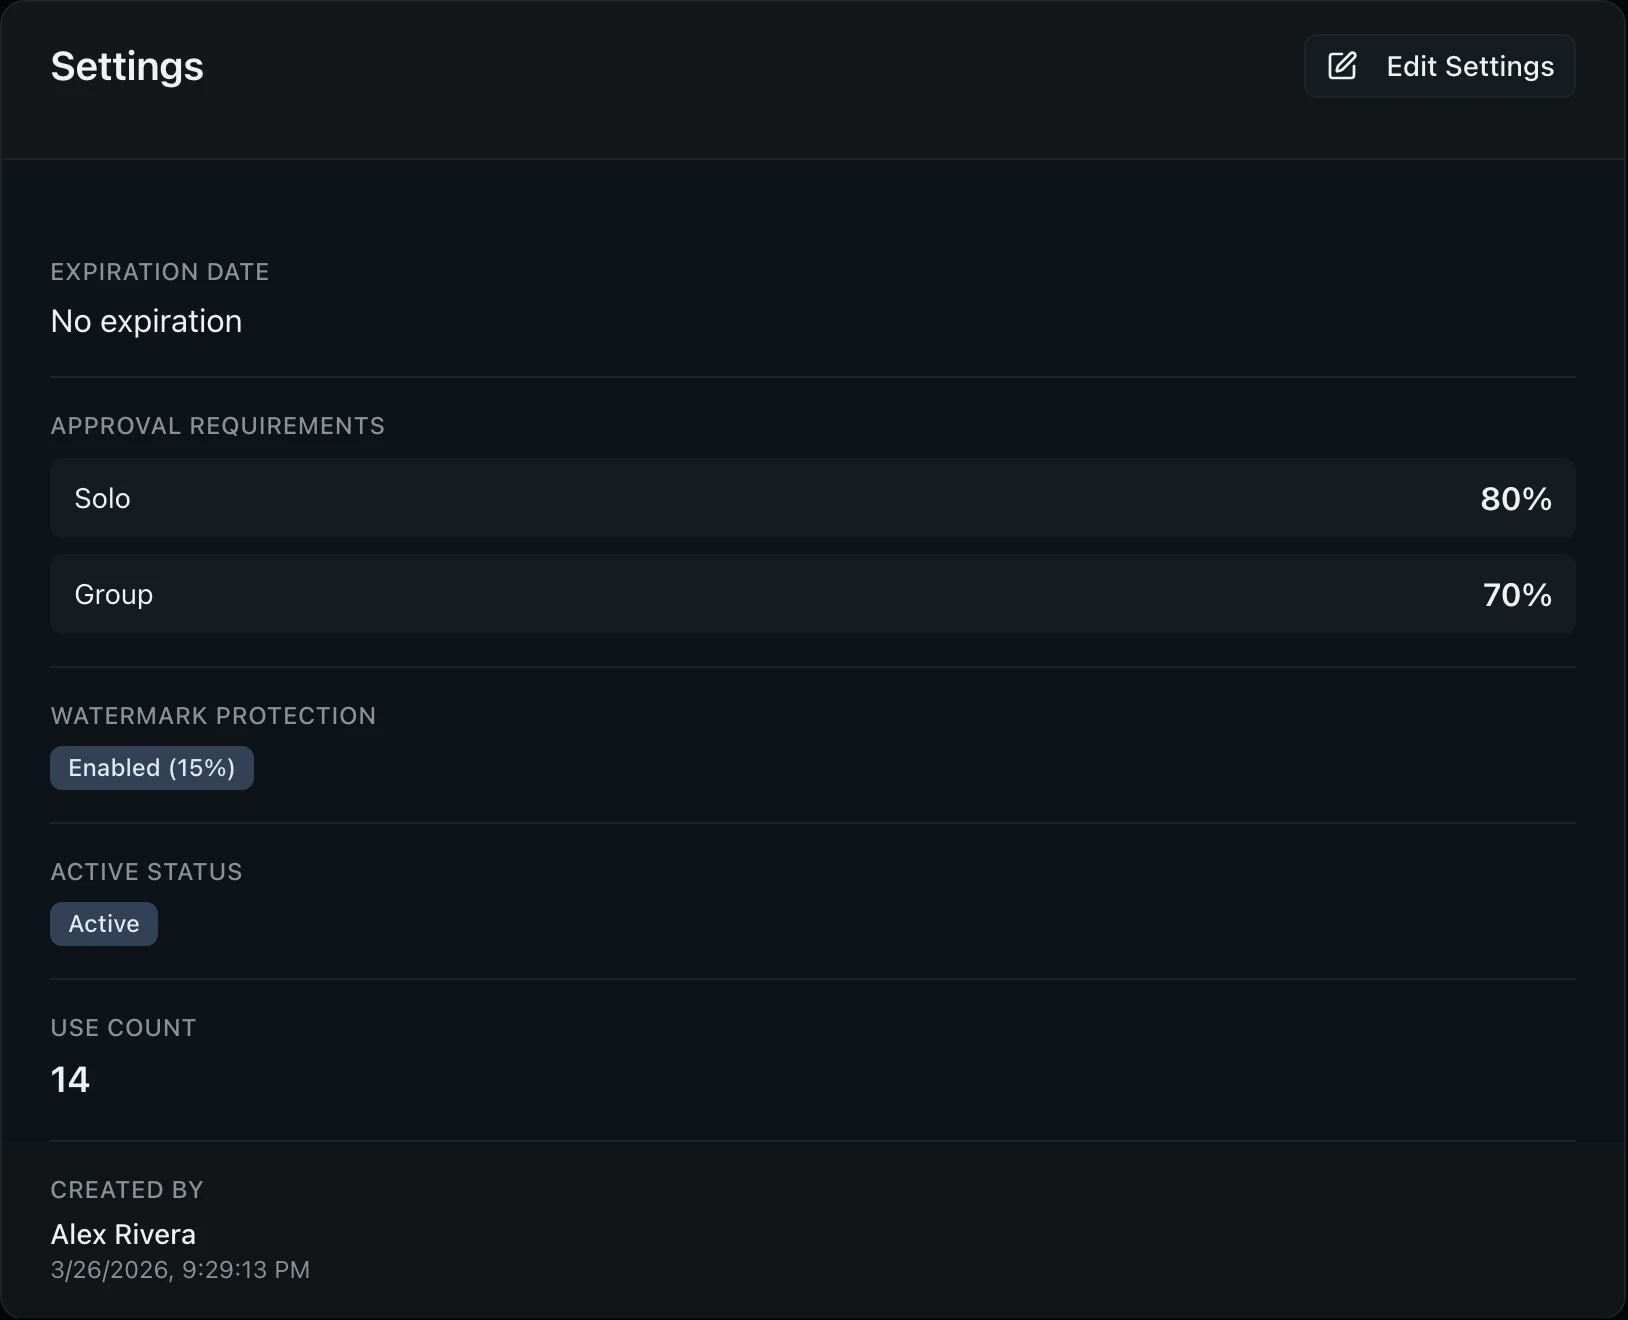
The settings card includes:
- Expiration date: When the access link stops working. Update this to extend or shorten the review window.
- Approval requirements: The minimum solo and group approval percentages required before finalization.
- Watermark protection: Whether watermarking is active and the current opacity level.
- Active status: Toggle to temporarily disable access without deleting the approval.
- Use count: How many times the access code has been used to sign in.
- Created by: The team member who created the approval and when.
Click Edit Settings to modify any of these values.
Step 7: Manage Recipients
The recipients card shows everyone who has been sent the access code. Each row displays the recipient's name, email address, the date the code was sent, and a delivery status badge (pending, sent, failed, or bounced).
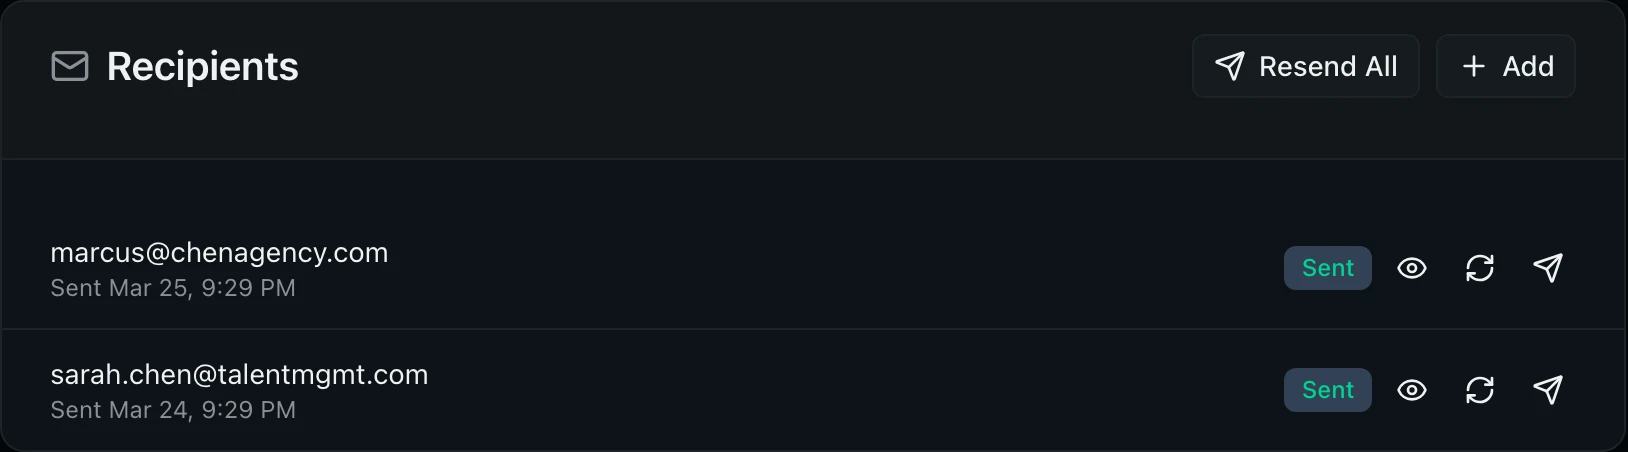
To add a new recipient, click the Add button at the top of the recipients card. Enter their email address and the system sends an email containing the access link and passcode.
For existing recipients, use the action buttons on each row:
- Resend: Send the access code email again
- Reveal passcode: Show the recipient's unique passcode
- Regenerate passcode: Create a new passcode and invalidate the previous one
Regenerating a passcode invalidates the previous one. If the talent has already saved their login credentials, they will need the new passcode to sign in again.
Tips and Best Practices
- Set approval requirements before sending: Enable minimum approval percentages so that finalization cannot happen until enough images have been reviewed. This is useful for projects with large image sets where partial reviews could lead to missed selects.
- Use watermarking for sensitive content: Enable watermark protection to overlay the talent's name on every image. This makes unauthorized distribution traceable back to the recipient. Adjust opacity to 10-20% for a balance between visibility and image clarity.
- Monitor expiration dates: Set expiration dates to maintain control over how long talent can access images. For time-sensitive campaigns, set a tight window and follow up before the link expires.
- Add multiple recipients when managers are involved: If the talent's agent or publicist also needs to review, add them as separate recipients. Each gets their own passcode for independent access tracking.
Troubleshooting
I cannot see the Approvals tab in my project
Your account needs the Create Talent Access permission to view the approvals page. Ask your organization admin to update your project permissions in the project settings.
The talent says they cannot sign in with the access code
Check that the approval is still active and has not expired. On the detail page, verify the status badge shows Active. If the code has expired, update the expiration date in the settings section. If the status shows Finalized, the approval has been completed and the talent can no longer make changes.
How do I resend an approval email to a recipient?
Go to the approval detail page and scroll to the recipients section. Click the send icon next to the recipient's email to resend the email with the access code and passcode.
Can I change which images are in an approval after creating it?
You cannot add or remove images from an existing approval. Create a new approval with the updated image selection. You can deactivate the old approval in the settings section to prevent confusion.
What's Next
- Using the Talent Portal: Learn what the talent sees when they sign in with their access code to review and approve images.
- Uploading Assets: Add more images to your project before creating approvals.
Related Guides
Managing Projects
Learn how to create, organize, and manage photo projects in ReelStorage, including settings, team members, and archiving.
Uploading Assets
Learn how to upload photos and videos to your project using the upload window, monitor progress, and verify your files appear in the asset grid.
Using the Talent Portal
Sign in with your access code, review images, approve or reject photos, and finalize your selections in the talent portal.