Using the Talent Portal
Prerequisites
Review and approve images from a shoot using the talent portal. This guide walks you through signing in with your access code, reviewing photos, making approval decisions, and finalizing your selections.
What You'll Learn
- How to verify your access code and sign in to the talent portal
- How to enter your name and start reviewing images
- How to approve or reject individual photos
- How to use bulk actions and filter tabs to manage large sets
- How to track your progress and finalize your approvals
Step 1: Verify Your Access Code
Open the access link you received from the studio. The page validates your code and displays the project name with a confirmation checkmark. Your access code appears in a reference field so you can confirm it matches what you received. Click Continue to Sign In to proceed to the passcode entry page.
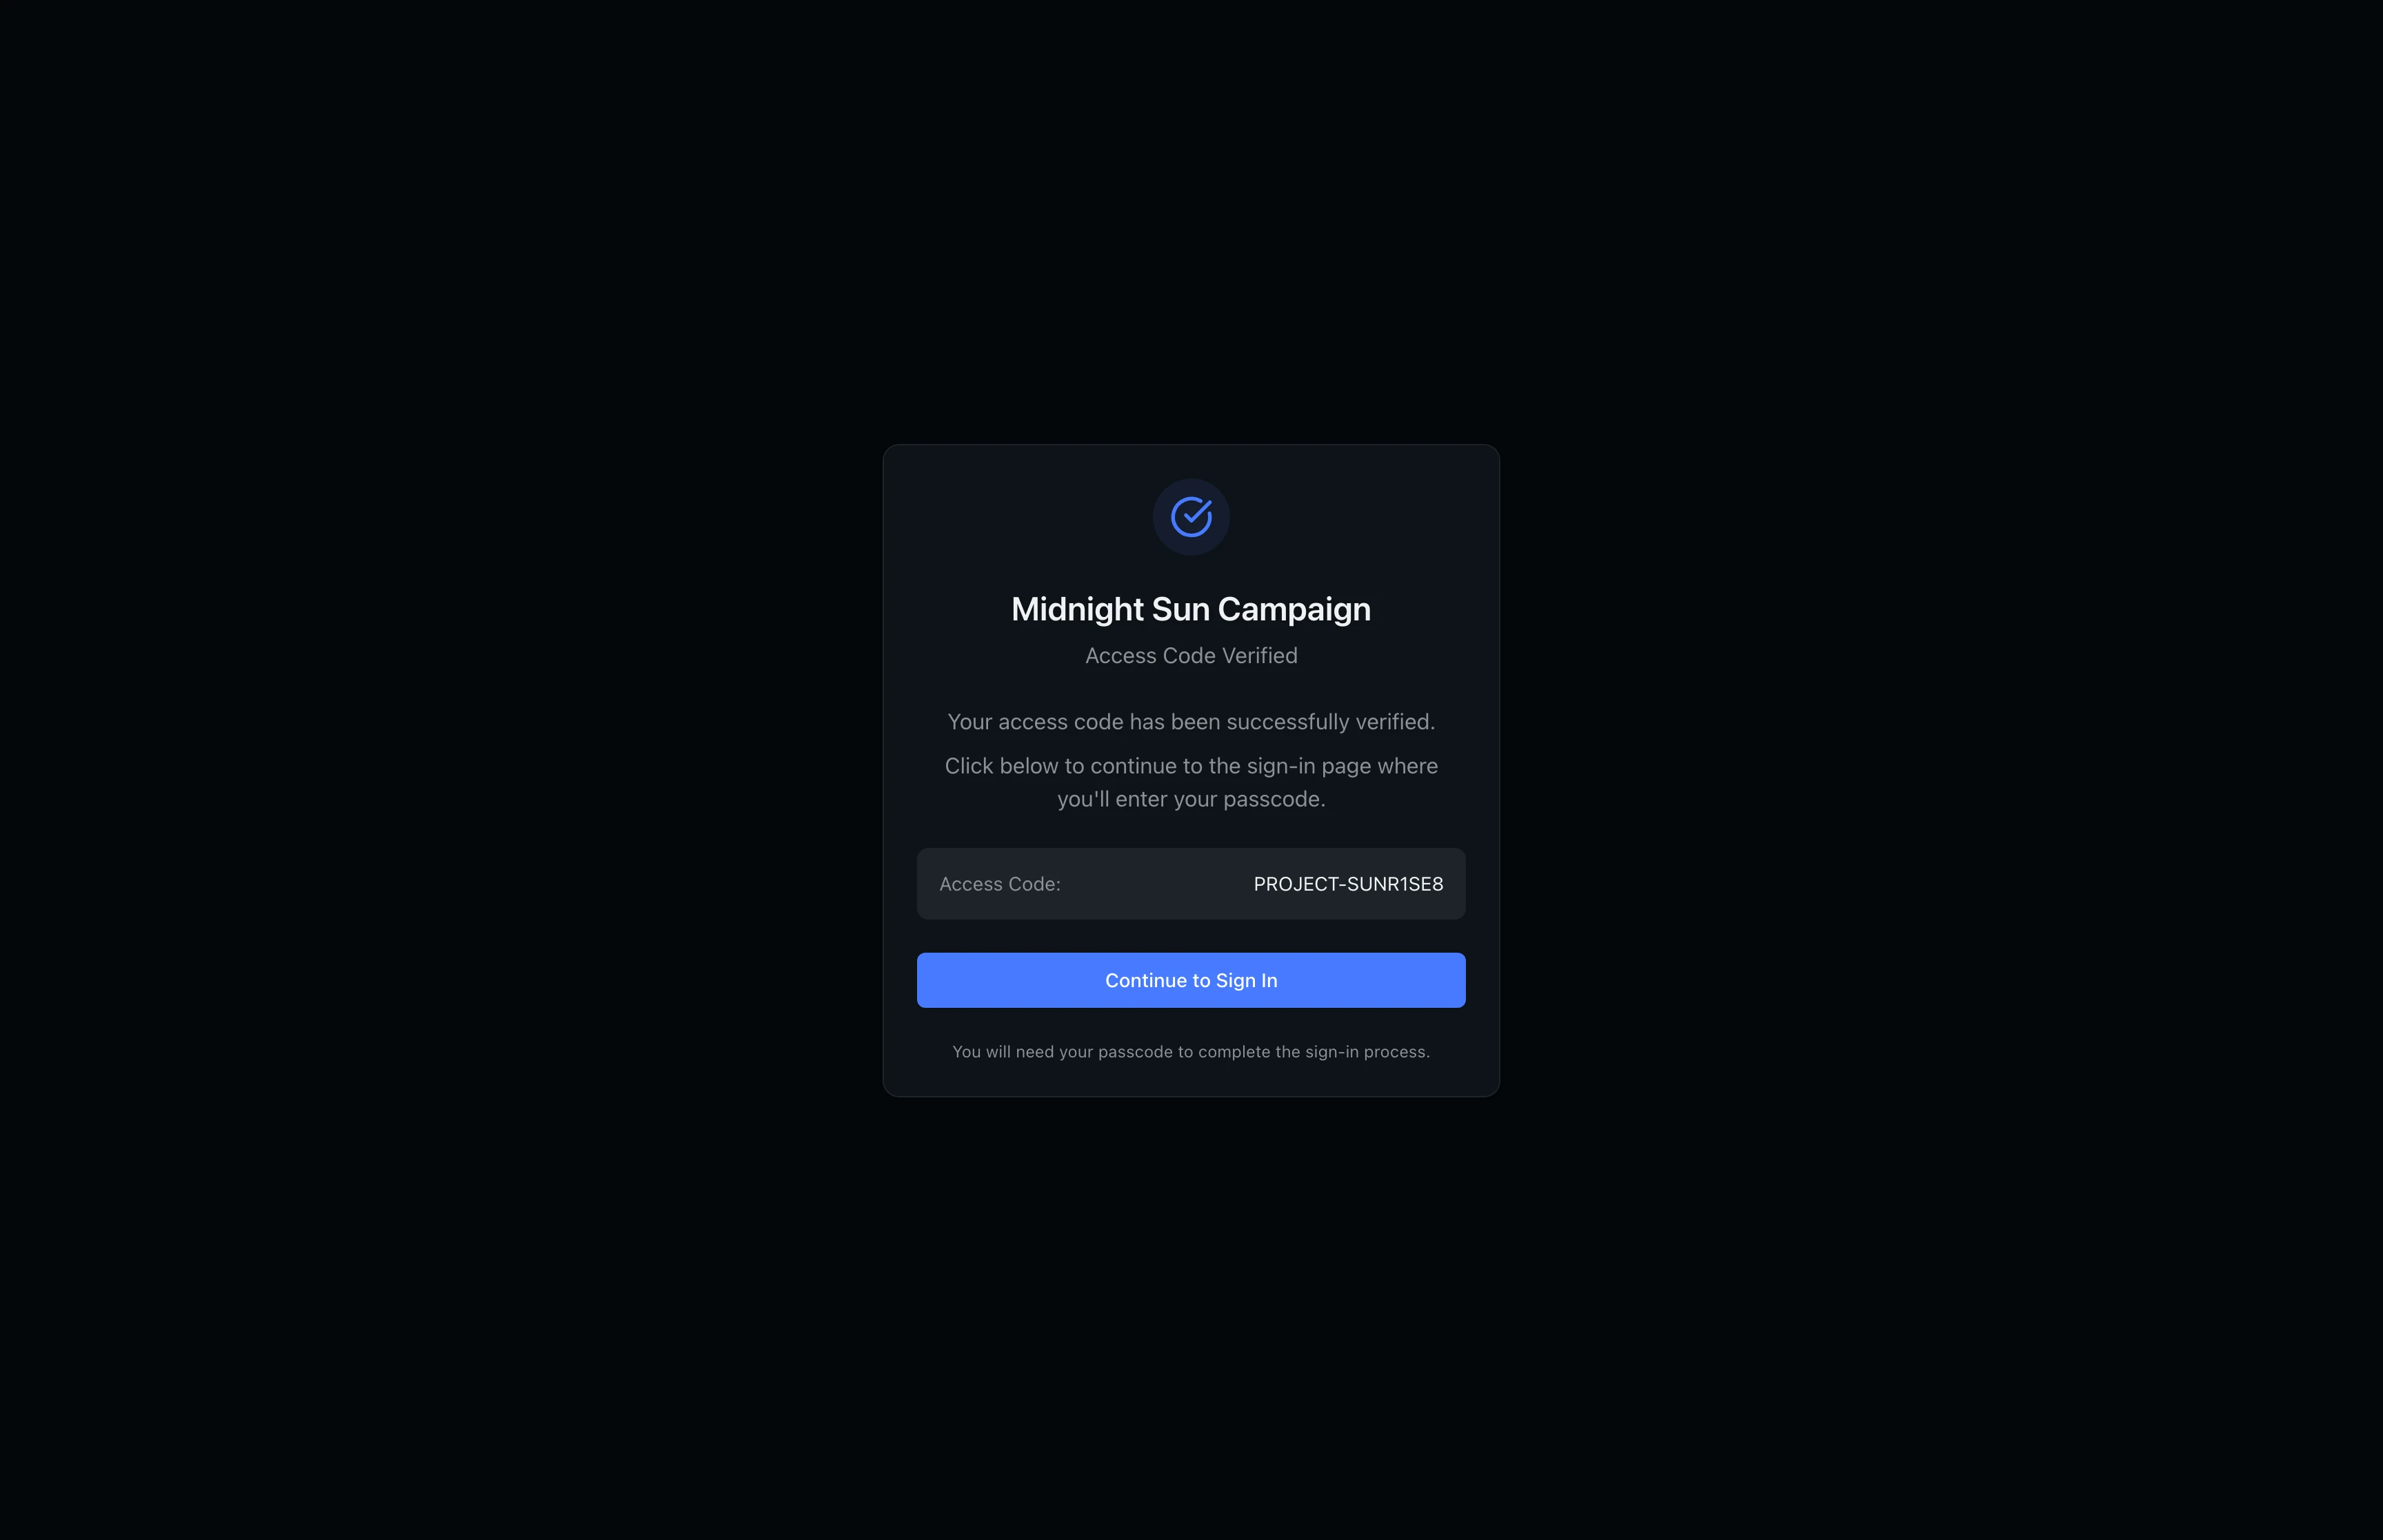
If your access code has expired or been deactivated, you will see an error message instead of the green checkmark. Contact your production coordinator for a new code.
Step 2: Sign In with Your Passcode
On the sign-in page, your access code is pre-filled from the previous step. Enter the passcode you received from the studio in the Passcode field, then click Sign In. The passcode is case-sensitive and must match what your production coordinator provided.
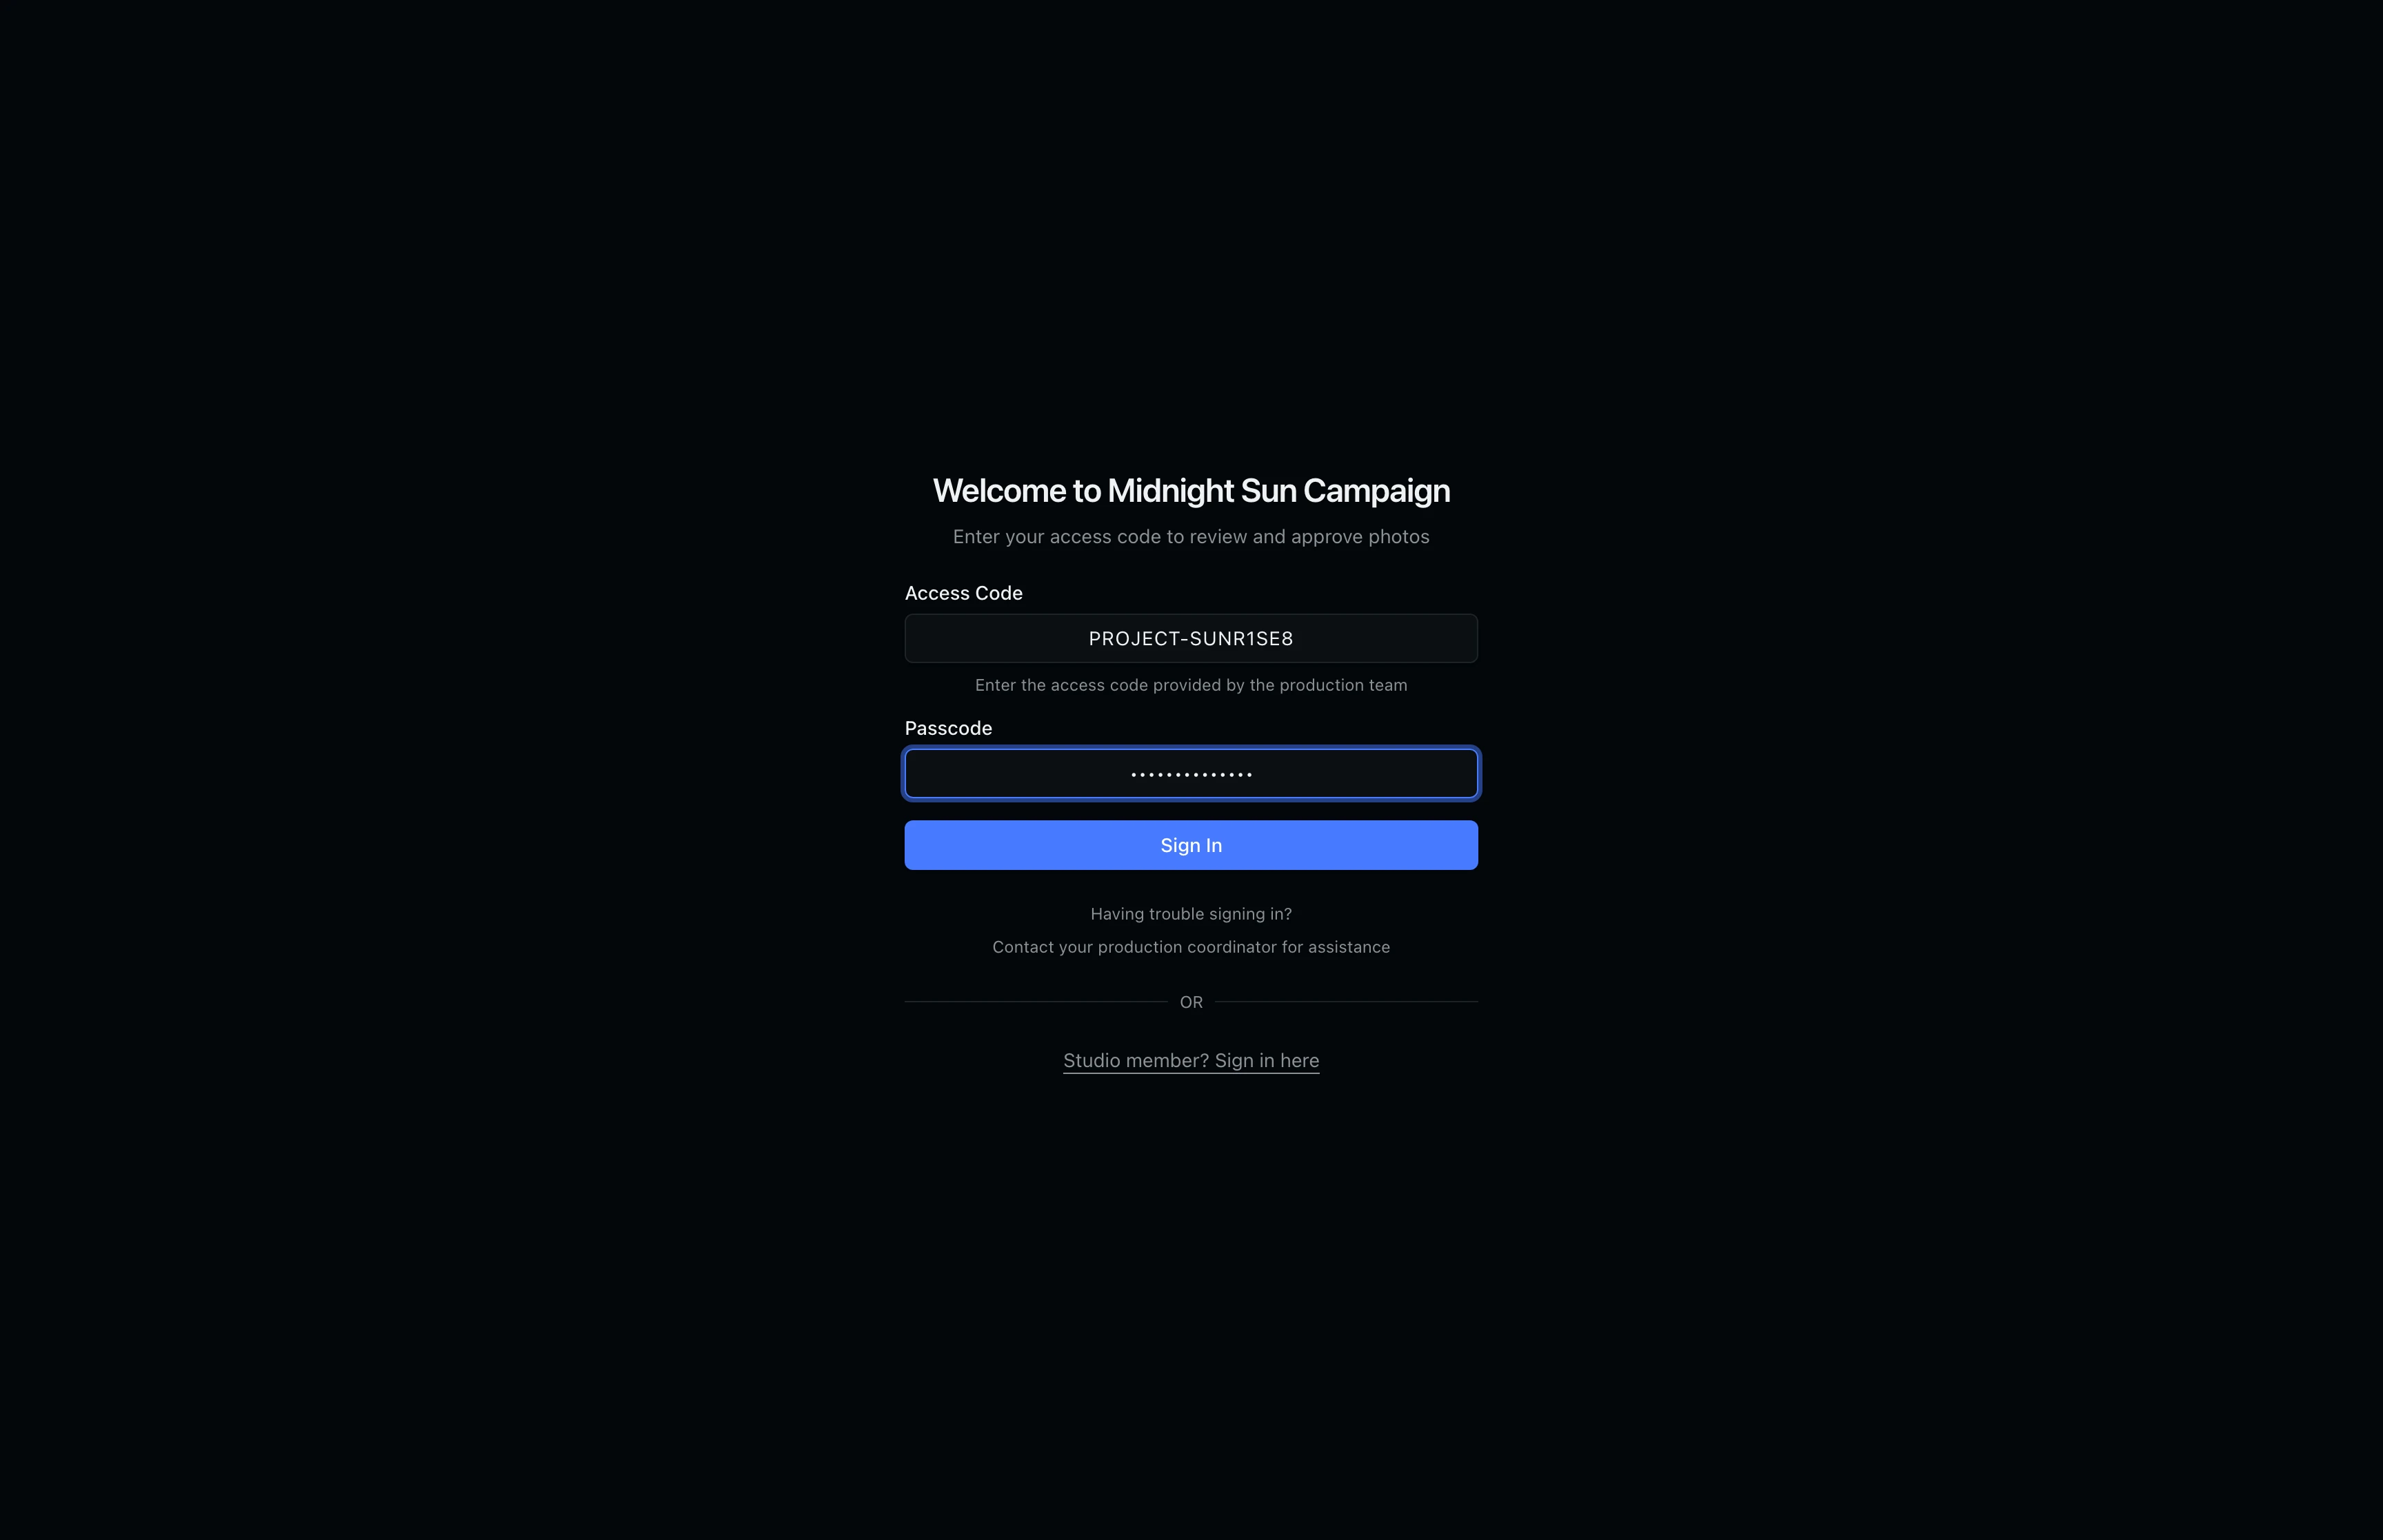
If you do not have your passcode, ask the studio team. They can reveal or regenerate your passcode from the approval detail page in their dashboard.
Step 3: Enter Your Display Name
After signing in, a welcome card asks for your name. Type your full name and click Continue. This name is attached to your approval decisions so the studio knows who reviewed each image.
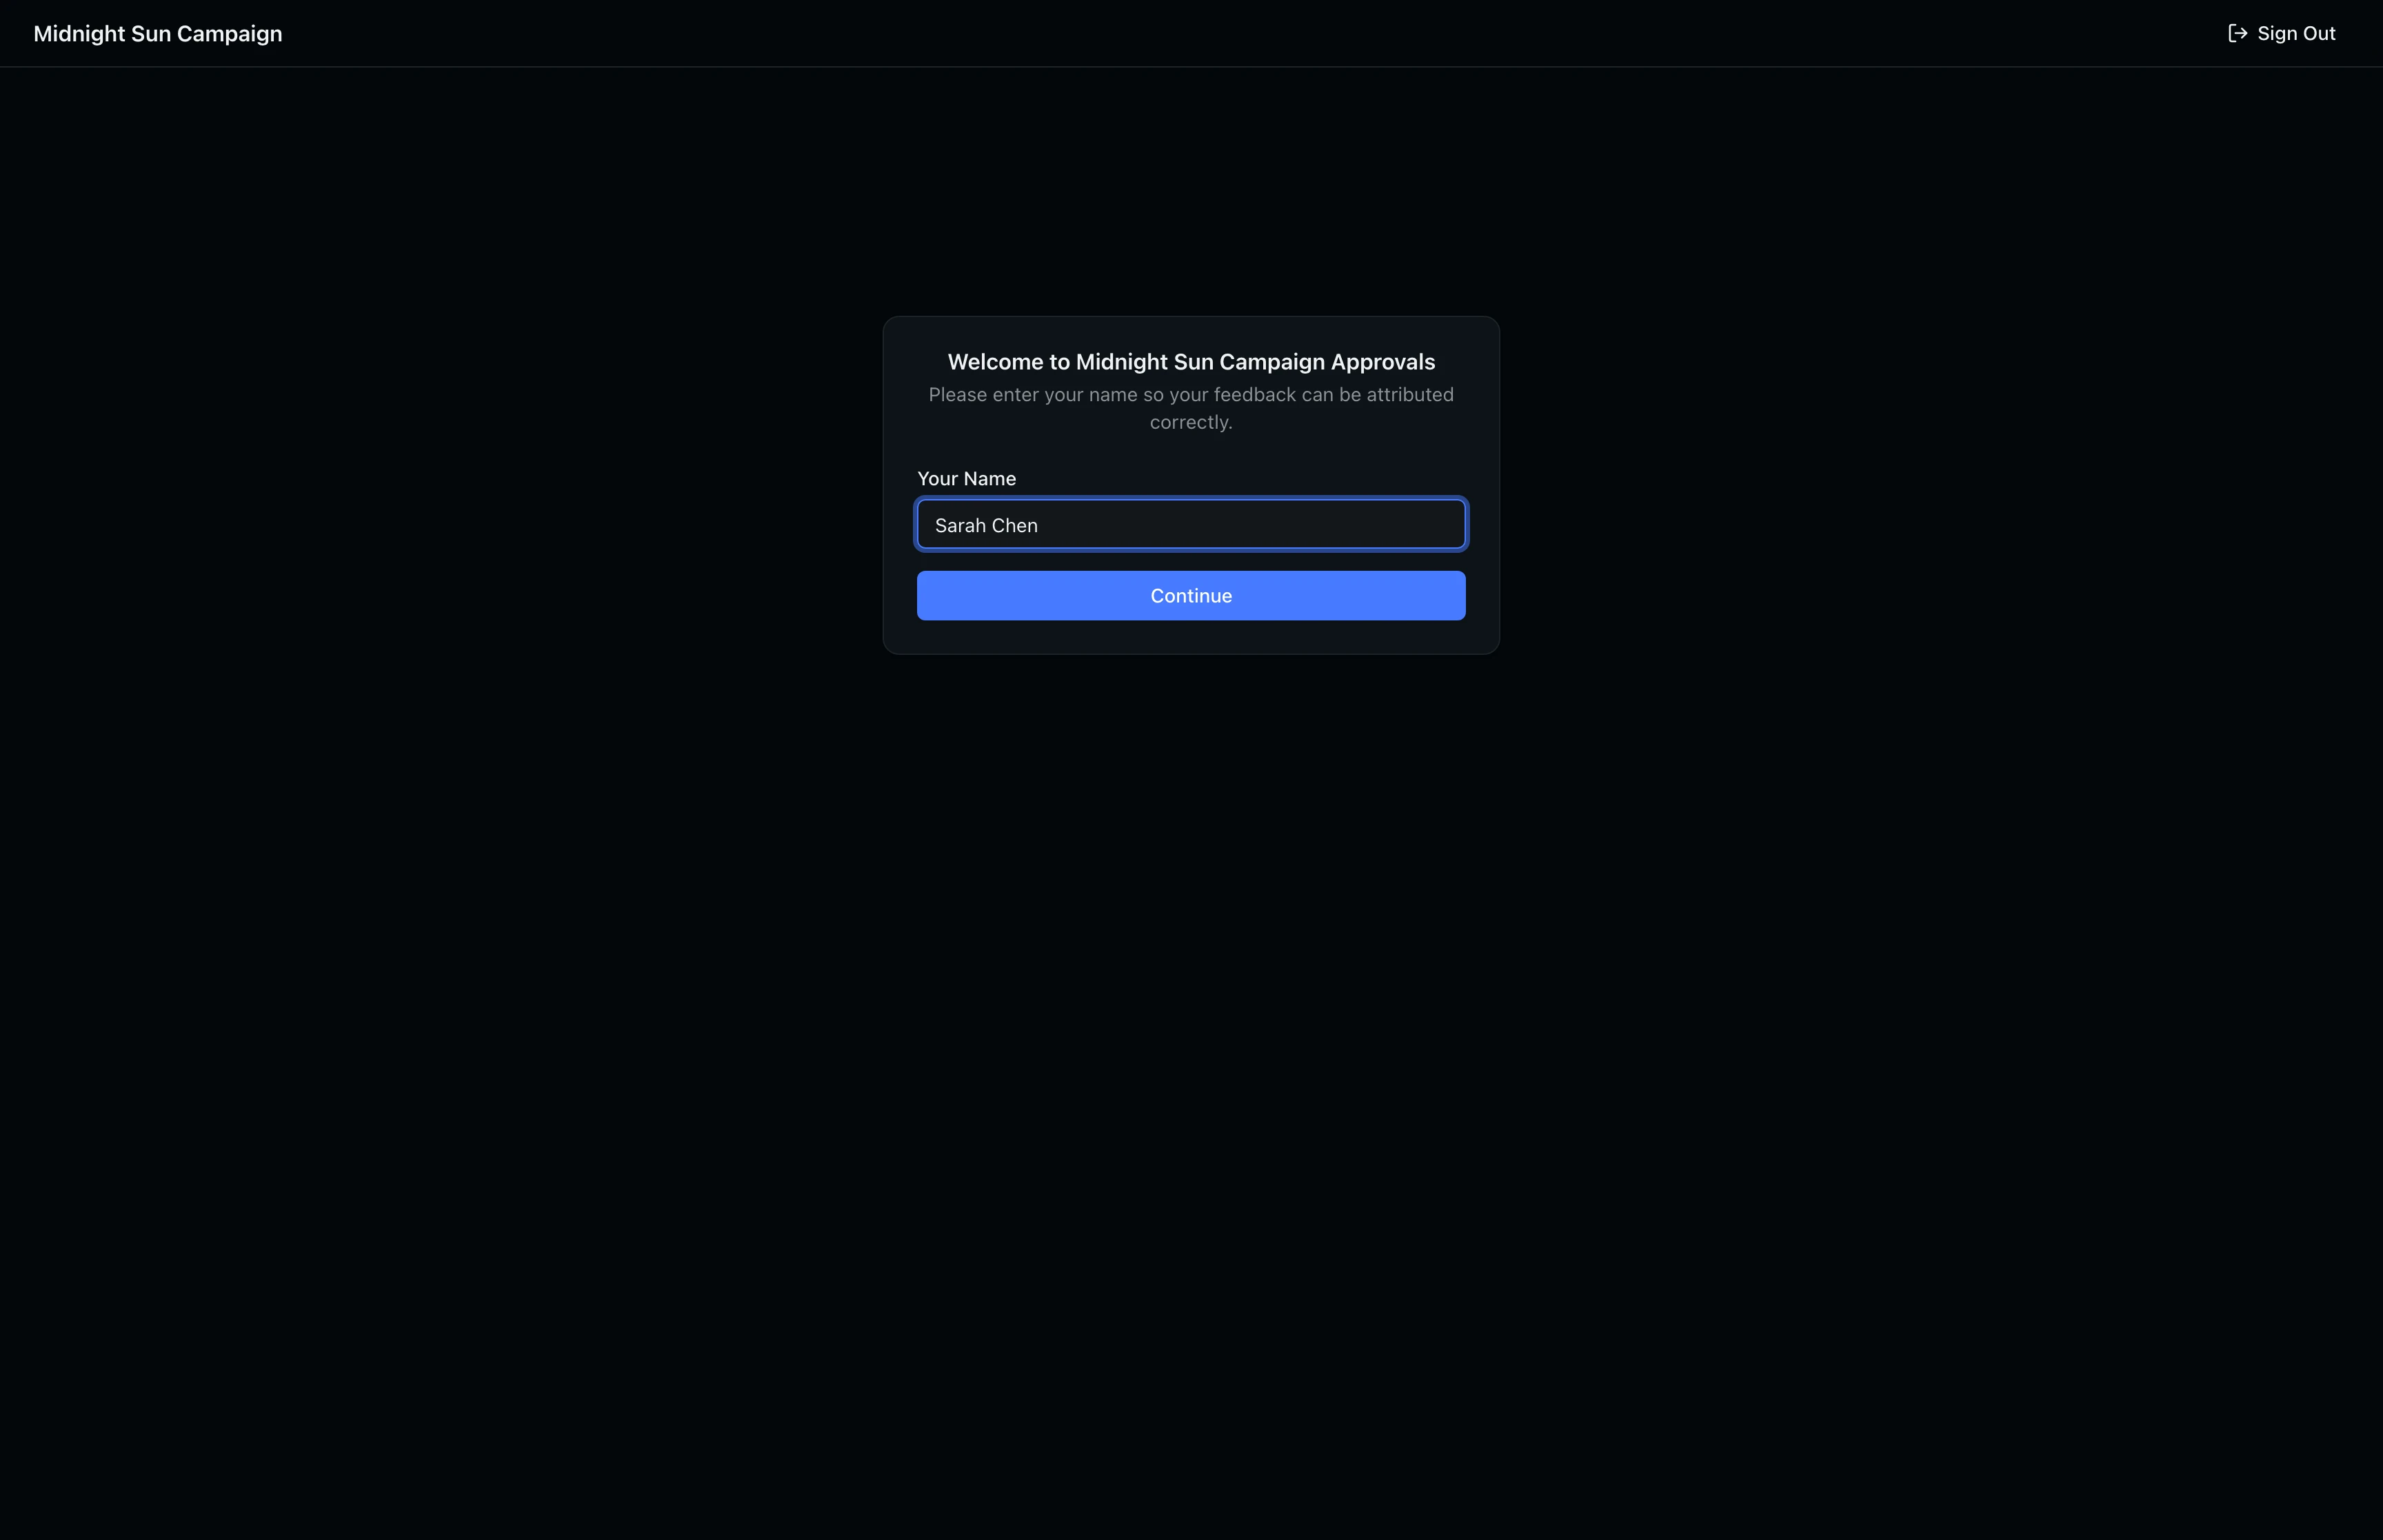
Your name is saved for future sessions, so you will not need to enter it again when you return to this project.
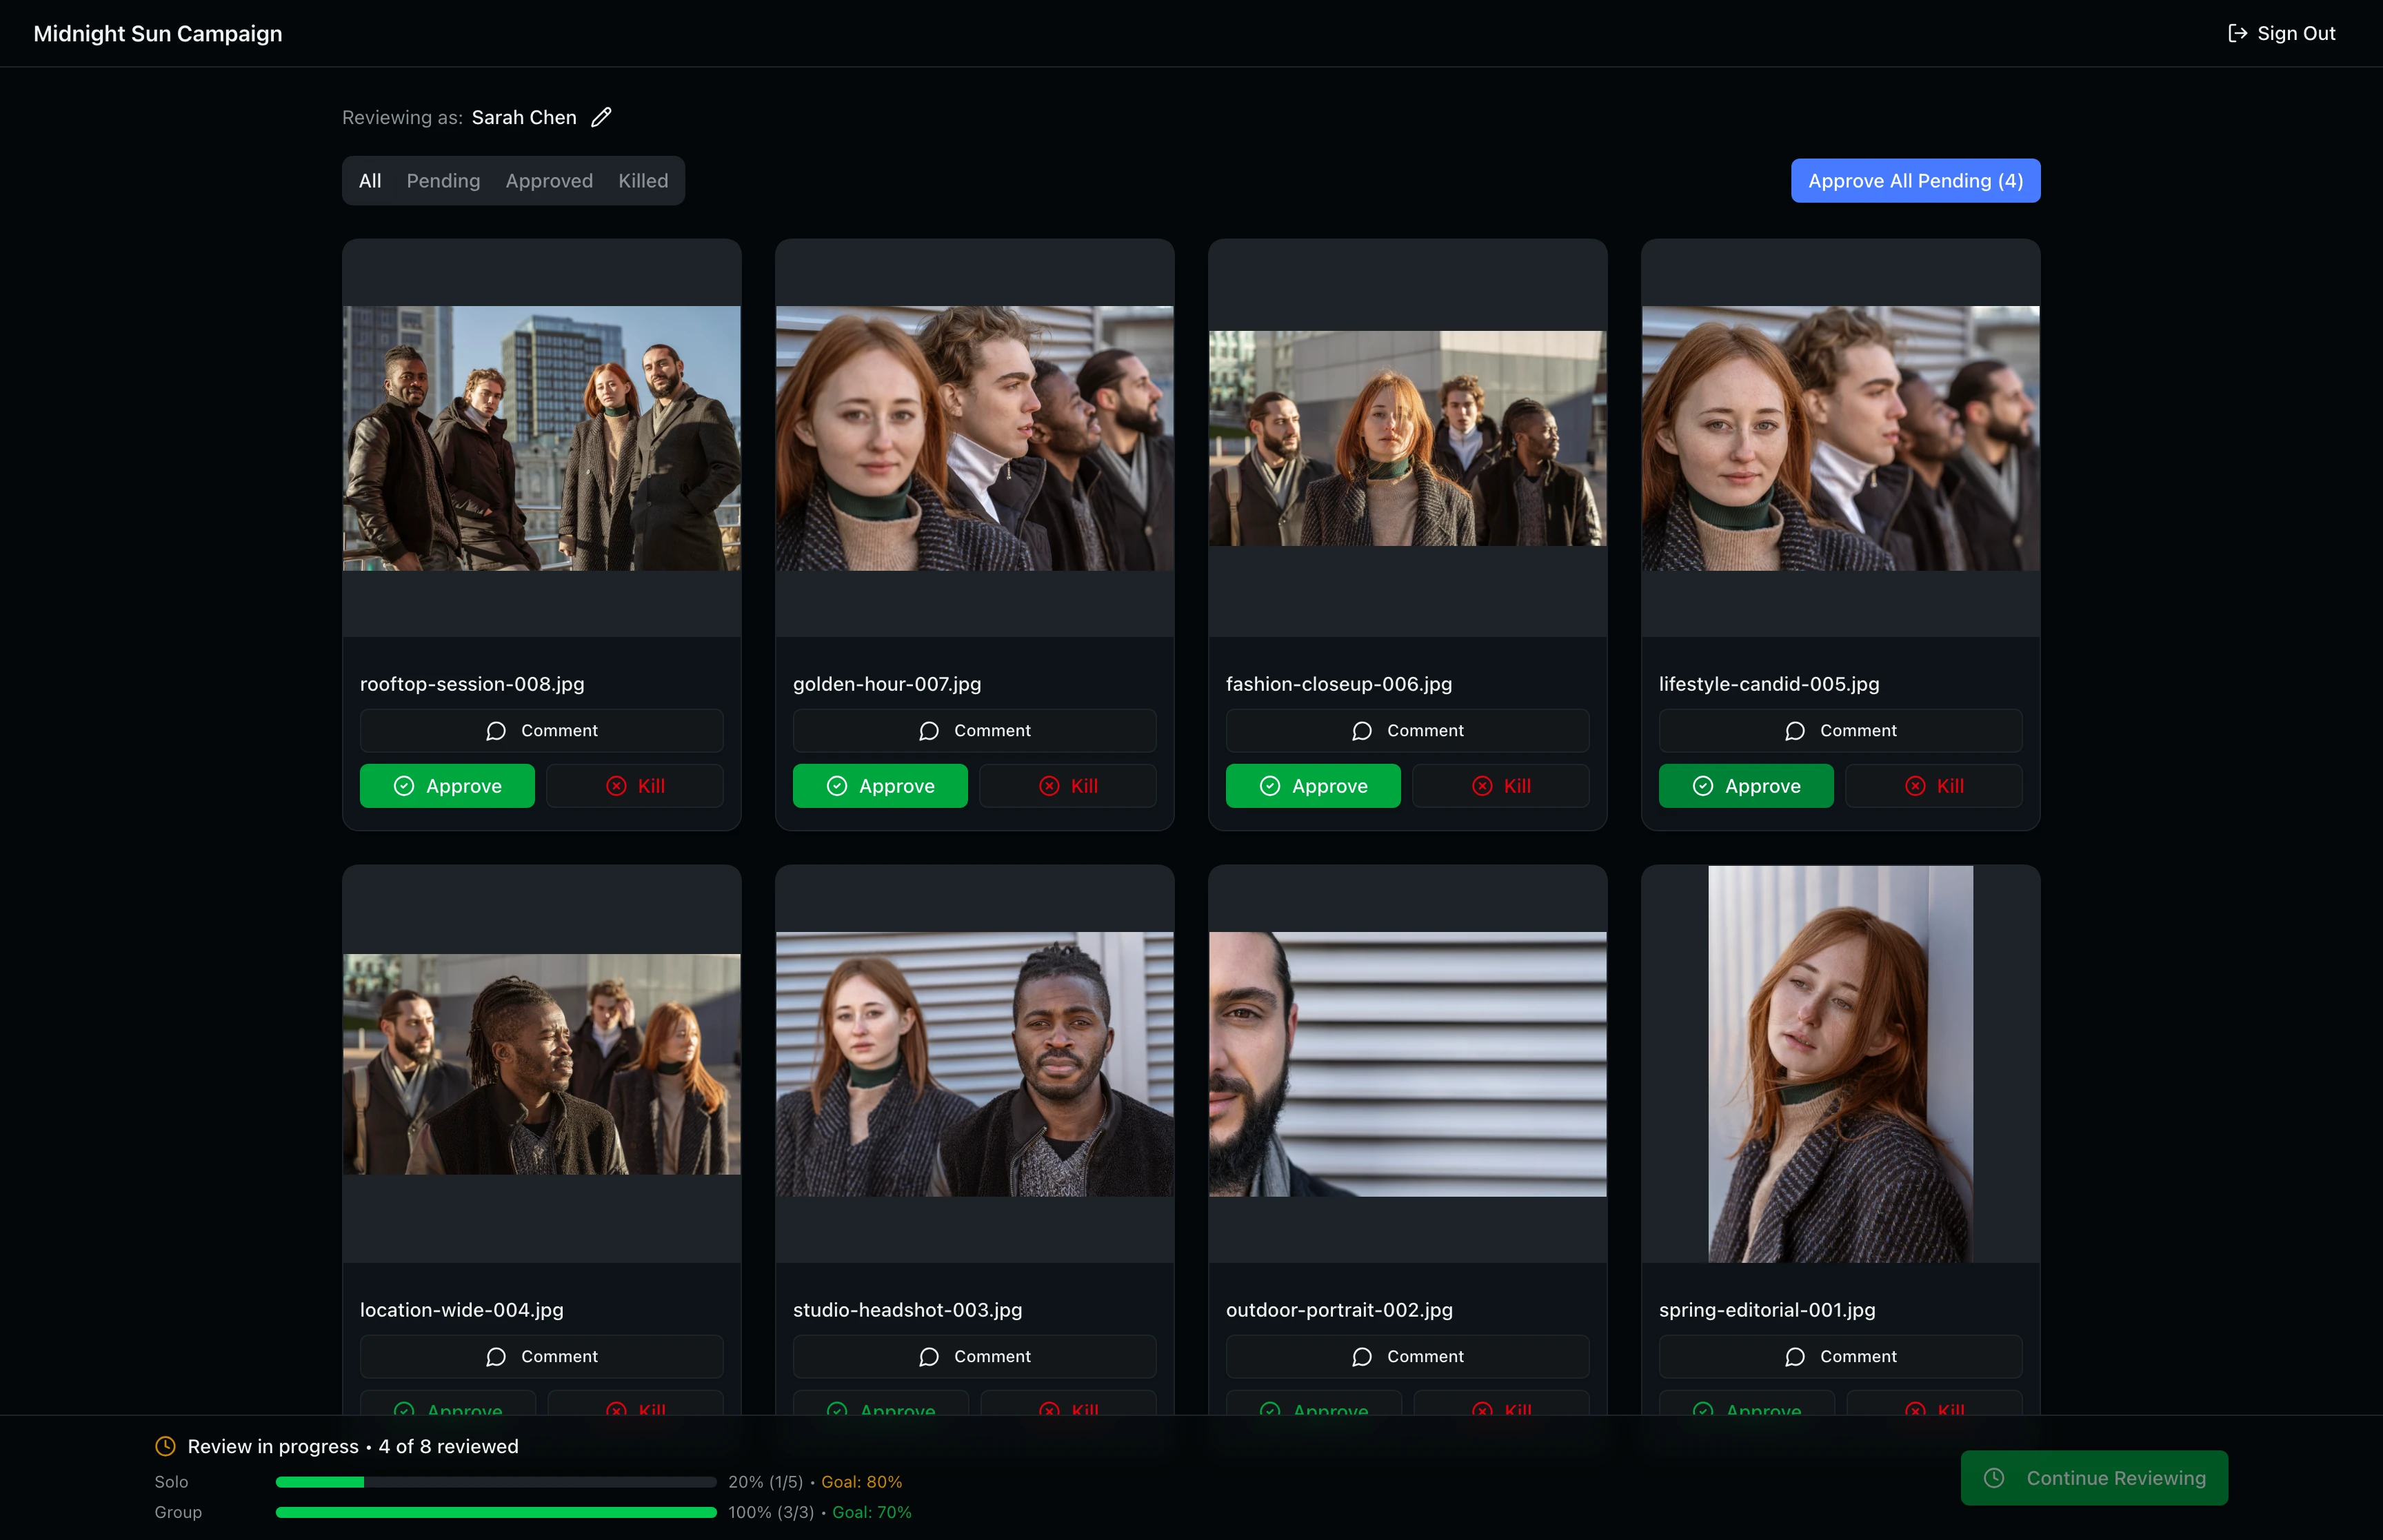
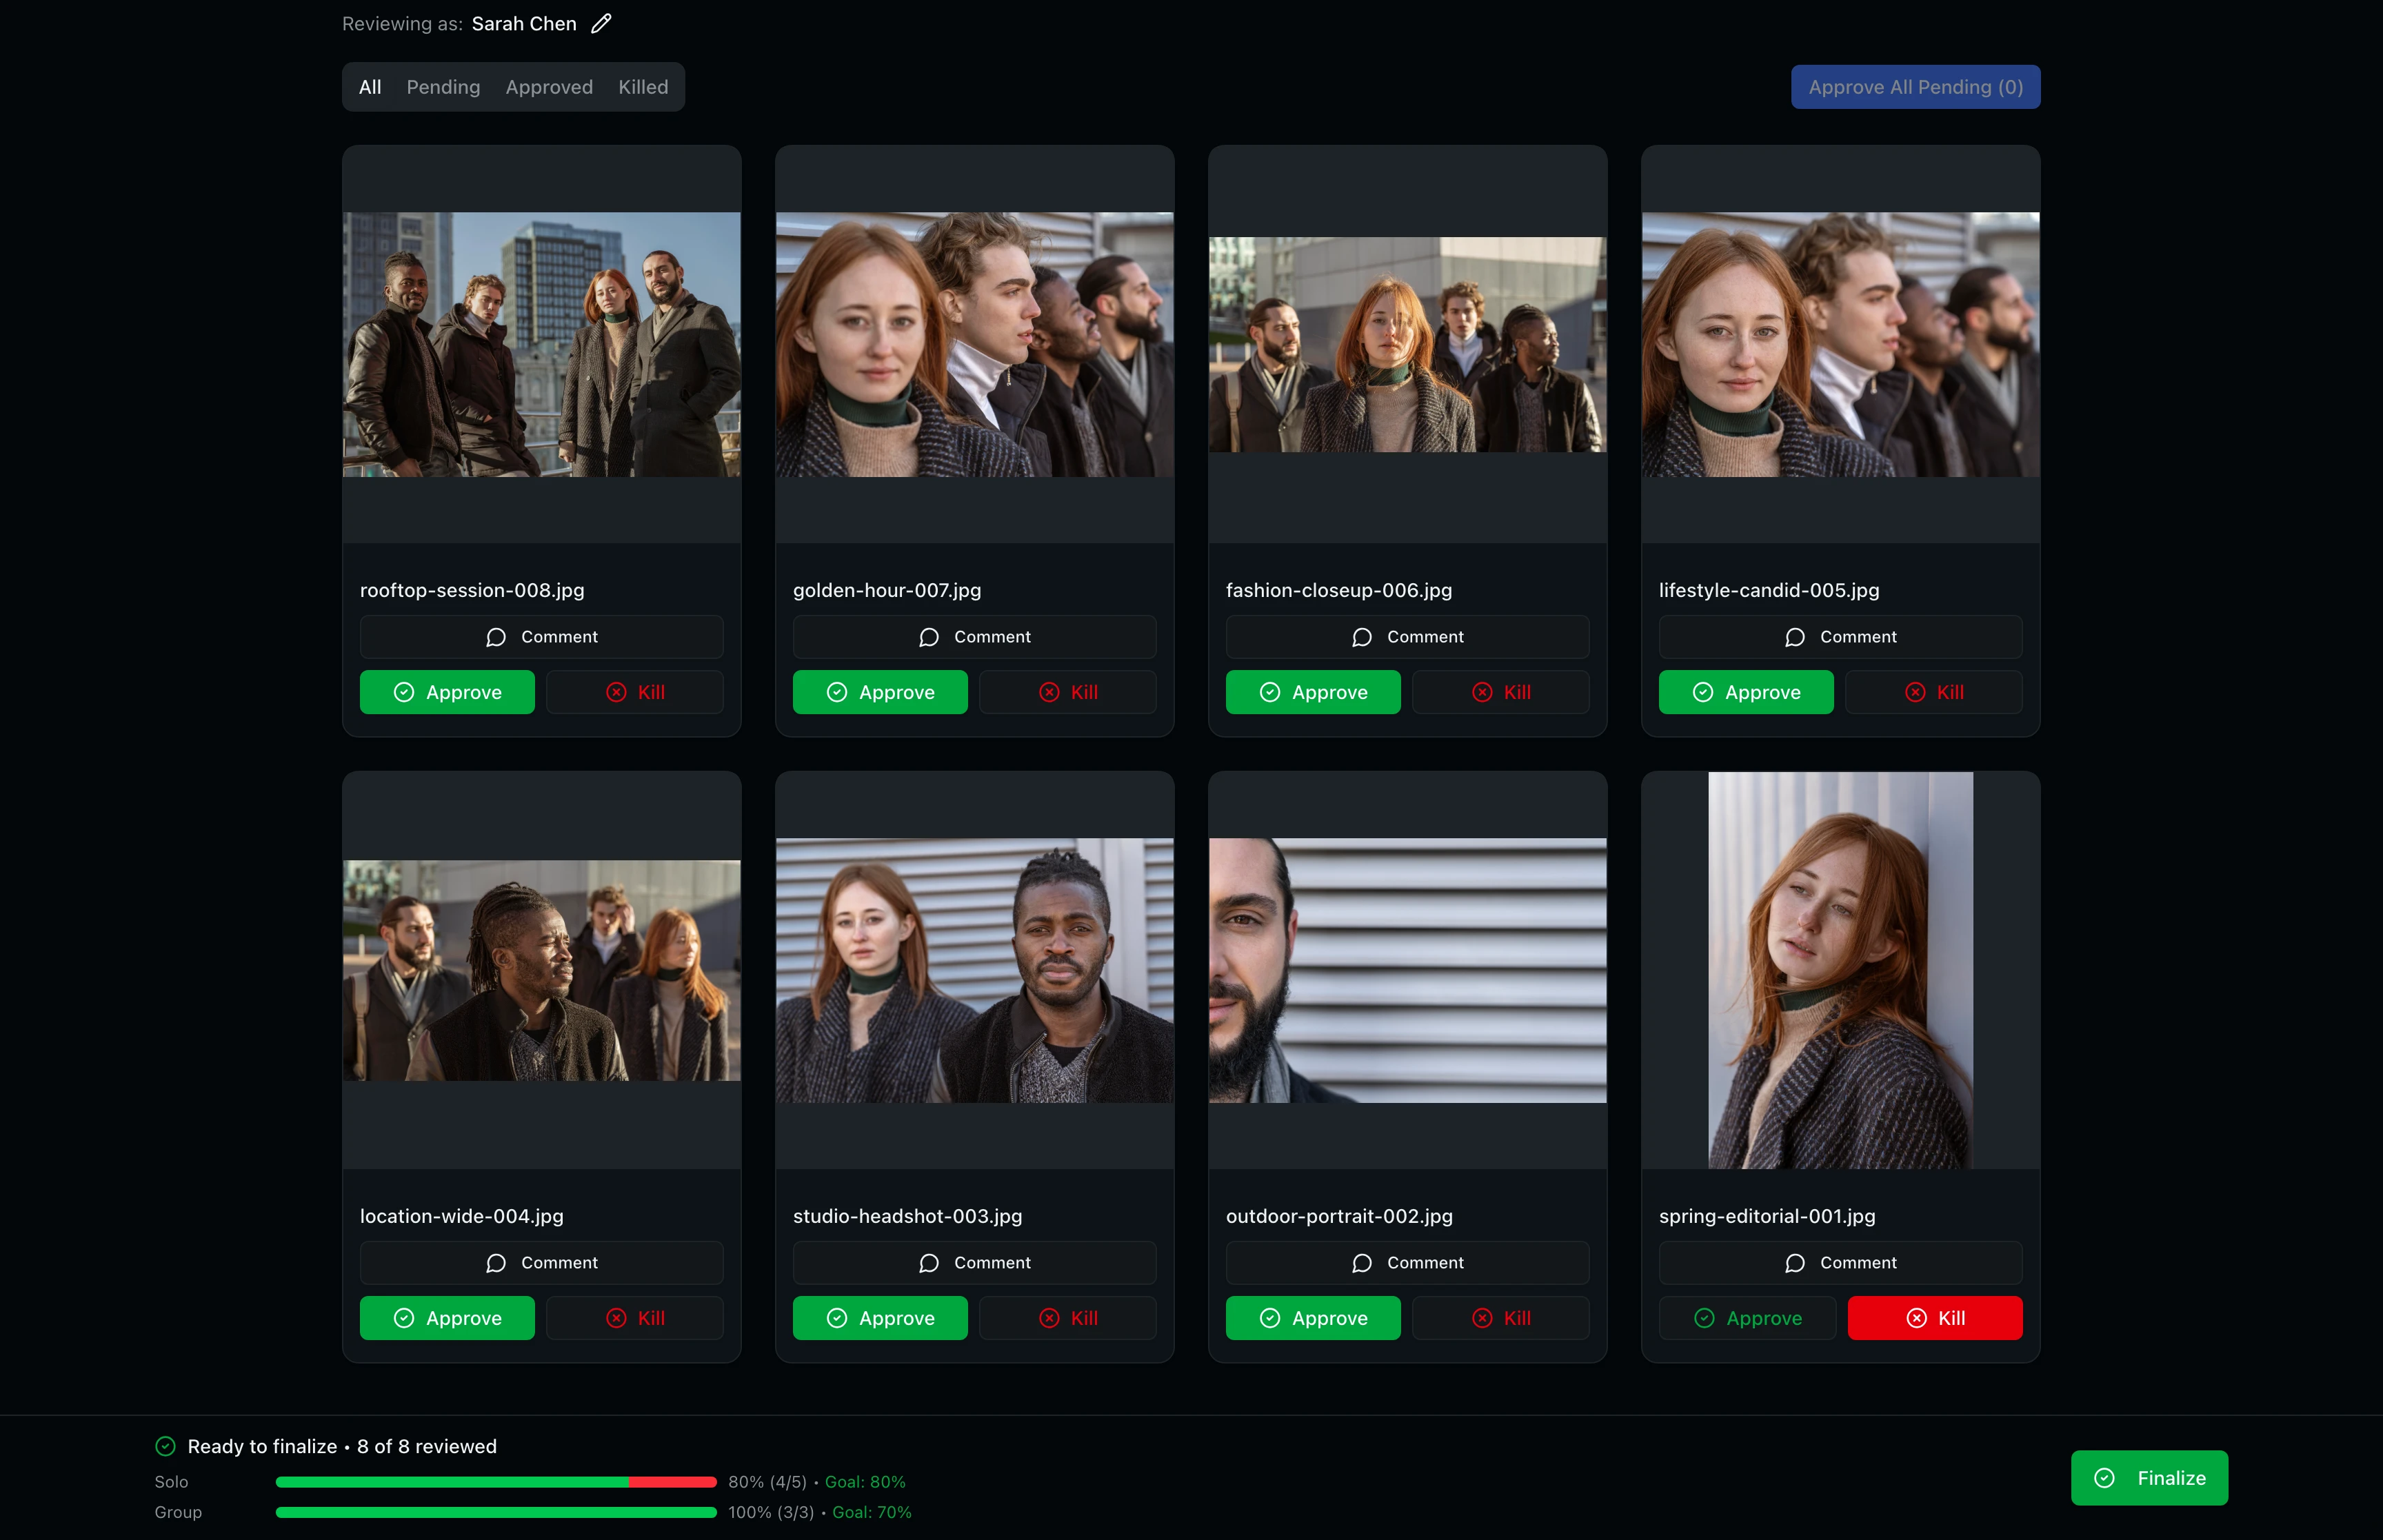
Step 4: Review the Approval Grid
The portal displays all images assigned to you in a responsive grid. Each image card shows a photo thumbnail, the filename, a Comment button, and Approve and Kill action buttons. The header bar at the top shows the project name, your reviewing name, and a Sign Out button.
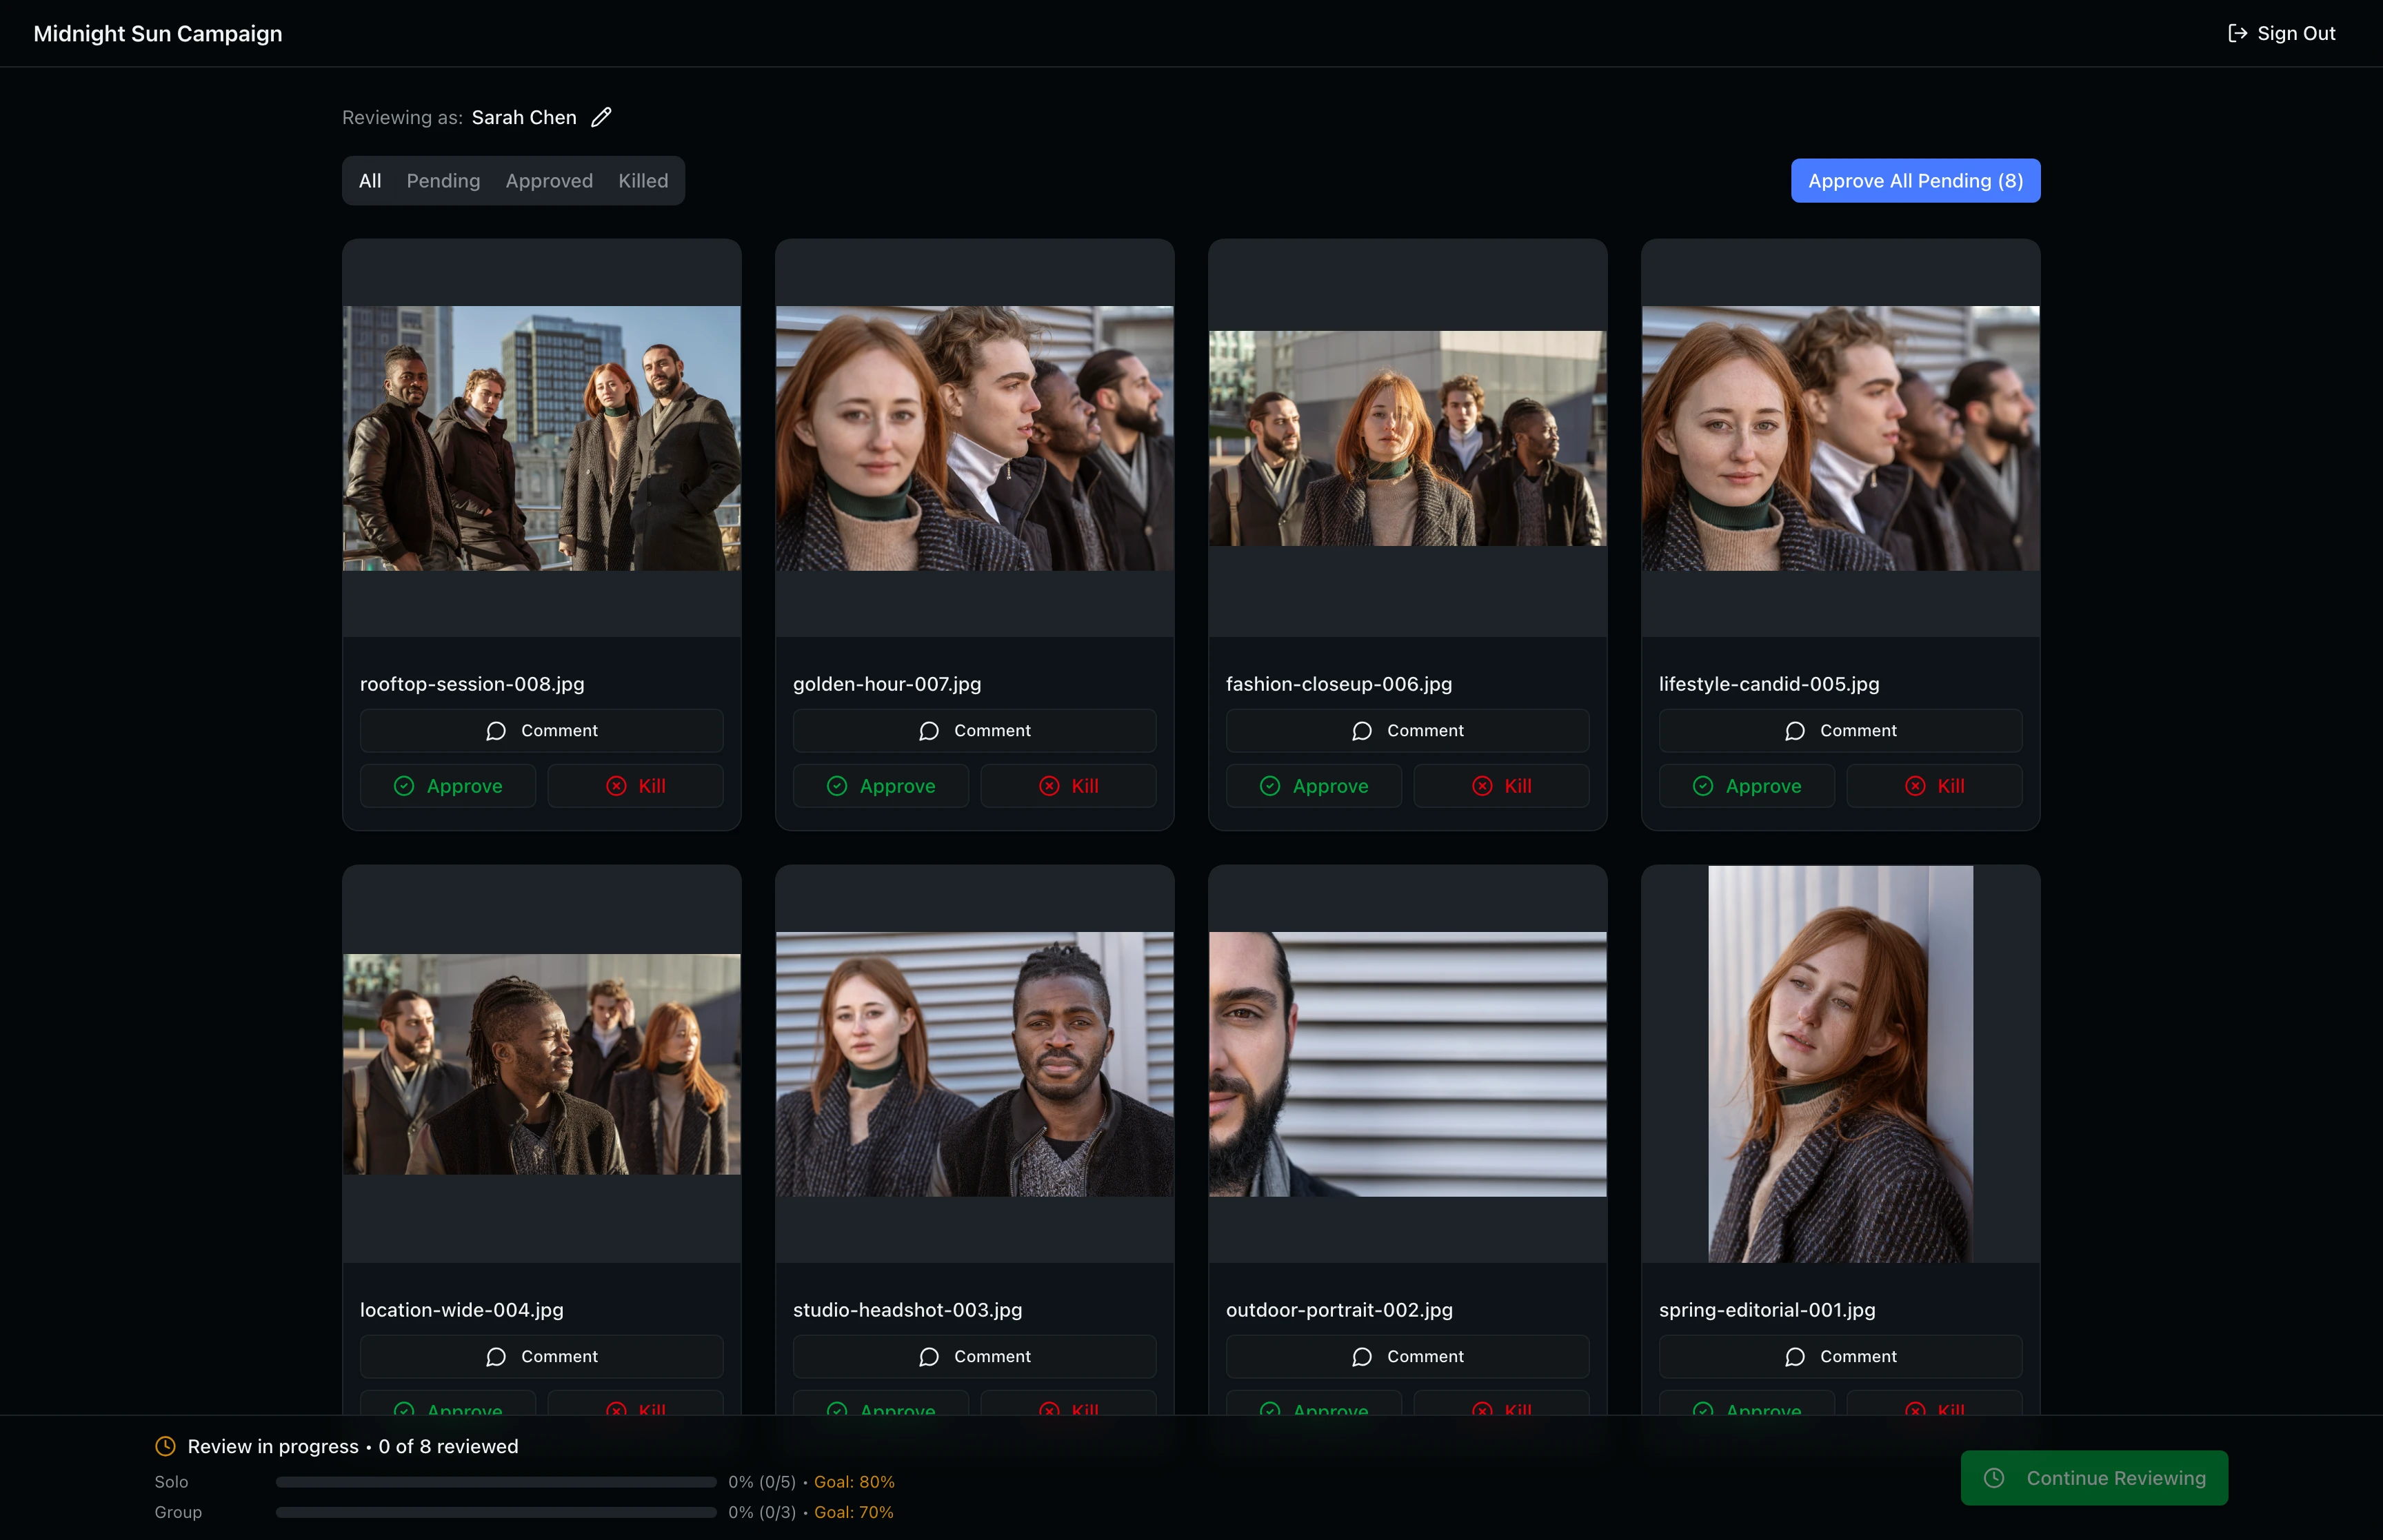
Use the filter tabs (All, Pending, Approved, Killed) to focus on images with a specific status. The Approve All Pending button in the top right lets you approve remaining images in bulk. At the bottom, a sticky progress bar tracks how many images you have reviewed out of the total, with separate Solo and Group progress indicators showing whether you have met the studio's minimum approval percentages.
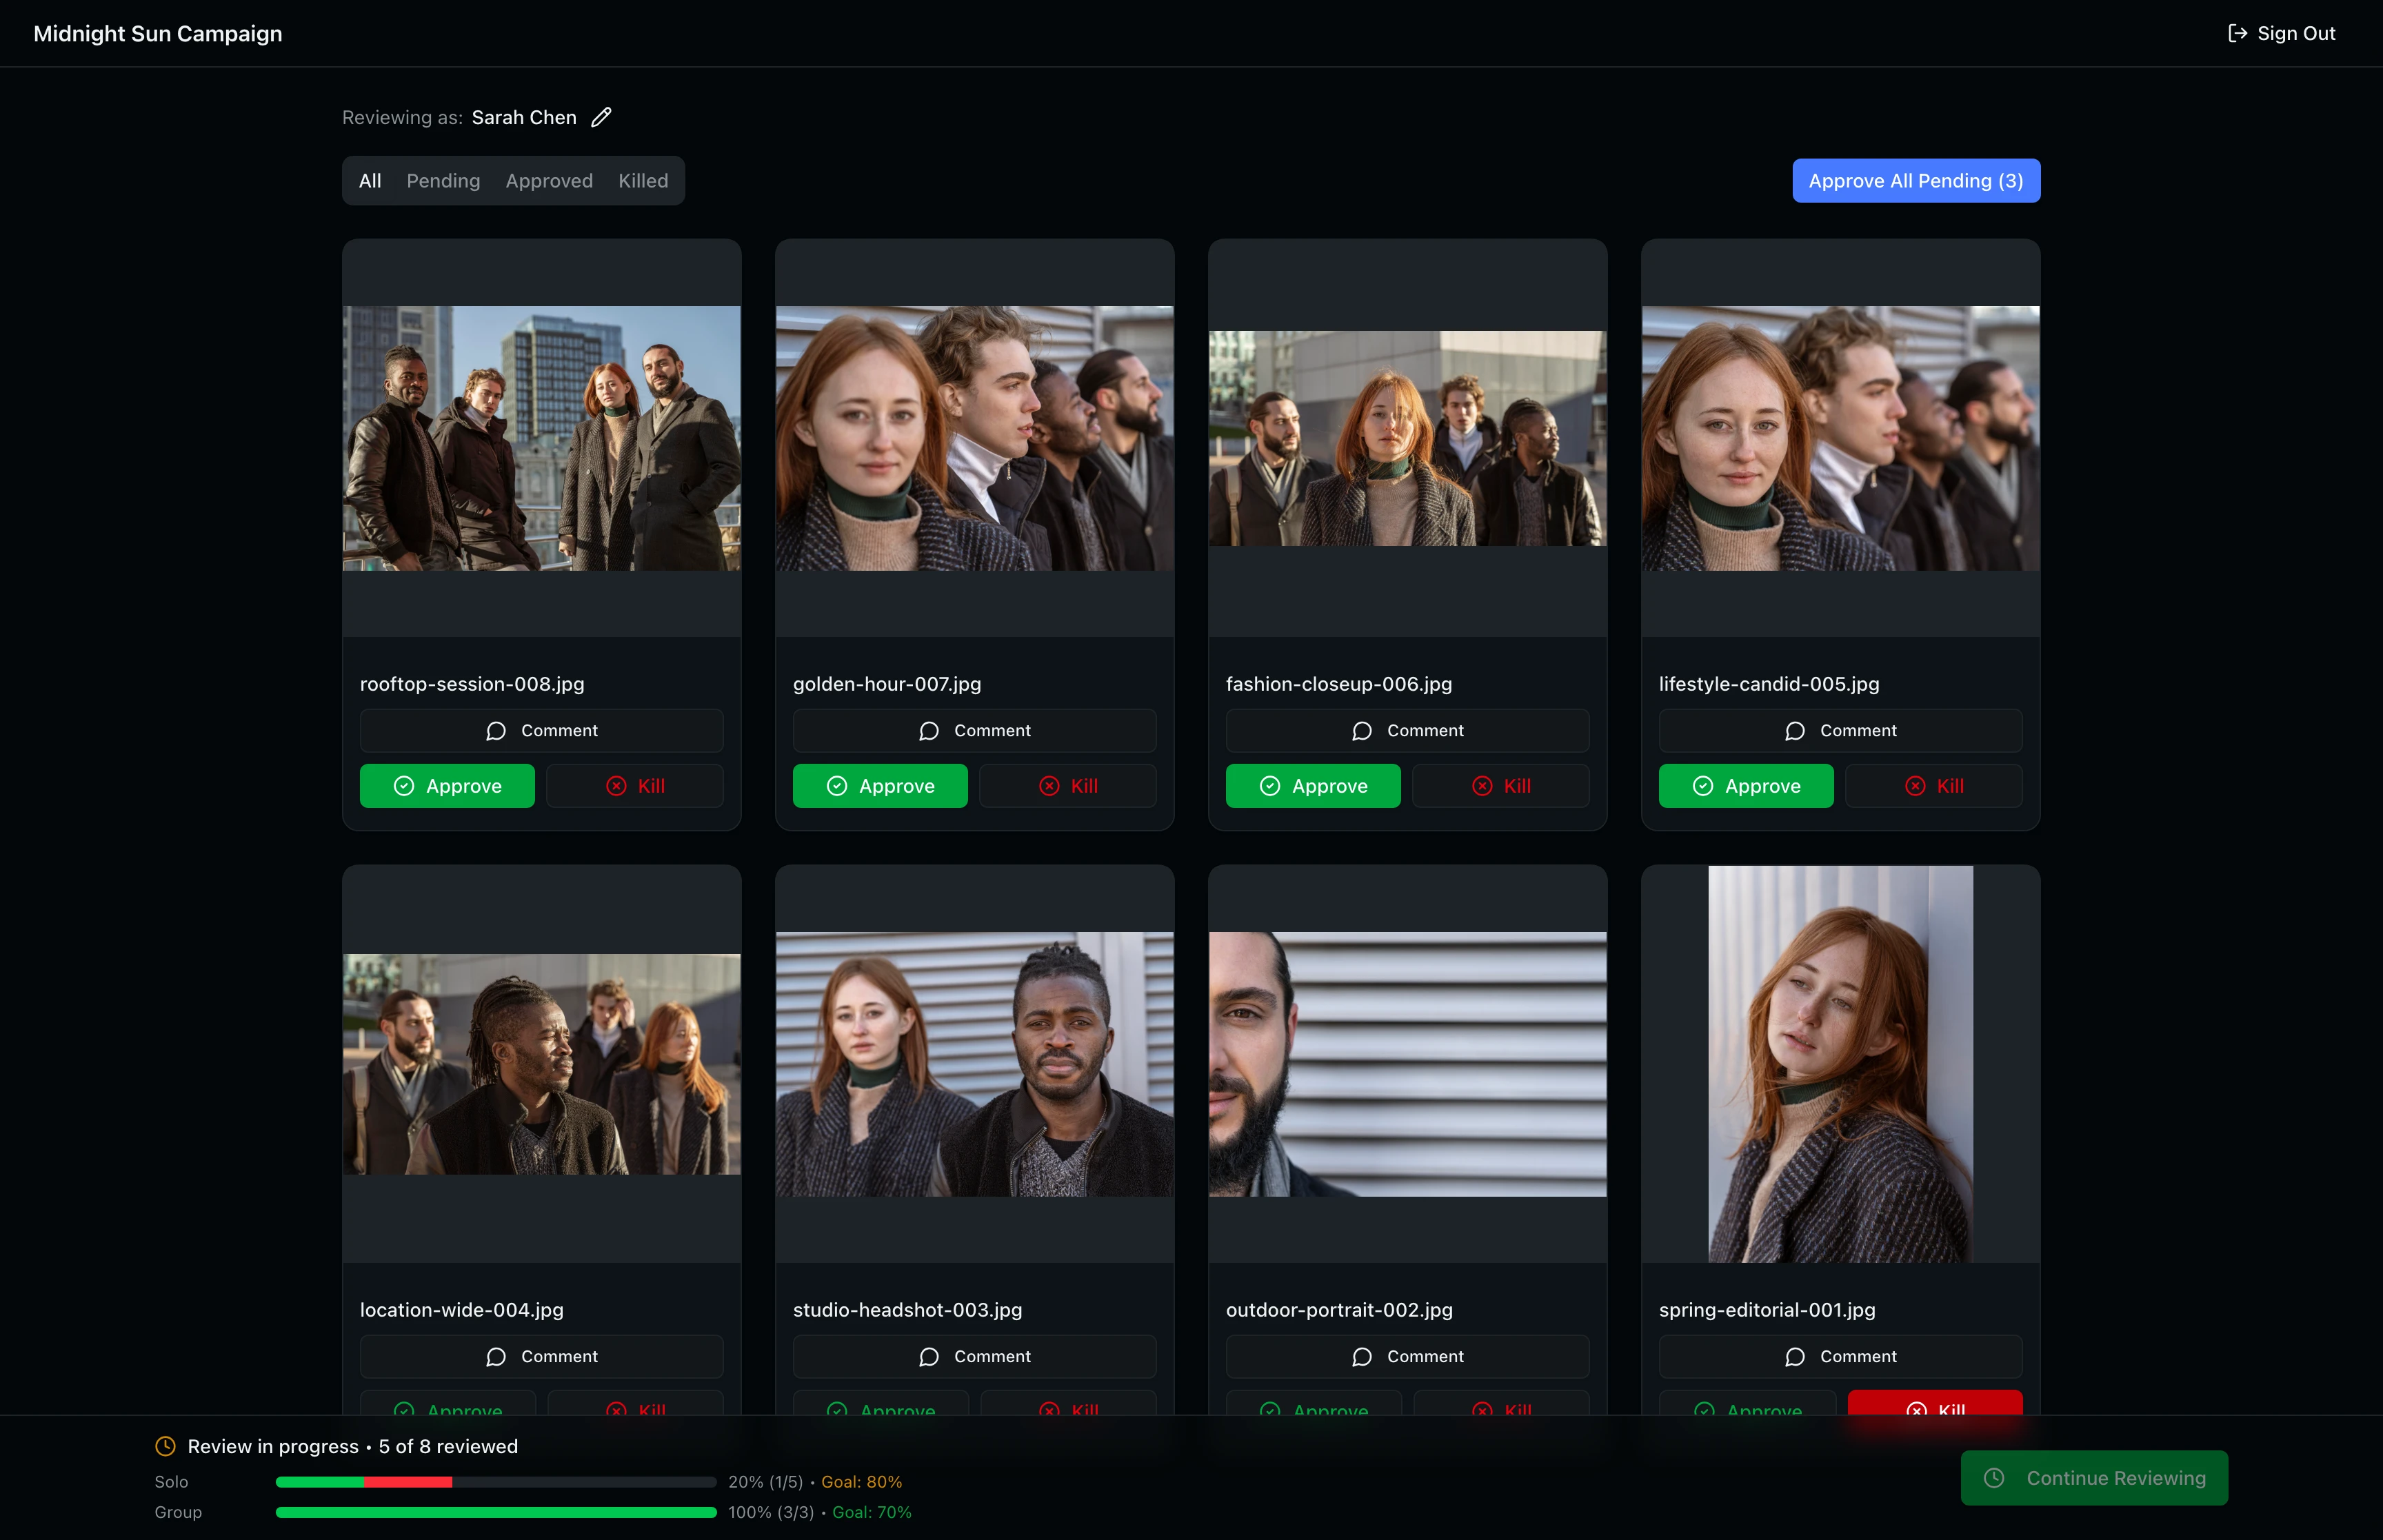
Step 5: Approve or Reject Images
Click Approve on any card to mark that image as approved. The Approve button fills with green to confirm your selection. You can change your decision at any time before finalizing by clicking the other action button. The progress bar at the bottom updates in real time as you make decisions.
Click Kill to reject an image you do not want published. The Kill button fills with red to indicate the rejection. Use this for images that do not meet your standards or that you prefer to exclude from the final selection.
If the studio has set minimum approval percentages, you may see a "Cannot Kill This Image" warning when trying to reject a group image. You need to approve enough group images to meet the threshold before you can kill others. The warning shows your current progress and the required percentage.
Approve All Pending
To speed up your review, click the Approve All Pending button in the top right corner. A confirmation dialog shows how many images will be approved and notes that images you have already killed will not be affected. Click Approve All to confirm, or Cancel to return to the grid.
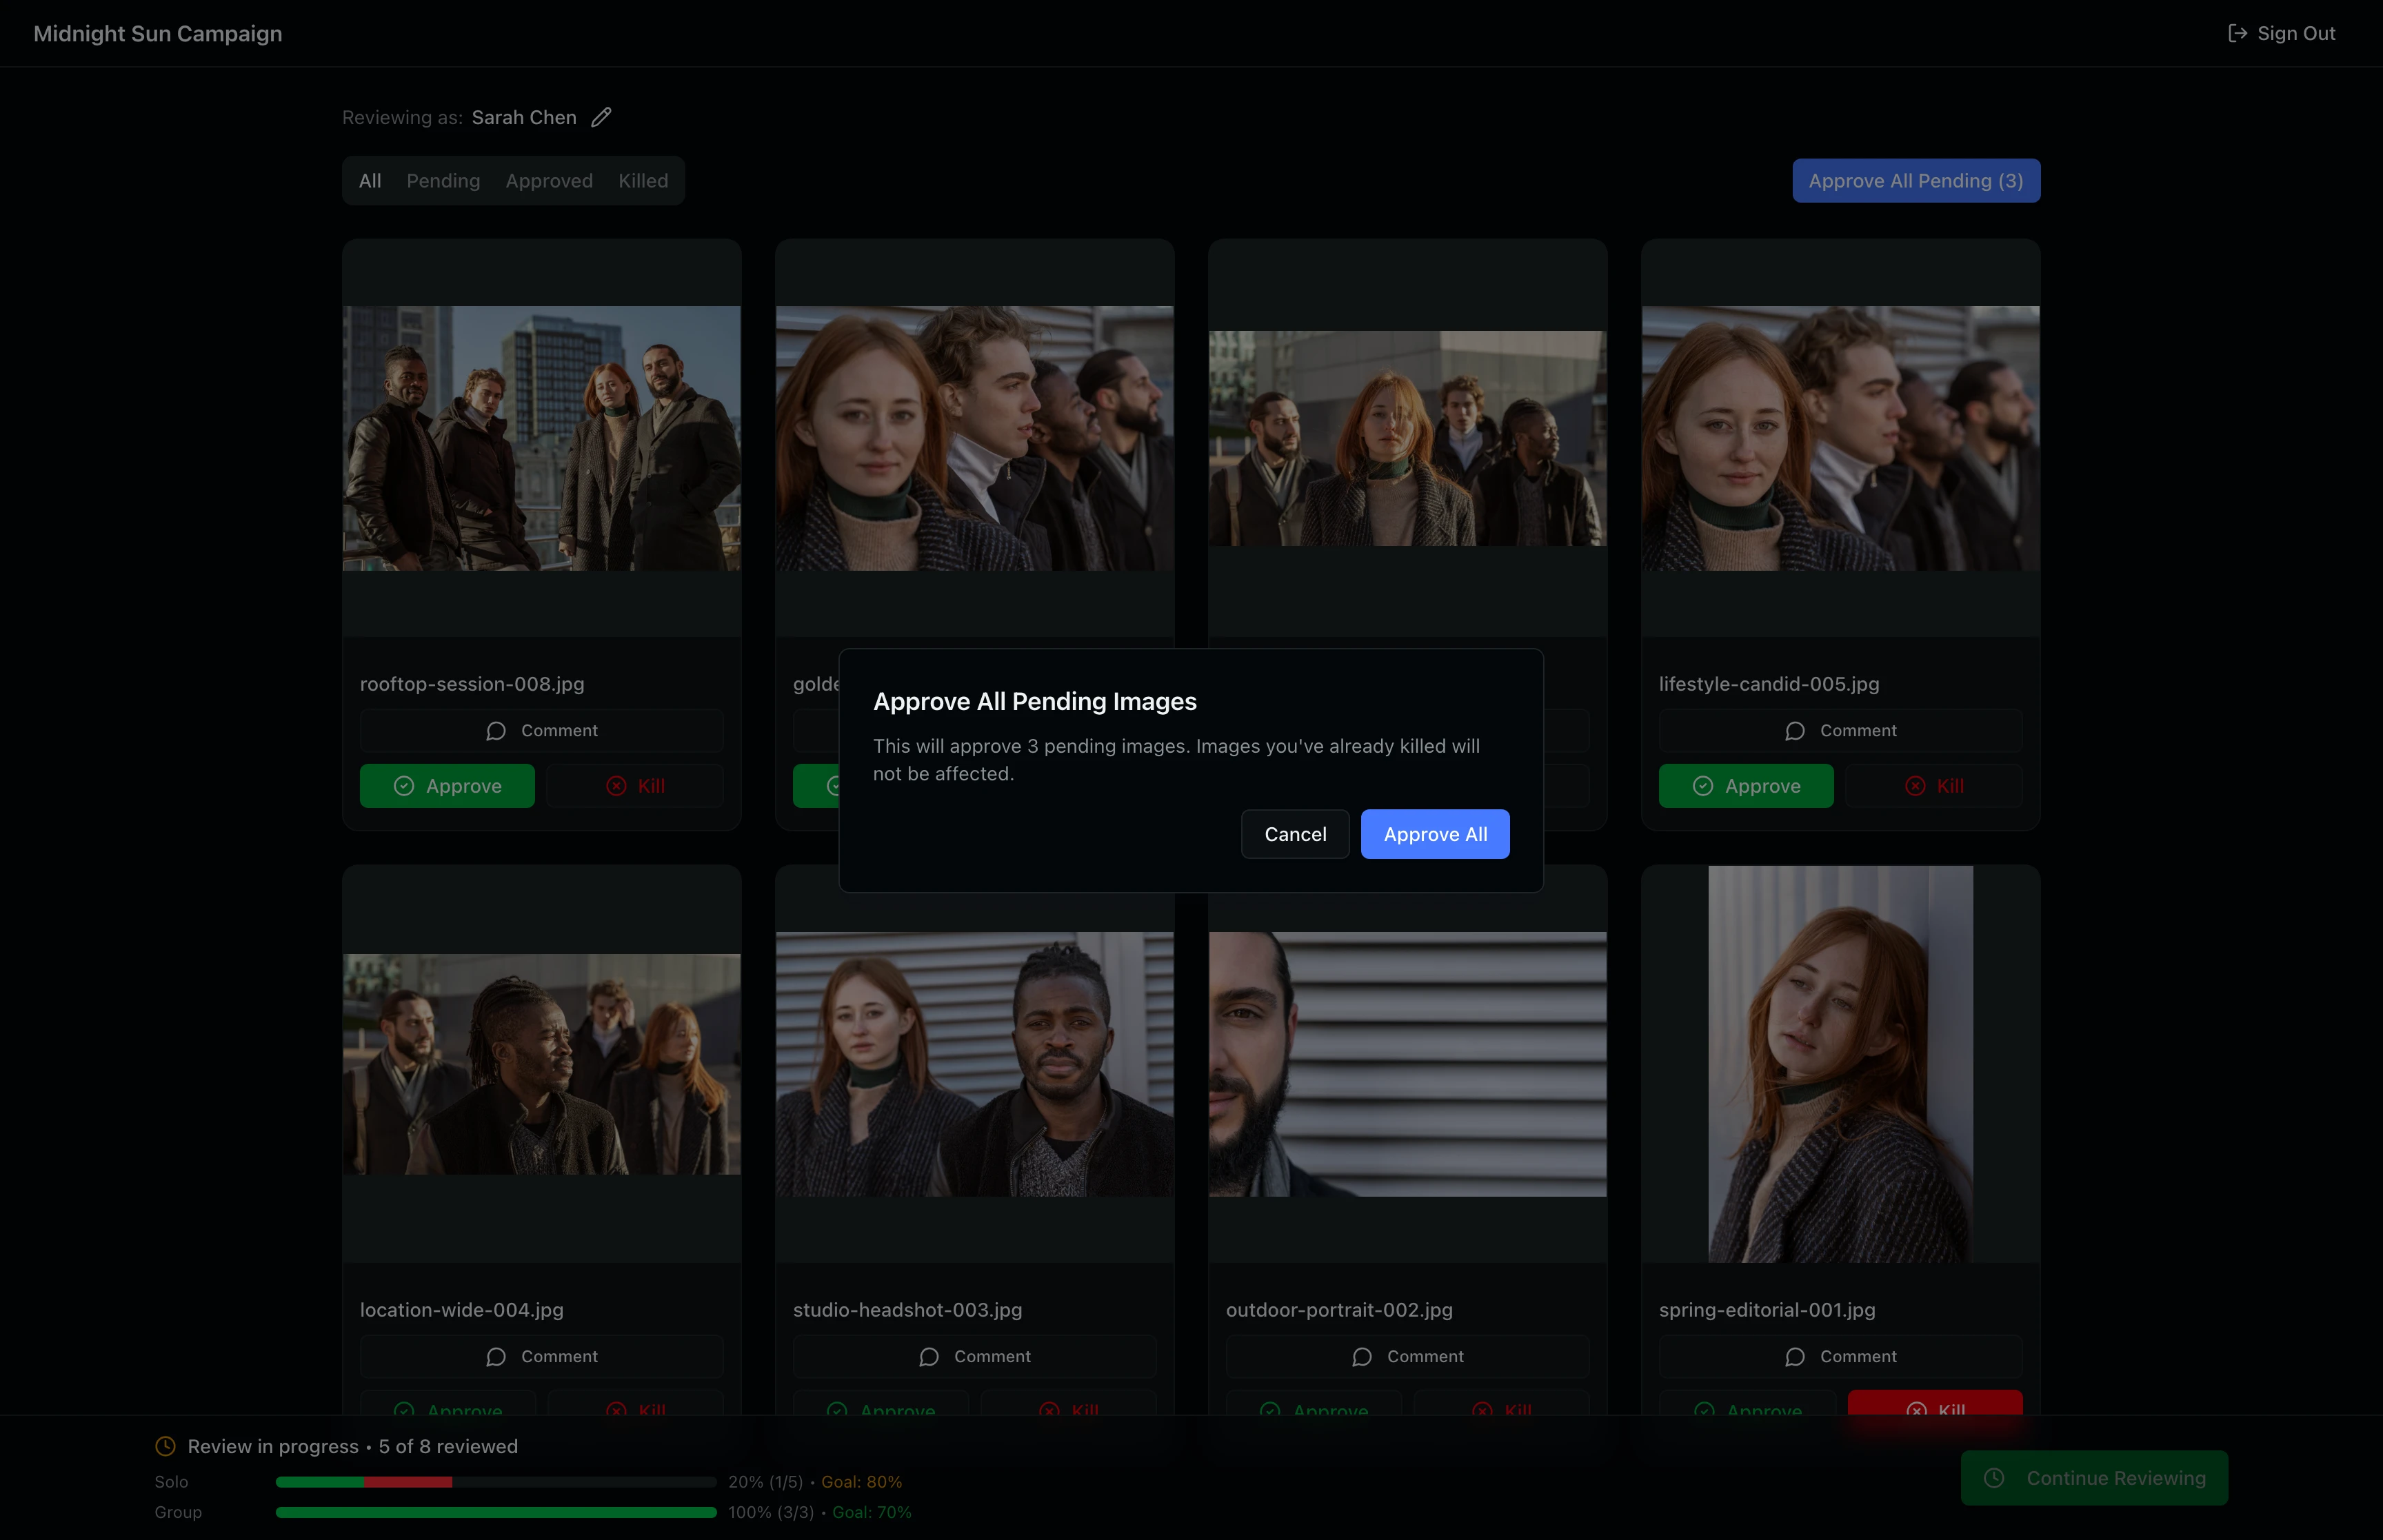
A common workflow is to kill the few images you want excluded first, then use Approve All Pending to approve the rest in one action.
Use Filter Tabs to Track Remaining Work
Switch between the Pending, Approved, and Killed tabs to see only images with that status. The Pending tab is the most useful for tracking remaining work. When all images have been reviewed, the Pending tab shows an empty state and the progress bar confirms your solo and group percentages have been met.
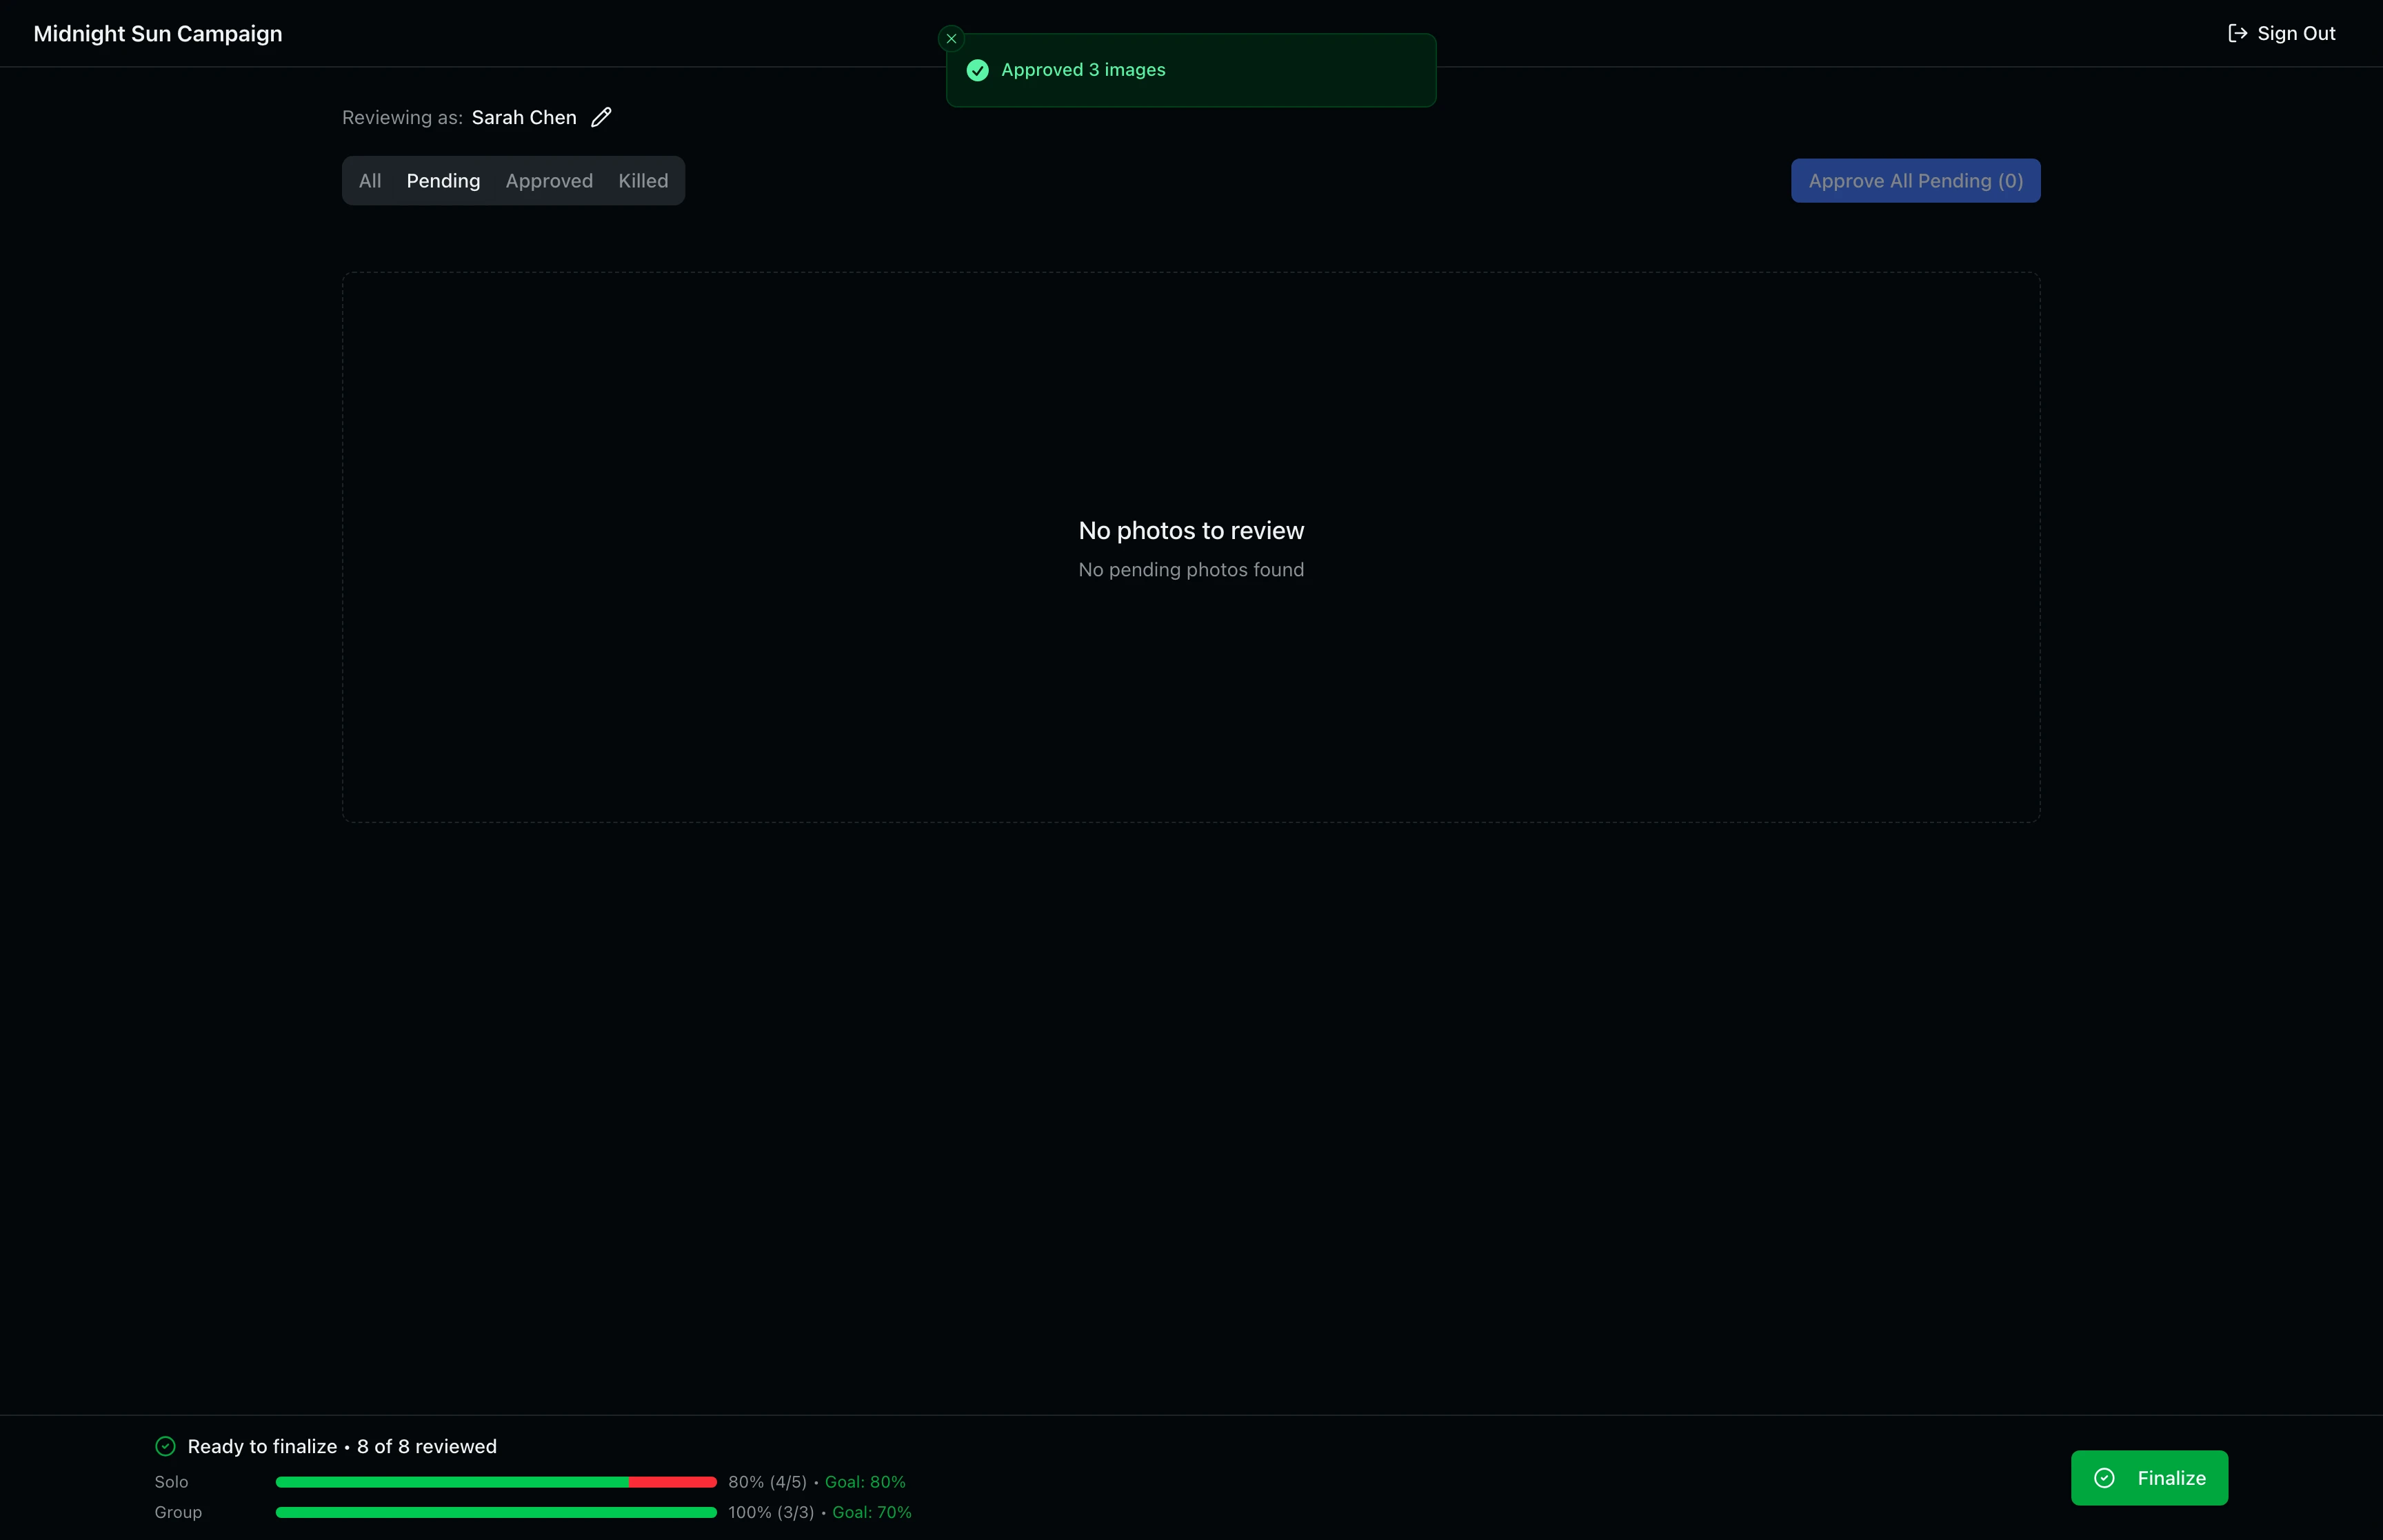
Step 6: Finalize Your Approvals
Once you have reviewed all images, the Finalize button in the bottom right turns green. The progress bar tracks your solo and group image review counts separately, and shows whether you have met the studio's minimum approval percentages.
Click Finalize to lock in your decisions. A confirmation dialog appears showing a breakdown of your solo and group image stats, total reviewed count, and approved count. The dialog warns that your decisions cannot be changed after finalizing unless the studio enables editing.
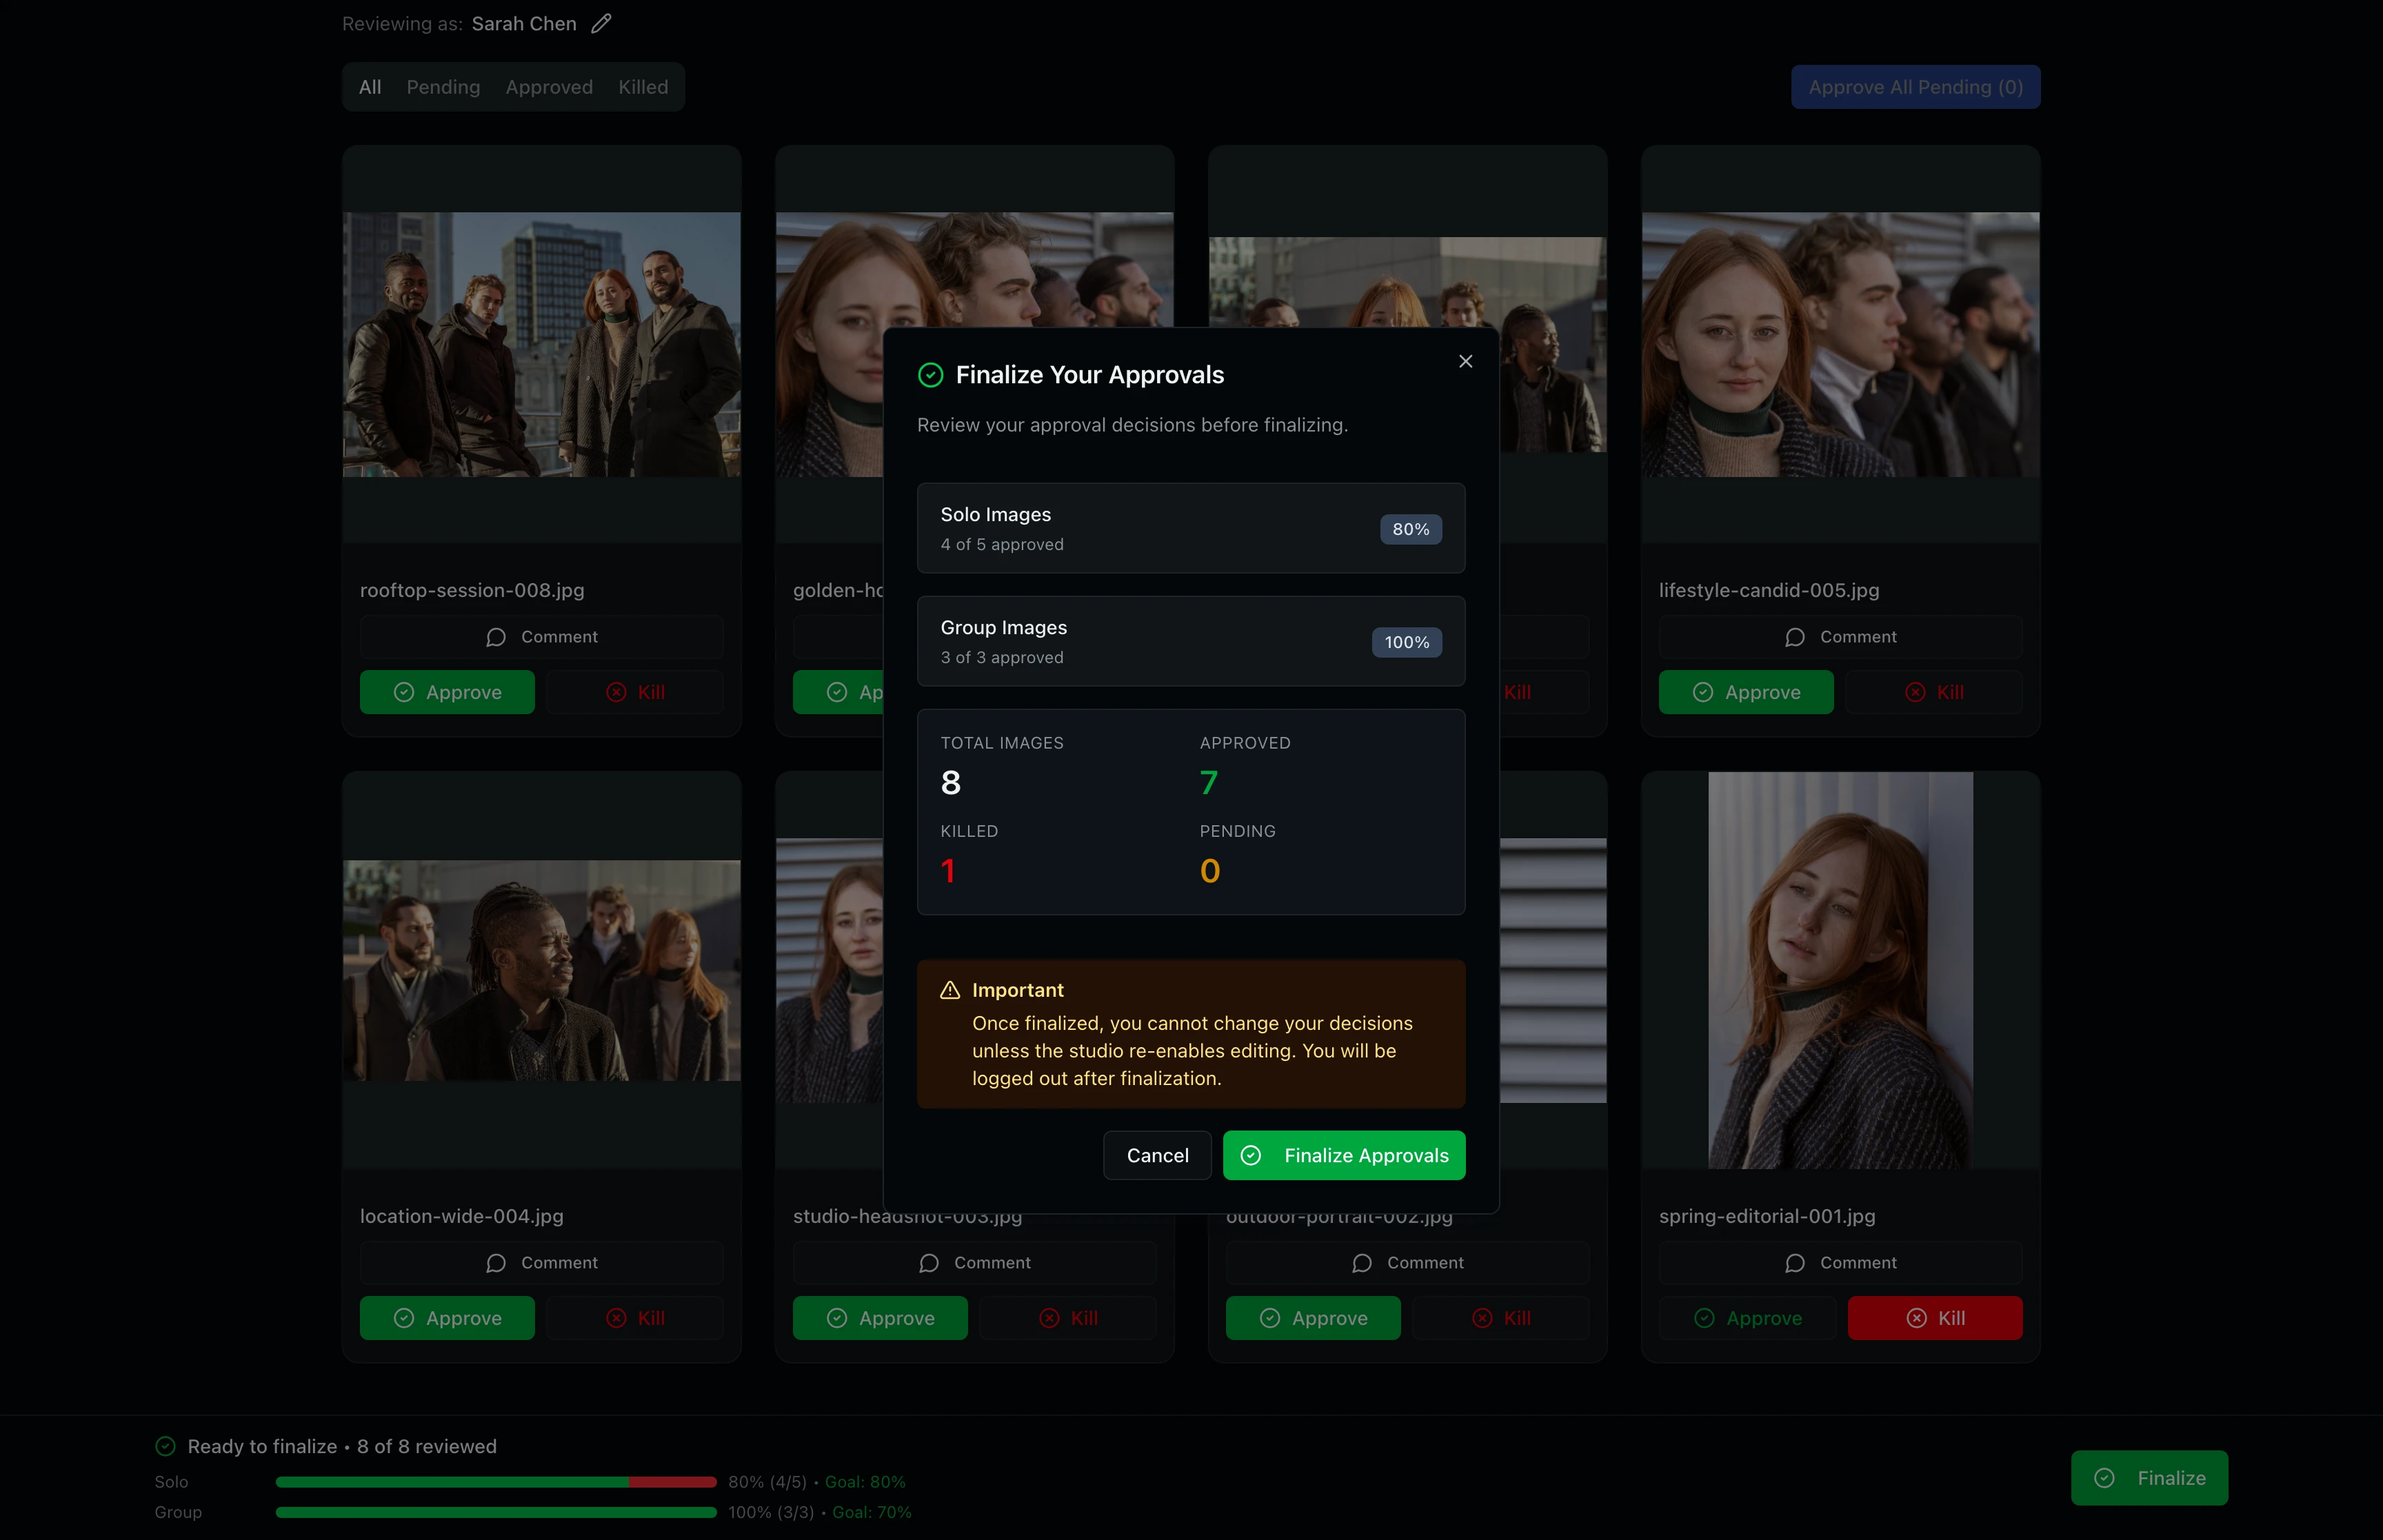
Finalizing is permanent. Once submitted, your decisions are locked and you are automatically signed out. Contact the studio if you need changes after finalizing. The studio can enable an override to reopen your session.
Tips and Best Practices
- Kill first, then bulk approve: Review images and kill the ones you want excluded. Then use Approve All Pending to approve everything else. This is faster than approving each image individually.
- Use filter tabs to track remaining work: Switch to the Pending tab to see which images still need your attention. This is helpful with large sets of 50+ images.
- Leave comments on borderline images: Use the Comment button on any image to explain your reasoning. This helps the studio understand your preferences for future shoots.
- Check progress thresholds: The bottom bar shows separate progress for solo and group images. Some studios set minimum approval percentages that you must meet before the Finalize button becomes active.
Troubleshooting
My access code is not working
Check that the link matches the format you received from the studio. Access codes follow the pattern PROJECT-XXXXXXXX (eight uppercase letters and numbers). If the code has expired or been deactivated, contact your production coordinator for a new one.
I forgot my passcode
Ask the studio team to reveal or regenerate your passcode from the approval detail page in their dashboard.
The Finalize button is not active
You must review all images before finalizing. Check the progress bar at the bottom to see if any images remain in the Pending state. Switch to the Pending tab to find them. If the studio set minimum approval percentages, you must also meet those thresholds.
I cannot kill a group image
The studio may have set a minimum group approval percentage. You need to approve enough group images to meet that threshold before you can reject others. The warning dialog shows your current progress and explains how many more group images you need to approve first.
Can I change my decisions after finalizing?
No. Once approvals are finalized they are locked. Contact the studio if you need to make changes. The studio can enable a session override to reopen your review.
What's Next
- Sending Approvals to Talent: Learn how the studio creates and manages approvals from their side.
- Uploading Assets: Learn how images are uploaded to a project before they are sent for approval.
Related Guides
Sending Approvals to Talent
Create talent approvals, assign images for review, and track approval progress with detailed statistics and settings.
Uploading Assets
Learn how to upload photos and videos to your project using the upload window, monitor progress, and verify your files appear in the asset grid.