Managing Your Account Settings
Prerequisites
Update your profile information, change your email or password, enable two-factor authentication, set up passkeys for passwordless sign-in, review active sessions, control notification preferences, and manage your personal data from the Settings page.
What You'll Learn
- How to find and open the Settings page
- How to update your name and profile photo
- How to change your email address
- How to change your password
- How to enable two-factor authentication
- How to add a passkey for passwordless sign-in
- How to review and revoke active sessions
- How to control notification preferences
- How to download your personal data
- How to delete your account
Step 1: Open the Settings Page
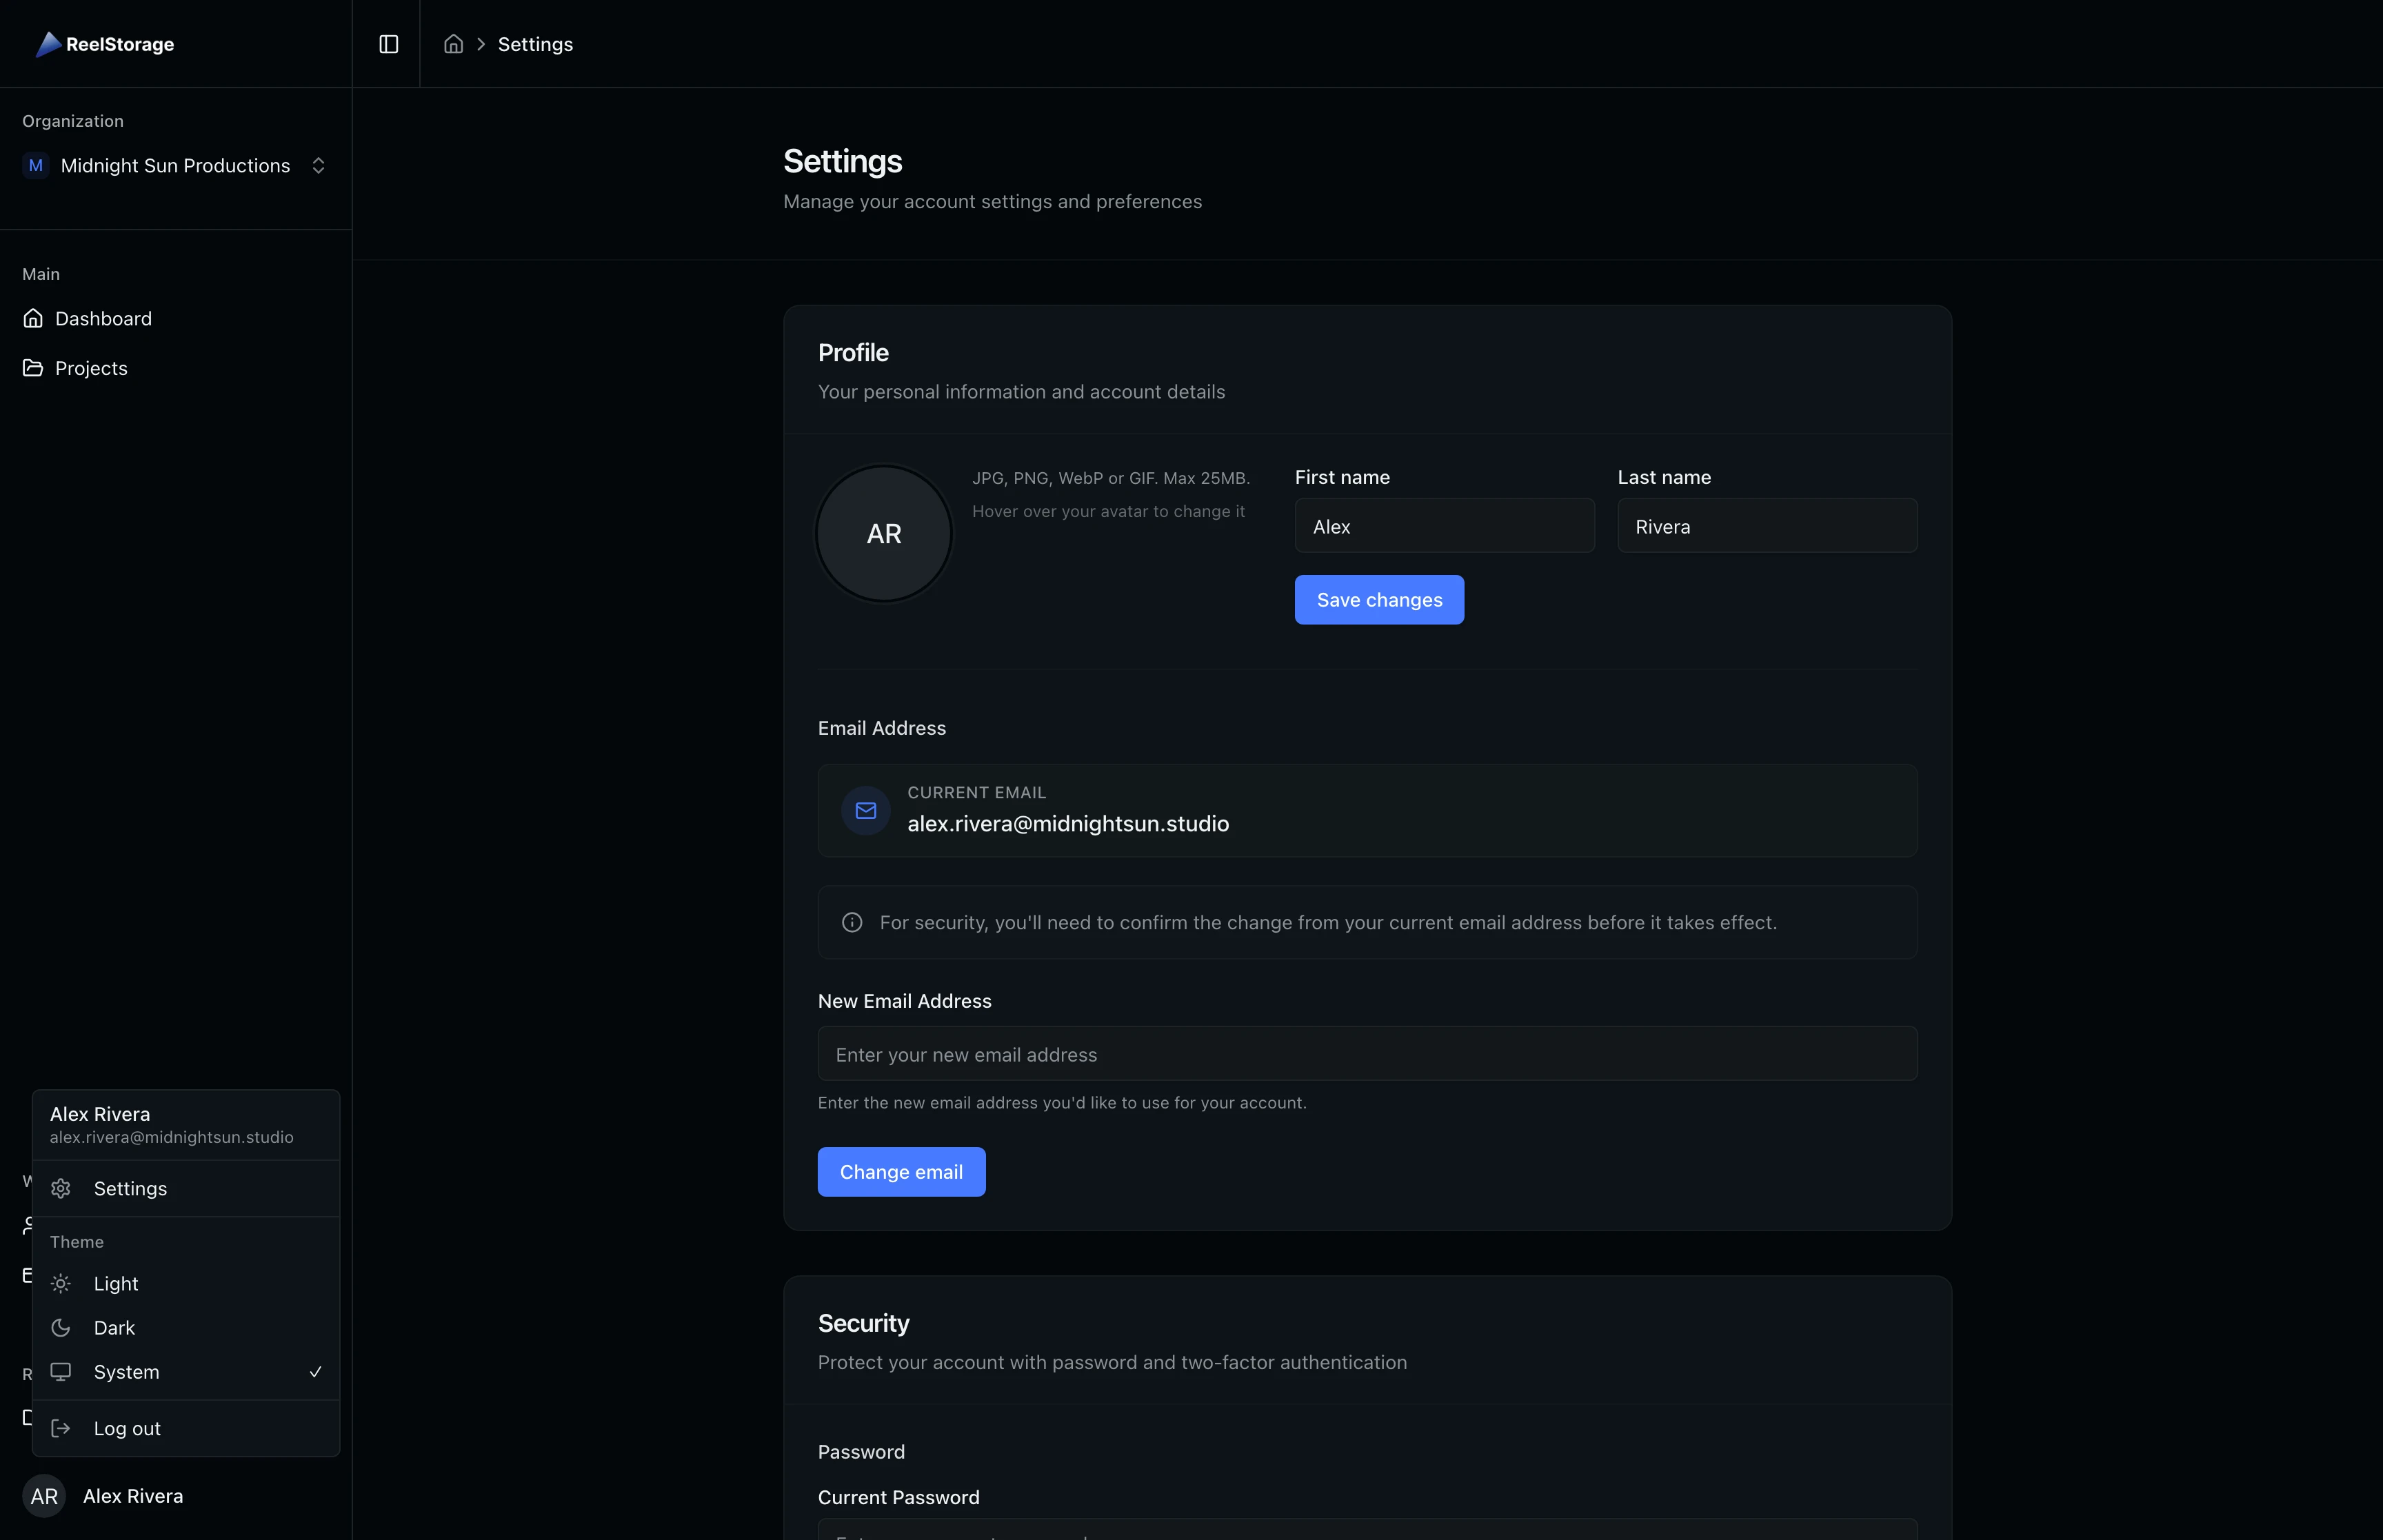
Click your avatar in the bottom-left corner of the sidebar to open the user menu. The menu shows your name and email along with options for Settings, theme switching, and signing out. Select Settings to open the account settings page.
Step 2: Review the Settings Overview
The Settings page opens with sections for Profile, Security, Notifications, Data & Privacy, and Danger Zone. Each section is grouped into its own card so you can scroll to the area you need. Your current profile information appears at the top.
Step 3: Update Your Profile Name
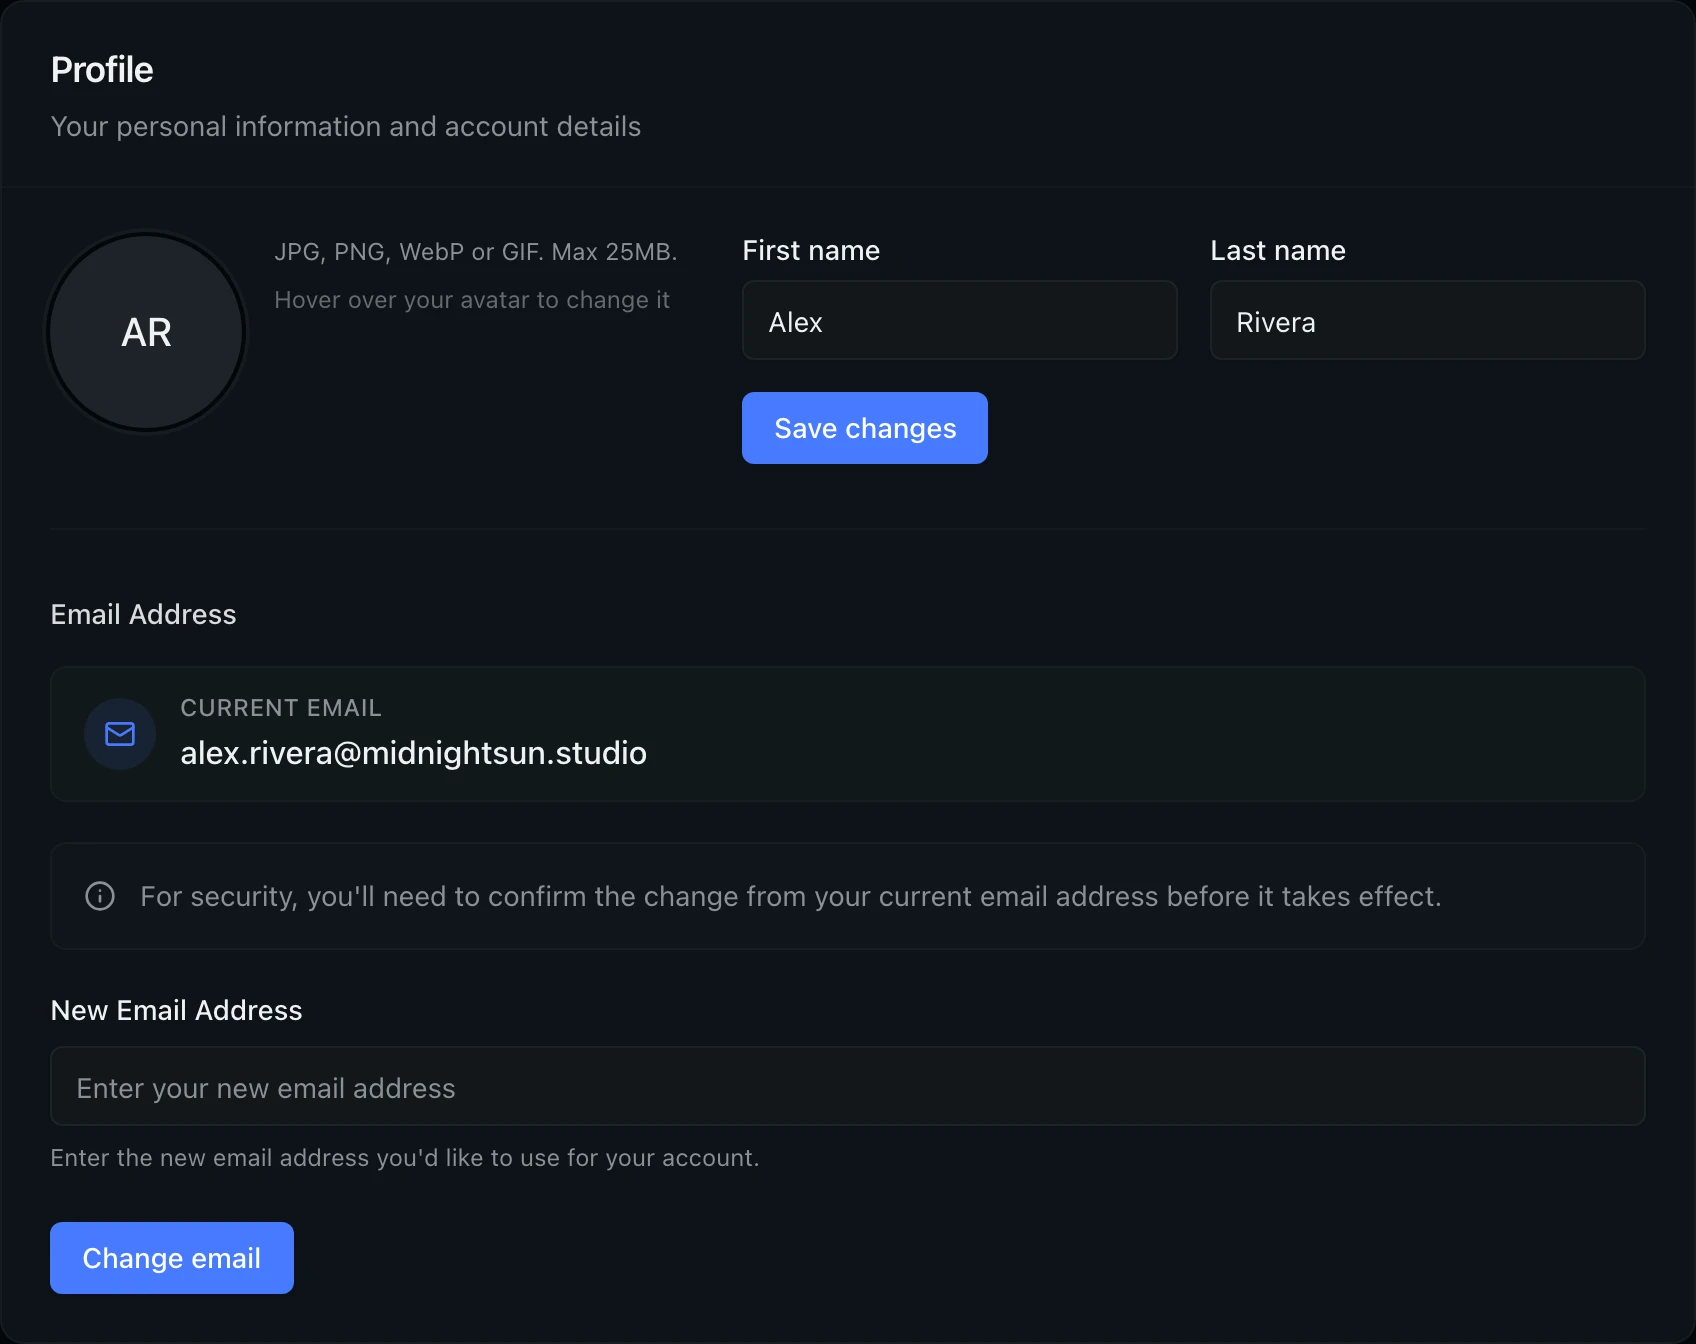
In the Profile section, your first and last name appear in separate input fields. Edit either field and click Save changes to update your profile. Your name appears on approval emails and shared links, so keep it current. Click the avatar area to upload a new profile photo (JPG, PNG, WebP, or GIF up to 25 MB). The image is automatically cropped to a square and resized.
Step 4: Change Your Email Address
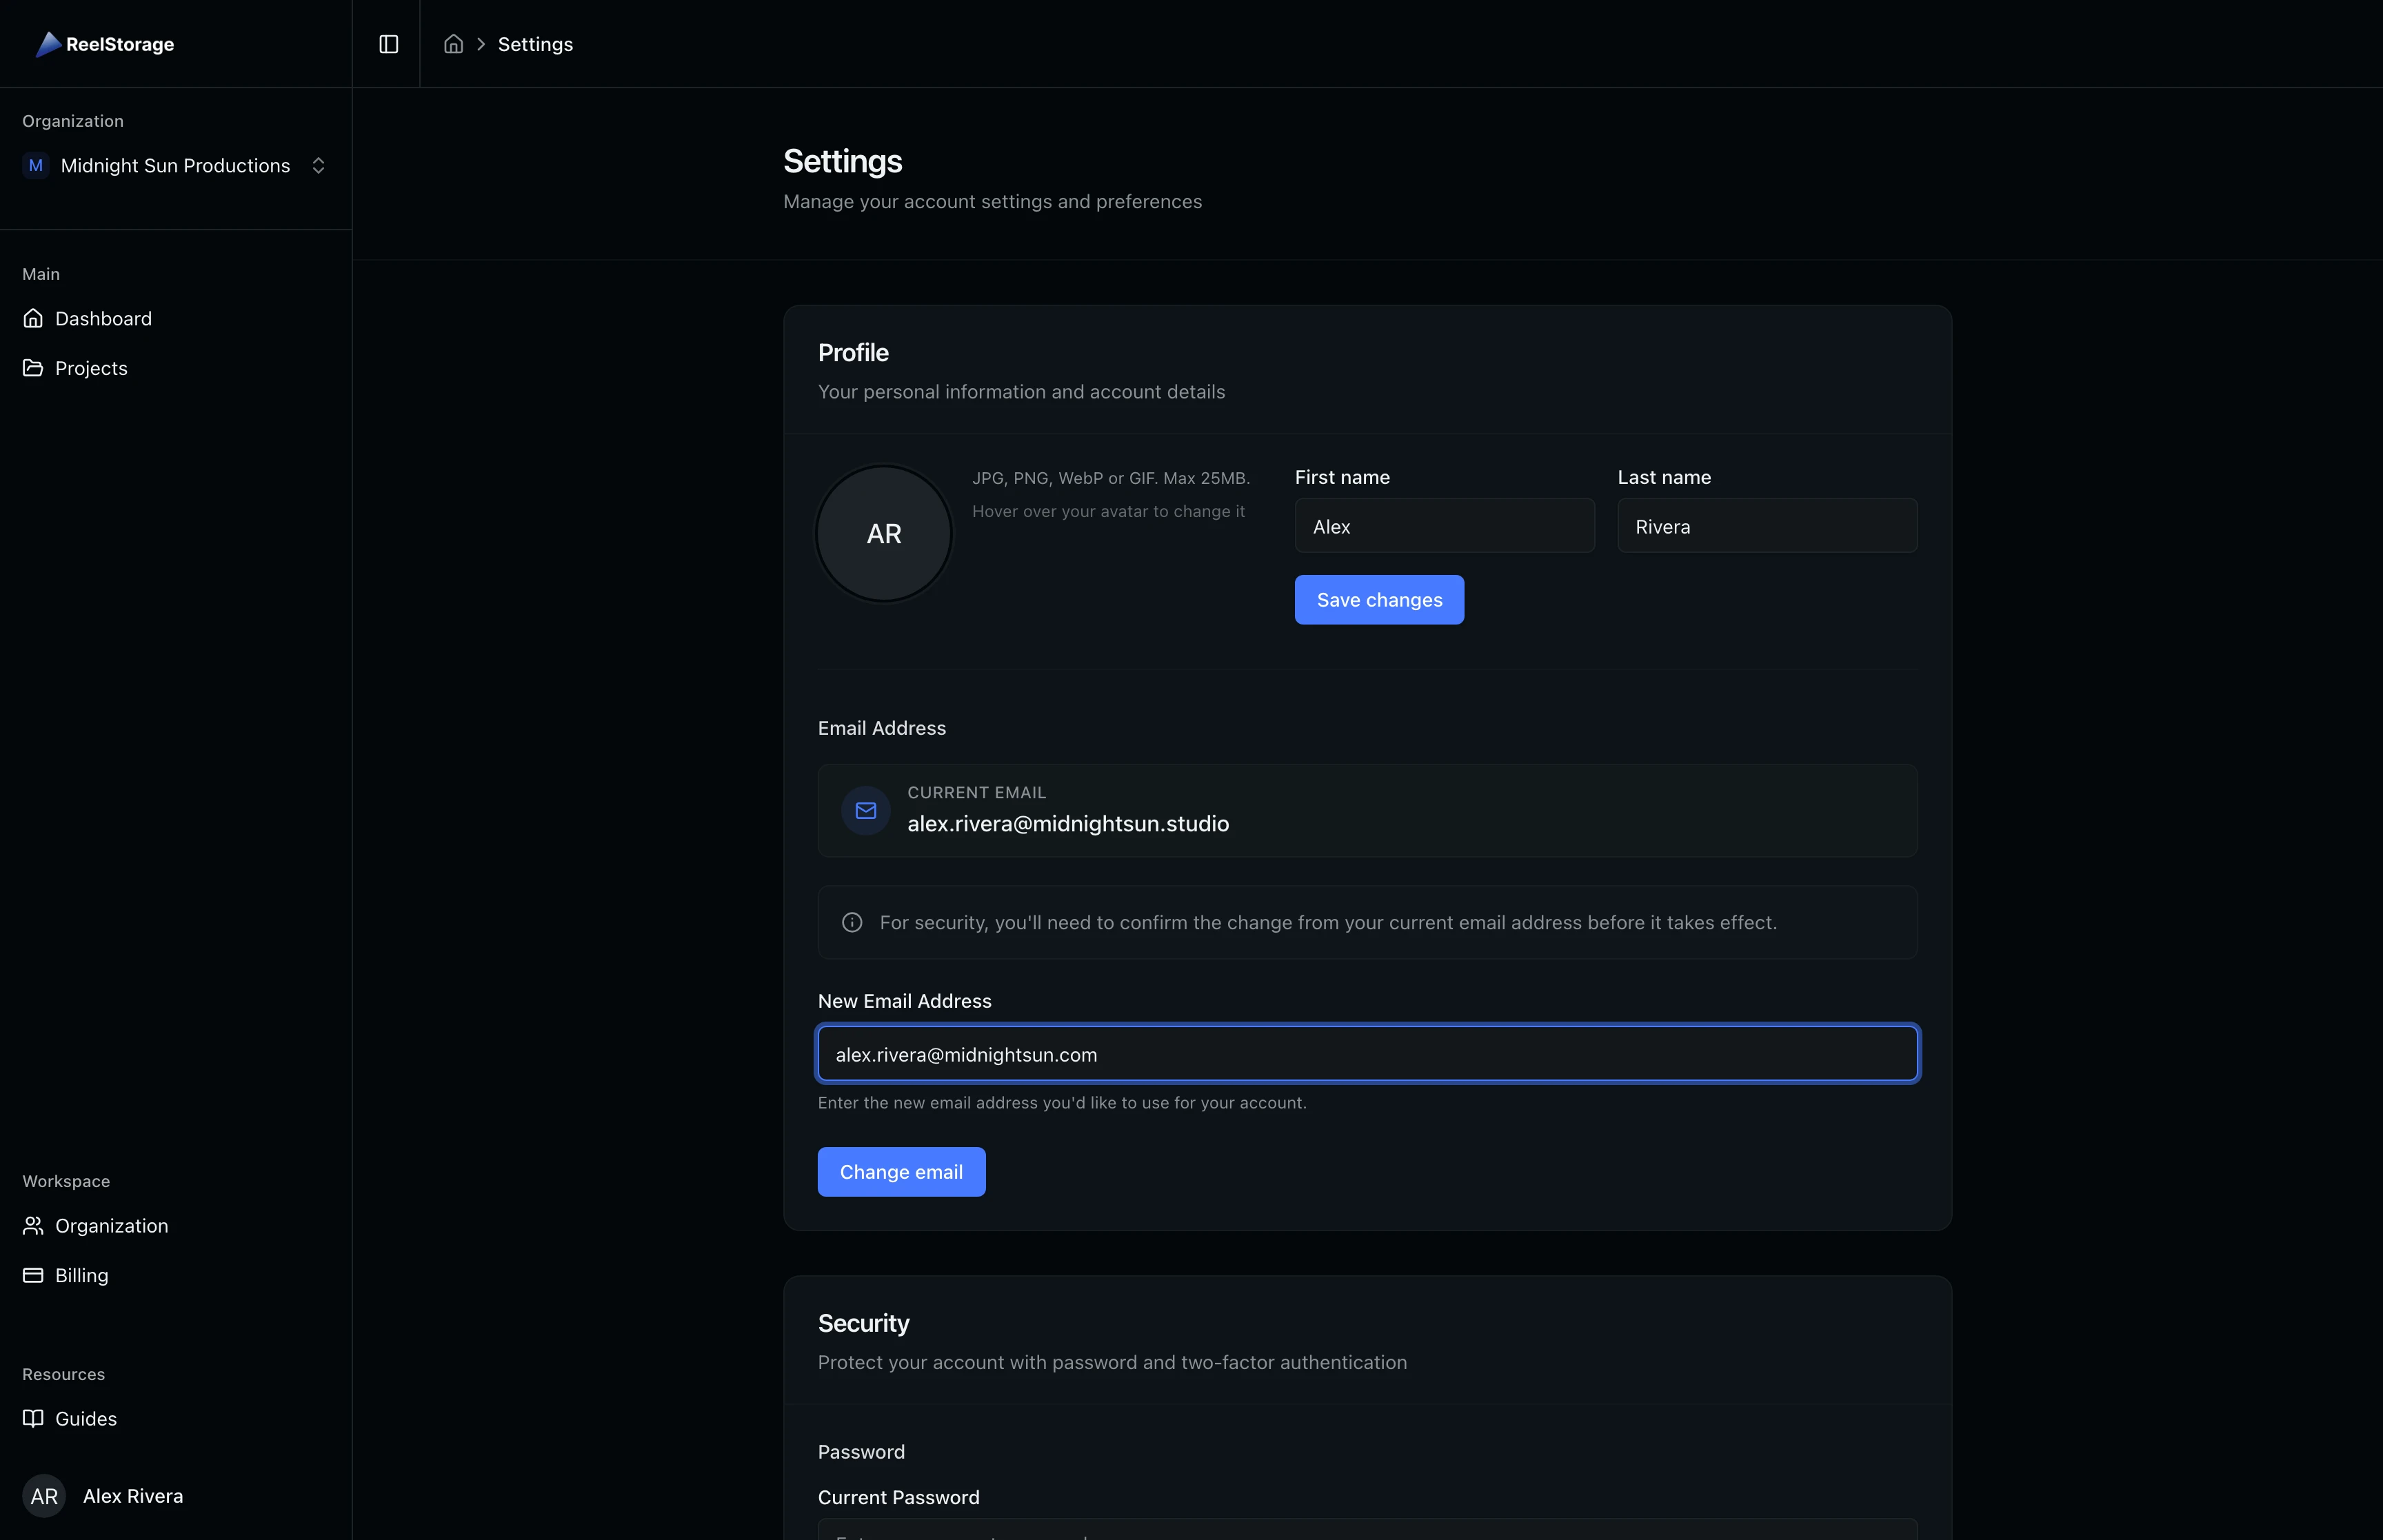
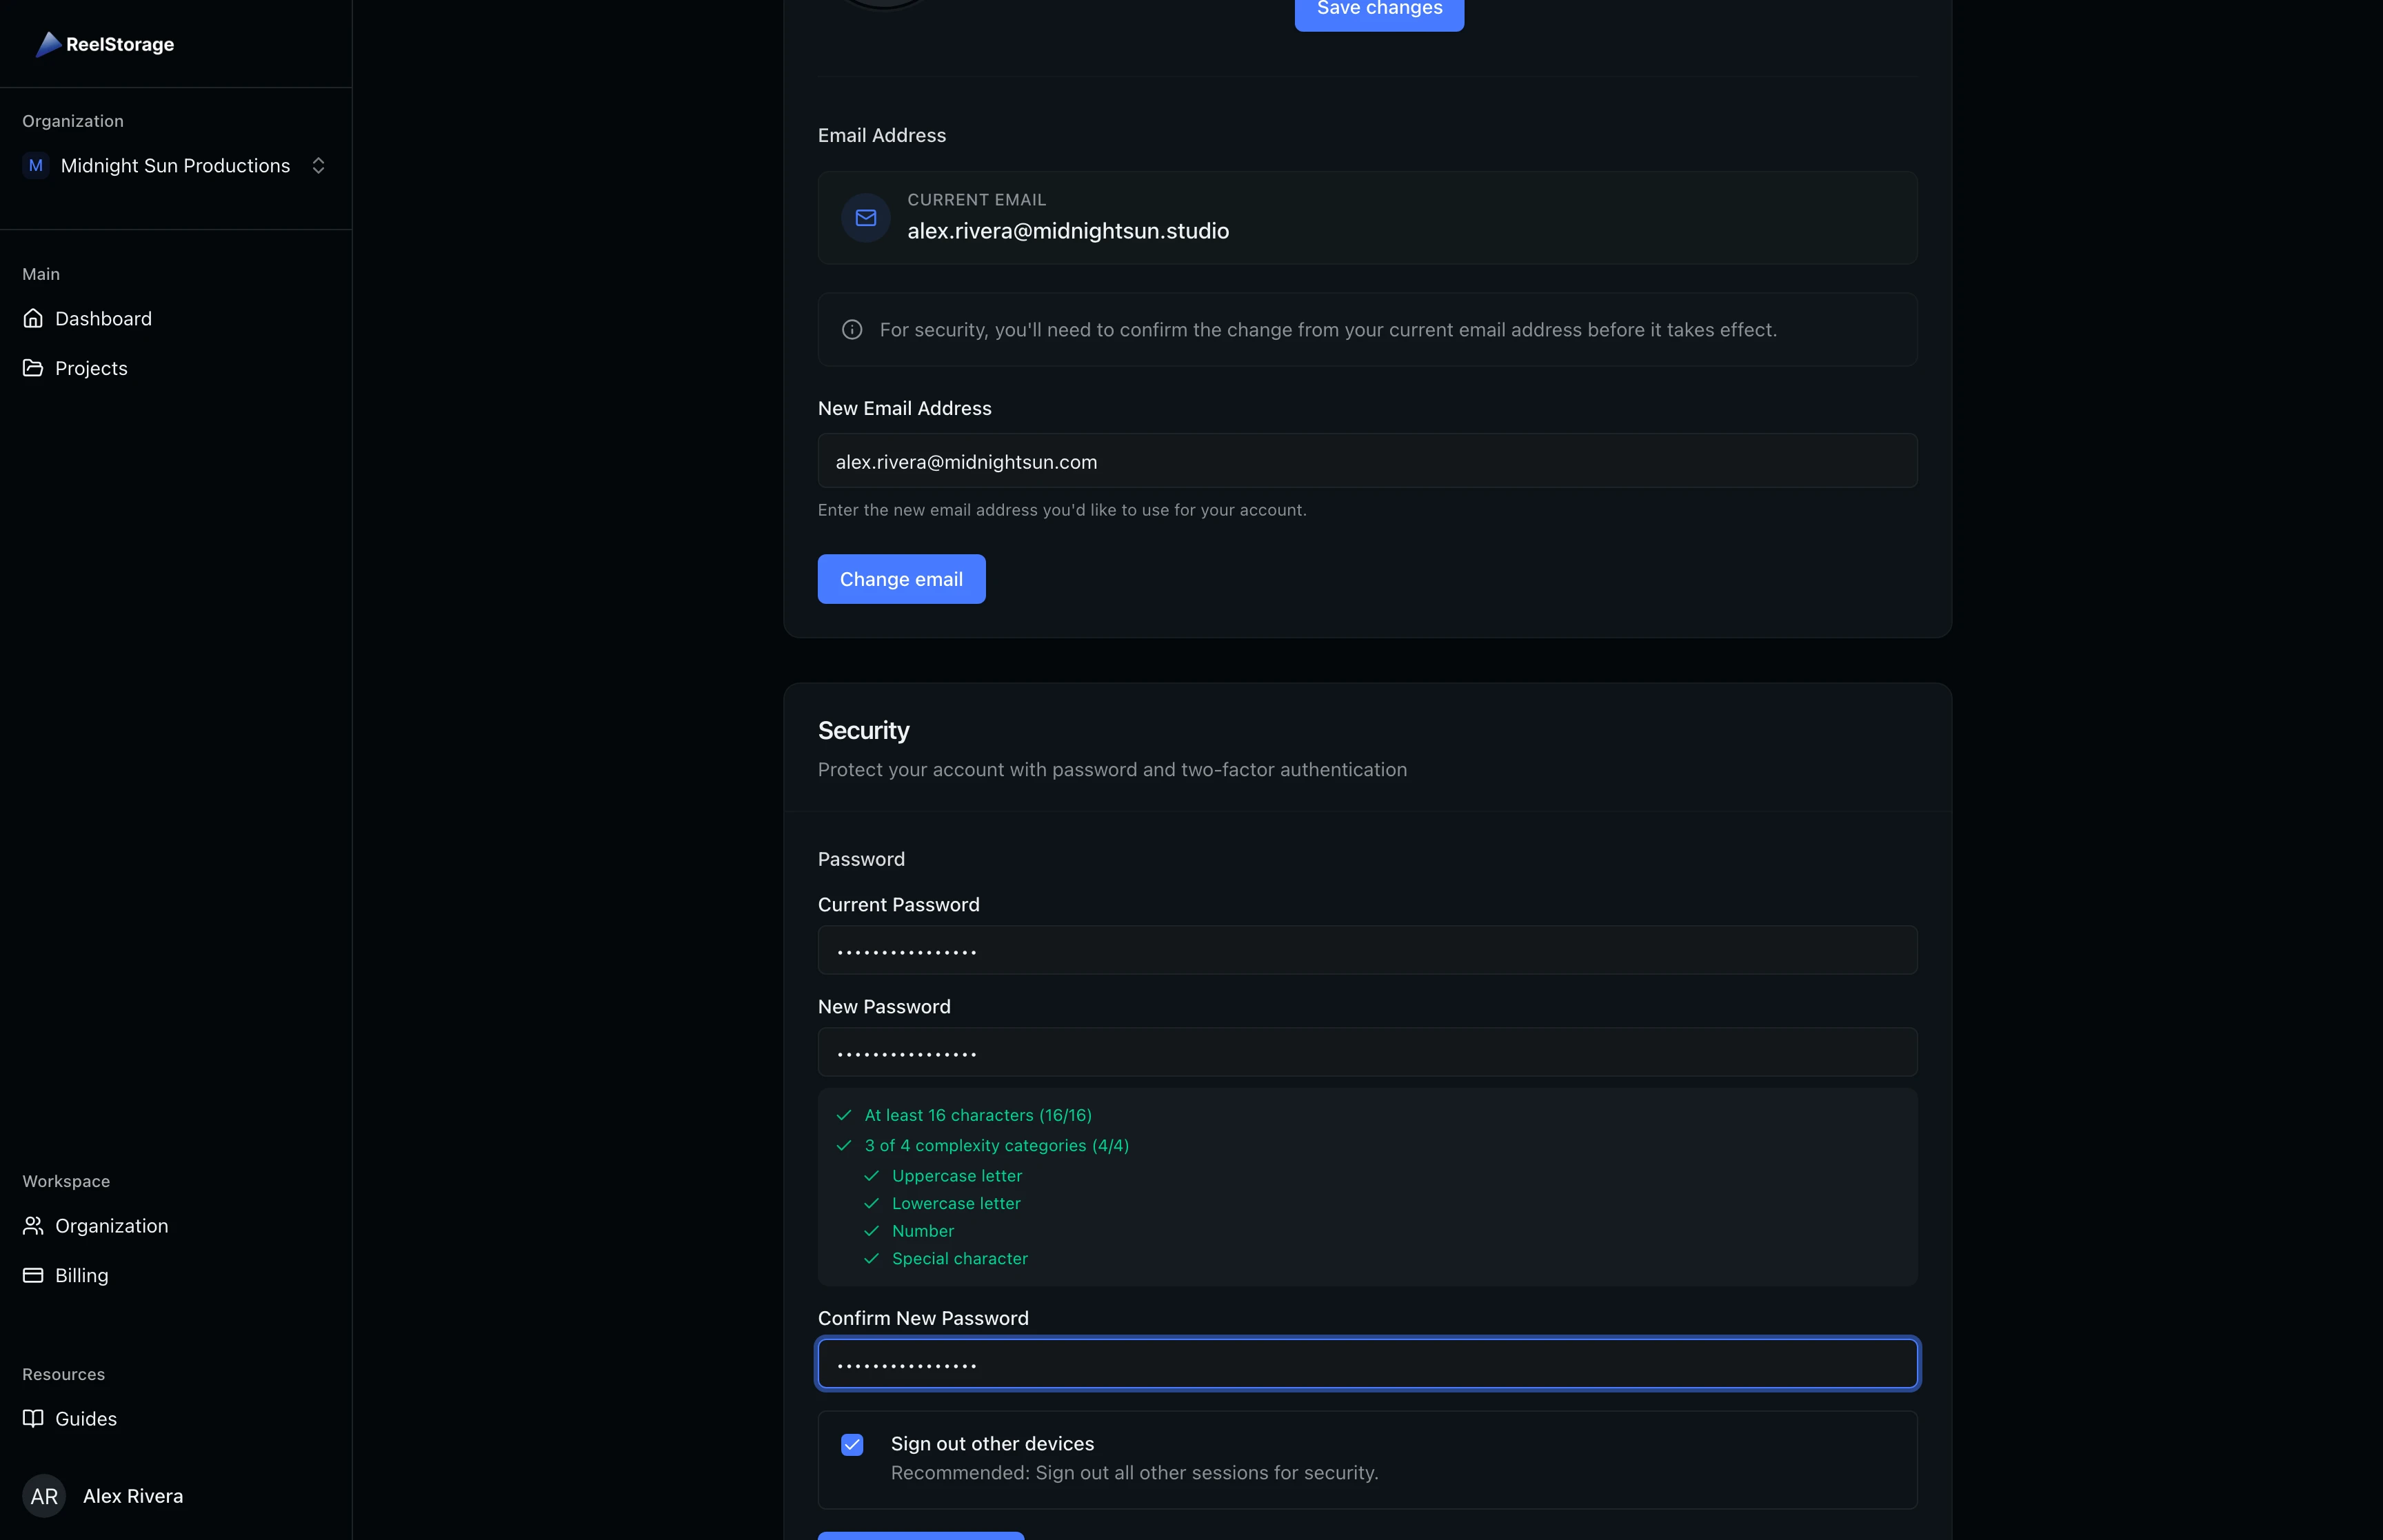
Scroll down to the Email Address area within the Profile section. Your current email is displayed in a badge. Type your new email in the New Email Address field and click Change email. A confirmation email is sent to your current address. Click the link in that email to finalize the change.
Step 5: Change Your Password
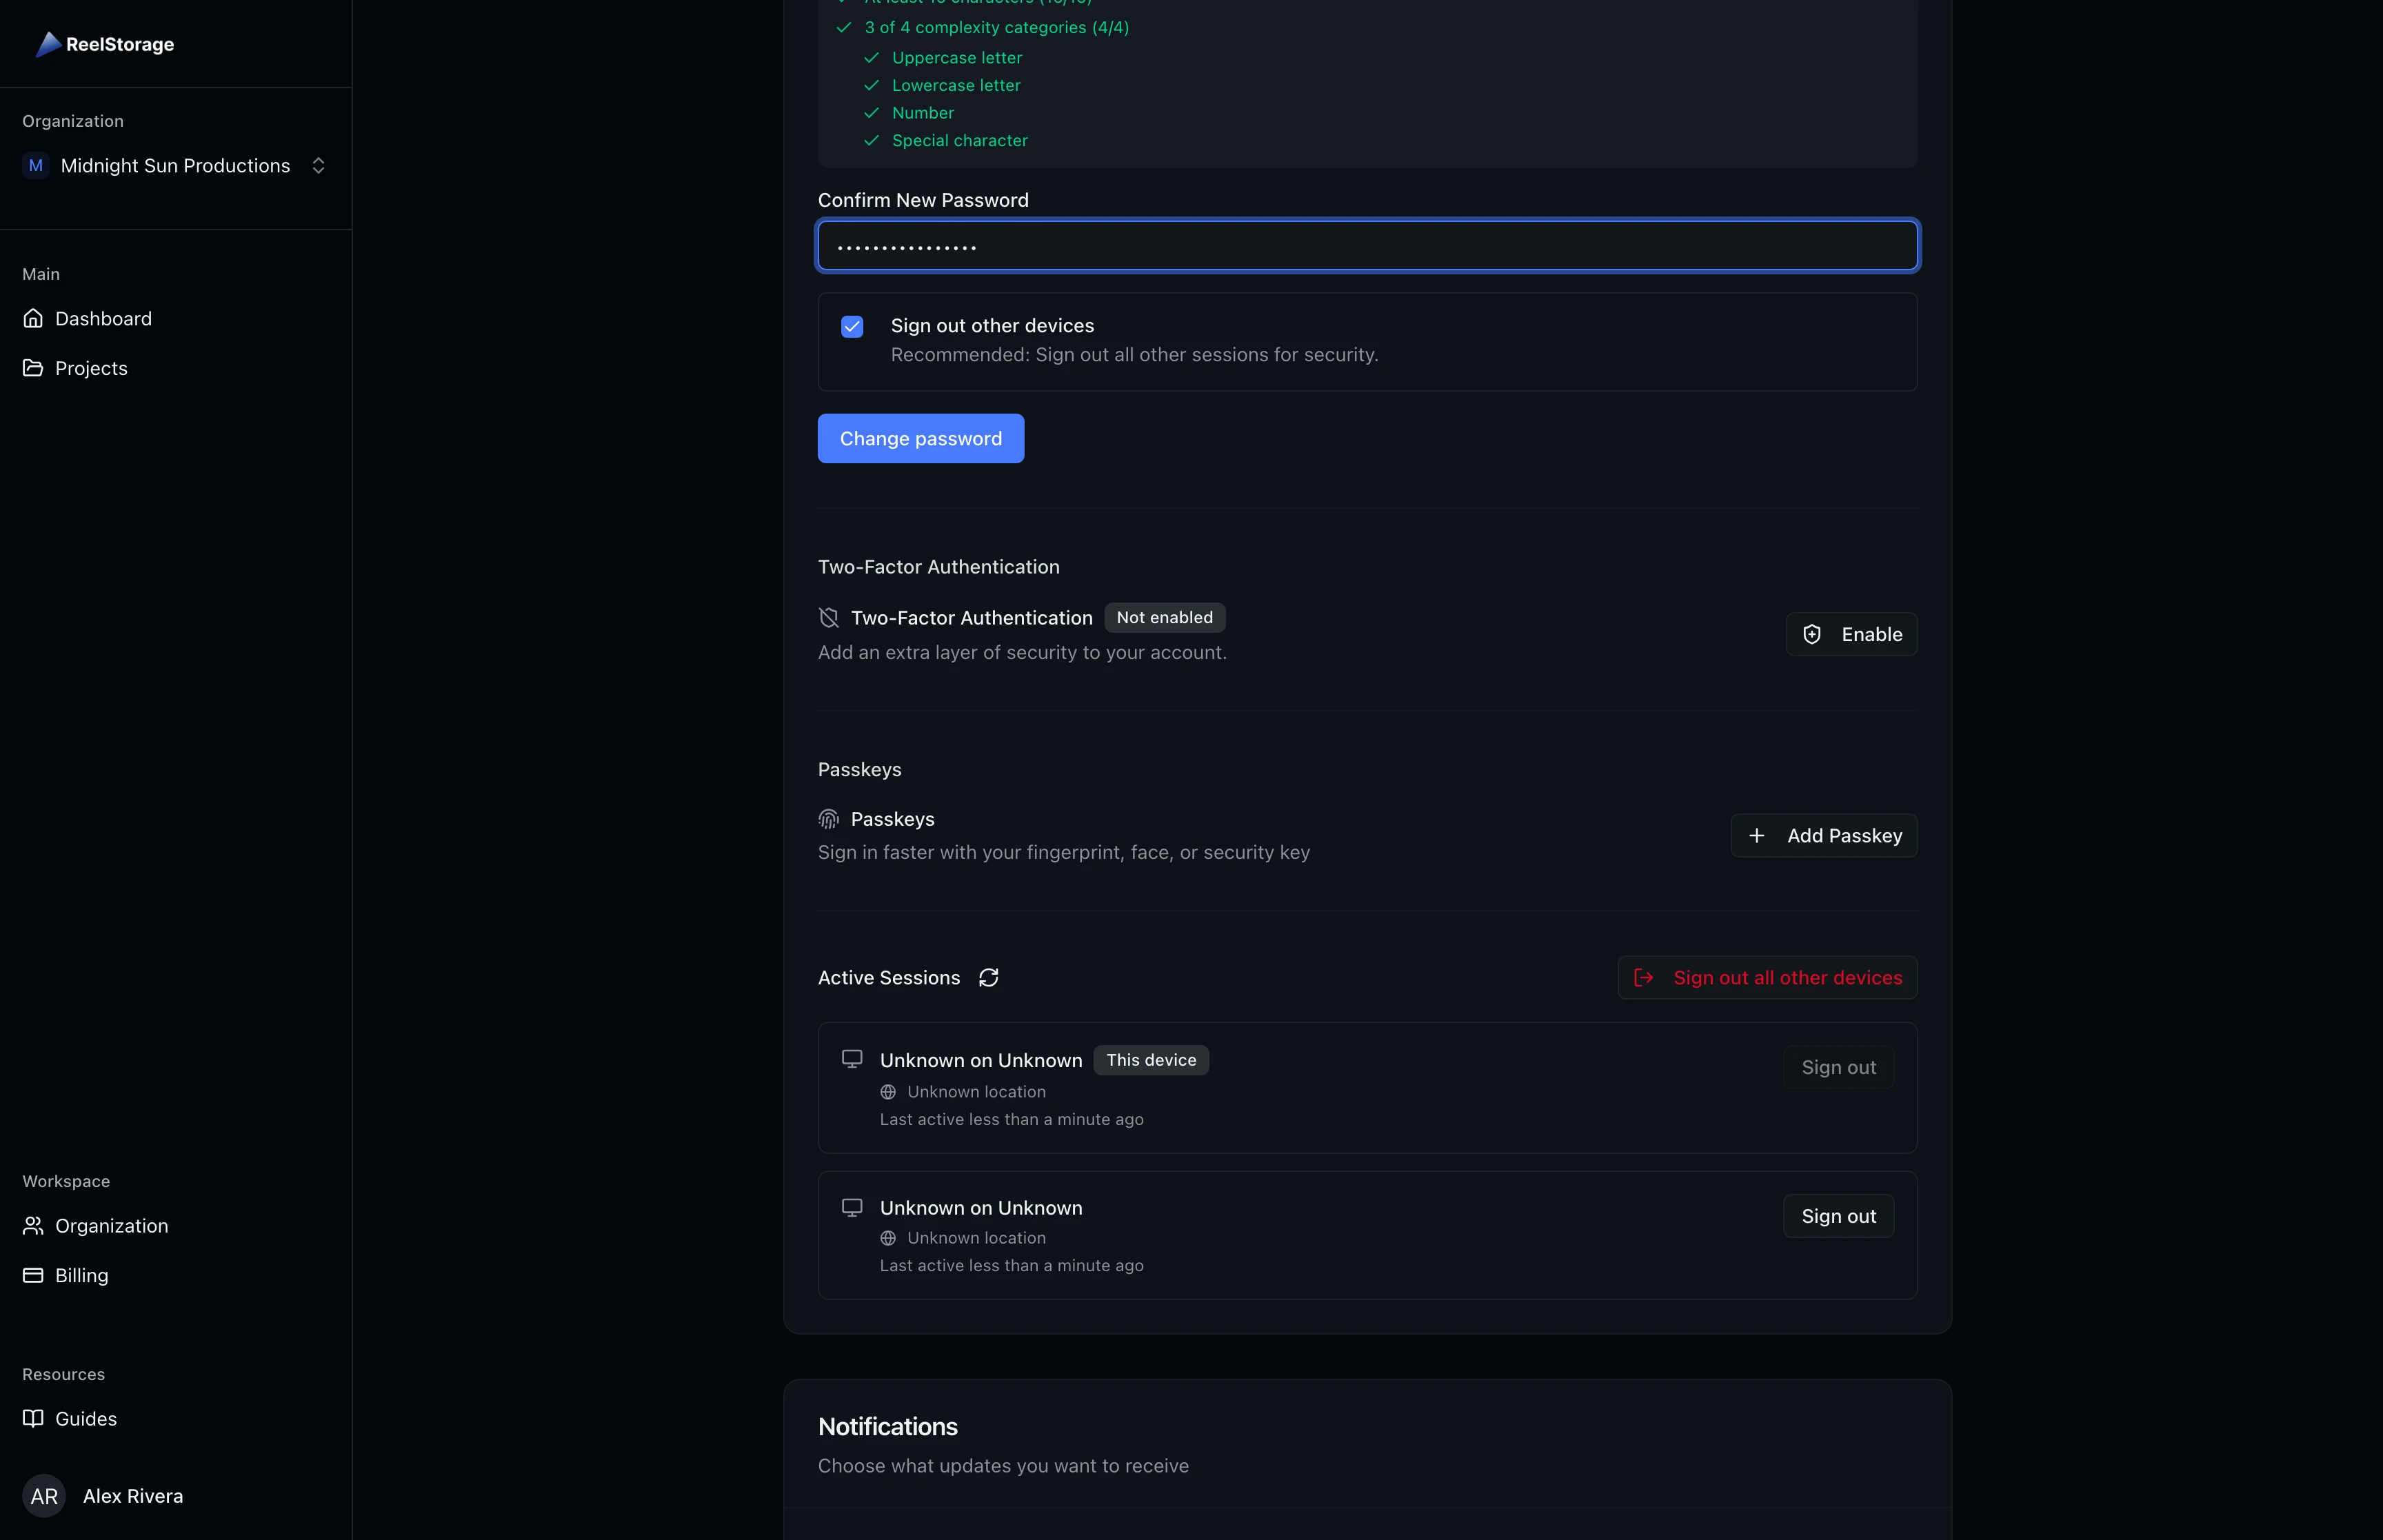
Scroll to the Security section. Under Password, fill in your current password, then enter and confirm your new password. A password strength indicator appears as you type, showing which requirements are met. The Sign out other devices checkbox is enabled by default, which revokes all other sessions after the password change. Click Change password to save.
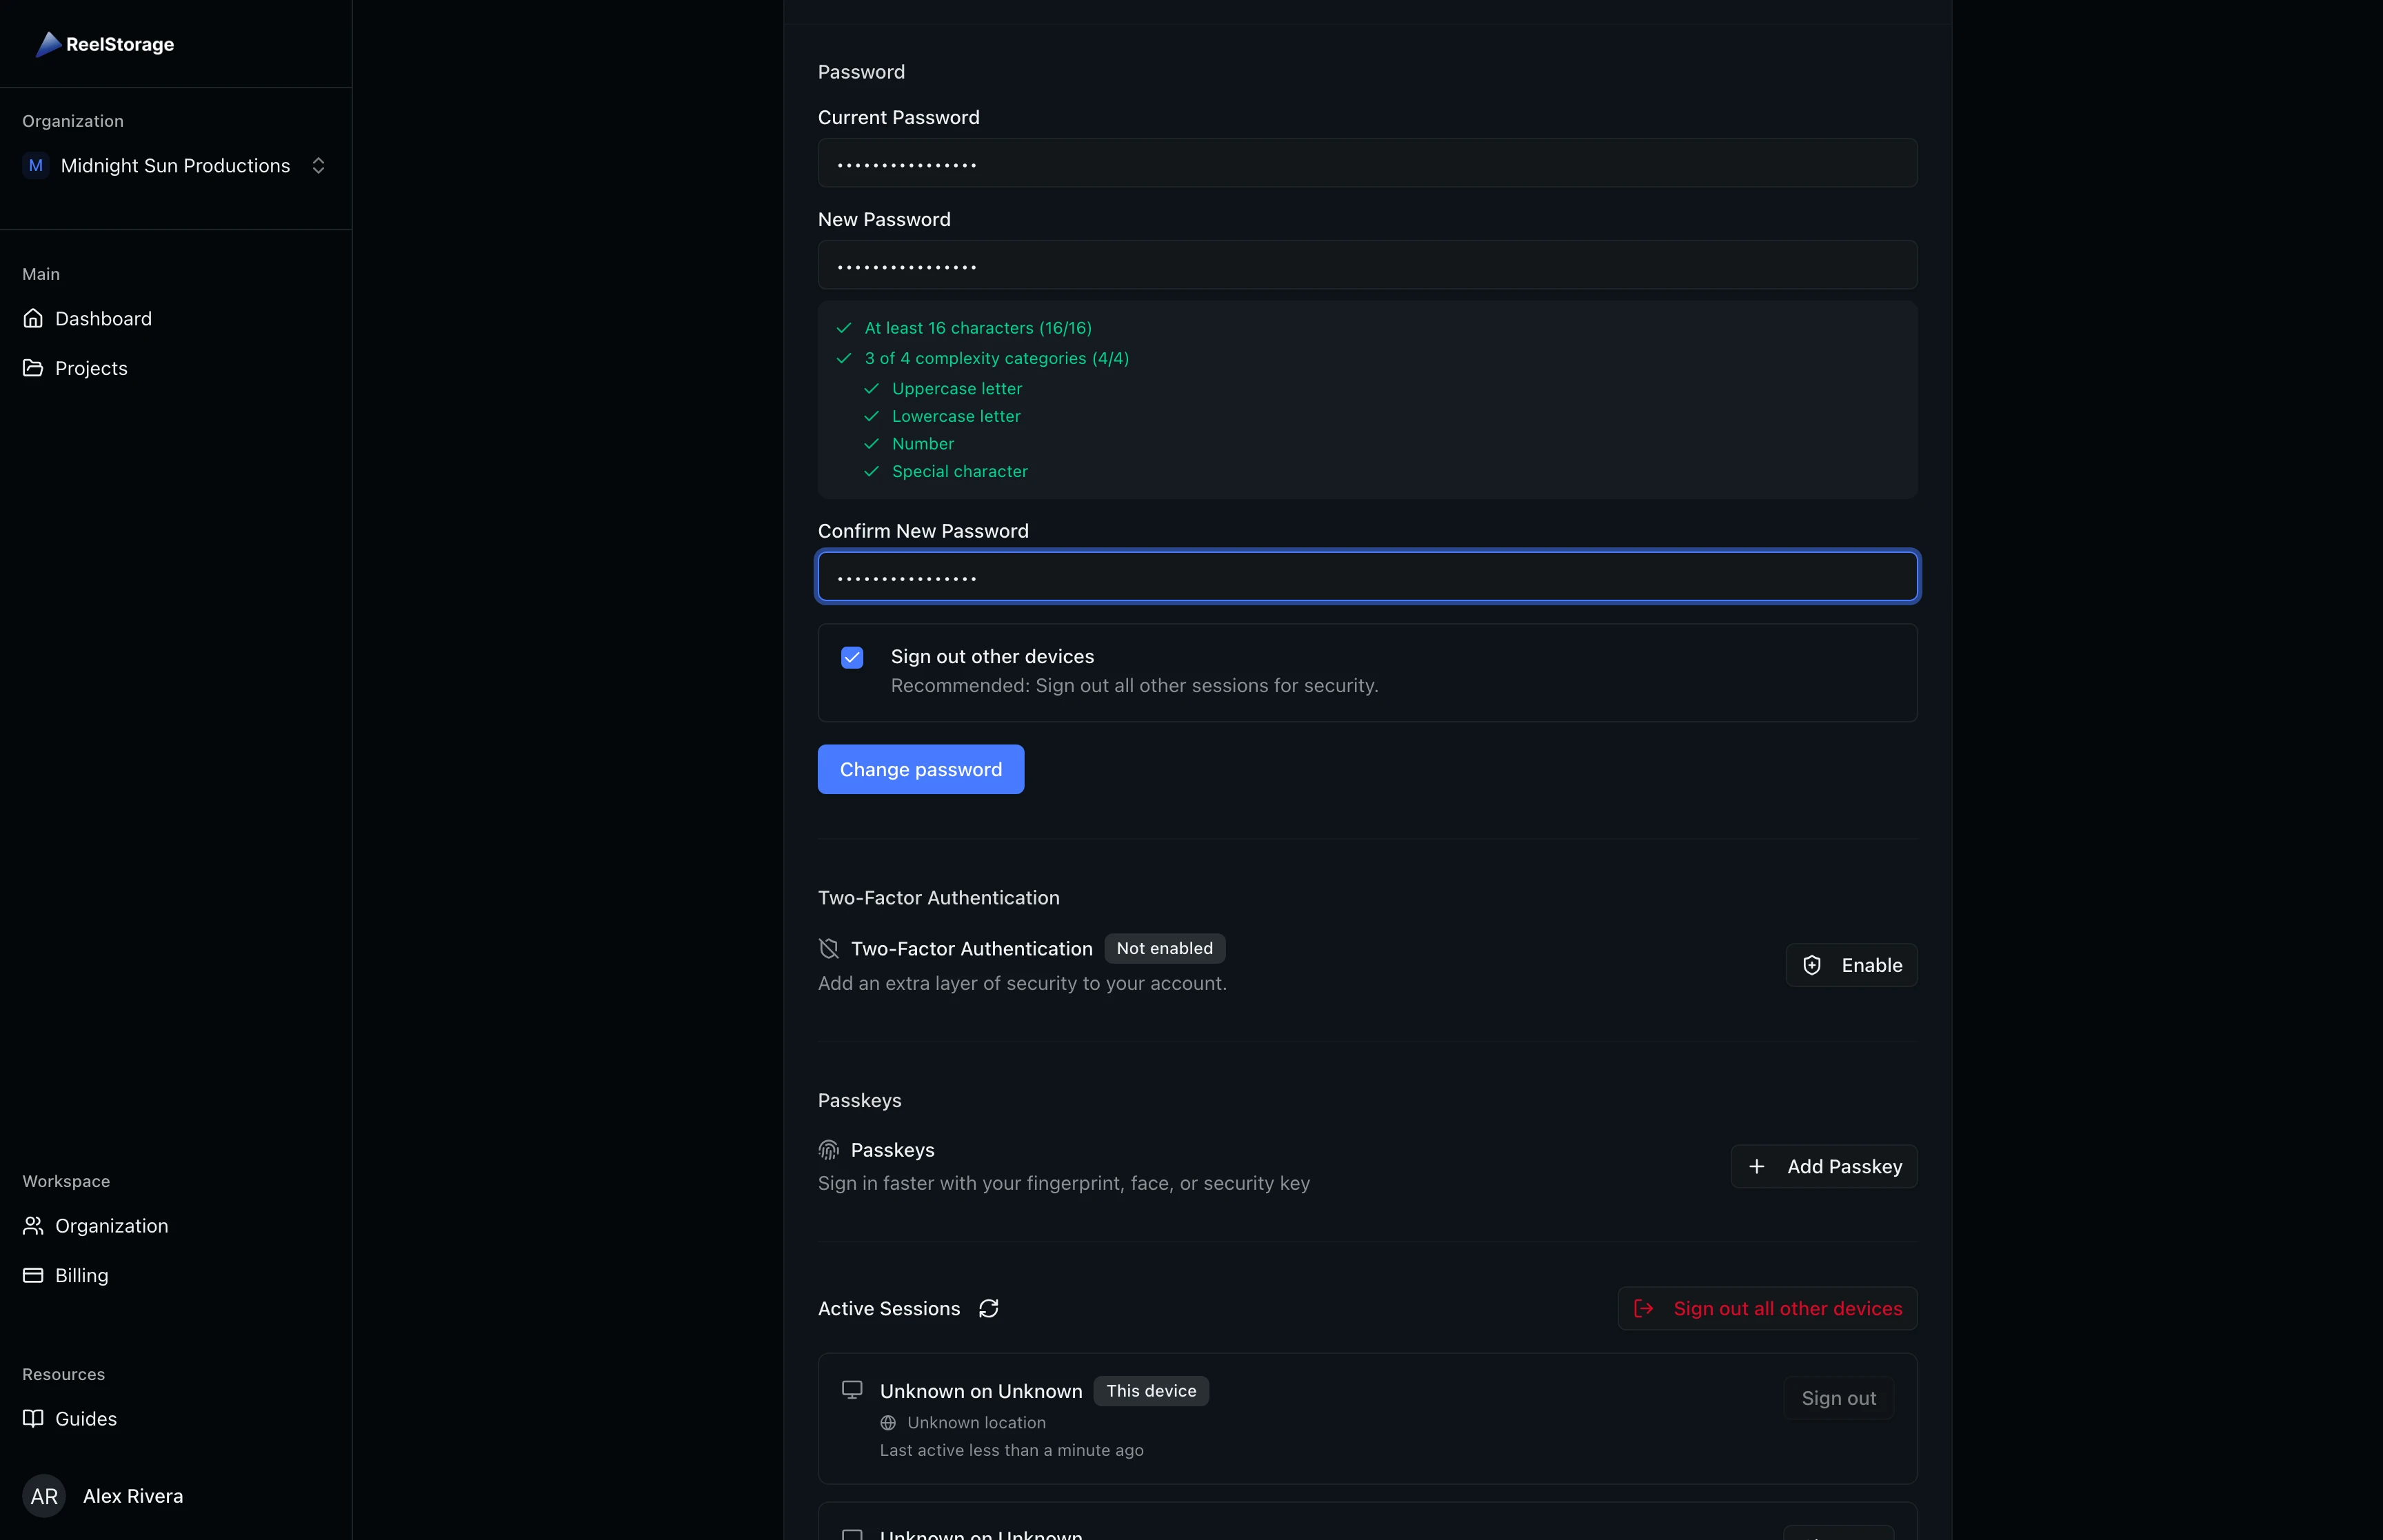
Step 6: Enable Two-Factor Authentication
Below the password area, find the Two-Factor Authentication subsection. If 2FA is not yet enabled, you see a "Not enabled" badge and an Enable button. Click Enable to open the setup dialog. Scan the QR code with your authenticator app (such as Google Authenticator or Authy), then enter the six-digit code to verify. After setup, you receive backup codes that you should store in a safe place.
Once enabled, the badge changes to "Enabled" and a Manage dropdown replaces the Enable button. From the Manage dropdown you can regenerate backup codes or disable 2FA (which requires your password).
Step 7: Set Up Passkeys
The Passkeys section lets you add passwordless authentication using your device's biometric sensor, security key, or platform authenticator. Click Add Passkey to register a new credential. Your browser prompts you to choose a method (fingerprint, face recognition, or security key). After registration, the passkey appears in the list with its creation date. You can remove individual passkeys at any time.

Step 8: Review Active Sessions
Scroll further in the Security section to find Active Sessions. This area lists every device and browser where your account is currently signed in, along with the approximate location, IP address, and last activity time. Click Sign out next to any session you do not recognize. If you want to revoke all sessions except the one you are currently using, click Sign out all other devices.
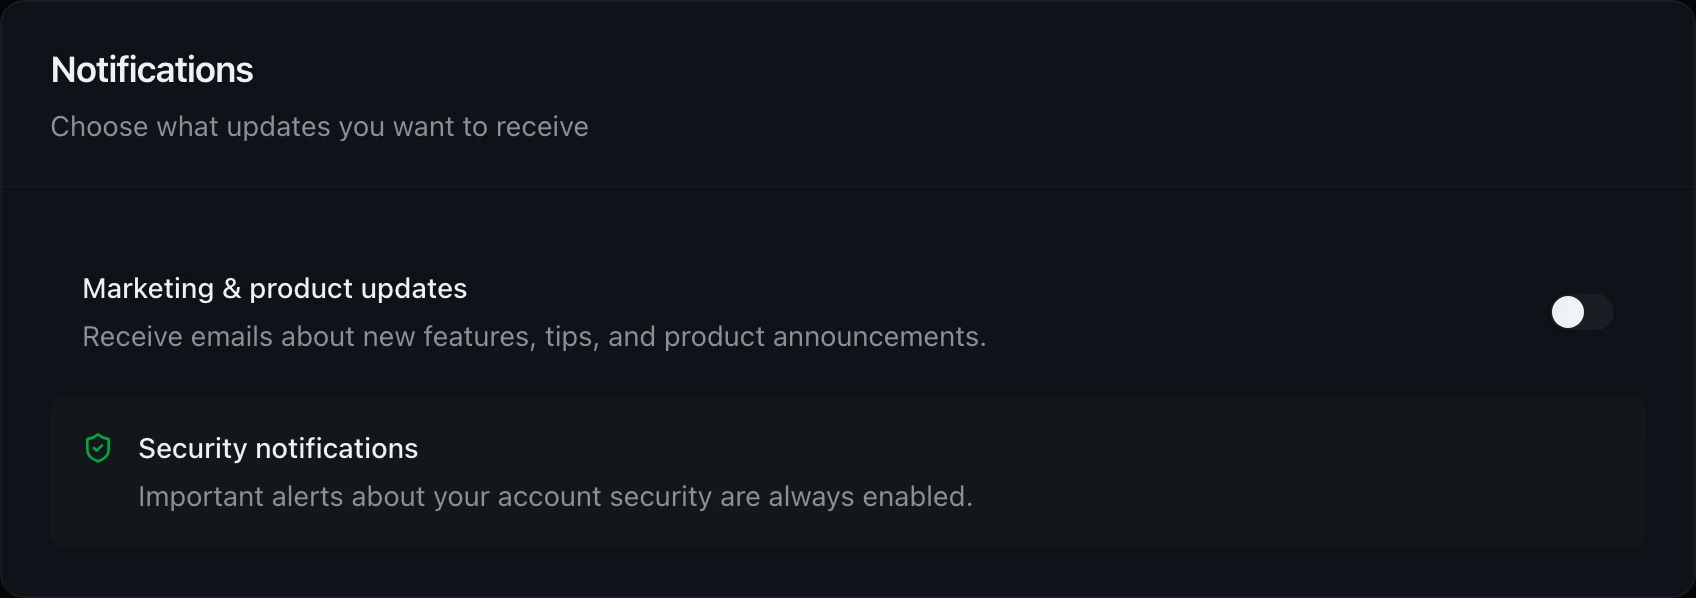
Step 9: Manage Notification Preferences
Scroll to the Notifications section. Toggle Marketing & product updates on or off to control whether you receive emails about new features and product announcements. Security notifications (password changes, new sign-ins, account recovery) are always enabled and cannot be turned off to protect your account.
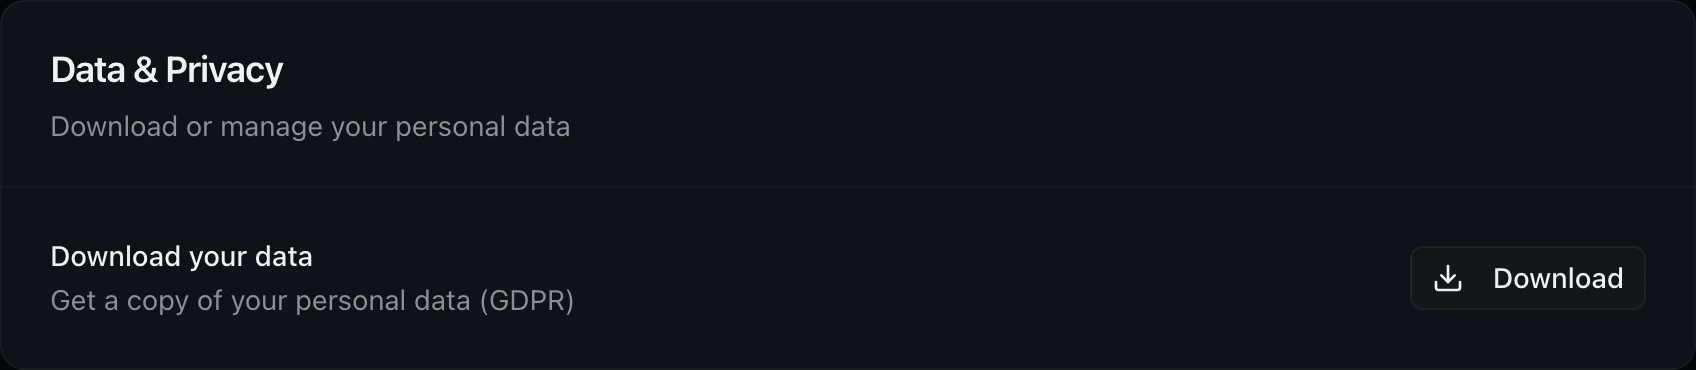
Step 10: Download Your Personal Data
In the Data & Privacy section, click Download to export a copy of your personal data. This generates a GDPR-compliant file containing your profile information, activity history, and associated metadata. The download starts automatically once the file is ready.
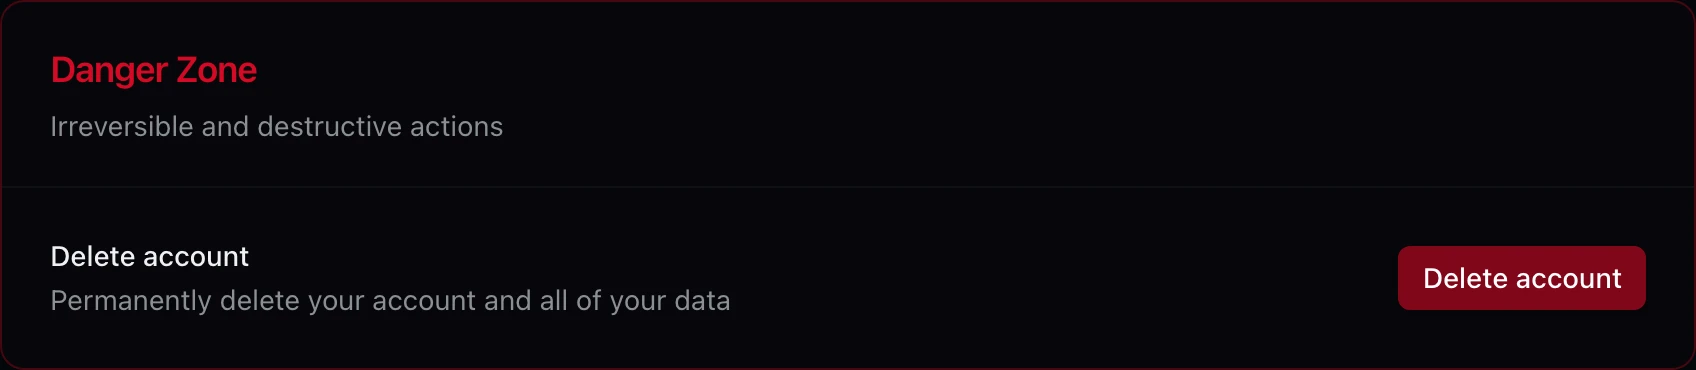
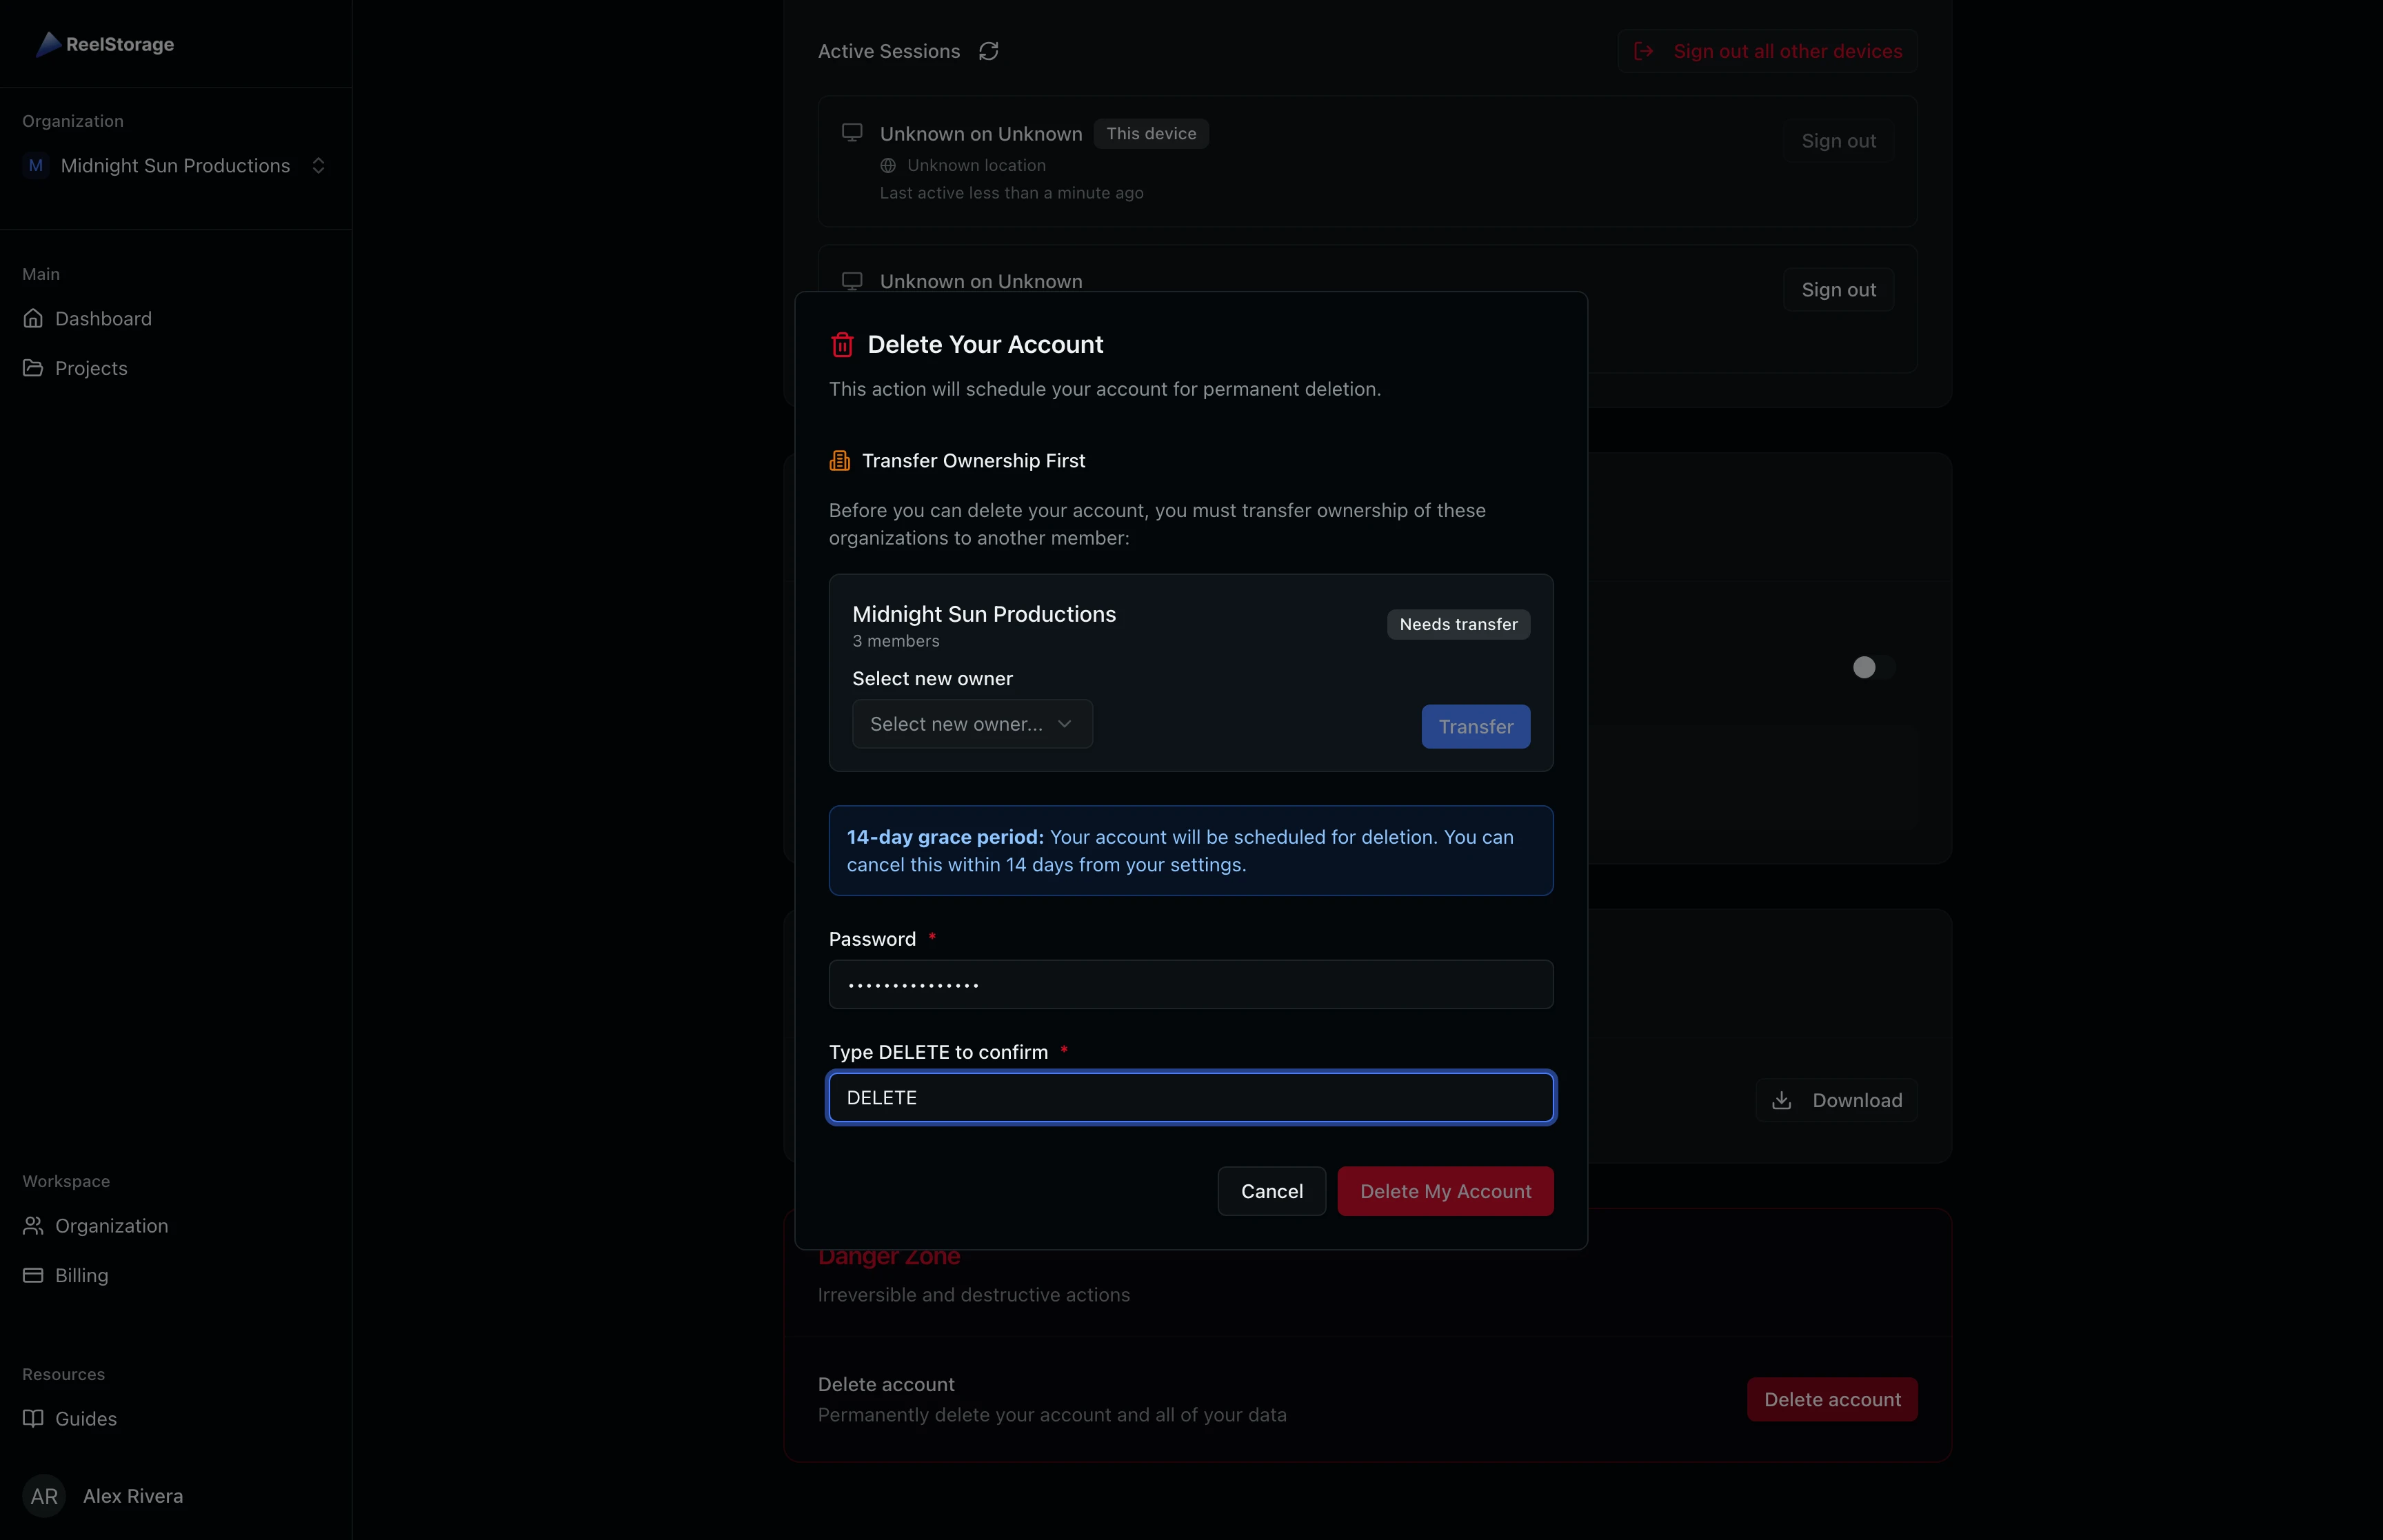
Step 11: Delete Your Account
Scroll to the Danger Zone section at the bottom of the page. Click the red Delete account button to open the deletion dialog. If you own organizations with other members, you must transfer ownership to another member before proceeding. Solo organizations (where you are the only member) will be deleted along with your account.
The dialog shows a 14-day grace period notice. Enter your password and type DELETE to confirm. After submission, your account is scheduled for deletion and a banner appears at the top of the page with an option to cancel within the grace period.
Tips and Best Practices
- Keep your name current. Your name appears on approval emails, shared links, and team member lists. Update it if your name changes.
- Enable two-factor authentication. 2FA adds a second verification step when signing in, protecting your account even if your password is compromised.
- Add a passkey for faster sign-in. Passkeys replace passwords with biometric or device-based authentication, reducing phishing risk and speeding up your login.
- Review sessions regularly. Check Active Sessions after traveling or using shared computers to make sure no unexpected sessions are open.
- Store backup codes securely. When you enable 2FA, save the backup codes in a password manager or other secure location. These codes are your only way in if you lose access to your authenticator app.
Troubleshooting
I changed my email but it did not update
You need to confirm the change by clicking the link sent to your current email address. Check your inbox and spam folder for the confirmation email.
The Save changes button is not responding
Make sure both name fields have values. The button is disabled while a save is in progress. Wait a moment and try again.
I lost my authenticator app and cannot sign in
Use one of the backup codes you saved when setting up 2FA. Each backup code can only be used once. If you have no remaining backup codes, contact support for account recovery.
My passkey is not working
Make sure you are using the same browser and device where you registered the passkey. If you cleared browser data or reset your device, the passkey may need to be re-registered. Remove the old entry and add a new passkey.
What's Next
- Managing Your Organization: Update organization branding, manage team members, and control SSO settings.
- Managing Your Subscription: View your plan, update payment details, and manage your subscription.
Related Guides
Signing In to Your Account
Sign in to your ReelStorage account, reset a forgotten password, and learn about two-factor authentication.
Managing Your Organization
Update your organization details, invite team members, customize branding, and configure security settings from the Organization page.