Managing Your Organization
Prerequisites
Manage every aspect of your organization from a single page. Review team stats, invite new members, assign roles, update your organization name and slug, customize branding colors, and enforce security policies like multi-factor authentication.
What You'll Learn
- How to view your team overview and member stats
- How to invite new members and manage their roles
- How to review team members and change their permissions
- How to manage project access for team members
- How to update your organization name and slug
- How to customize branding colors for your organization
- How to enable security settings like MFA and SSO
Step 1: View the Team Overview
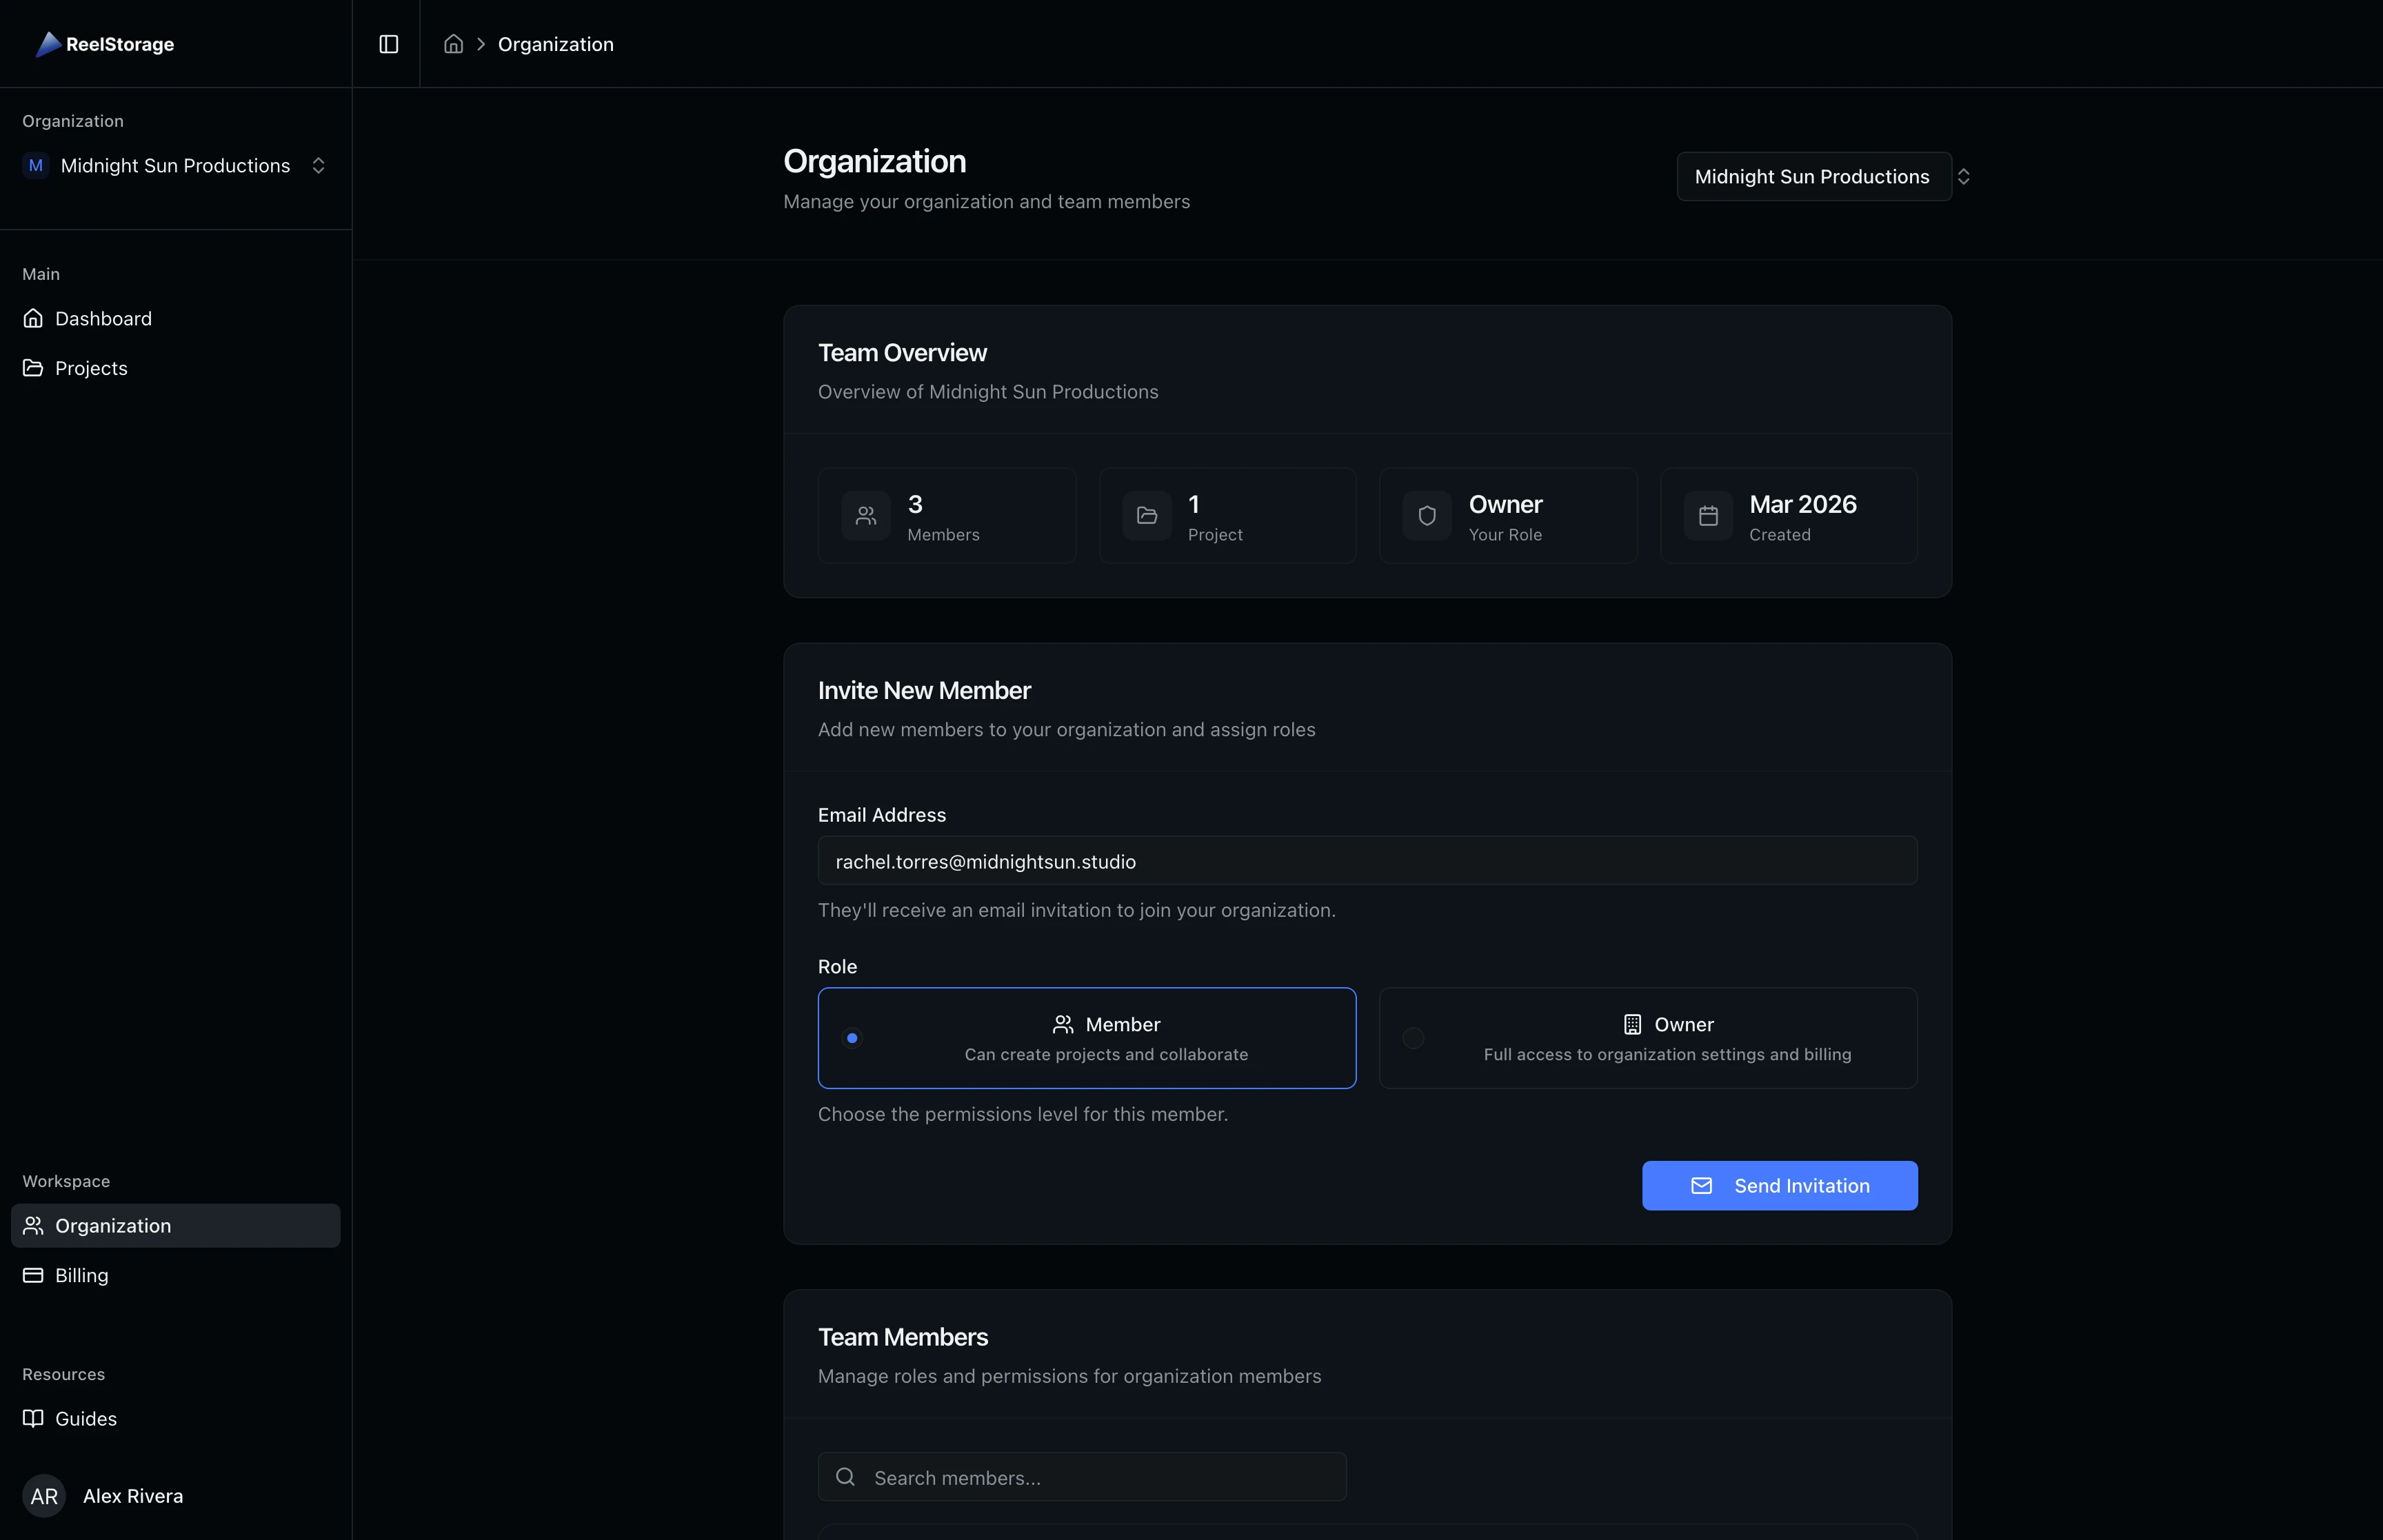
Navigate to Organization in the sidebar. The Team Overview section displays four key stats at a glance: total members, number of projects, your current role in the organization, and when the organization was created. Use this section to get a quick pulse on your team's size and activity.

Step 2: Invite a New Team Member
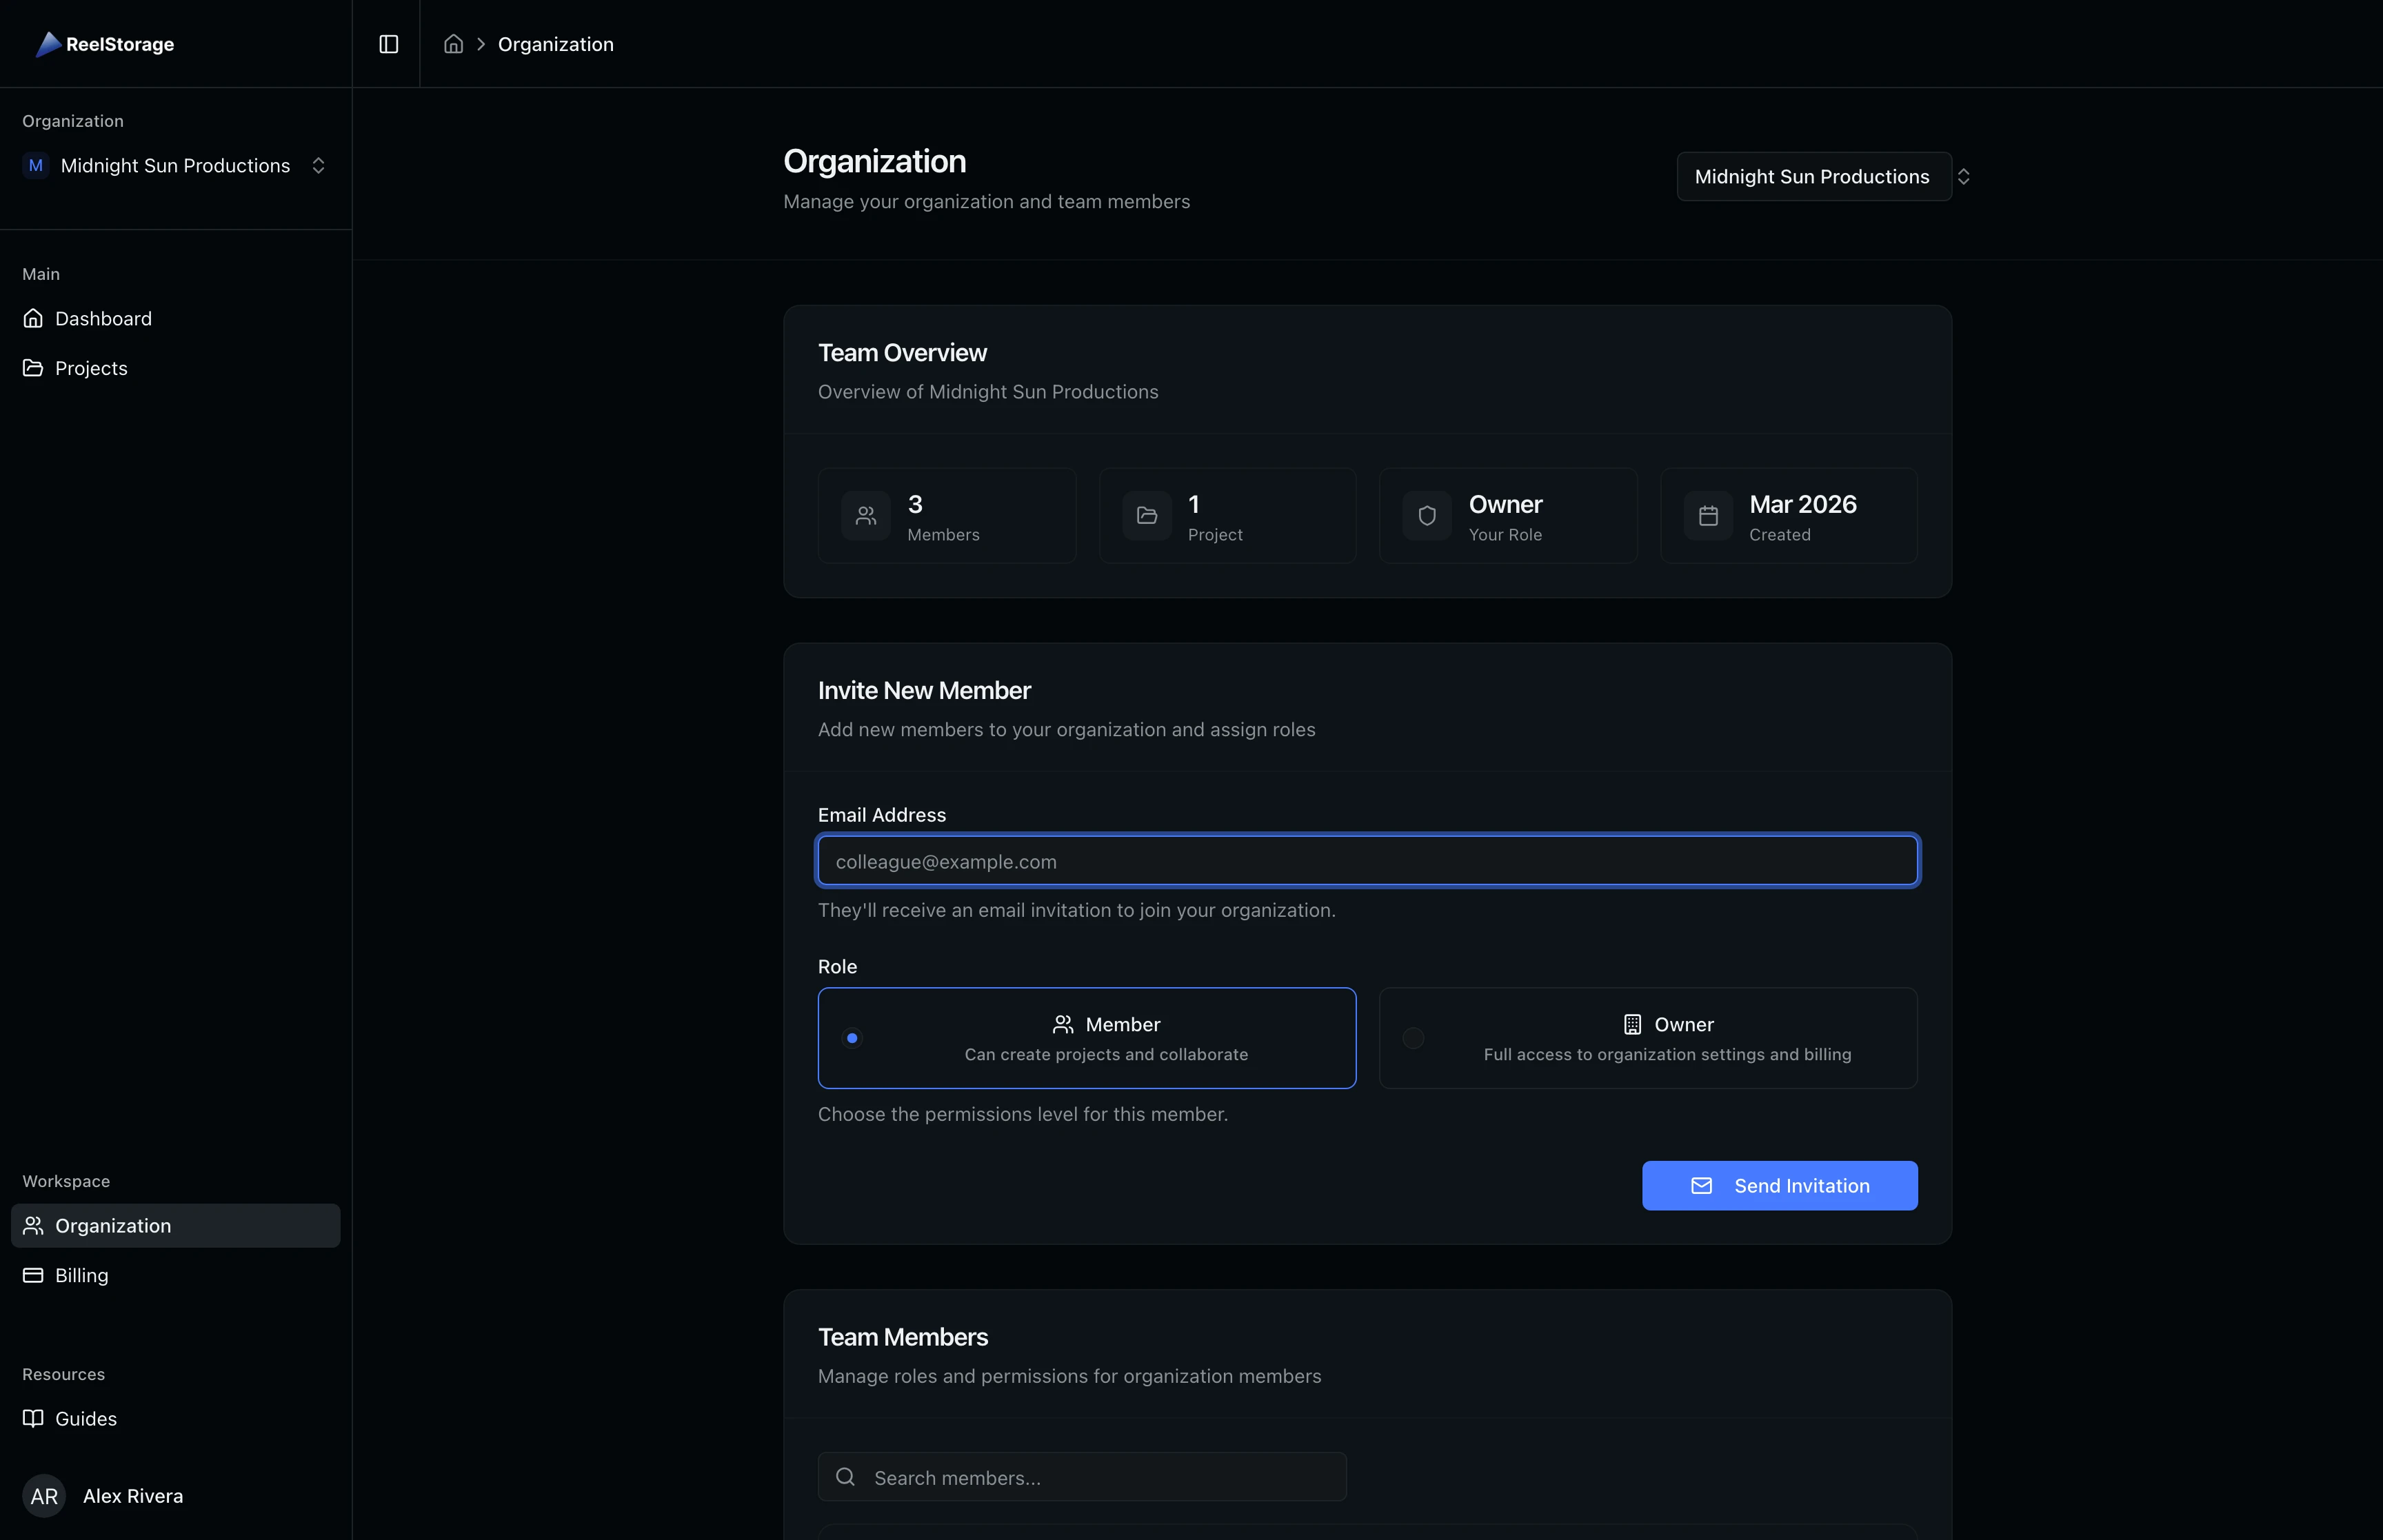
Scroll down to the Invite New Member section. Enter the email address of the person you want to invite and select their role from two options:
- Member: Can create projects and collaborate on assigned work. Best for photographers, editors, and other team collaborators.
- Owner: Full access to organization settings, billing, and member management. Reserve this for studio leads who need administrative control.
Click Send Invitation to deliver an email invitation. The recipient will see your organization name and can accept directly from their inbox.
You can only invite people with the "Invite Members" permission. If you don't see this section, ask an organization owner to update your permissions.
Step 3: Review Your Team Members
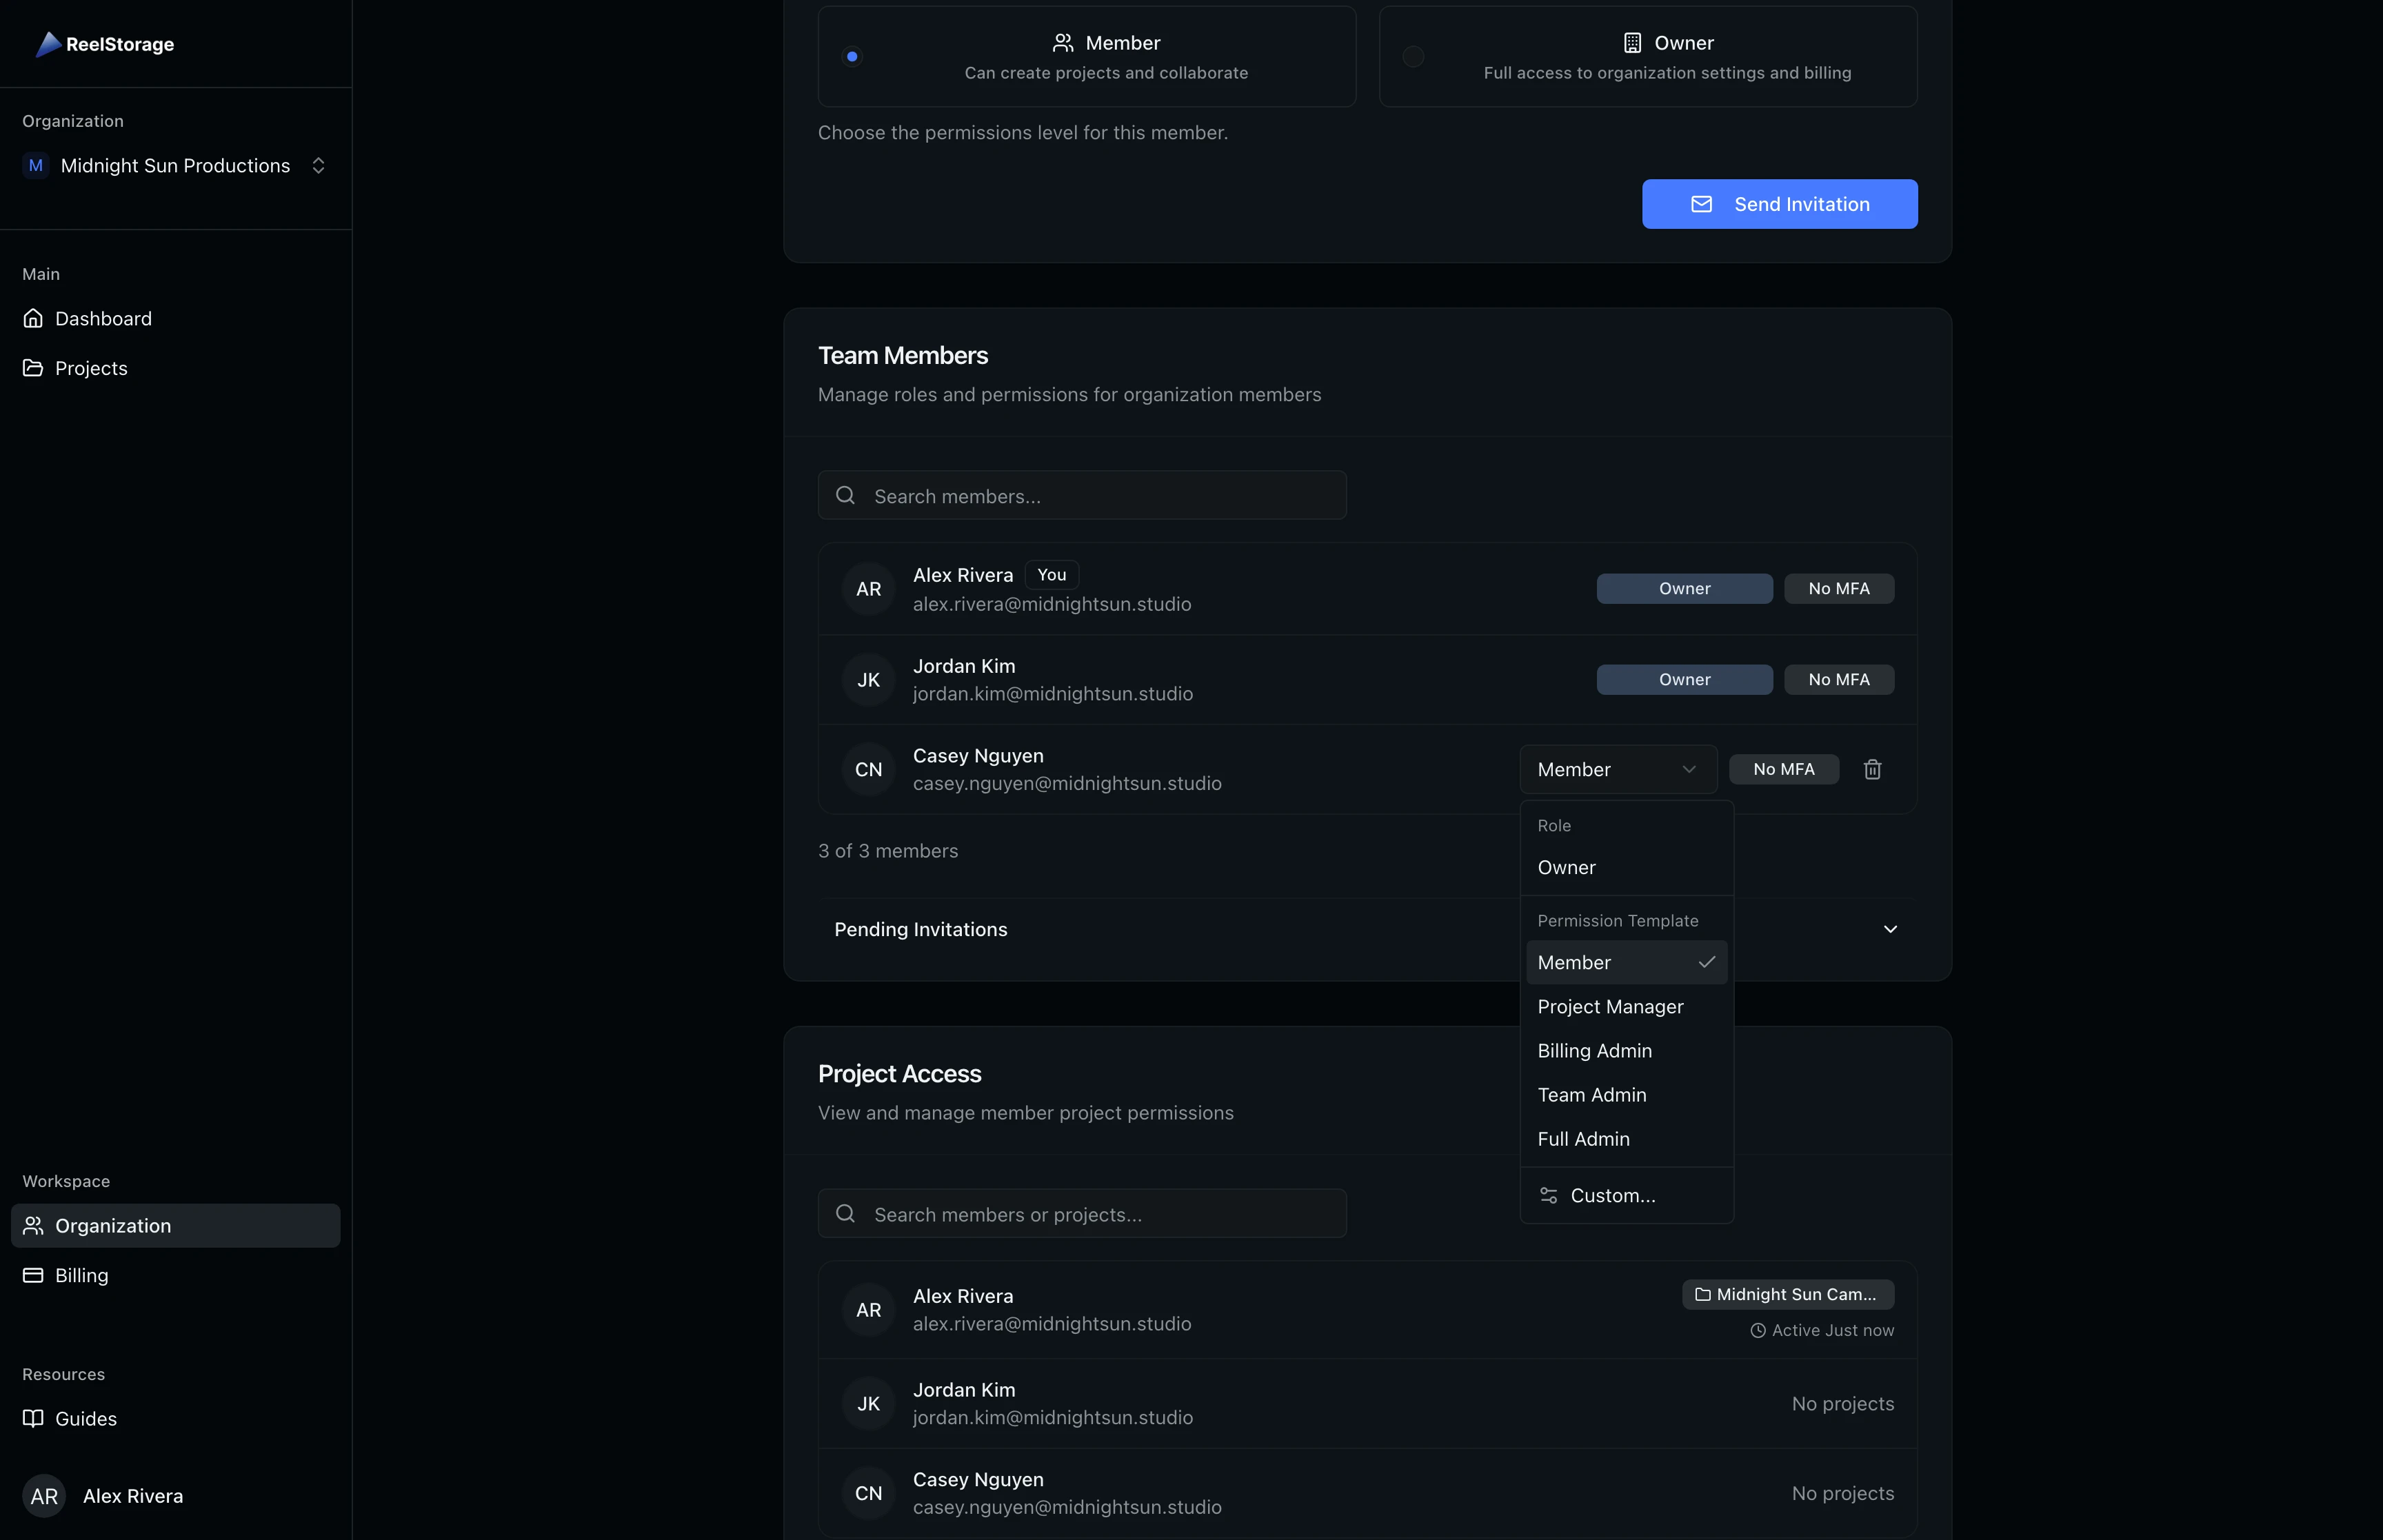
The Team Members section lists everyone in your organization with their name, email, role, and MFA status. Use the search bar at the top to filter members by name or email when working with larger teams.
Each member row shows their current permission level and whether they have MFA configured. Owners display a fixed "Owner" badge, while members show a dropdown that lets you change their permission template or remove them.
Change a Member's Permissions
Click the role dropdown next to any member to see the available permission templates. Templates include Member (basic access), Project Manager (can create and delete projects), Billing Admin (billing access), Team Admin (member management), and Full Admin (all permissions). Select Custom... to fine-tune individual permissions for that member.
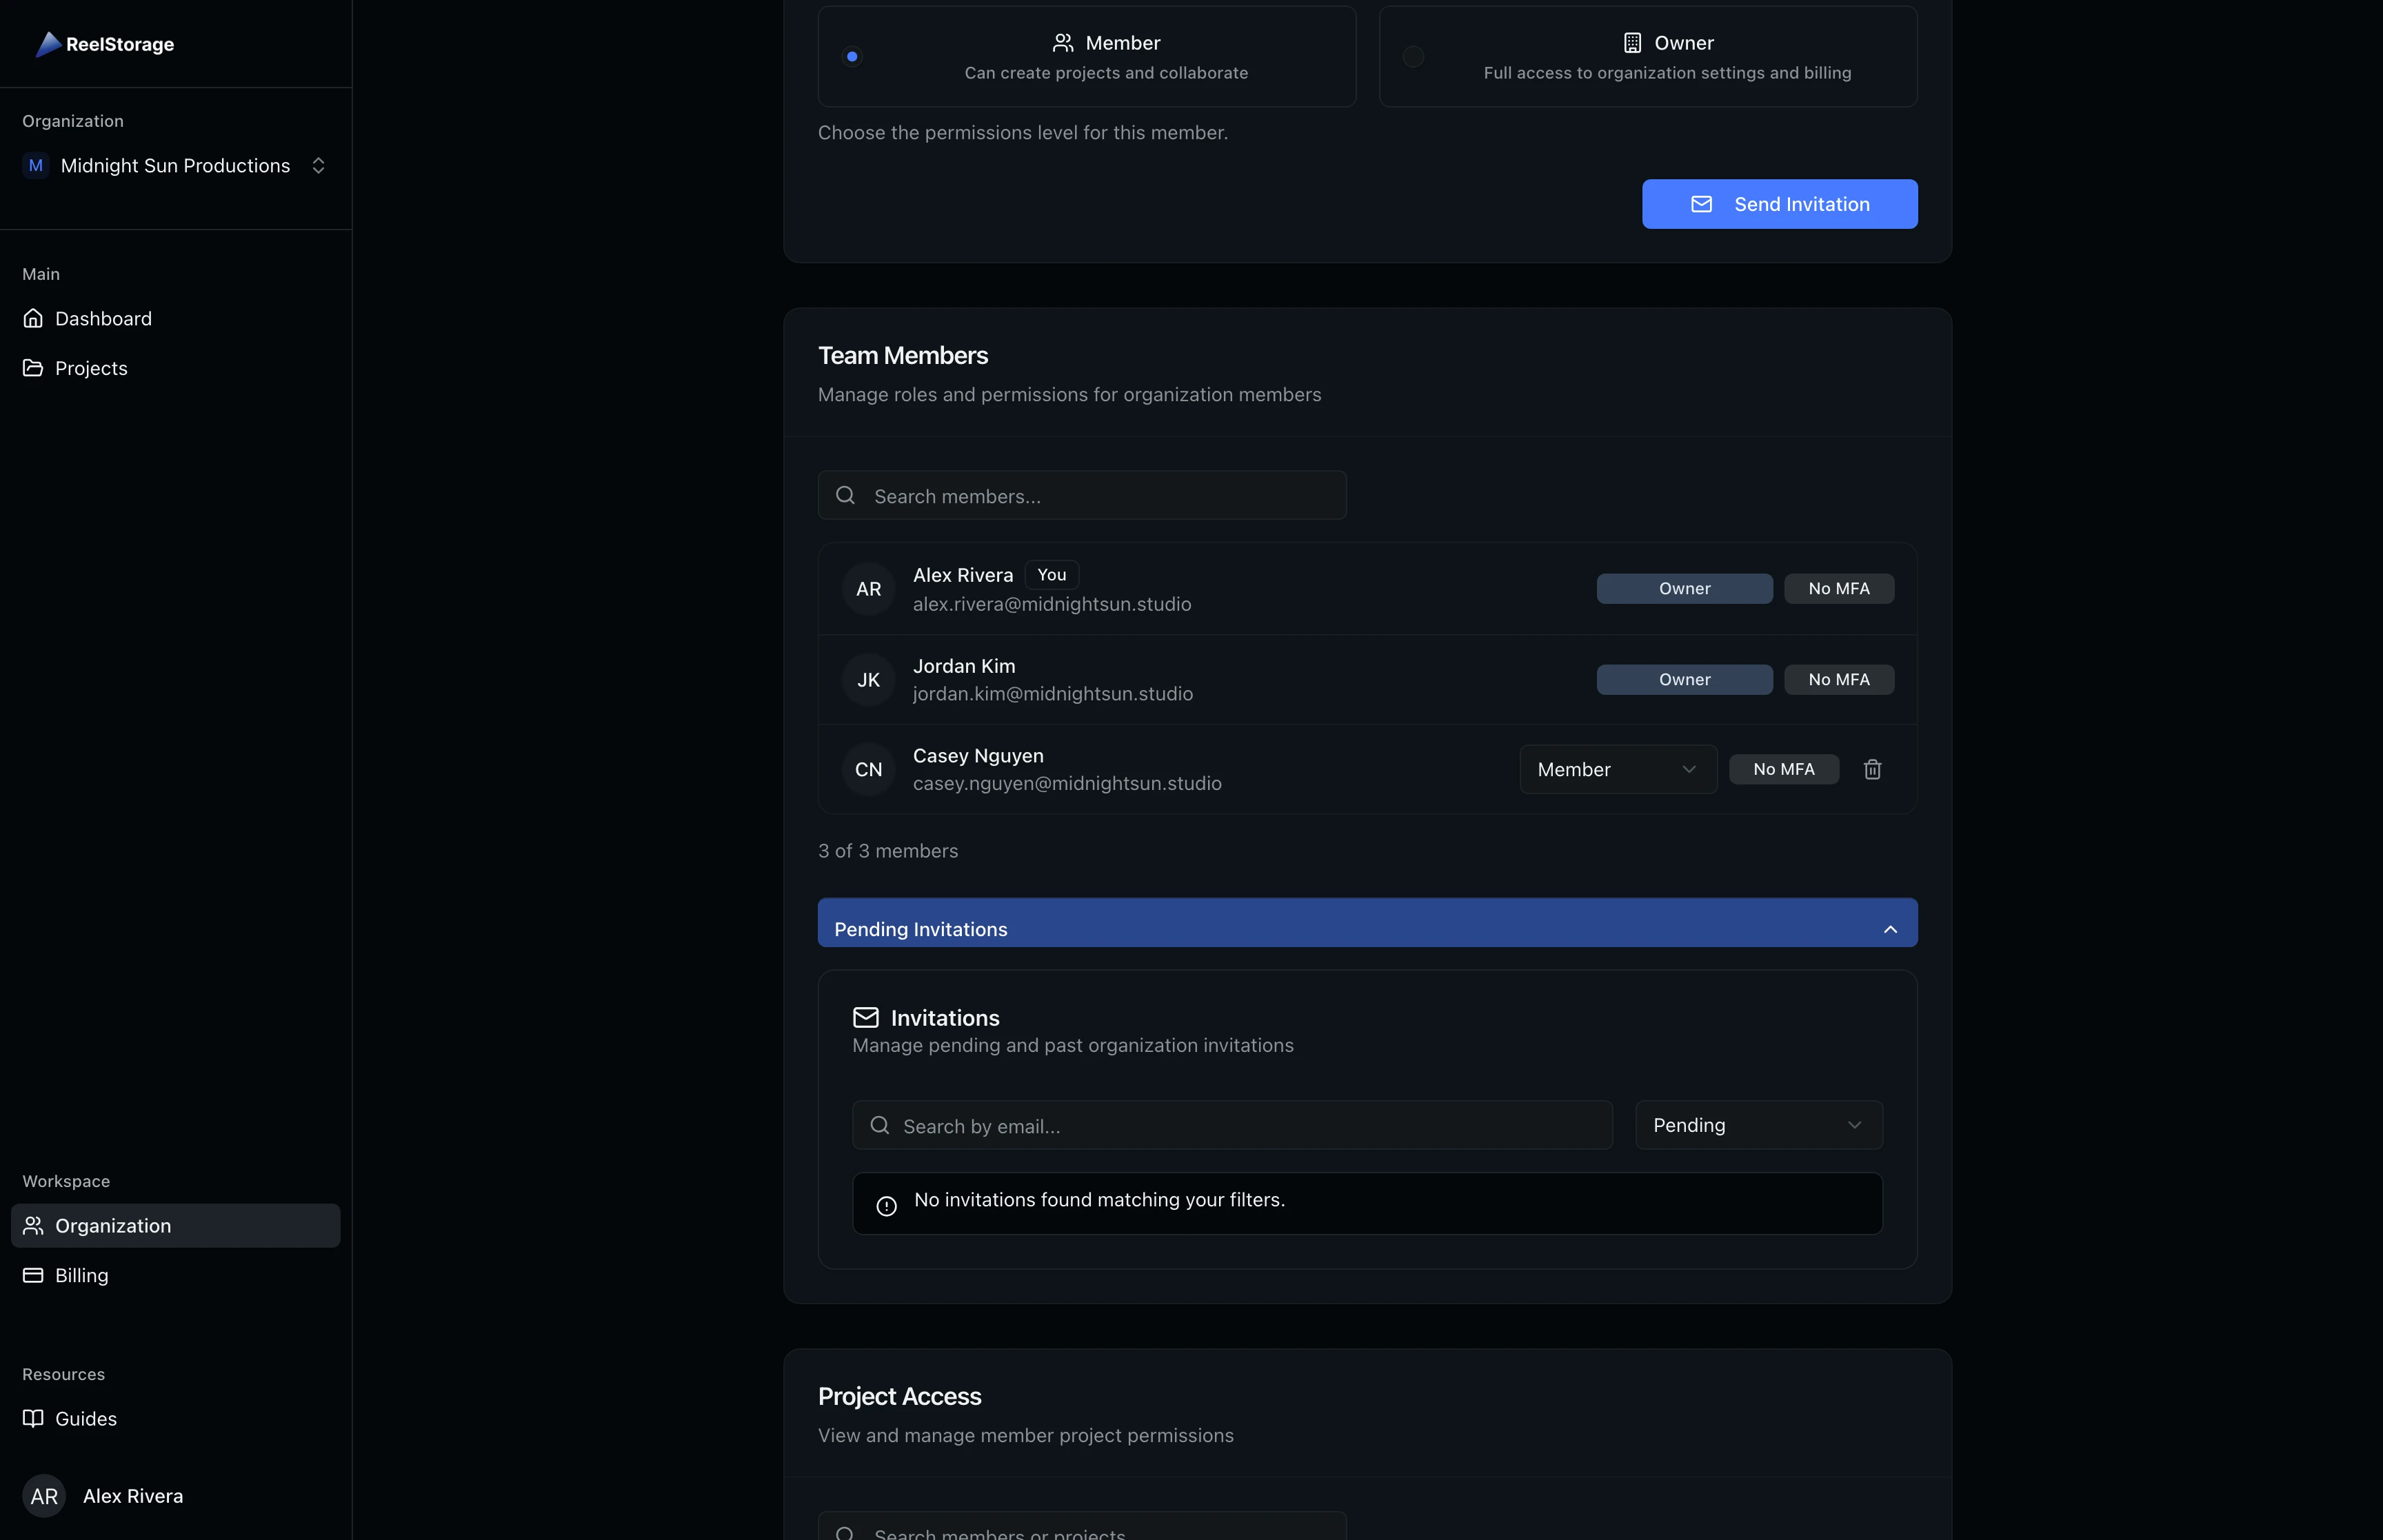
View Pending Invitations
Click the Pending Invitations collapsible below the member list to see outstanding invitations. Filter by status and search by email to find specific invitations. From here you can resend or cancel pending invitations.
Removing a member revokes their access to all projects and collections in the organization. This action cannot be undone.
Step 4: Manage Project Access
The Project Access section shows which projects each team member can access. Members with active project assignments display their project names as badges. The "Active" timestamp shows when each member last accessed the platform, which helps identify inactive accounts.
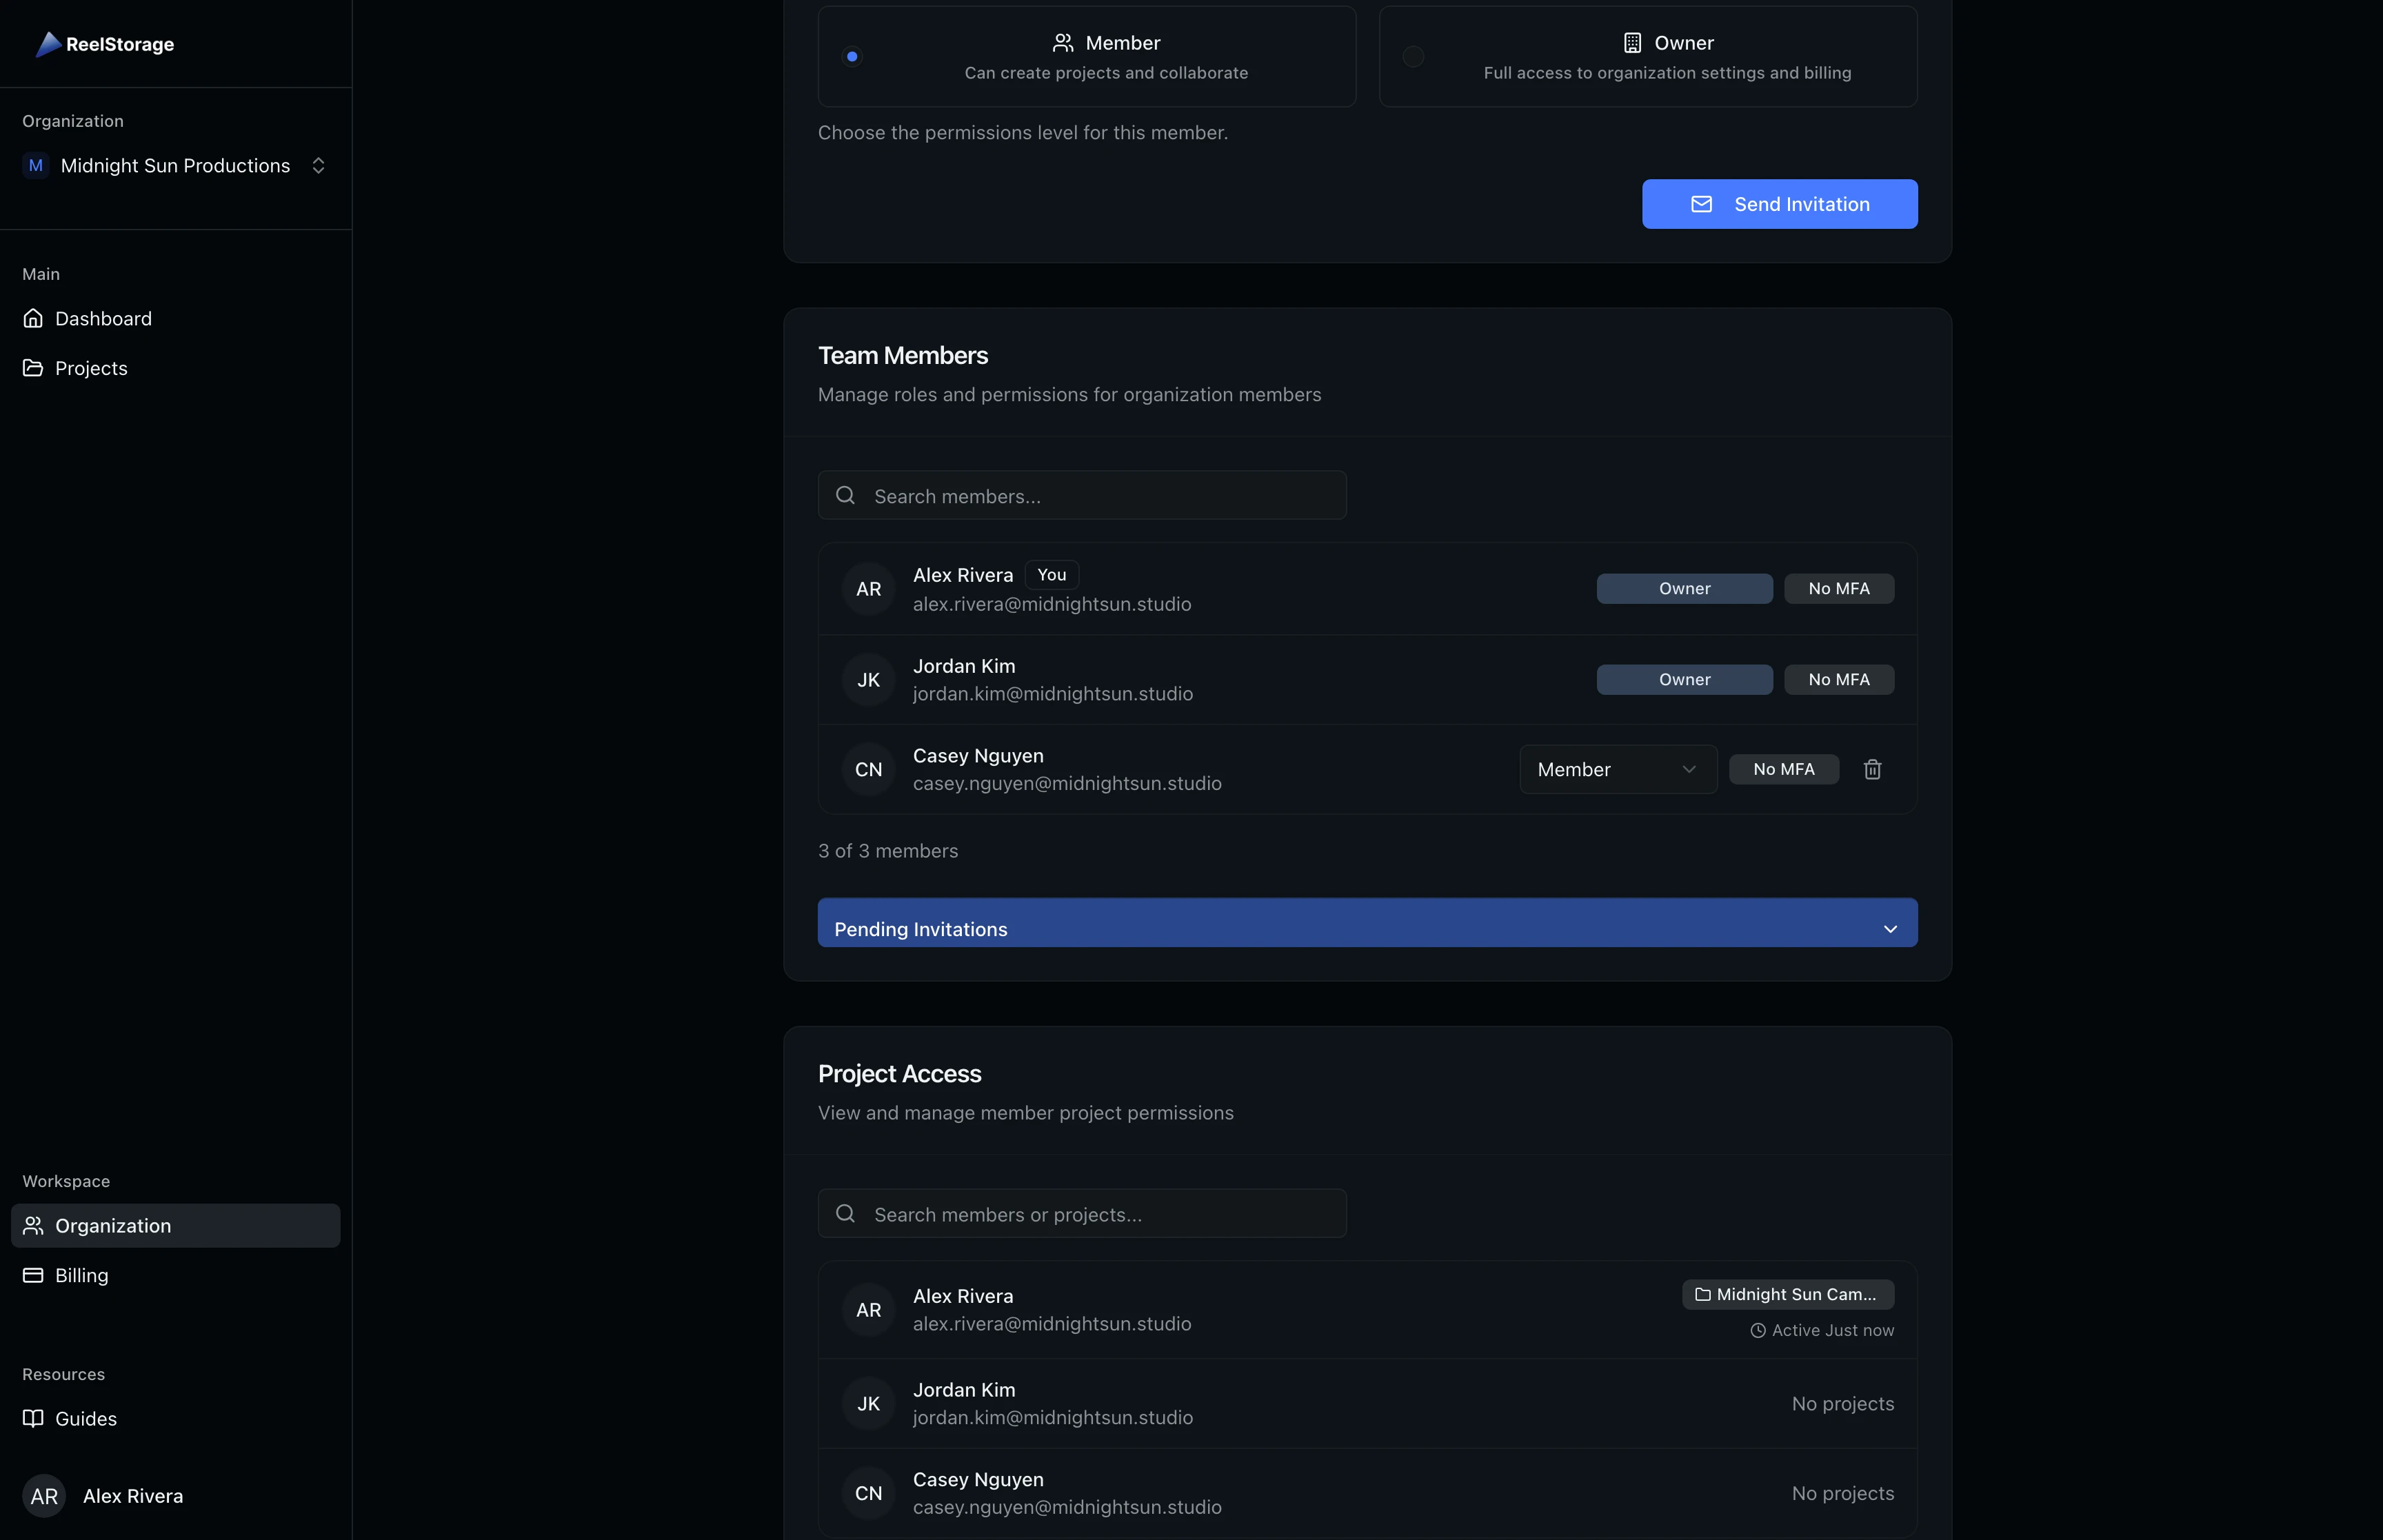
Use the search bar to filter by member name, email, or project name. This is helpful when you need to quickly check who has access to a specific project.
Step 5: Update Organization Details
In the Organization Details section, update your organization's display name and URL slug. The slug appears in URLs and must contain only lowercase letters, numbers, and hyphens. Your current role and the organization's creation date are shown as read-only fields for reference. Click Save Changes to apply your updates.
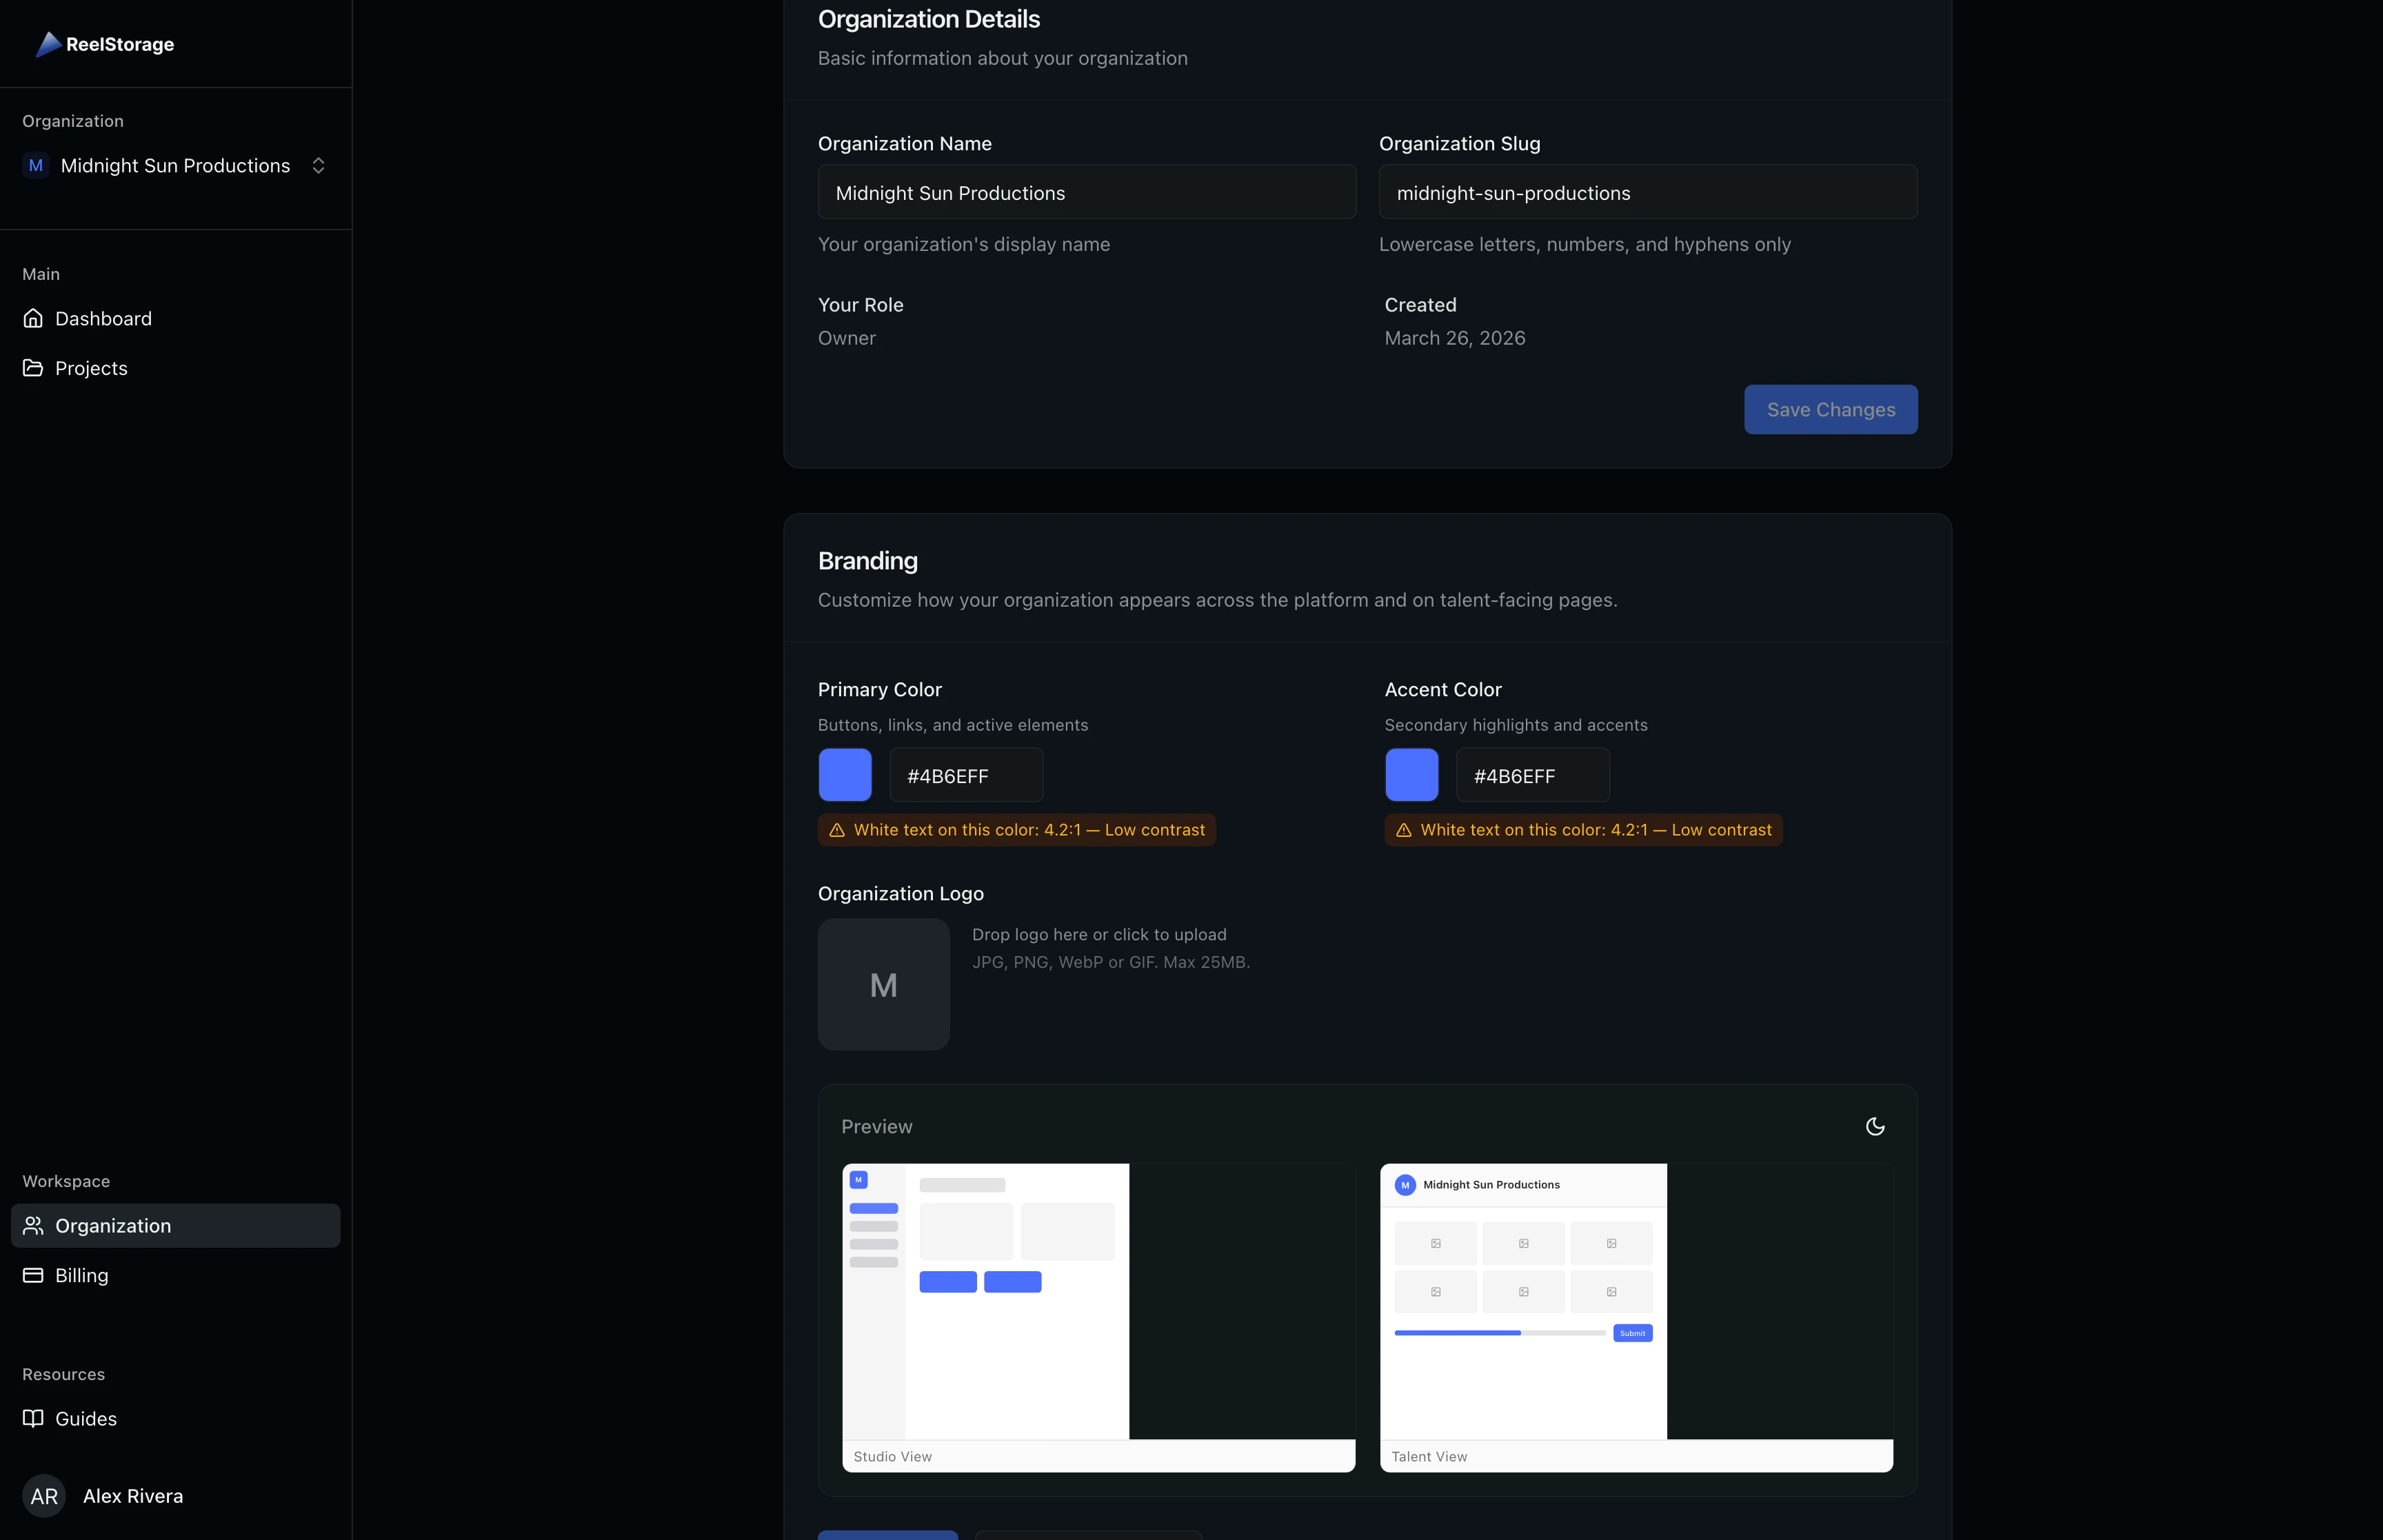
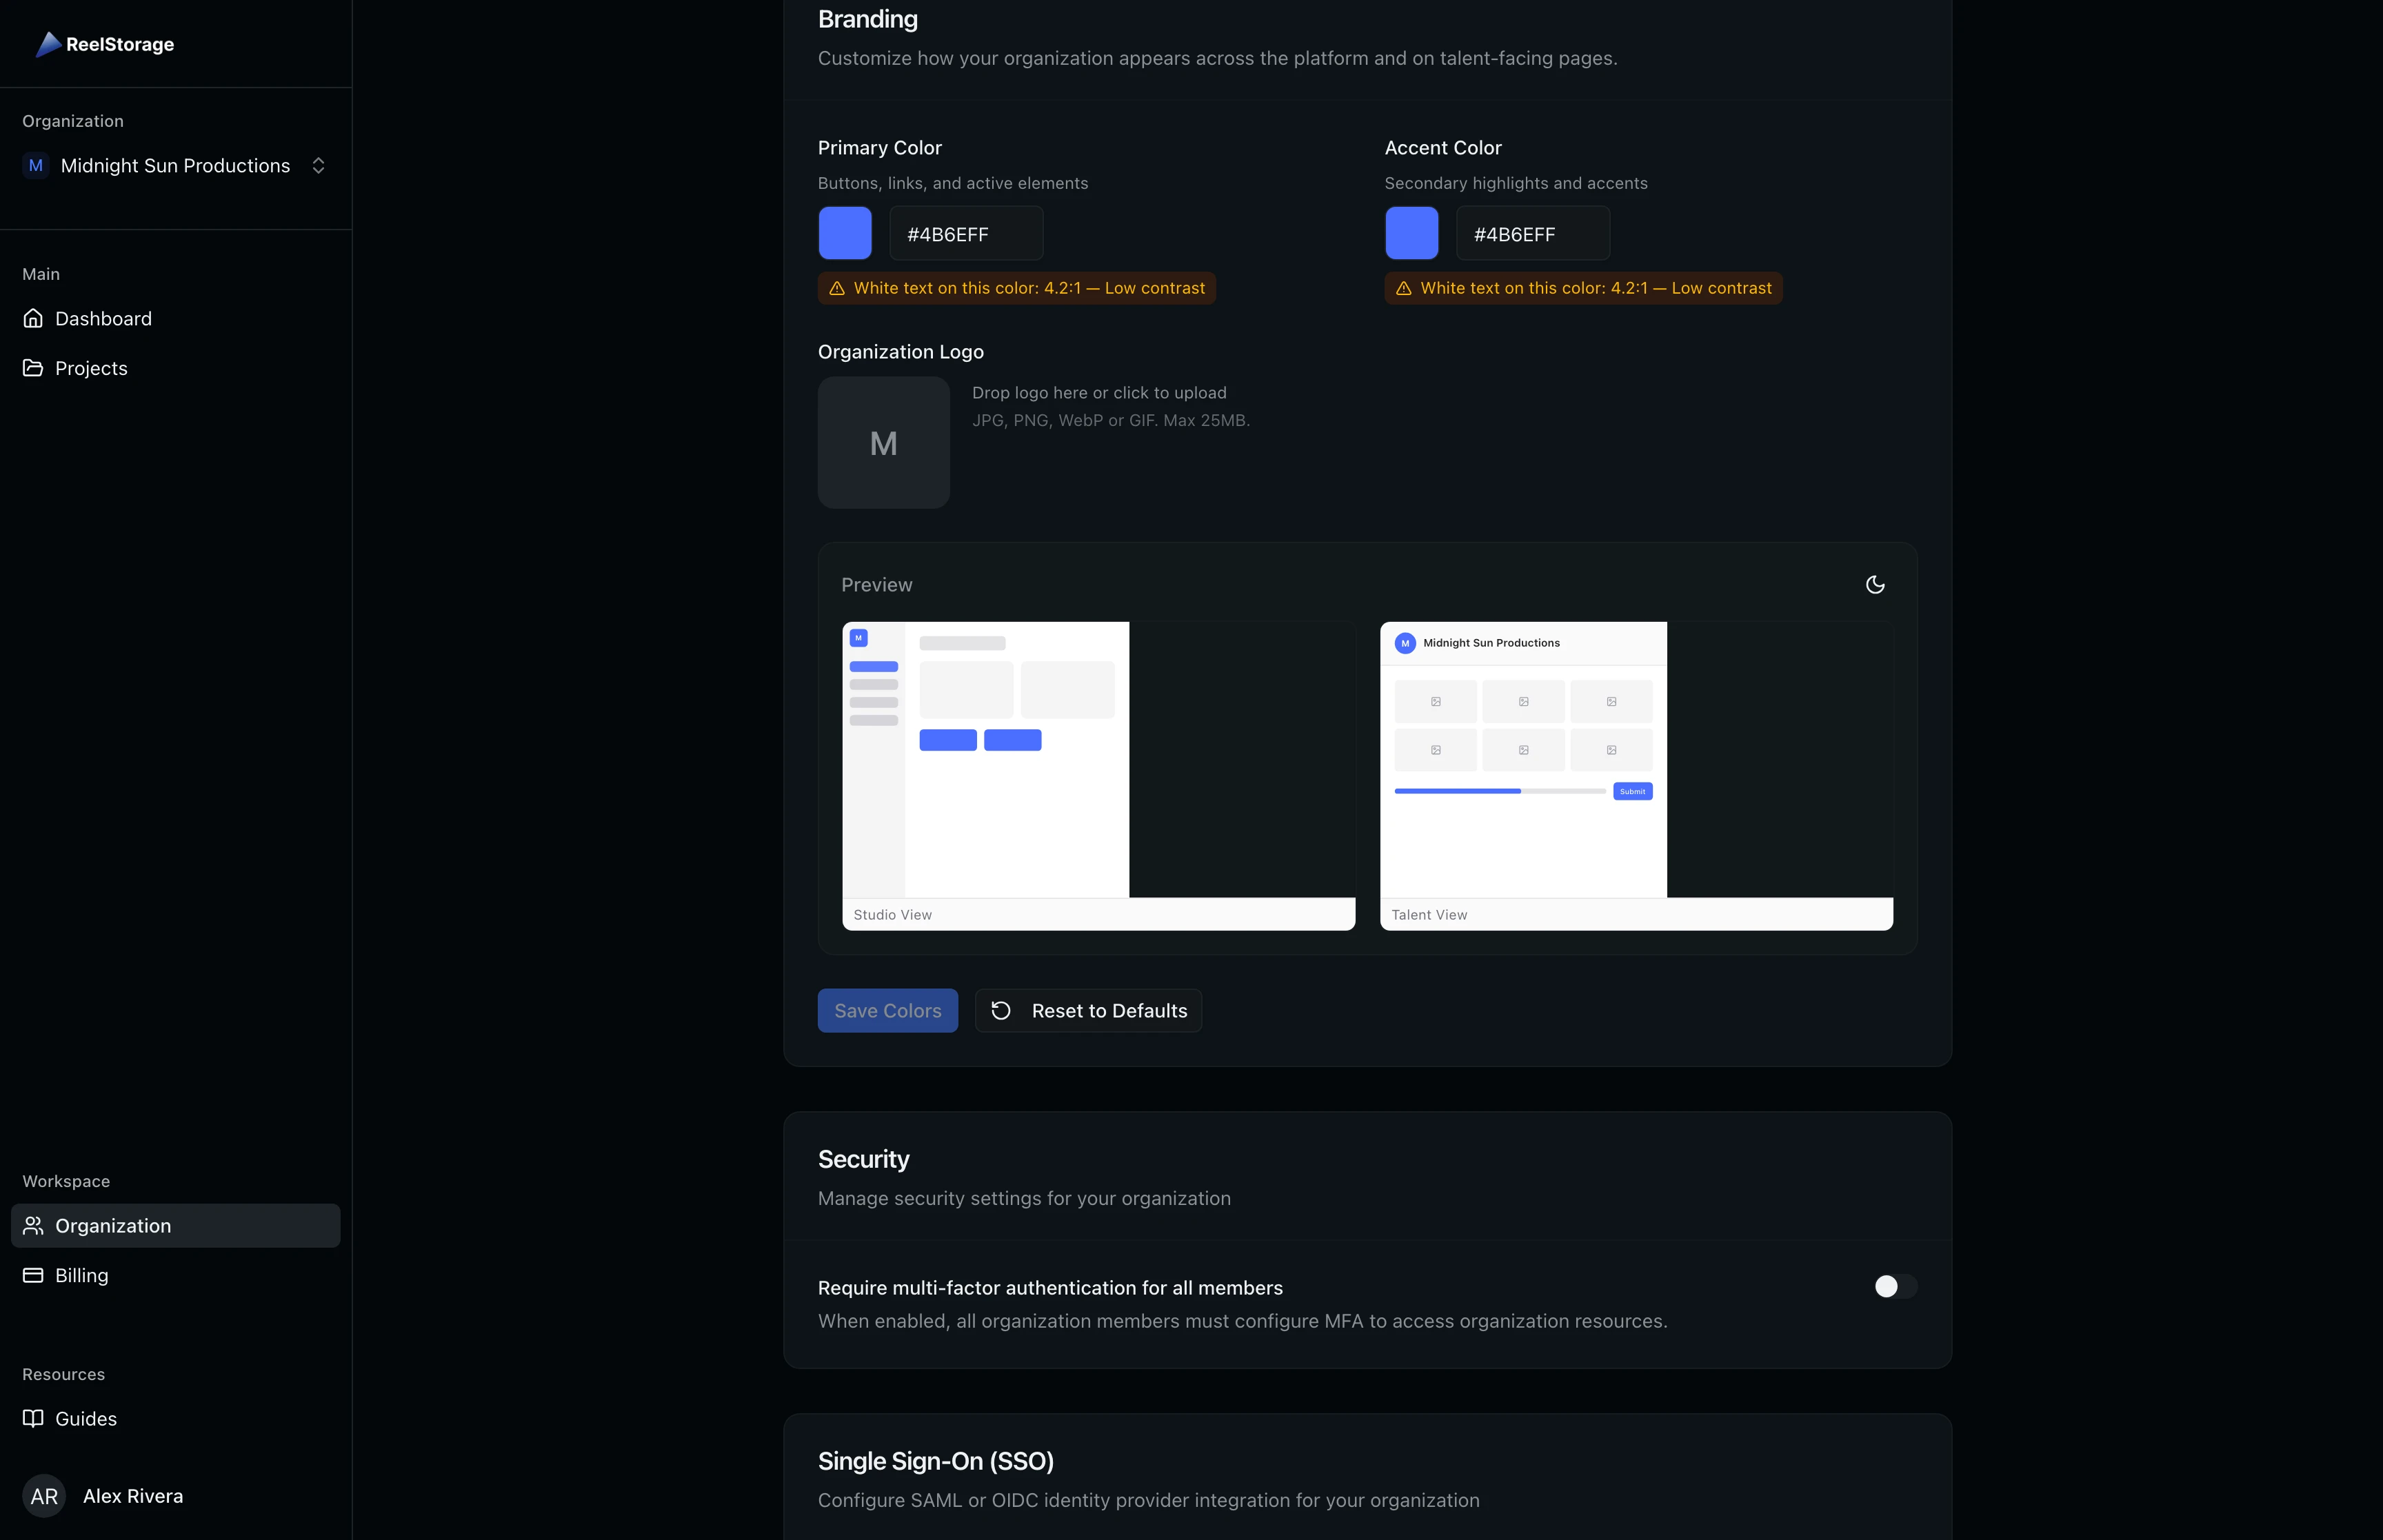
Step 6: Customize Your Branding
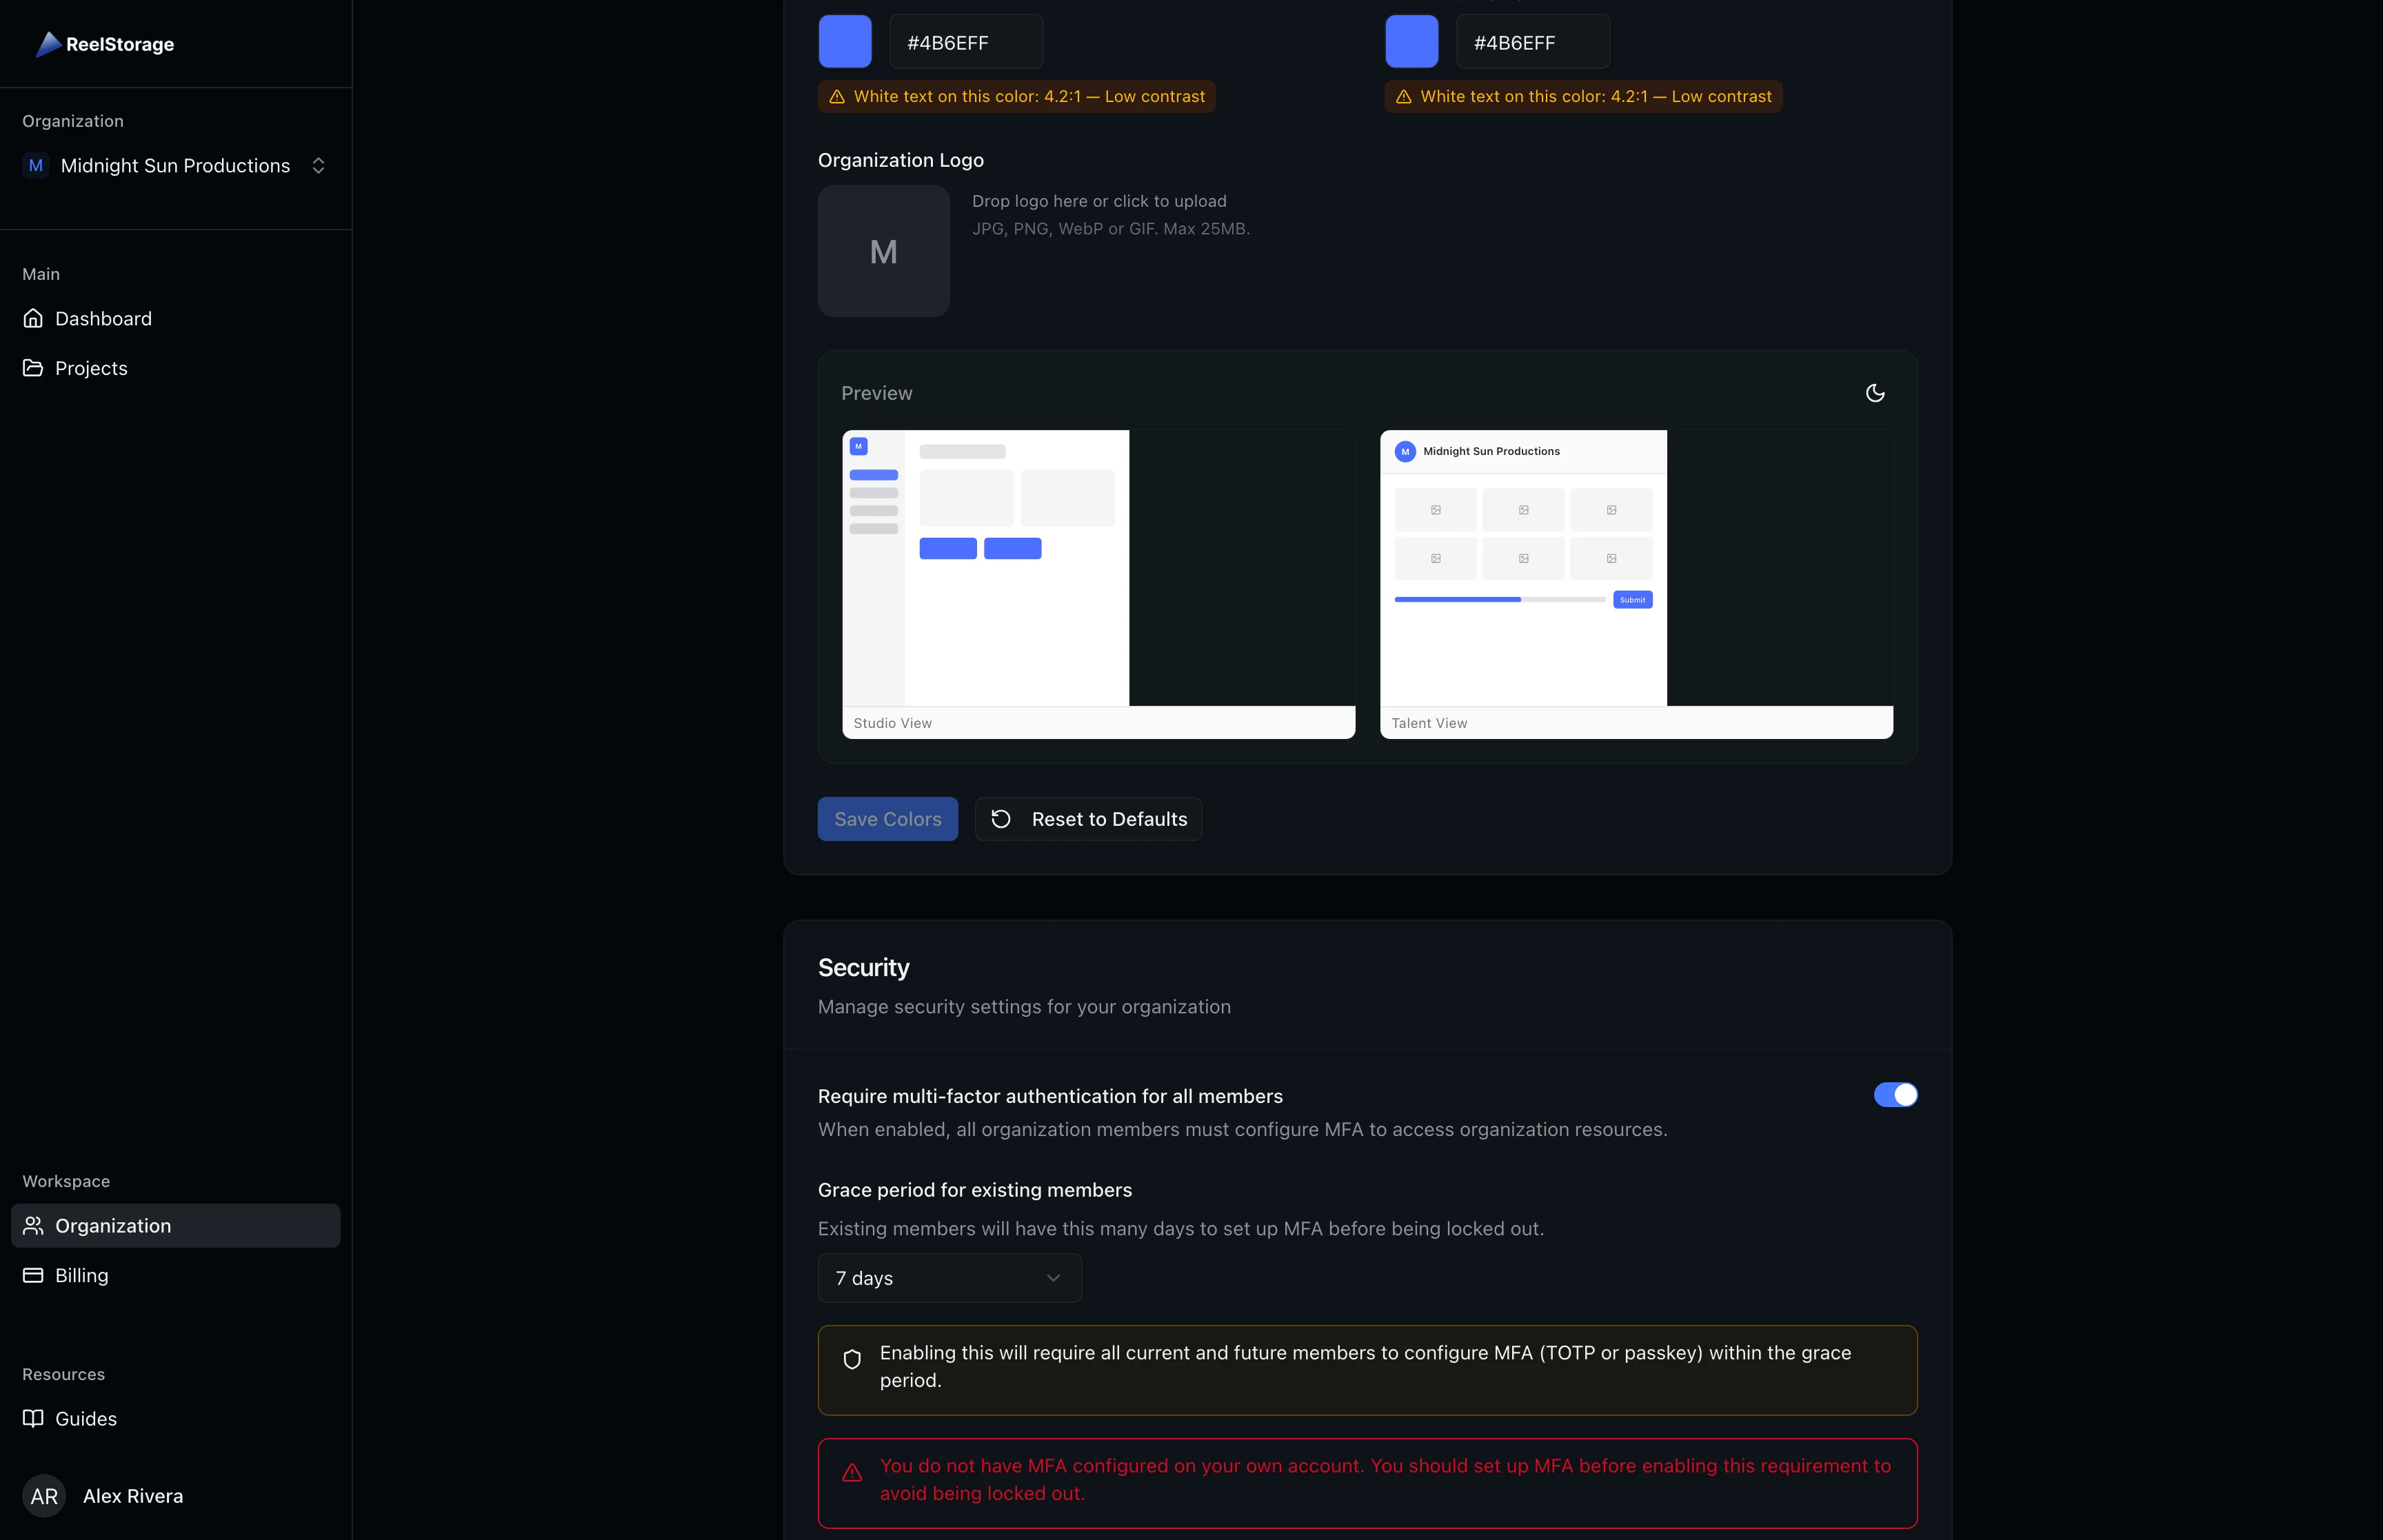
The Branding section lets you set a primary color and accent color for your organization. These colors appear on buttons, links, and talent-facing pages like the approval portal.
Each color picker shows a contrast ratio indicator that warns you if your chosen colors don't meet accessibility standards:
- Green check with "WCAG AA": Good contrast (4.5:1 or higher)
- Yellow warning with "Low contrast": Marginal contrast (3:1 to 4.5:1)
- Red X with "Poor contrast": Insufficient contrast (below 3:1)
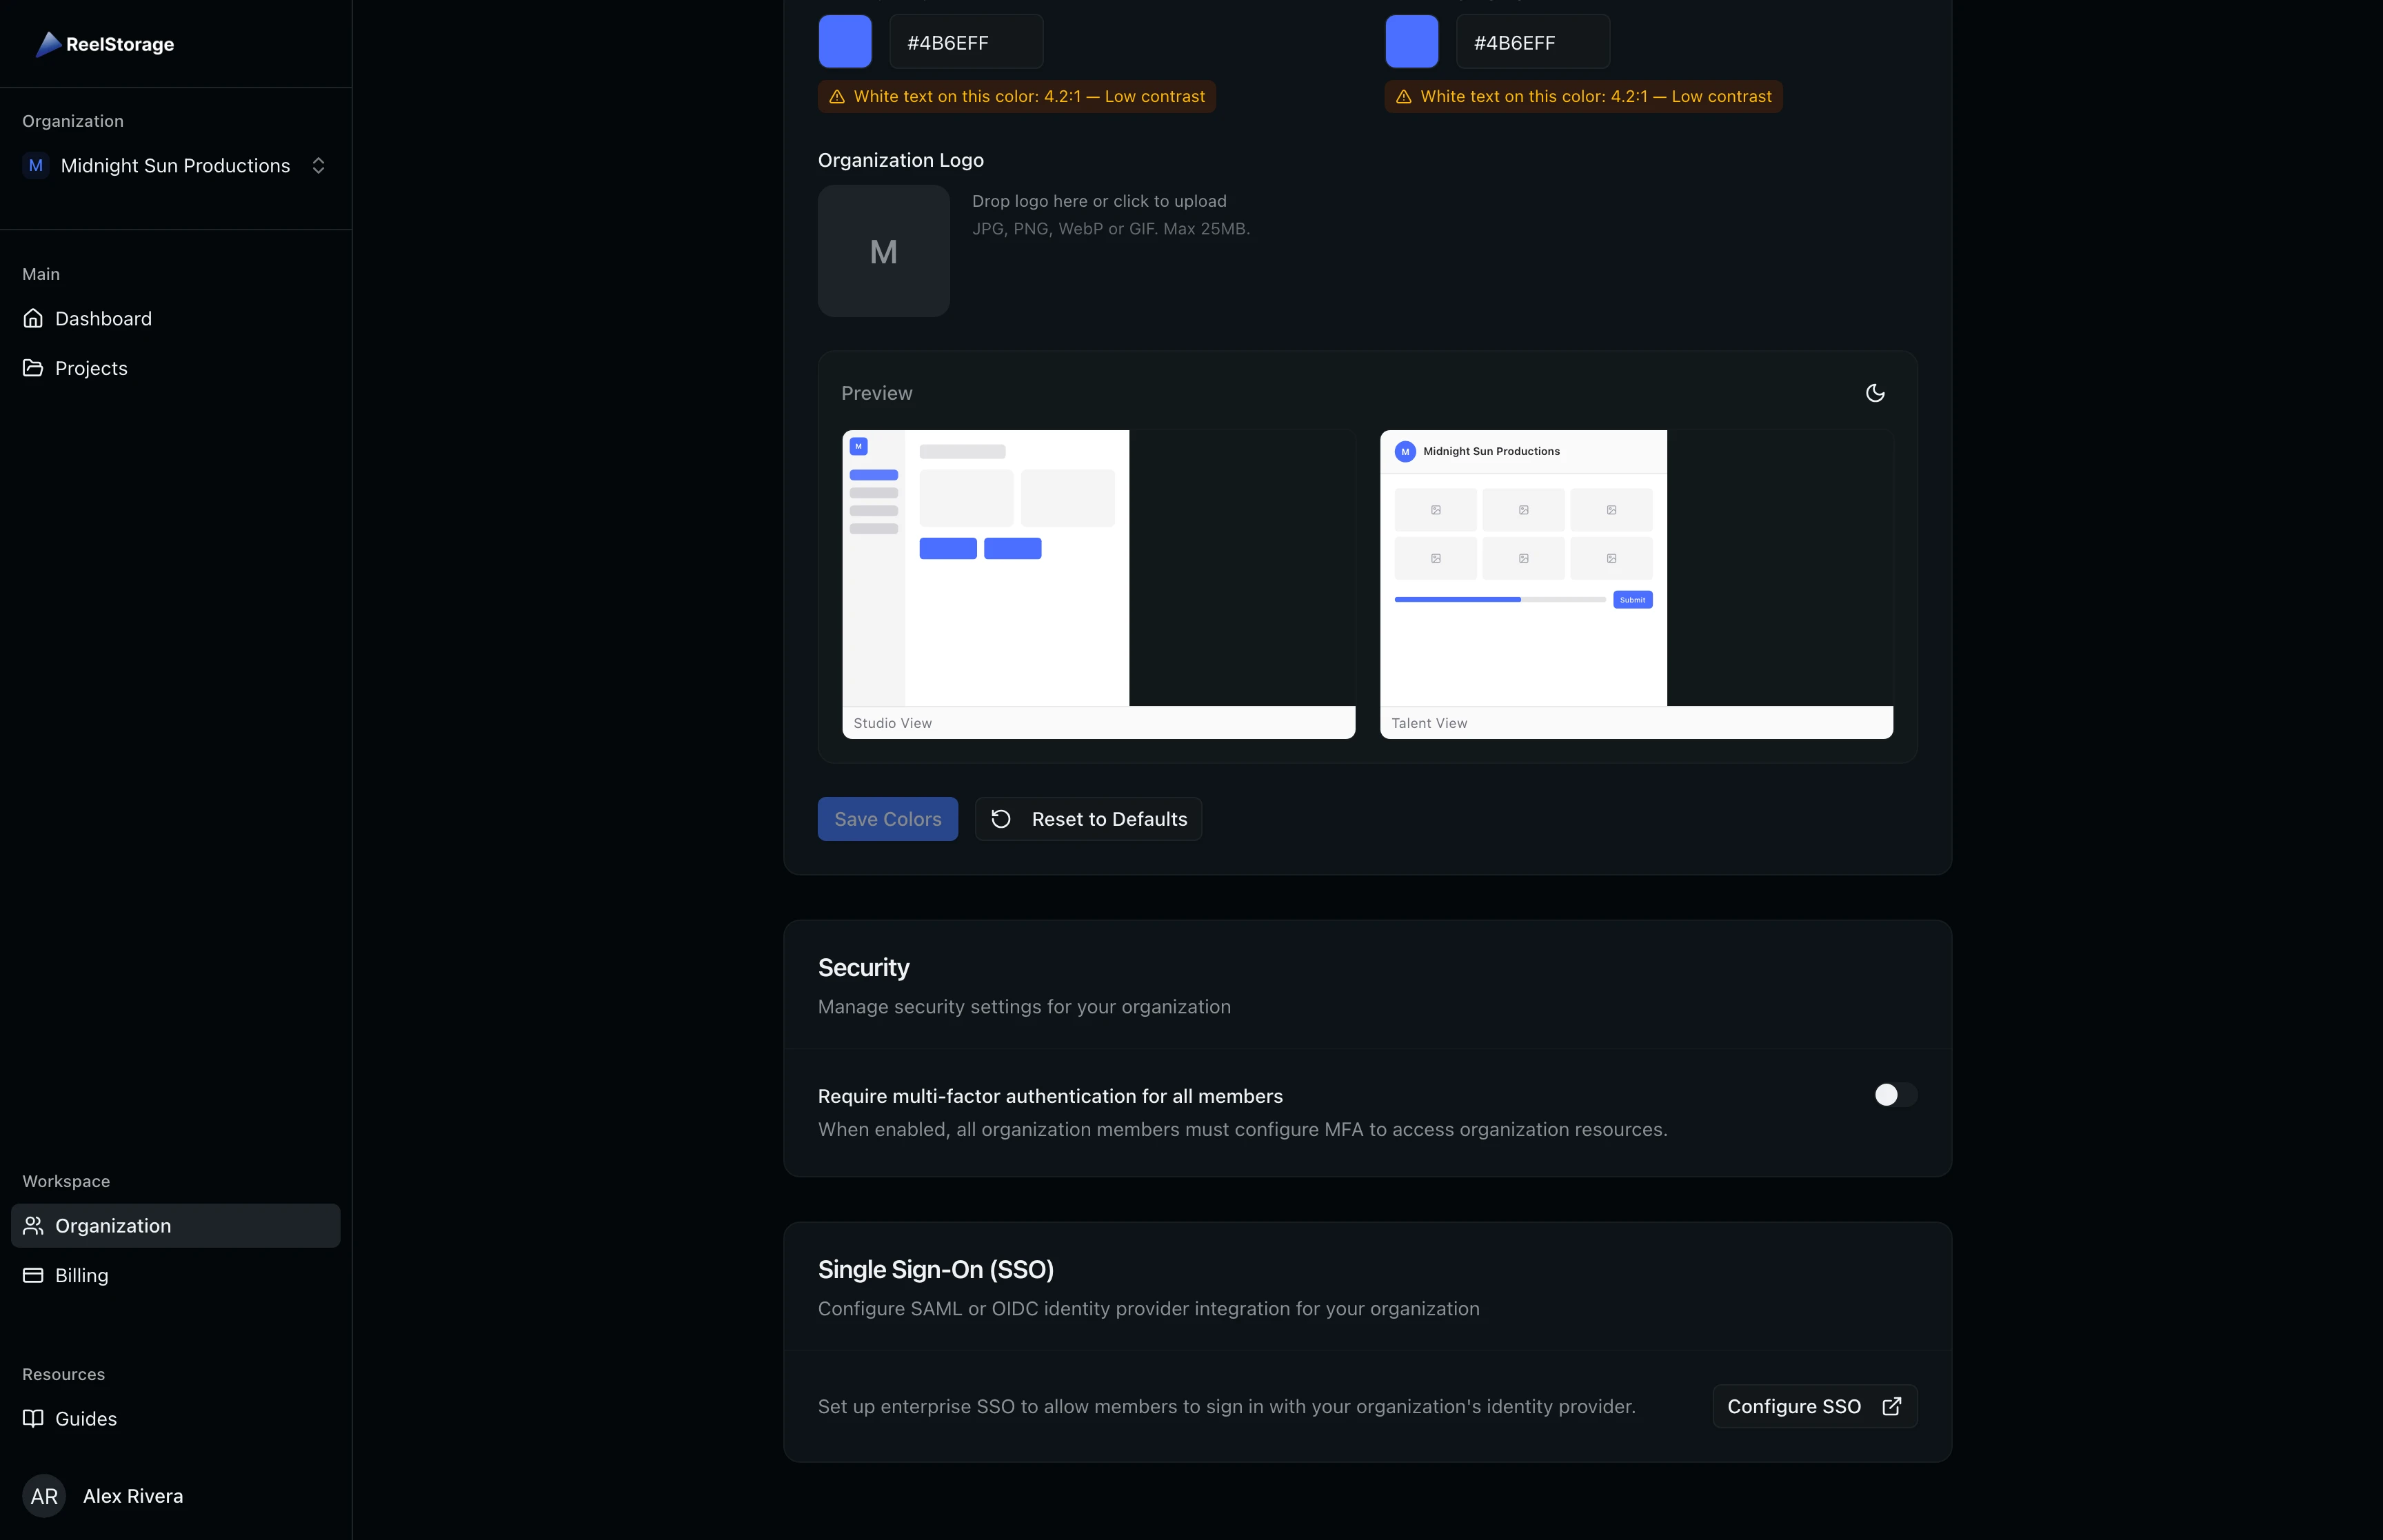
Upload a logo to replace the default initial avatar. The live preview below shows how your colors and logo will appear on both the studio interface and the talent-facing portal. Click Save Colors to apply, or Reset to Defaults to revert.
Set your branding colors before sending approvals to talent. Your primary color appears on the approval portal, so talent will see your brand when reviewing their images.
Step 7: Configure Security Settings
The Security section provides two features for hardening your organization's authentication.
Multi-factor authentication (MFA): Toggle the switch to require all members to configure MFA (TOTP authenticator app or passkey). When you enable this, a grace period dropdown appears so you can give existing members time to set up their authenticator before enforcement begins. Options range from 3 to 30 days. Members who don't comply within the grace period will lose access to organization resources until they configure MFA.
After enabling MFA, the section expands to show the grace period selector and warning alerts. If your own account doesn't have MFA configured, you'll see an additional warning prompting you to set it up first.
Single Sign-On (SSO): Click Configure SSO to set up SAML or OIDC identity provider integration for enterprise authentication. This redirects to a dedicated SSO configuration page.
Tips and Best Practices
- Use permission templates for most collaborators. Reserve Owner for people who need access to billing, organization settings, and member management. Choose from templates like Project Manager or Billing Admin to grant targeted access without full ownership.
- Set branding colors before sending approvals. Your primary color shows on the talent-facing approval portal, so choose a color that matches your studio's identity.
- Enable MFA with a grace period. Give your team at least 7 days to configure MFA before enforcement begins. Monitor compliance status in the Team Members list using the MFA badges.
- Review Project Access regularly. When team members change roles or leave projects, update their project assignments to maintain proper access control.
Troubleshooting
I don't see the Invite New Member section
You need the "Invite Members" permission. Ask an organization owner or admin to update your role or permissions using the role dropdown on your member row.
My slug change was rejected
Slugs must be unique across the platform and can only contain lowercase letters, numbers, and hyphens. Try a different slug if your preferred one is taken.
A team member is locked out after MFA enforcement
Members who don't set up MFA within the grace period lose access to organization resources. An owner can extend the grace period or temporarily disable the MFA requirement while the member configures their authenticator.
What's Next
- Managing Your Account Settings: Update your personal profile, email, and password
- Managing Your Subscription: View your plan, manage billing, and upgrade storage
Related Guides
Managing Your Account Settings
Update your profile, change your email or password, enable two-factor authentication, set up passkeys, review active sessions, and manage your personal data from the Settings page.
Managing Your Subscription
Review your storage usage, view your current plan, manage payment methods, and download invoices from the Billing page.